
DIY valentine’s chocolate box makeover
As an Amazon Associate I earn from qualifying purchases.
 I think every year I declare my love for Valentine’s Day. I know lots of people hate it- just not me. 😉 Any reminder I can get to gush on my loves is good by me (plus, I’m reworking a couple of our old Valentine’s traditions and super excited about it).
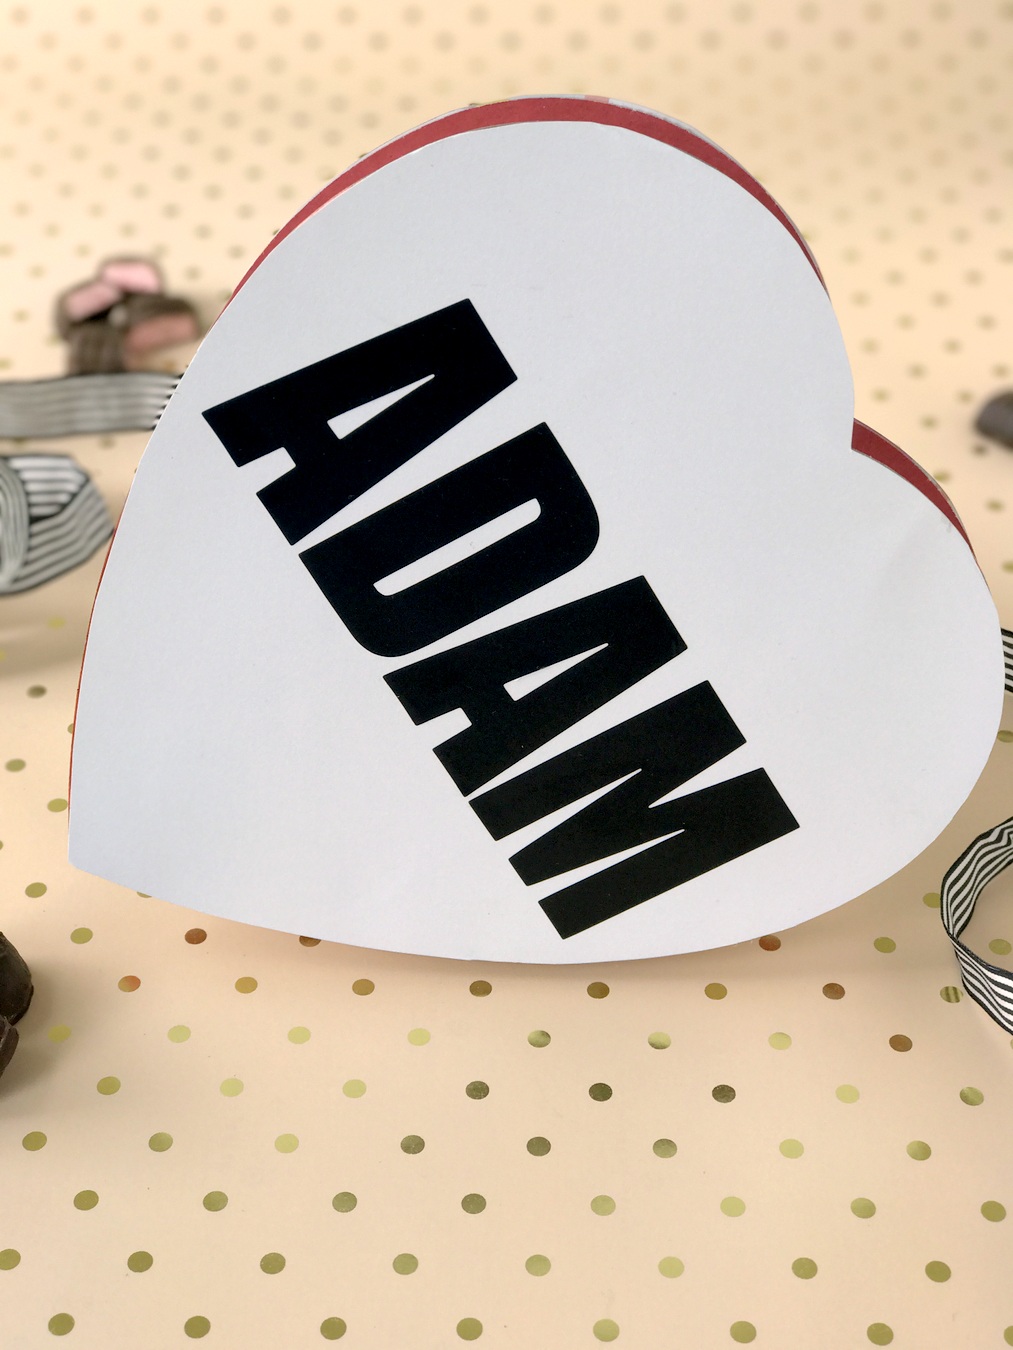 For starters, I grabbed a couple of valentine’s chocolate boxes and gave them modern makeovers.
 It’s a super easy project, but also such a fun way to change up and personalize a standard box-of-chocolates.
 TO MAKE
 Trace the heart shaped top of the box onto a 12×12 sheet of white card stock (twice- or layer your paper and cut two white hearts out at once).
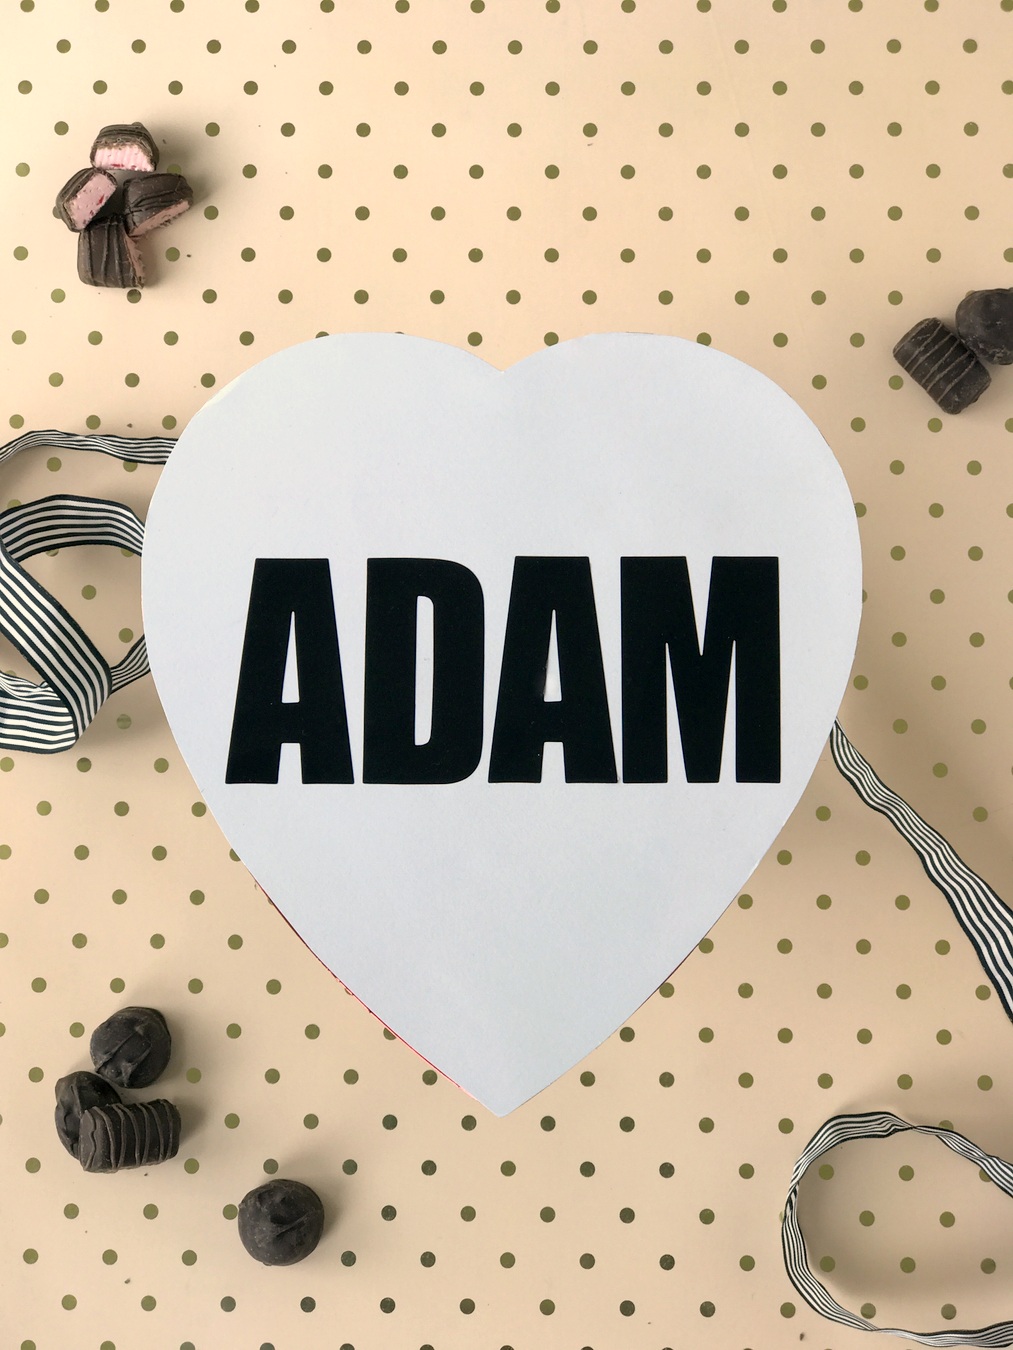
Using double sided tape, adhere the cardstock heart onto the heart shaped box. Repeat on the bottom. Trim if the edges stick out past the box edge.
Add a name or message to the front of the box using letter stickers. I used boat stickers (because I had them on hand), but you could use any letter stickers. For the “my love” heart box, I used the perimeters of L-O-V-E and then added a scripty hand lettered “my” to the top using watercolor paints (traced over pencil).
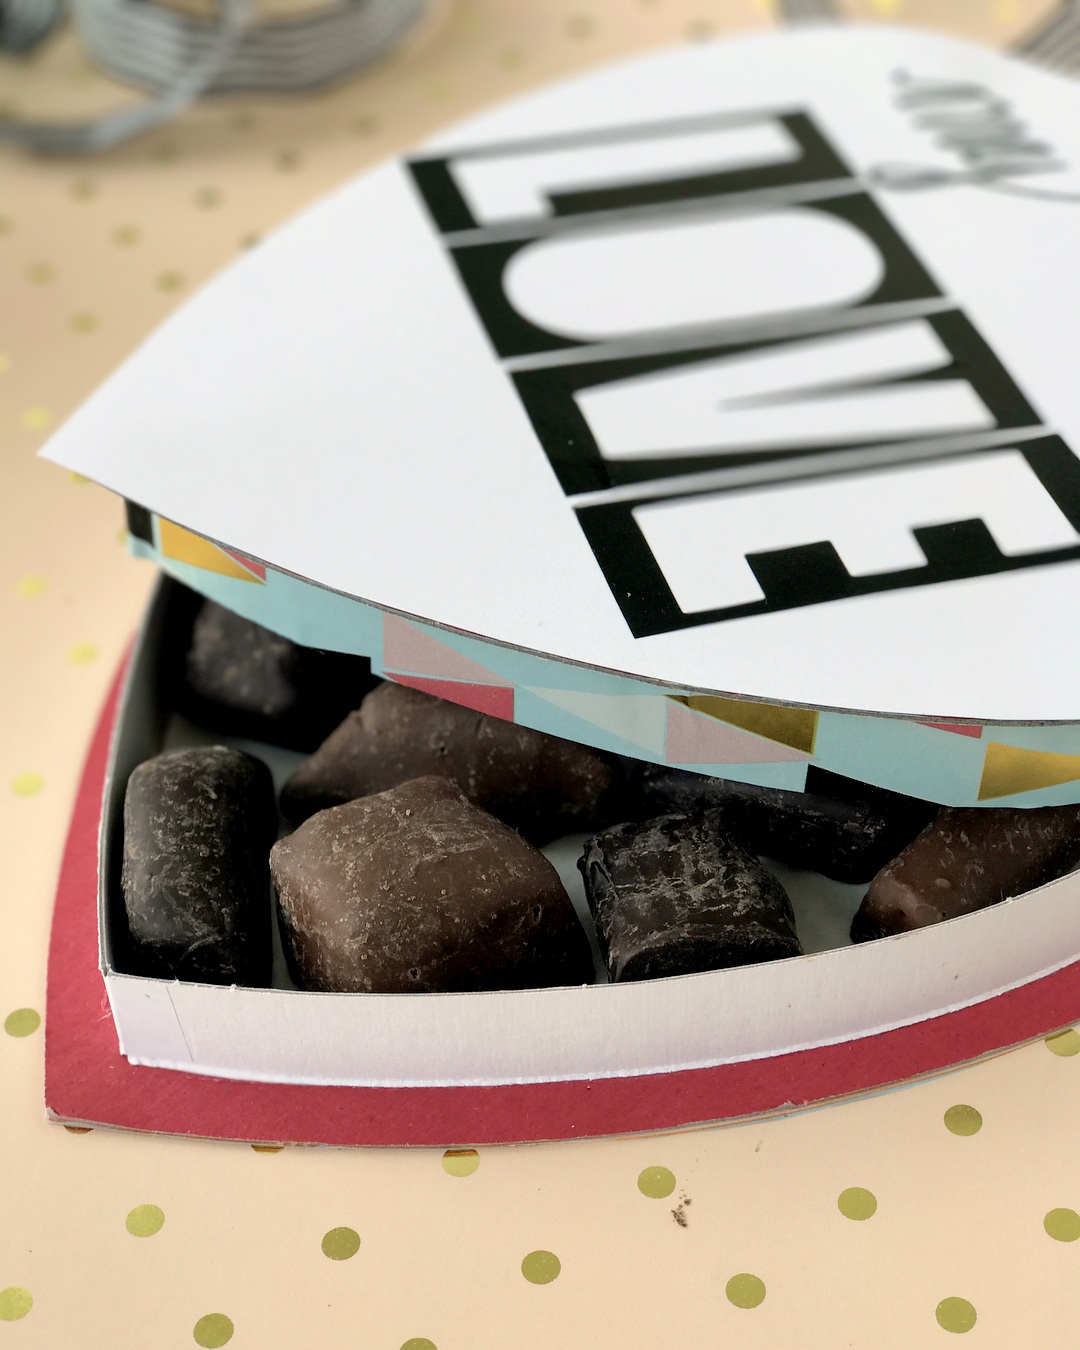 The best part of this project is that you can choose to add your own treats (if you’re feeling ambitious) or just give the chocolates that came in the box, topped with new personalized packaging. Right now mine (well, Adam’s) is filled with hokey pokey (honeycomb covered in chocolate- our fave from New Zealand!) that I found in San Antonio, but I have an inkling that since I’m willing to share, it’ll be gone this weekend. So stay tuned for a yummy chocolate-y project sometime next week.


3 Comments