DIY wrap it up bracelet
As an Amazon Associate I earn from qualifying purchases.
We’re so excited to welcome today’s guest, Caroline from Sew Caroline–
Hi There! My name is Caroline and I blog over at Sew Caroline about my life as a newlywed, our cute pup, and living a creative life. My passion is sewing and fortunately, I get to spend my days working at a locally owned fabric store & teaching classes to new sewers.
Kirstin asked me to join her today for the Winter Whites series & I am thrilled to be here!
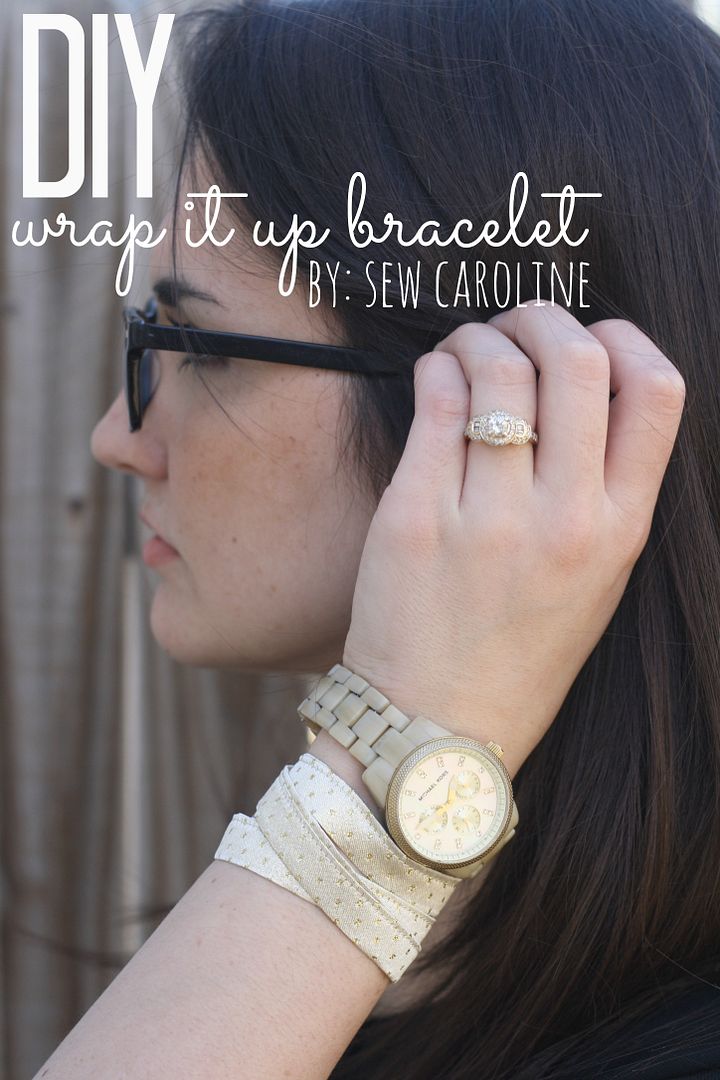
Today, I’m going to show you how to create a SIMPLE wrap bracelet.
(one size fits most)
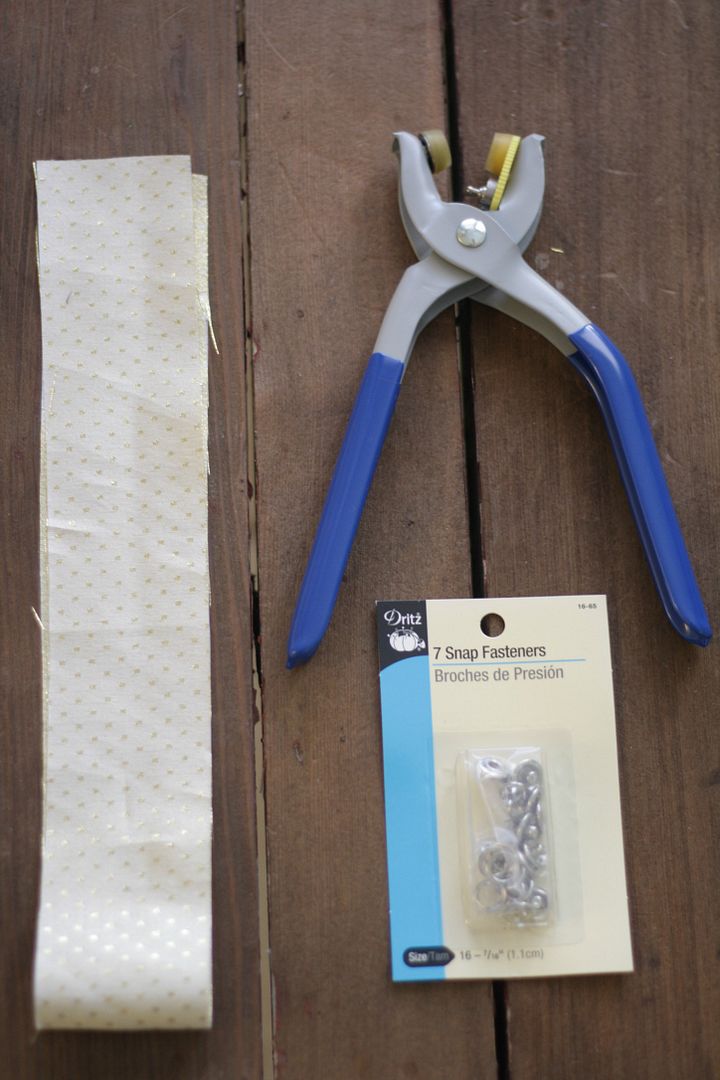
Supplies:
a strip of fabric that measures 3″ x 23″.
a set of snaps & a snap applier
your sewing machine & other basic sewing supplies
iron
First, you’ll take your fabric strip and press it with your iron in half down the long side. Then, you’ll unfold and press each of the edges towards the center. Fold and press it in half again making sure to line up your edges. You should have a strip that is 23″ by about 1/2″ now!
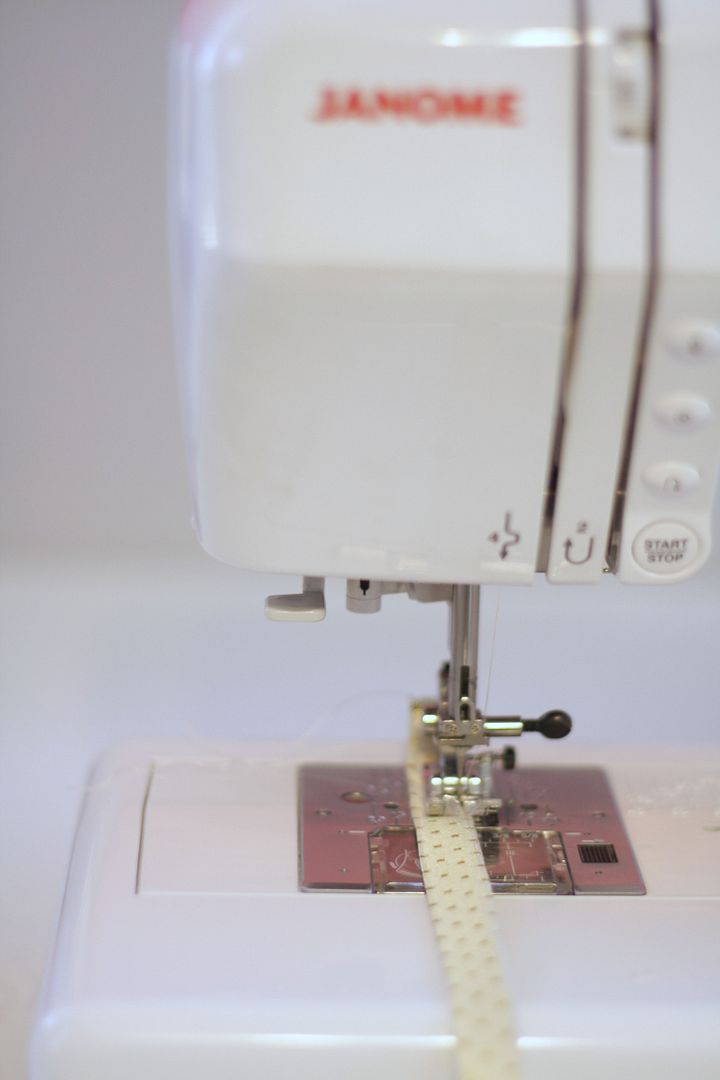
Now, take your fabric and top stitch along the edge where the two edges meet.
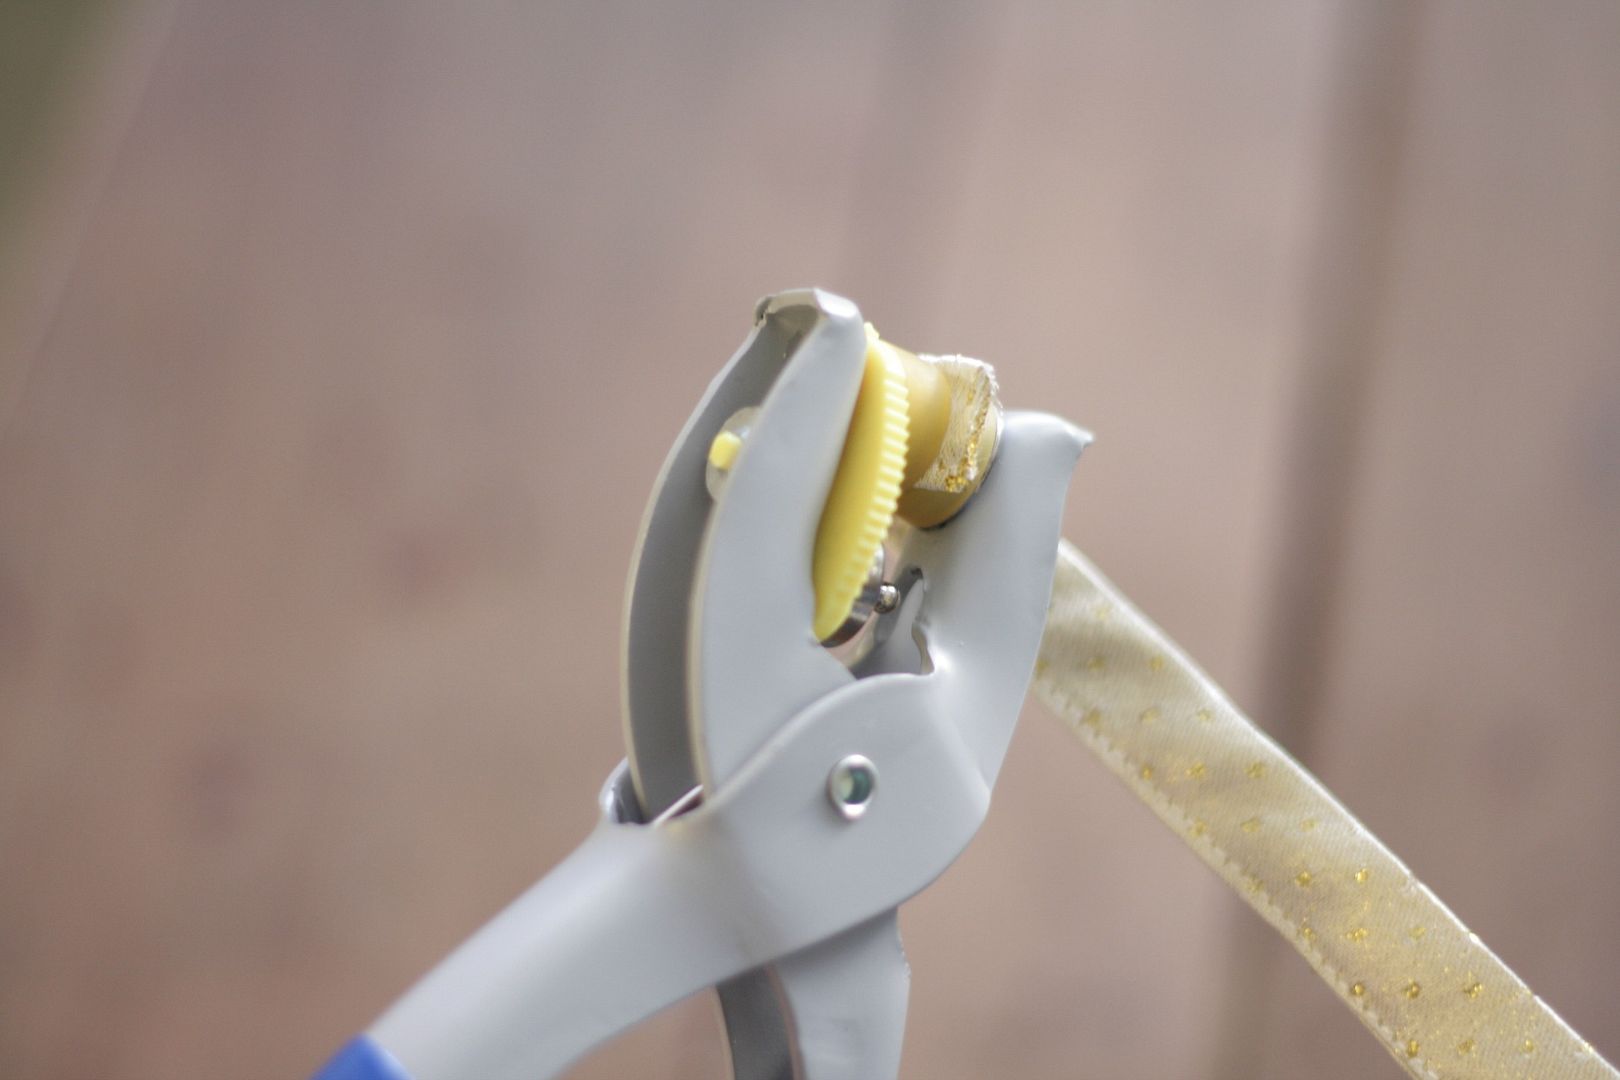
Once you have your bracelet top-stitched, its time to add the snaps. You’ll add a snap to each end, making sure they line up. You don’t have to have this fancy schmancy snap applier, they make less expensive easy to use ones, but it does come in handy with other craft projects!
Once you have your snaps applied, wrap it up!.
BONUS! your wrap can ALSO be worn as a headband! Double WIN!
Thanks again, Kirstin, for inviting me to join you in this fun series!!
Be sure to stop over at Sew Caroline and see some of our Sew Caroline favorites- she sews for herself (a couple of my favorites here and here), she decorates (don’t you love that pouf?) and her ombre tote is about to make her famous (in fact, she’s in Seattle at a tv audition because of it!). Moreover, she is one of those girls that you just know you’d be friends with in real life- caring and fun and authentic. And she’s here today to share a wrap it bracelet tutorial as a part of Winter Whites!

 Don’t forget to stop by Delia Creates for more Winter Whites goodness (white polymer earrings!).


I just got a sewing machine (I’m a novice) and this is one of the first things that I’m going to make. I loooove wrap bracelets!!!
Kari, I bet this will be a great first project- love it that you got a sewing machine, by the way. 🙂
So cute!
Very cute bracelet!!
So cute!! Need to make one!
Isn’t it? 🙂 Love that Caroline… and her ideas… 🙂
What a fun idea!! I want one!!
Me and you both, Becky. 🙂