how to make a tie-able little boy’s tie
As an Amazon Associate I earn from qualifying purchases.
 I have the cutest nephew in the world. Seriously. He’s so. cute.
 While he was here to visit a couple weeks ago, my sister mentioned that he tears off his clip on tie and maybe needs a regular tie. I jumped at the chance to sew something for him (I seem to find projects to make for Piper and my nieces all the time, but not so many for Easton and Burke).
 Burke chose the dot fabric (love) and I whipped up a couple of ties during an afternoon nap.
To make a tie for your little guy-
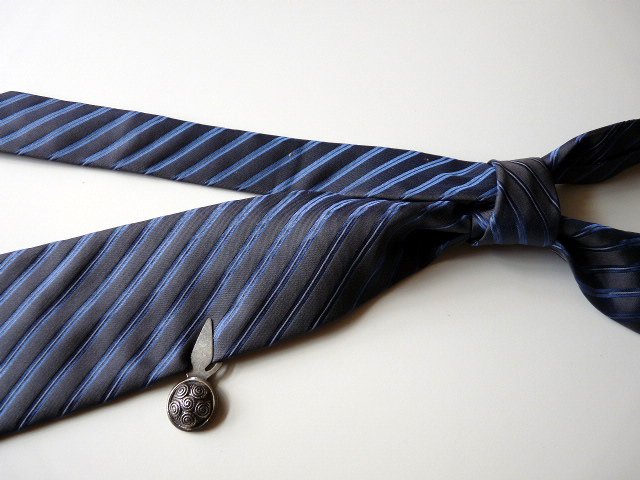 Find (and tie) and adult-sized tie. Loosen and slip over your little one’s head. Pull taut and measure where you want the tie to fall. Mark with a paper clip.
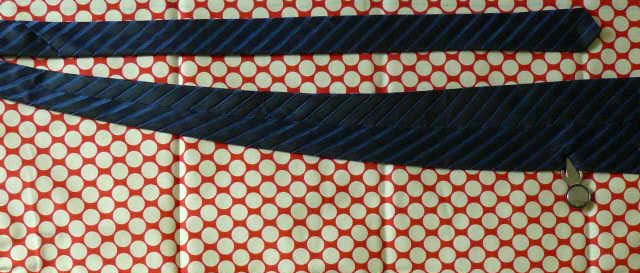 Keeping the paper clip in place, untie the tie. Trace with a fabric pen, matching up the halfway point of the tie with the edge of the fabric (you’ll have two tie pieces unless you have really long fabric).
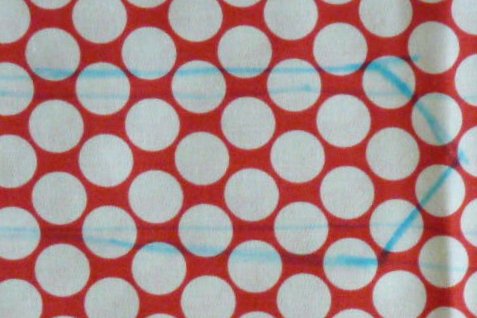 The back of a men’s tie is about the width of a kid’s tie, so I traced that end for my tie front and then made the bottom a little wider.
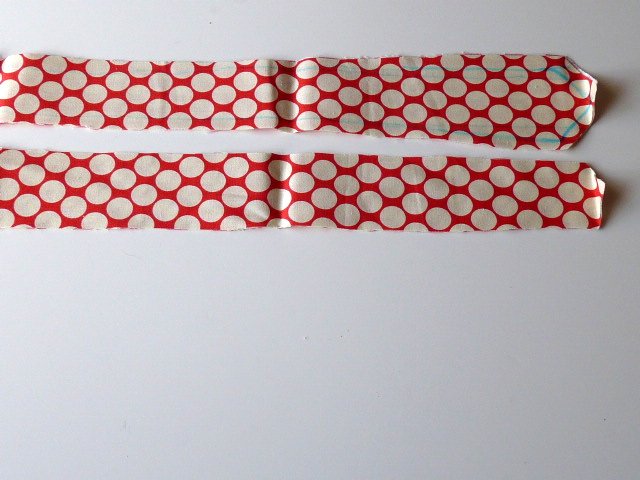 Leaving a margin around the entire perimeter, cut out two copies of both tie shaped pieces (just place on another piece of fabric or fold over so you’ll cut two of the same tie shapes). At this point, you should have four pieces (two copies of each tie half).
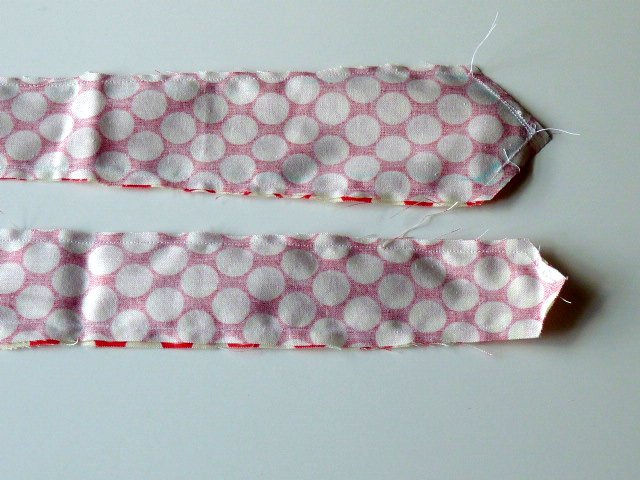 Match up the two pairs, right sides facing each other, and pin in place. Sew around the entire perimeter, leaving the straight ends open and sewing the pointed ends.
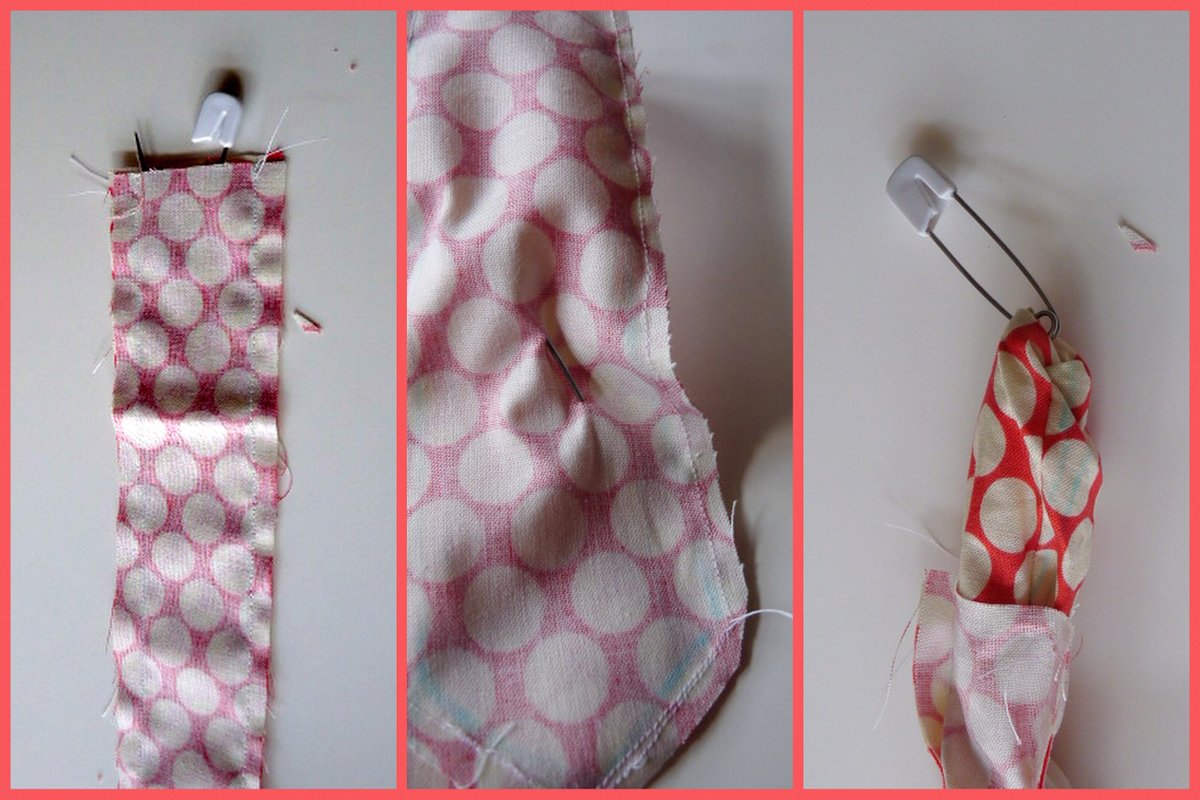 Drop an open safety pin down into each tie half. Secure the pin in place (poke the end of the pin through to the outside of the tie, then poke back into the interior and secure). Using the pin as your anchor, turn the tie right side in.
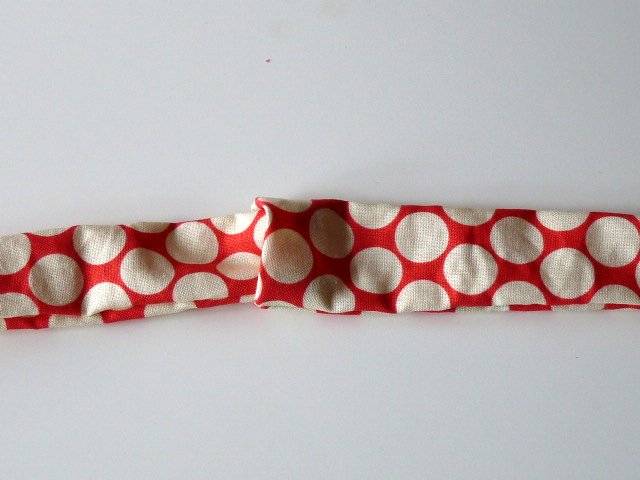 Tuck the unfinished open ends into the inside of the tie halves, and press both in place. Then tuck one edge into the other edge (it doesn’t matter which half ends up on the exterior and which half ends up on the interior).
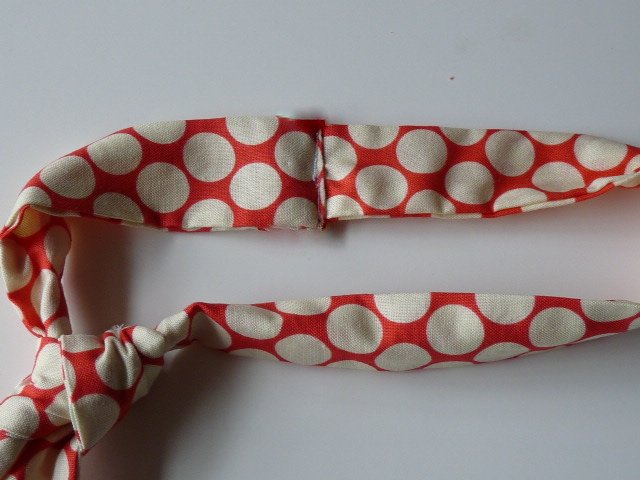 Sew a straight line, securing the two halves together. This little connection will be tucked under a collar, so don’t worry if it looks less than perfect.
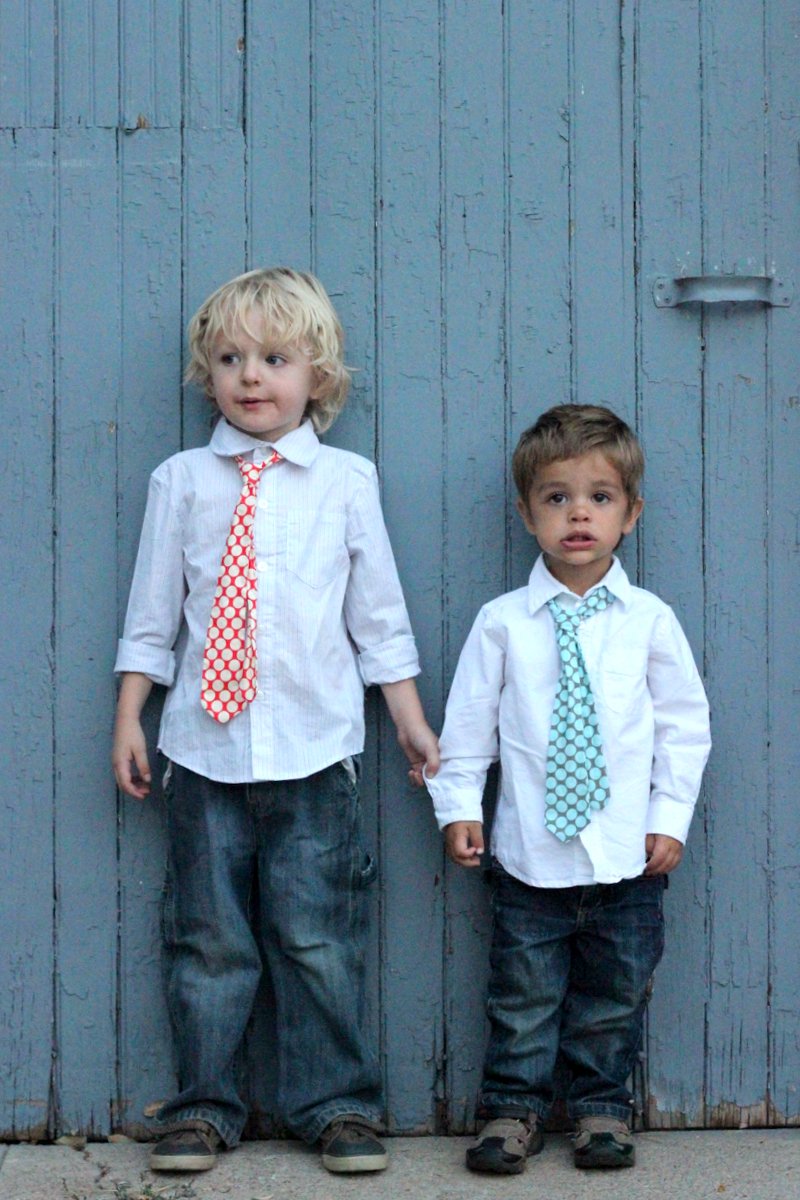 Tie the tie, slip over your cutest-nephew-in-the-world’s head, and you’re done (you might want to add a little tie pin as the boys’ ties kept getting disheveled)!
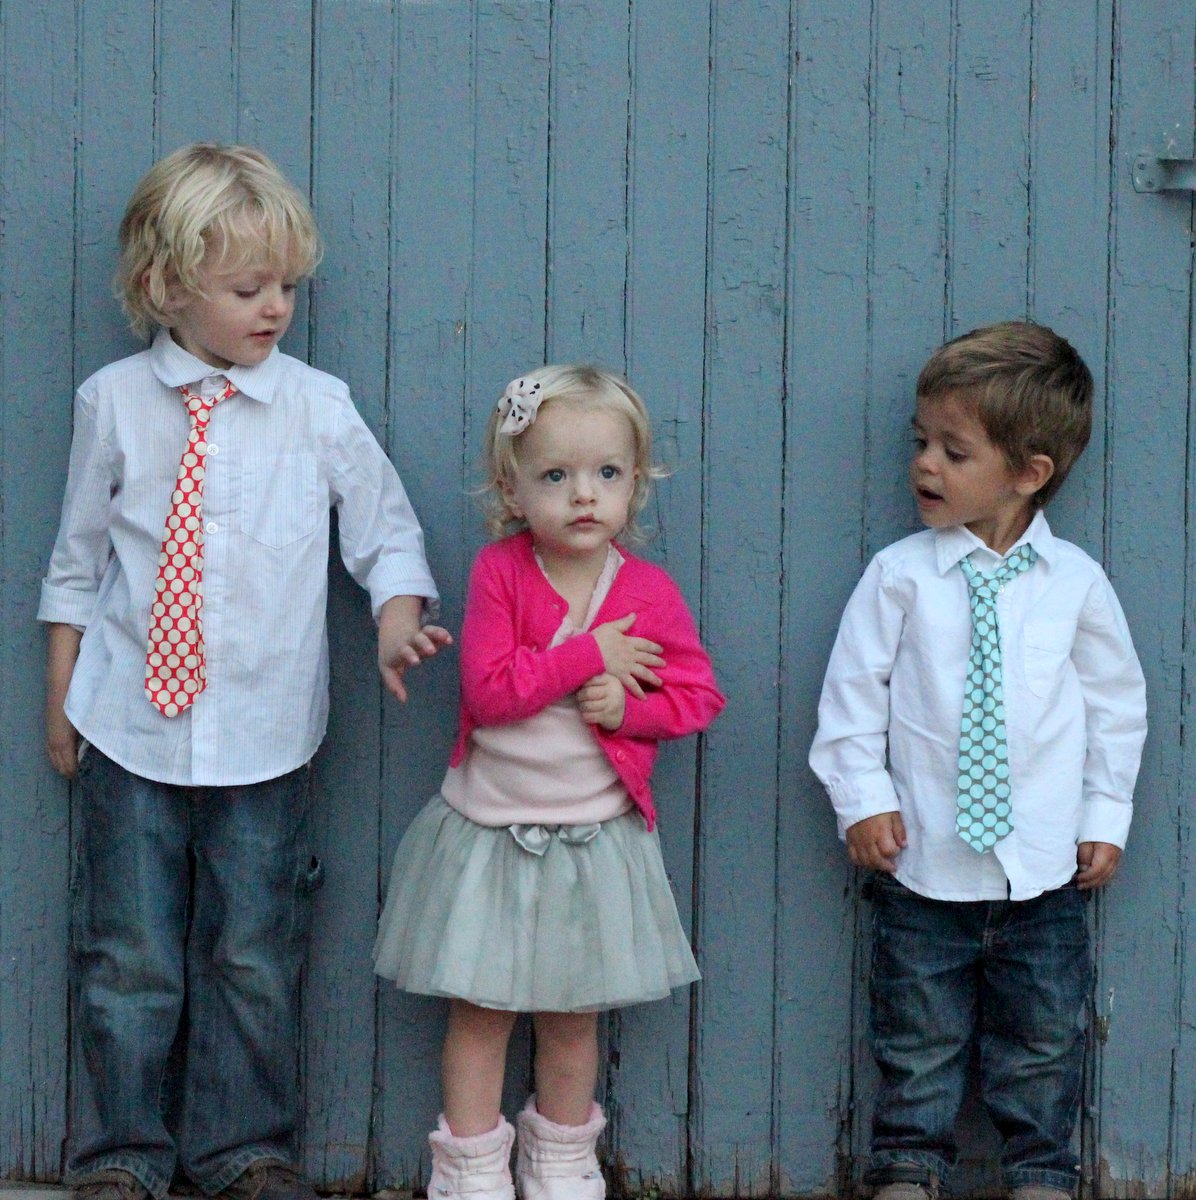
 Funny sidenote- Piper couldn’t resist the lure of the photoshoot. She thinks that when the camera comes out, she should be in the mix (a product of her vast modeling experience, I’m certain). I kind of love it that I have these sweet cousin pics as a result, though.
Are you working on any boy projects right now?


Super cute idea! And the kids are adorable! No boys projects currently, but I’m always “pinning” ideas 🙂
haha- you and me both. if only I got to half (or even a quarter) of the things I pin. 🙂