kojo tutorial- the happy birthday dress
As an Amazon Associate I earn from qualifying purchases.
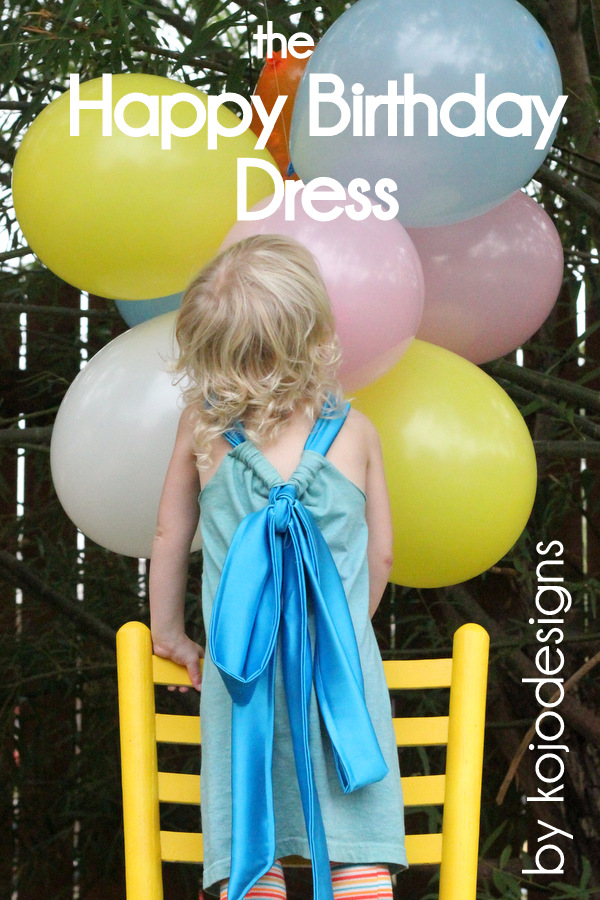 I love birthdays! I love having a whole day dedicated to celebrating the people I love (complete with all sorts of treats, favorite foods, and favorite pasttimes crunched into 24 hours), I love making cakes (or other birthday treats), I LOVE picking out presents… yep, I love birthdays.
 And I love this jersey dress that was, you guessed it, one of Piper Jane’s birthday presents this year. It’s made from comfy jersey, an easy sew (though, I’ll be honest, I think I already figured out a way to make it even easier- I just need to try it out), and the big ol’ bow in the back is perfectly festive.
To make one for a little birthday girl in your life, you’ll need-
-about a yard of jersey fabric (I used a men’s XL tshirt)
-a lo-ong thin rectangle of fabric (mine was 50″x5″)
-an A-line ‘template’ dress in the size you’re sewing
-sewing machine and supplies
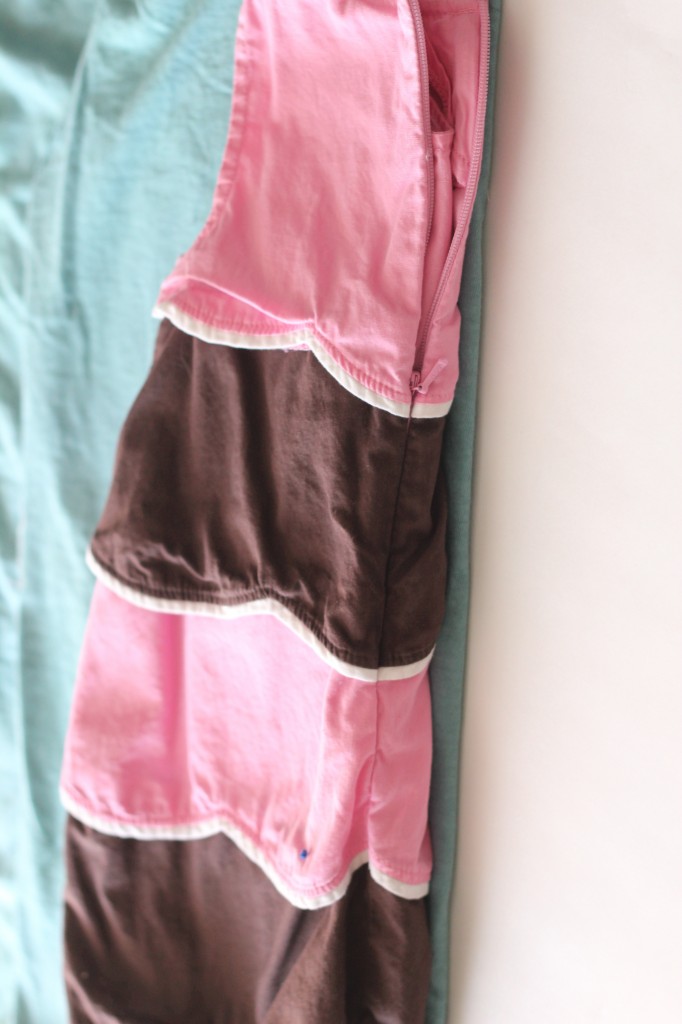 Double the jersey and fold in half (if you’re using a tshirt, it’s already doubled). Lay the template dress, also folded in half, on top of the jersey. If you’re using a tshirt, line up the bottom hem of the dress with the bottom hem of the tshirt (if you aren’t using a t-shirt, leave an extra inch at the bottom for a hem). Trace with a fabric pen.
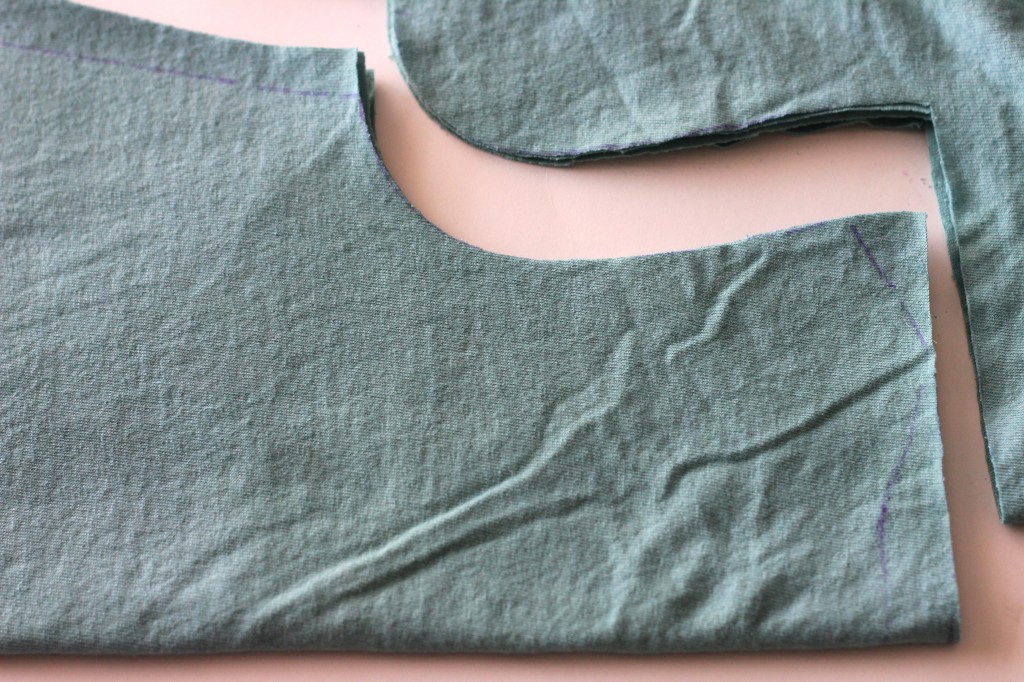 Cut out your dress pieces. Leave an extra half inch at the top and along the side edges, but cut the armholes right along the traced line.
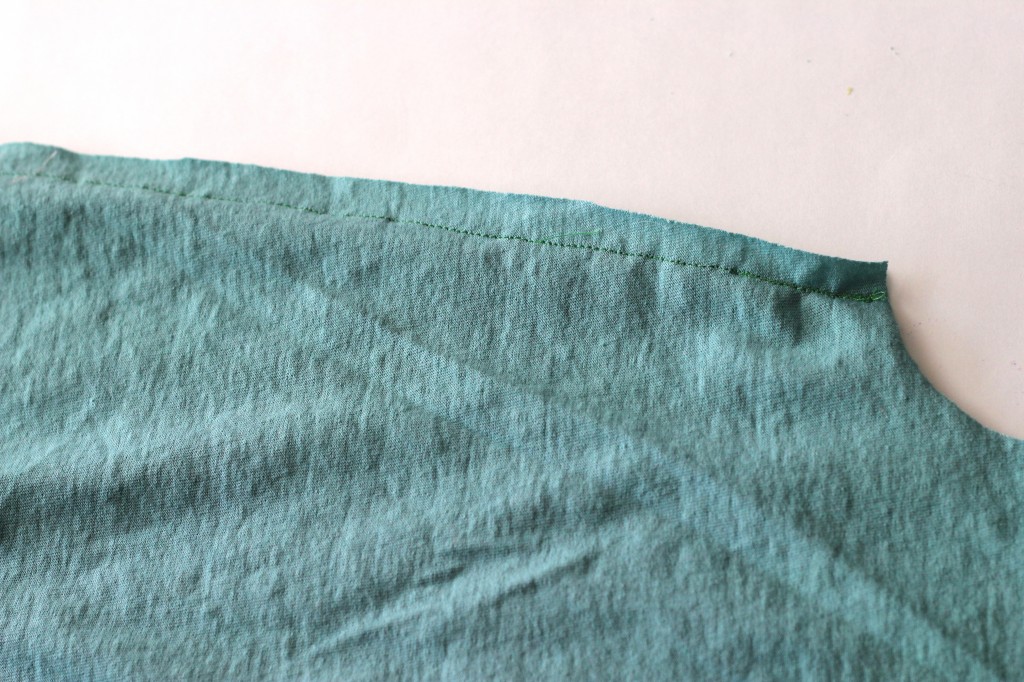 Pin along both side edges, right sides facing each other. Sew in place.
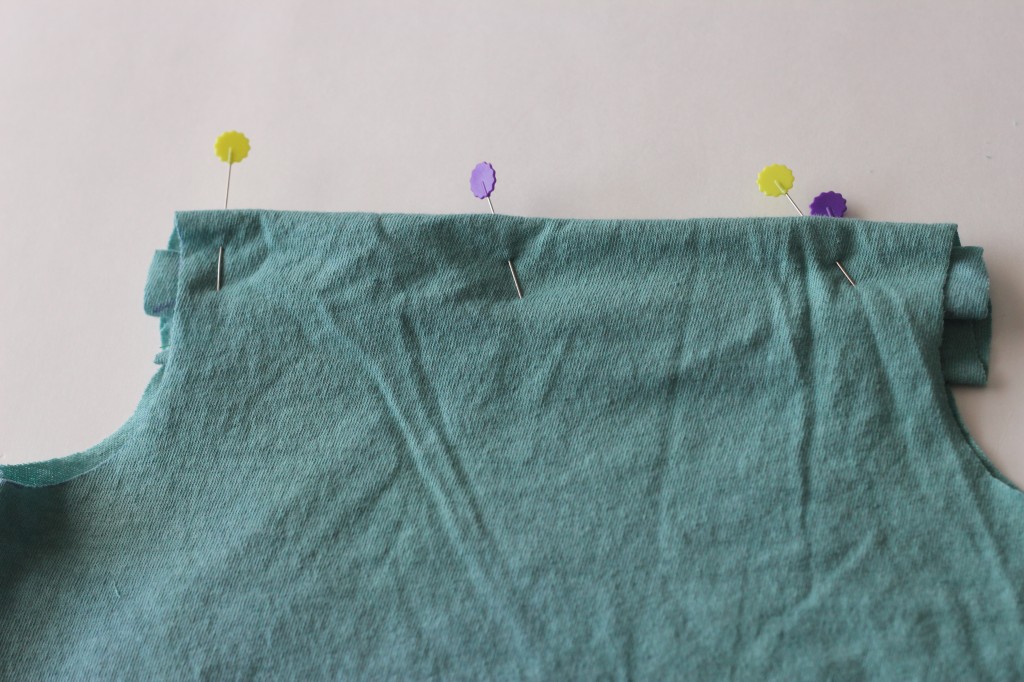 Double roll and pin the top edges, creating a casing along the top of both the front and back sides of the dress.
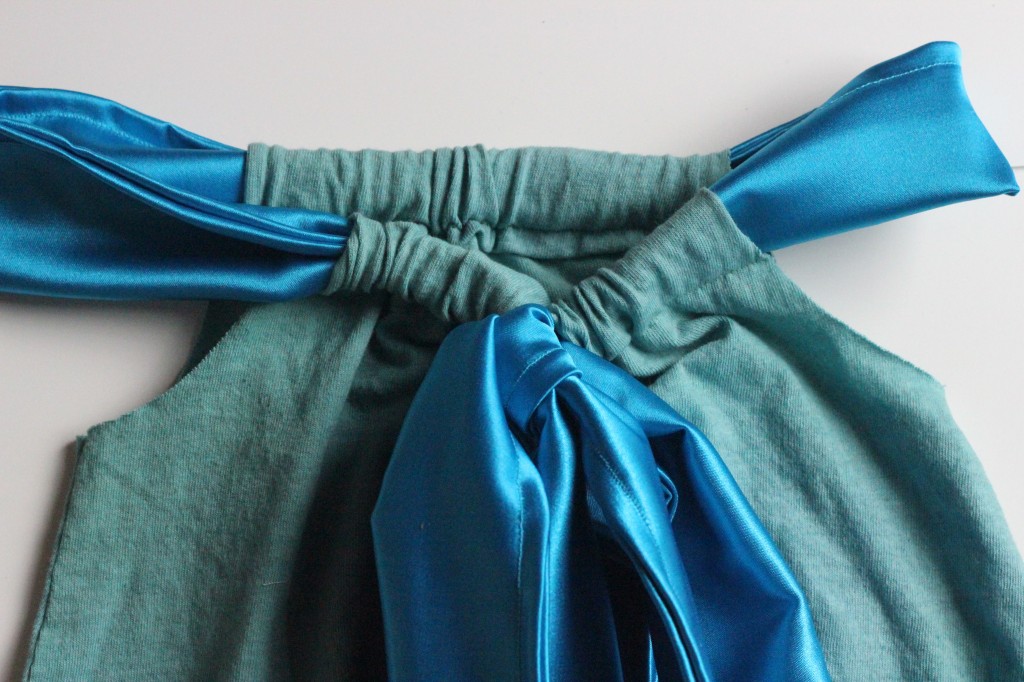
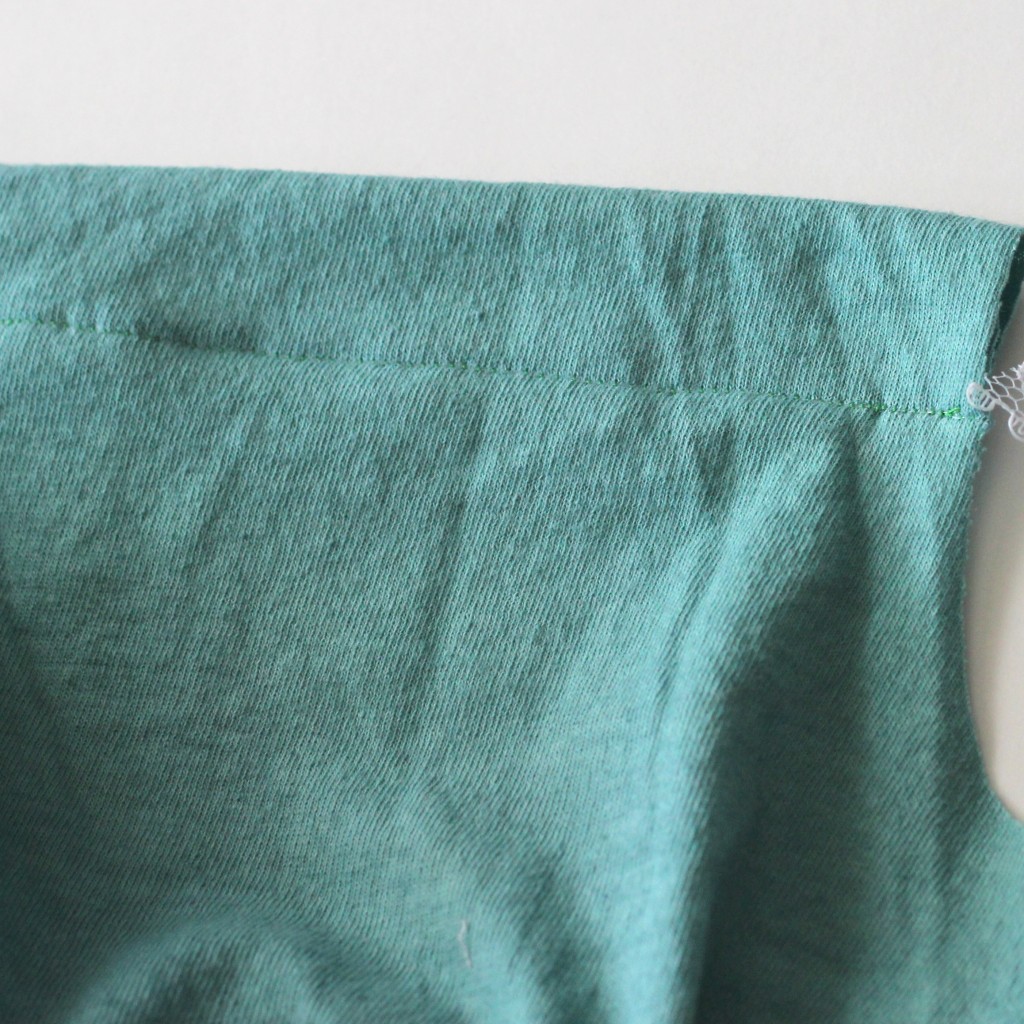 Sew in place. Fold your satin rectangle in half, right sides facing each other, and pin in place. Sew along open edge. Turn right side in. Finish off raw ends by tucking the raw edges into the tube and making ends into a point. Sew in place.
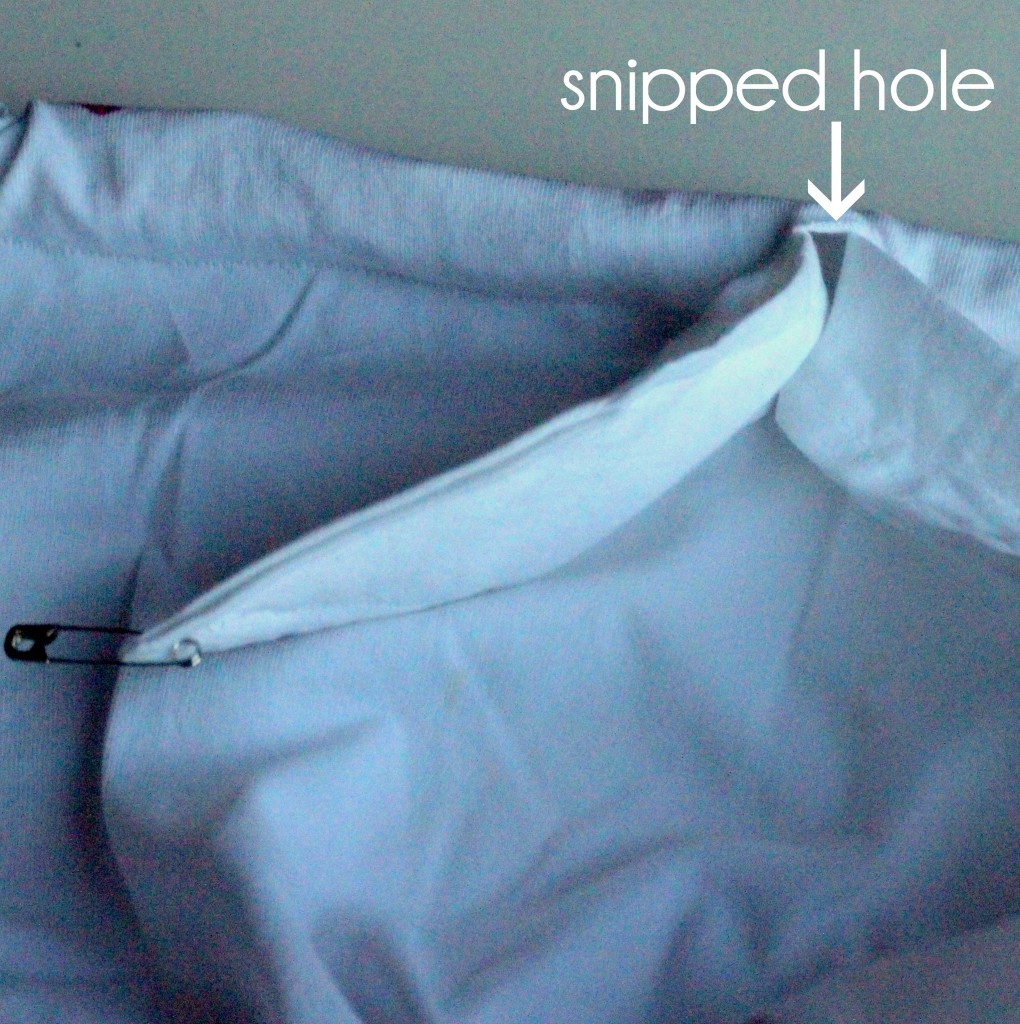
Snip a hole in the middle of the jersey casing on the back side of the dress. Thread the finished satin tube through into the snipped hole, to the front of the dress, through that casing, back into the back of the dress casing and back out the hole (sorry the picture is of a different dress- same exact idea).
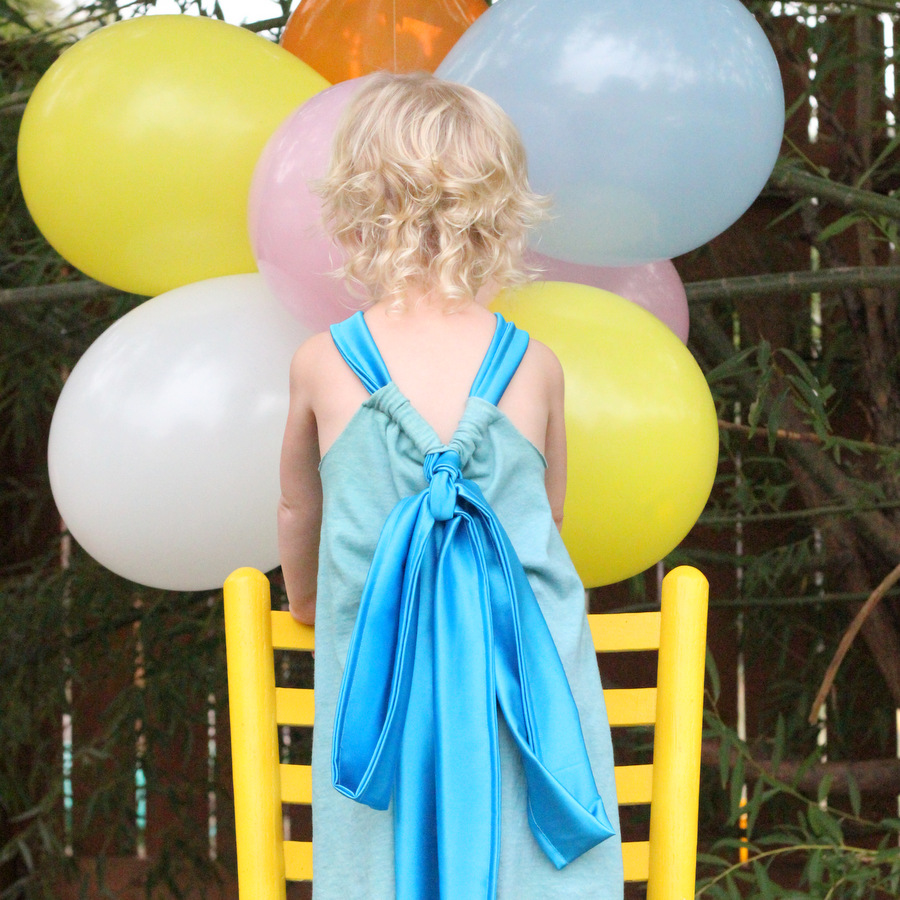 If you make your bow as long as mine, it’ll weigh down the back of the dress, creating a little ‘v’ (not on purpose, it just ended up that way… I kind of love it, though).
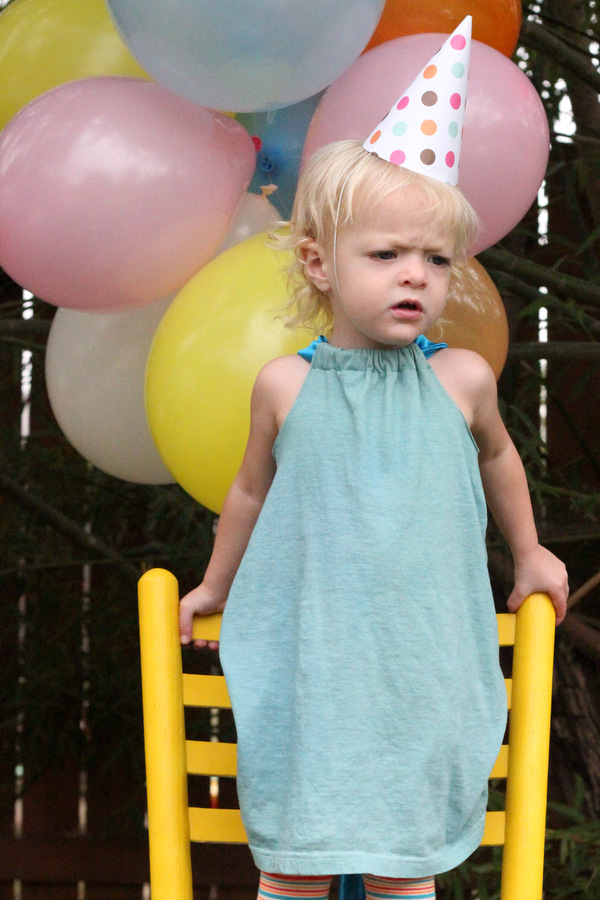 And, speaking of birthday’s (and of Piper Jane), that sweet little girl is finally having her party this week (she’s 2- she won’t notice that it’s almost a month late, right?)… our house is a mess of sprinkles right now. We can’t wait!

that is SO adorable! I love the fancy fabric for the tie-very birthday worthy! 😀
Thanks buddy! I’m in the middle of party-crazy-week and thinking of you and how you pull off parties that are so amazing and so close together. Way to go, friend! 🙂
SO cute, Ma’am!!!
Aww, thanks Heid! 🙂
love this dress! super cute and the fabrics you chose are gorgeous.
Thanks Kate! Can’t wait to see the little dresses you make for your teeny bundle! 🙂
Cute Girl! They grow up SO fast! And i have to say I love that big bow on the dress, so Adorable!
Thanks Cassity- isn’t it funny how fast they grow? If I could just slow down time a little… 😉
love the big shiny bow!
Thanks bettijo! 🙂