
stenciled bike shirt tutorial
As an Amazon Associate I earn from qualifying purchases.
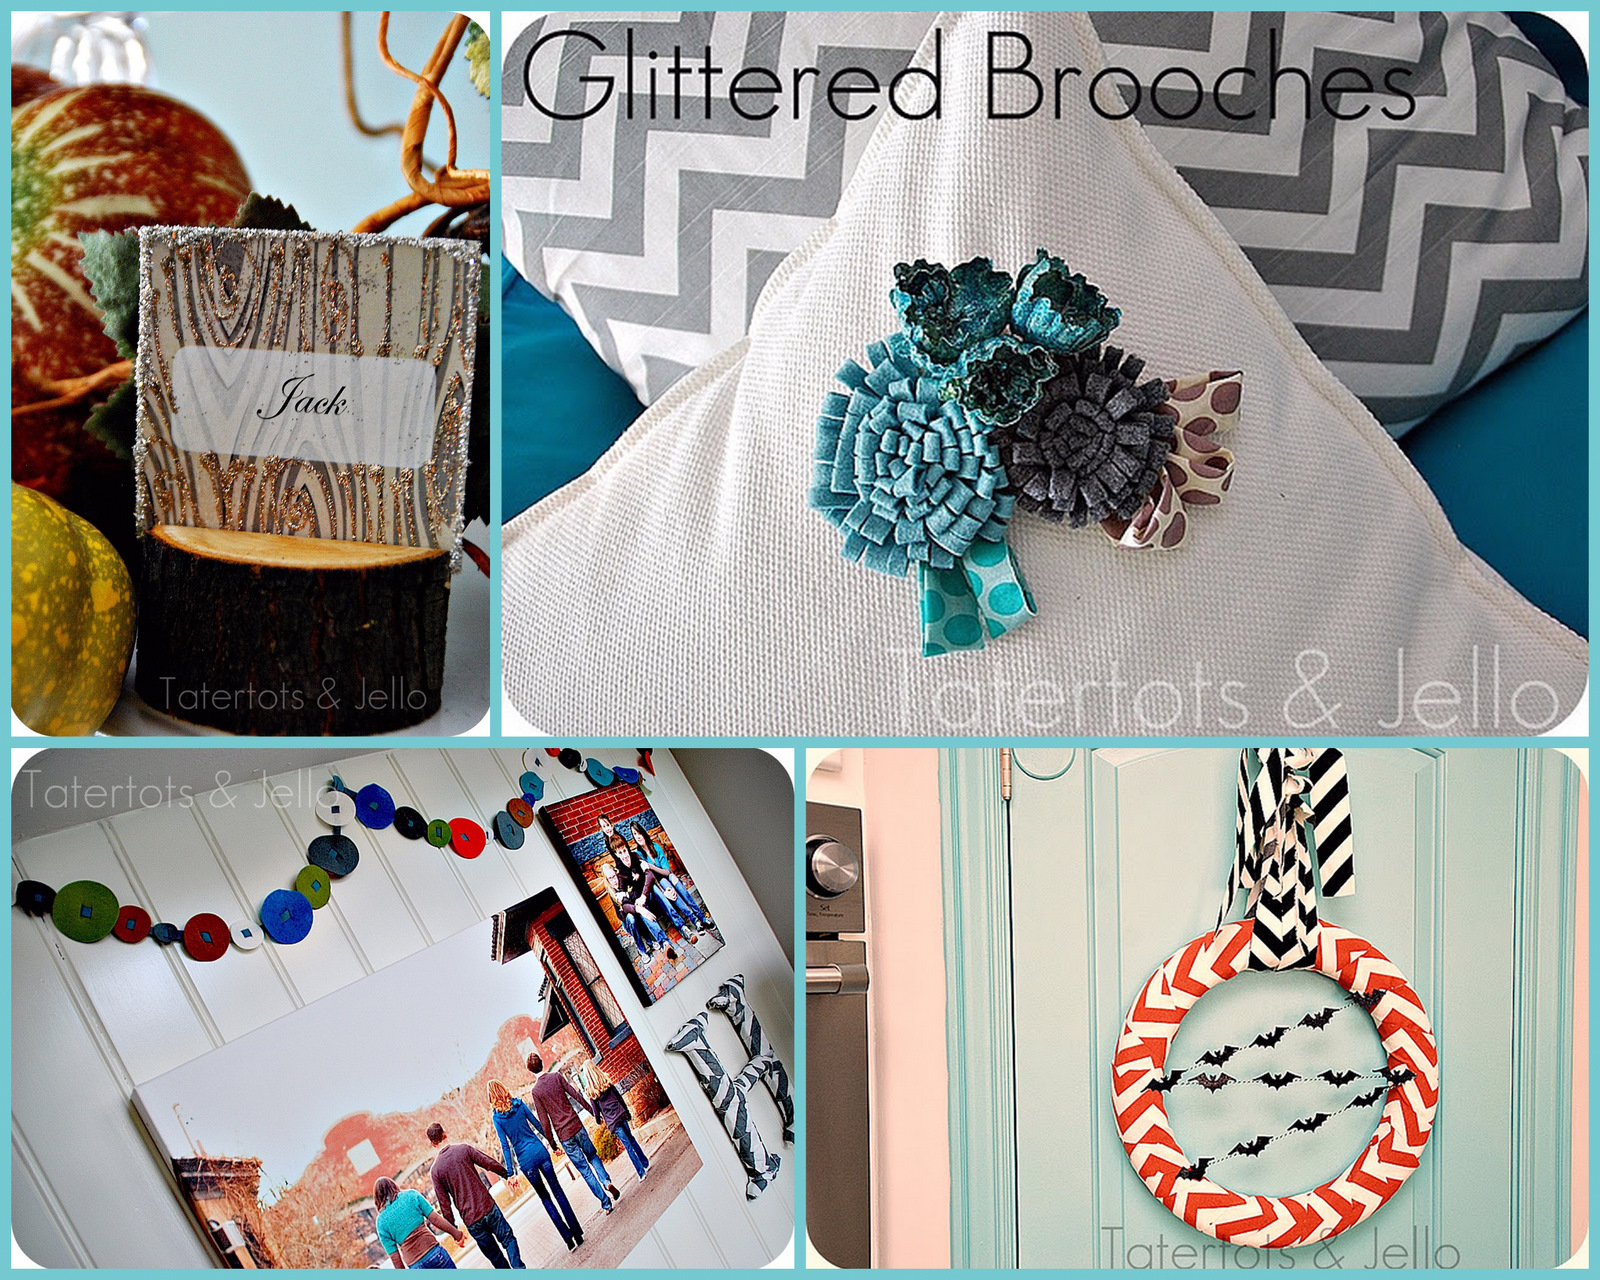
Not only does she crank out the tutorials like no one I know, she has fantastic decorating ideas, shares my love for glitter, and rocks the wreath (seriously, the girl makes lots of fabulous wreaths!). Tatertots and Jello is also a one-stop-holiday-tutorial-shop for all holidays (thanksgiving goodness here).
Of course, the best news of the day is that Jen is here today to share a Gifts for Guys tutorial! Y’all are going to lo-ove this.

I love making gifts for my family and friends. But I have to admit that I have a harder time coming up with ideas for the guys in my life. That’s why I’m so excited about this series and all of these awesome ideas.

I’d love to share a little project I made for my hubby. He is a bike lover and I thought it might be fun to make him a custom shirt. I have a nifty little screen-printing kit from Plaid that I wanted to try out and I thought it might be the perfect project to try it out on.

I started off with a plain ribbed long-sleeve t-shirt from Target. Just as a side note, it’s probably easier if you try stenciling or screen-printing on a shirt that is NOT ribbed. But I couldn’t find a long-sleeved one at Target. So I made it work.


Then I found a bike image on my computer, along with a sunburst image and I made the words Just.Ride. I printed these off with my printer. Then I tried out my nifty new screen printing kit. If you don’t have access to something like this, what you can do is take the image that you print out, tape it to a piece of stencil material. You can buy blank stencil material at any craft store like Hobby Lobby. It costs about $1 for a sheet. And the sheets are pretty long. I could have used one piece of blank stencil material for this project. Then you just take an X-acto knife and cut out the shape. It’s probably a good idea to keep the shape simple if you are going to do this.
Once I made my stencil with the screen printing kit, I taped it on the shirt and stenciled the sunburst first. I used a silver paint. You can buy fabric paint at any craft store too. Or, you can use regular craft paint and add a medium that makes it into fabric paint. Basically it makes it softer and more durable so you can wash it. DecoArt makes a fabric medium, and Martha Stewart’s craft line by Plaid does as well.
Once that stencil was done, I let it dry and then laid the bike image over the top. I did a little touch-up since it was tricky to get the image clear on the ribbed material. And the last thing I did was I stenciled the two words at the top of the shirt.
To set the paint, you use an iron and run it over the design.


And now I have a gift for my oh-so-hard-to-buy-for husband. Yay!! {this is my cute son, btw – don’t want to ruin the surprise. I hope my hubby doesn’t see this post }
Thanks for letting me come by. It’s been awesome!!!

While you’re browsing around the internet today for things to pin life changing, earth shattering great ideas, be sure to stop by and say hi at Tatertots and Jello.
