
kojotutorial: pottery barn knockoff chandelier
As an Amazon Associate I earn from qualifying purchases.

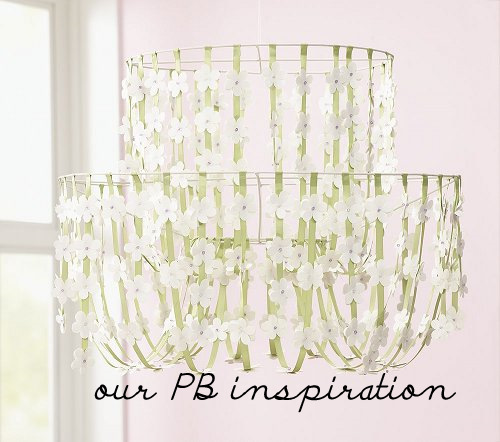
Inspired by the gorgeous ribbon-and-paper-flower chandelier (in the picture below) at Pottery Barn Kids, but not sold on the palette (nor the price tag), a pink and yellow bee chandelier was an order. The great part about this project is that you can tailor the palette and image to pretty much any room in your house for an instant decor upgrade.

To make a drape-y ribbon chandelier of your own, you’ll need:
-two embroidery hoops- one large sized and one medium sized
-spray paint
-fishing line
-yards and yards of ribbon in your palette (I used 28 yards of pink, yellow and brown ribbon for mine)
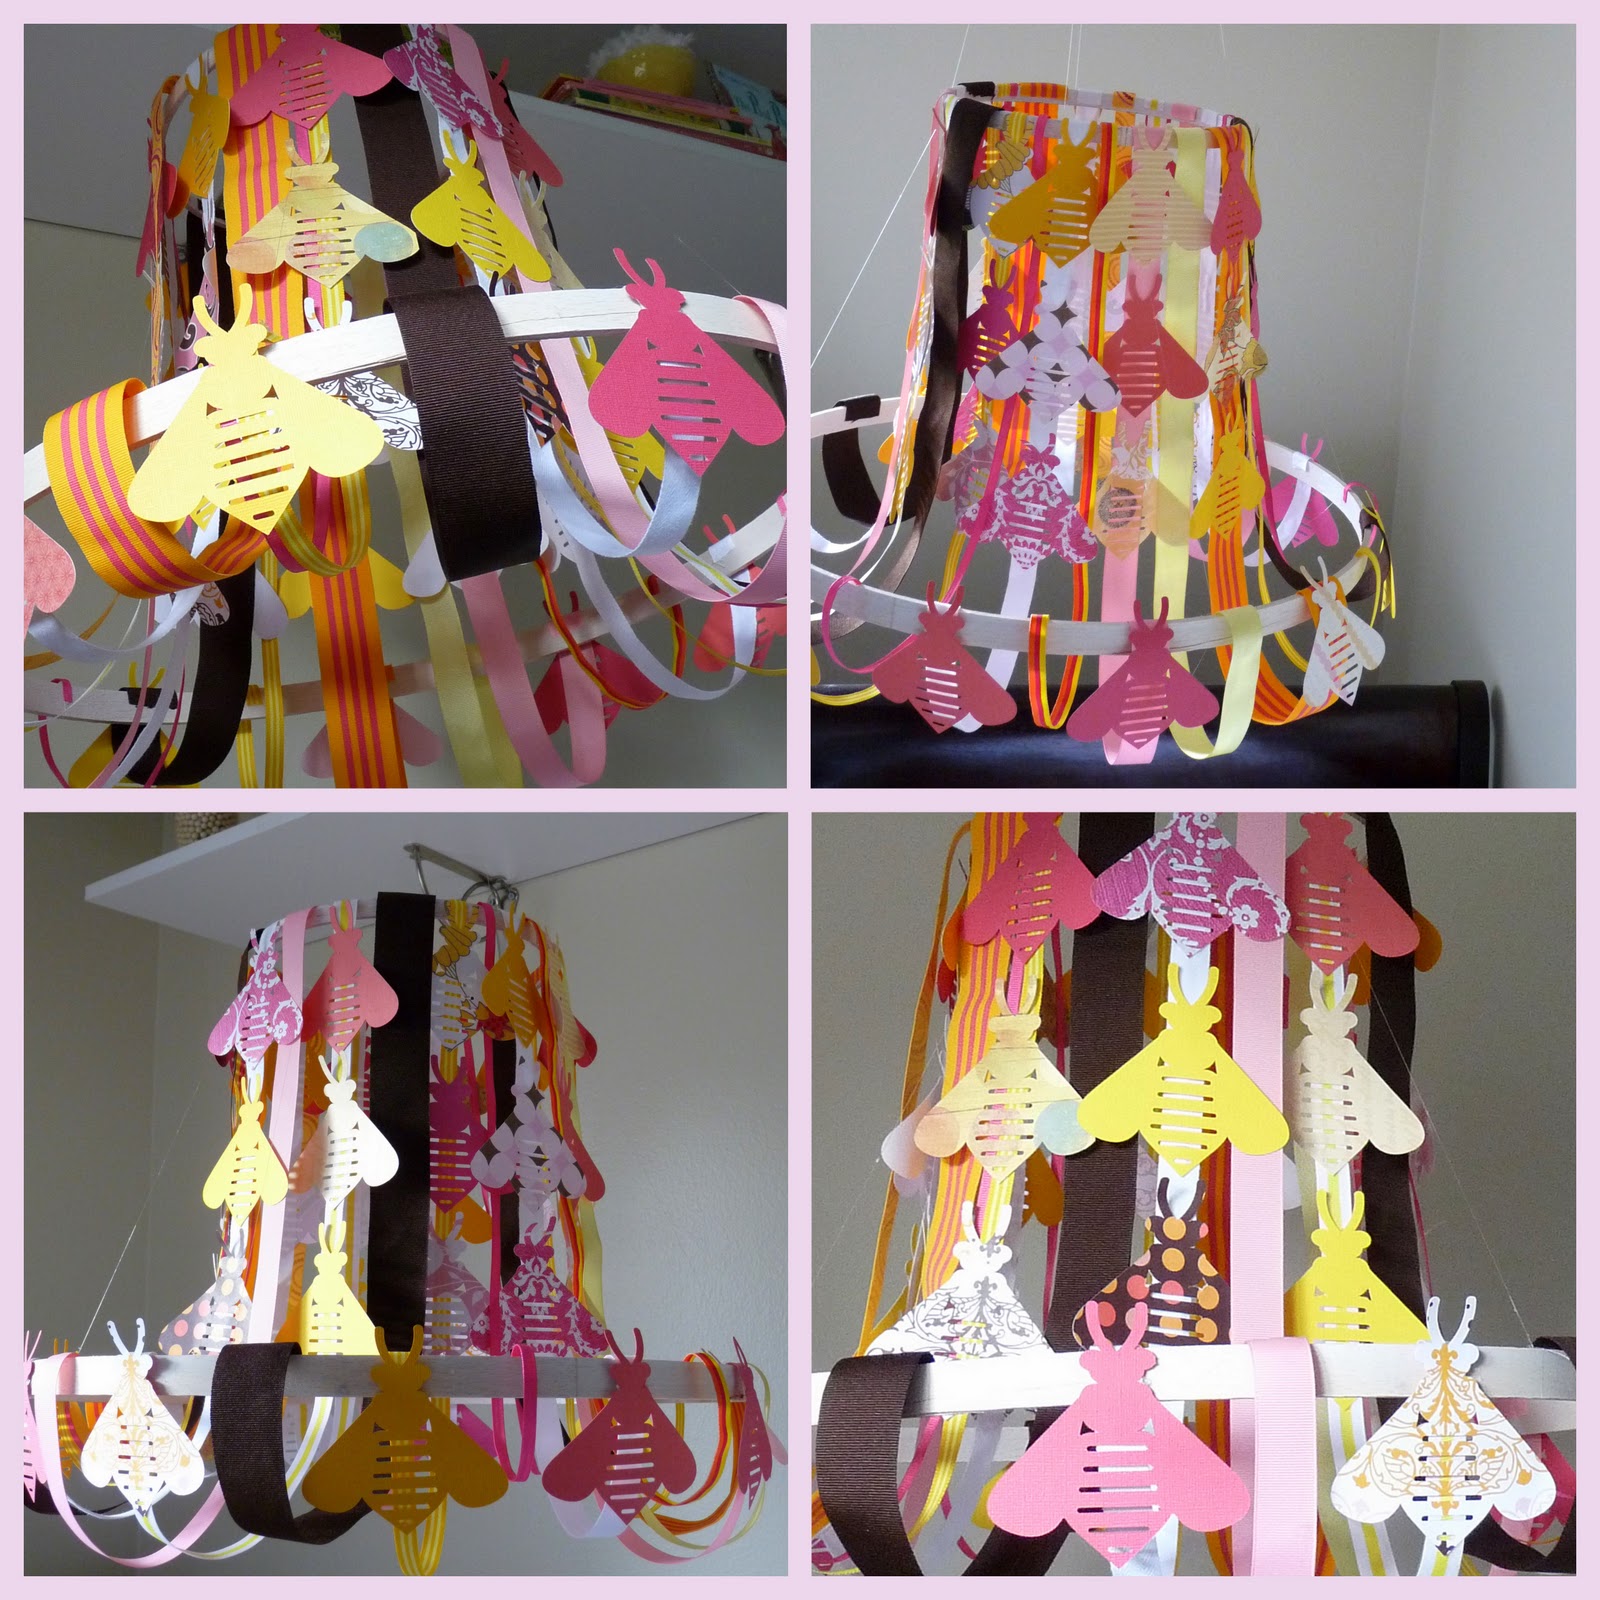
-coordinating cut out shapes or images (I used a Silhouette to cut out bees for my project, but you could do flowers or birds or polka dots- anything really… Also, because of the size of my bees, I used 4 bees every other length of ribbon, so 56 bees total)
-hot glue gun and hot glue

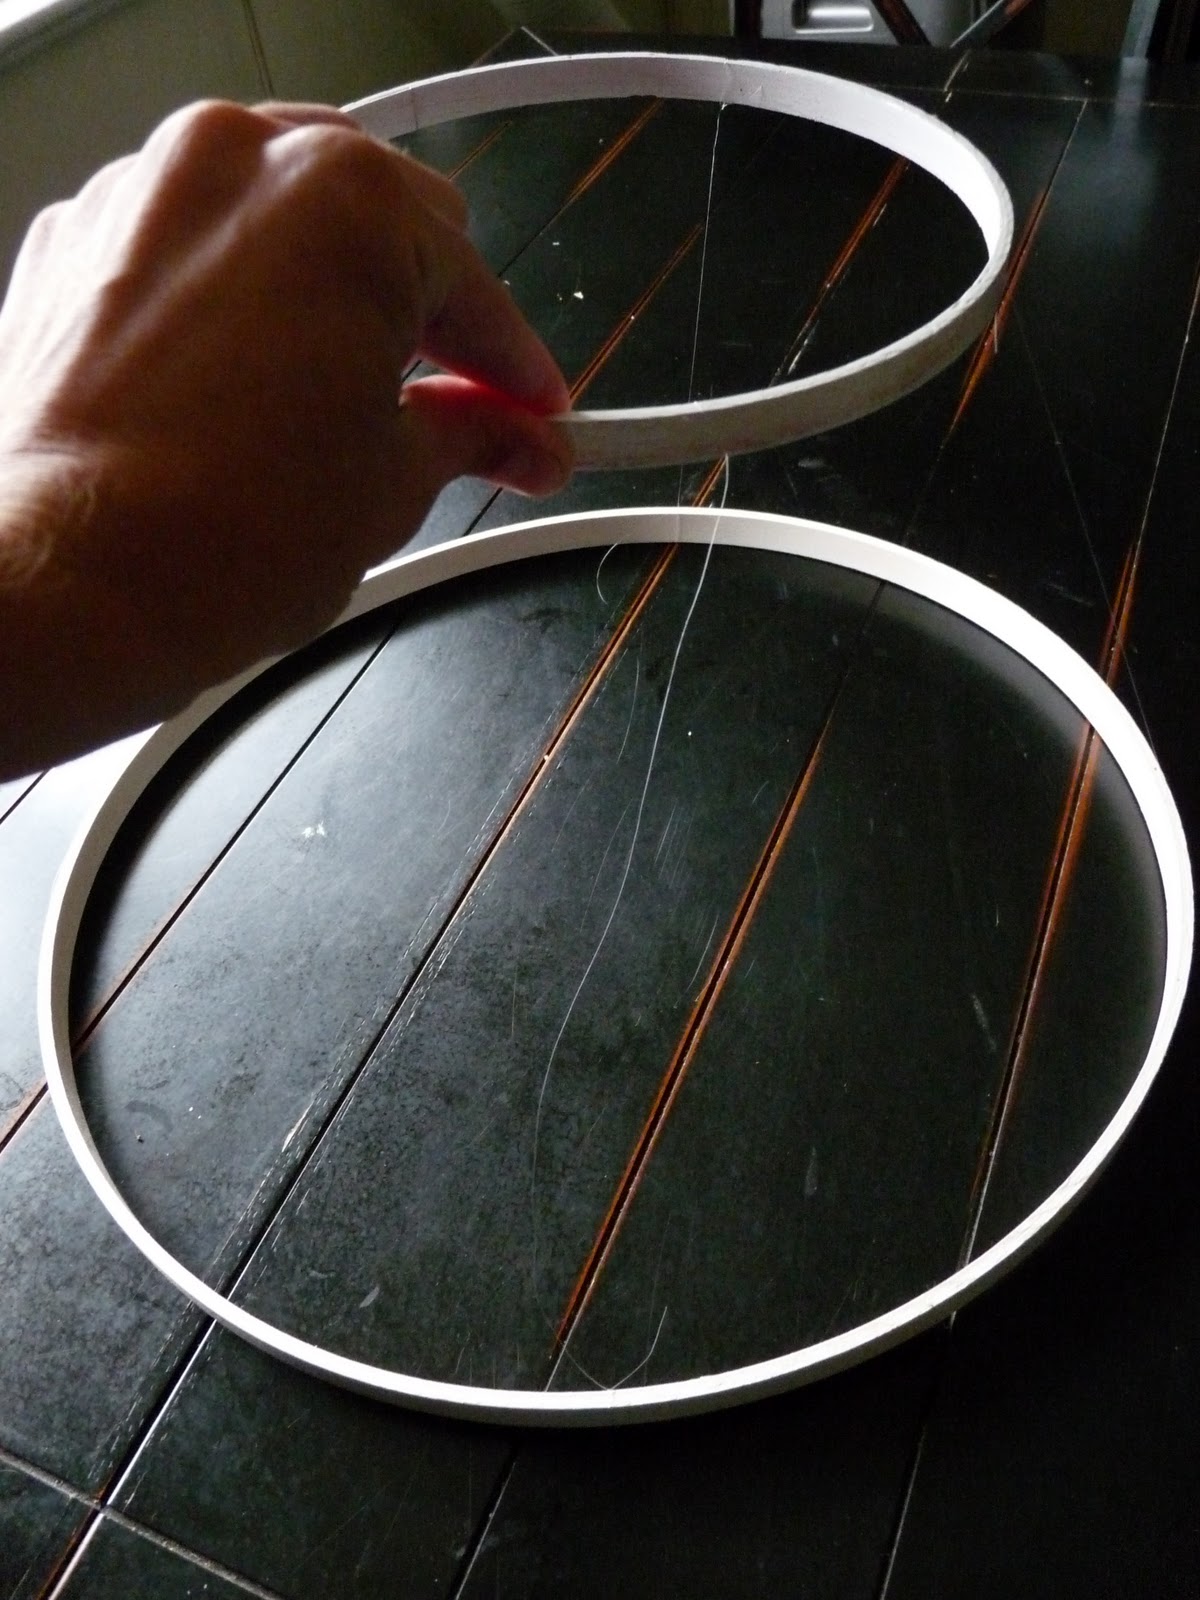
1. Spray paint your embroidery hoops to match your palette (I painted mine white). Then, using three equal lengths of fishing line, attach your larger embroidery hoop to your smaller embroidery hoop. When the two hoops are even (and your desired distance apart), knot the three lines in place.
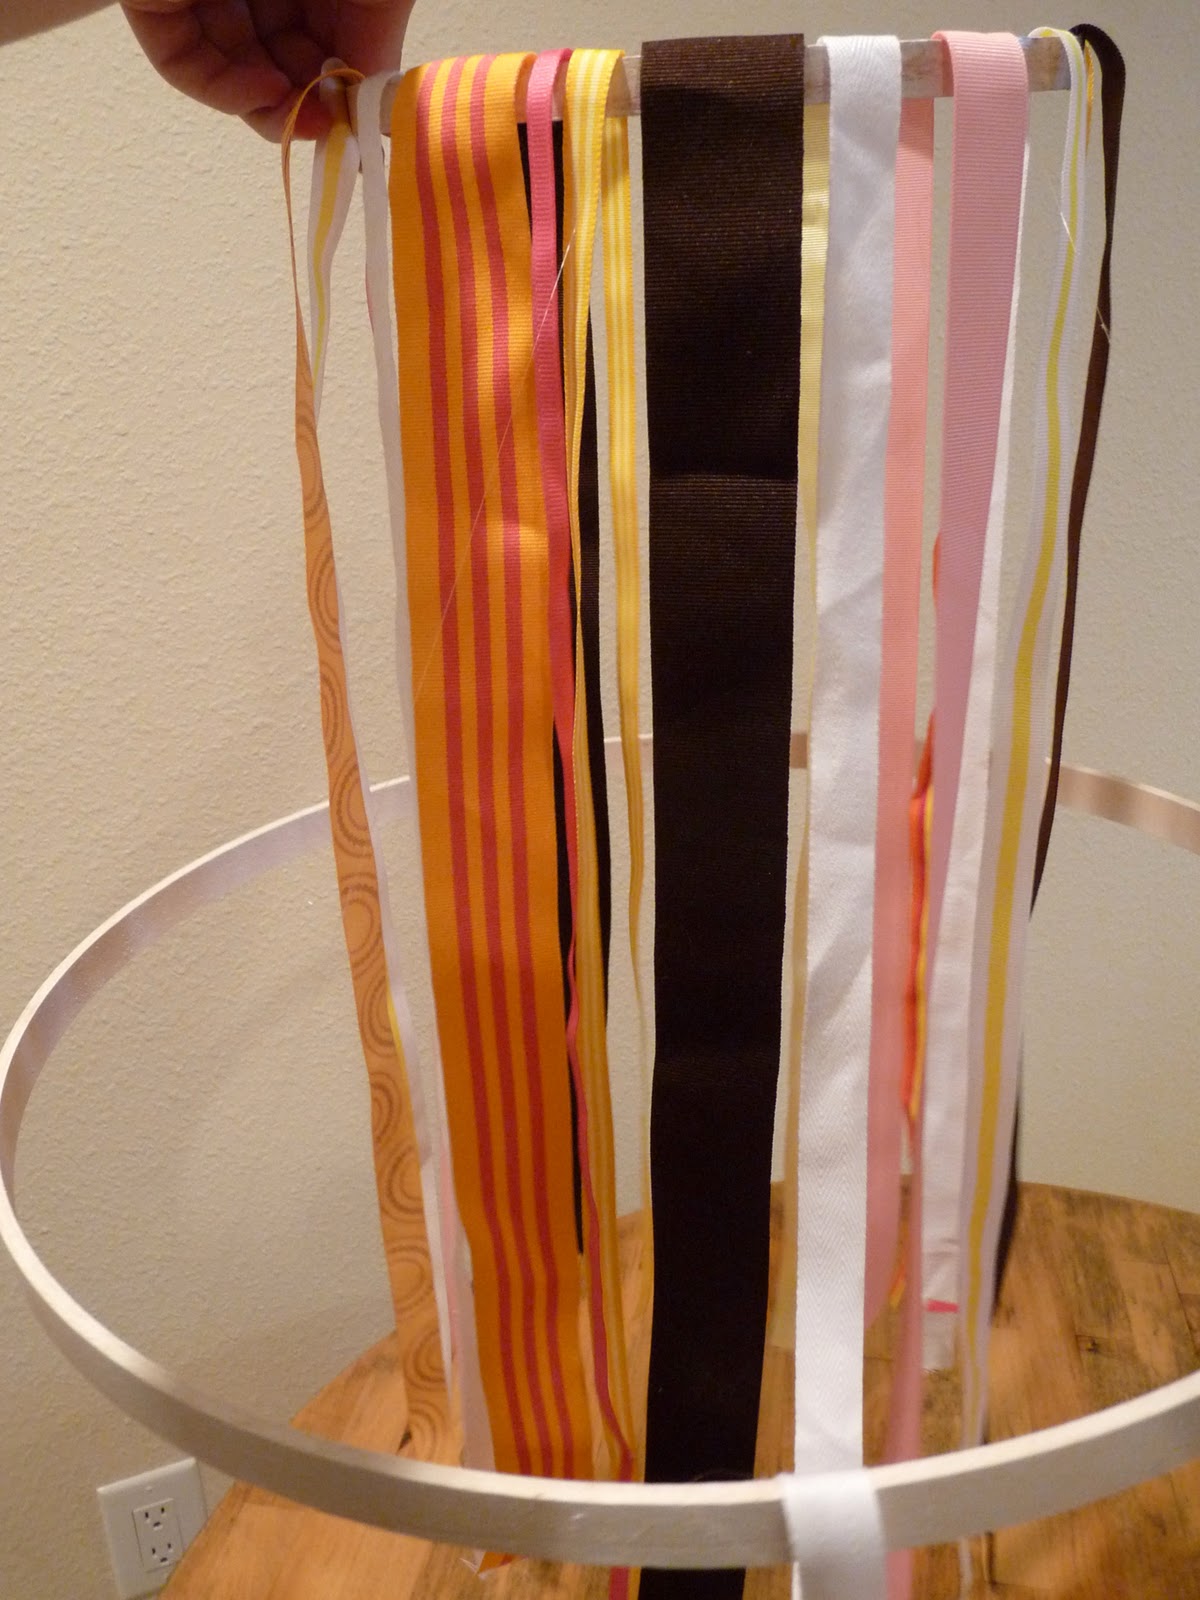

2. Attach lengths of ribbon all the way around the perimeter of your top embroidery hoop. Alternate colors in your palette and hot glue in place. Be sure to use lengths of ribbon long enough that they fall about six inches below your bottom hoop when you pick it up.

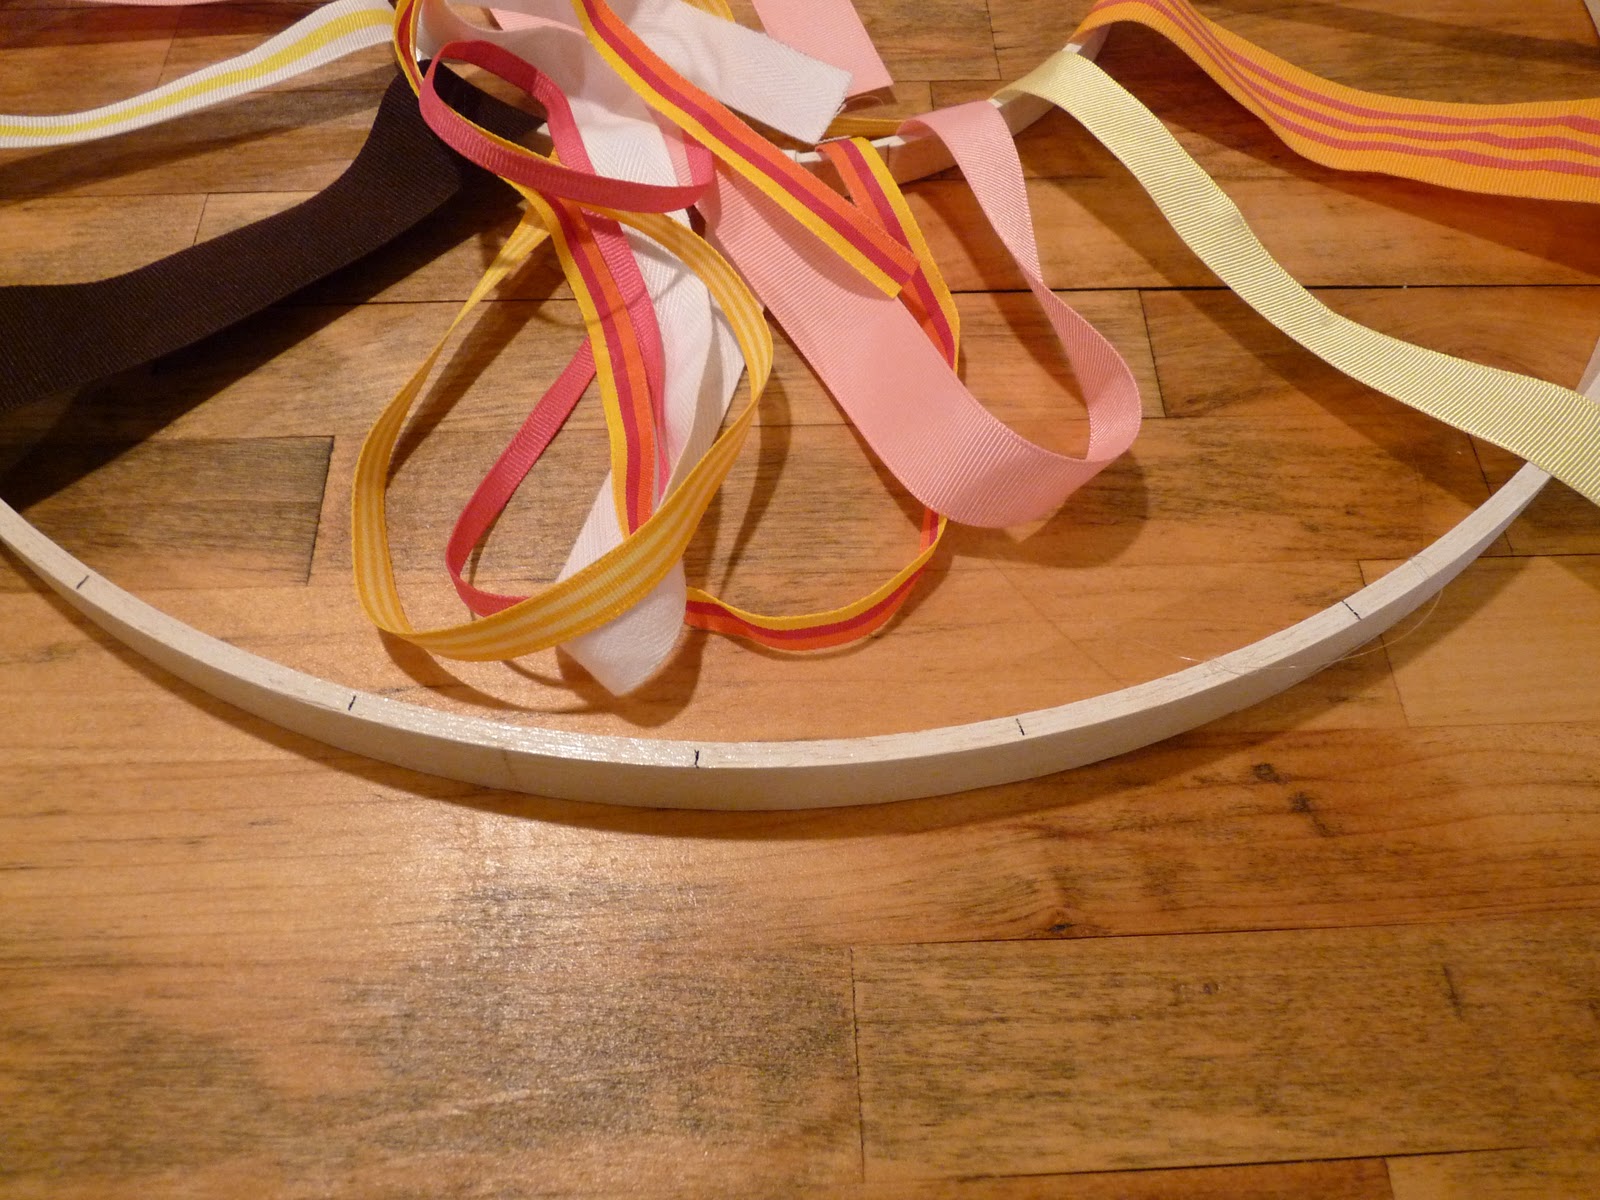
3. Place the smaller hoop in the center of the larger hoop and lay your ribbons out in a starburst shape. Using a pencil, mark where each ribbon hits the larger, bottom hoop (you’ll use this as your guide for even gluing). Glue the ribbons in place on the bottom hoop according to the lines you marked, wrapping them up and around the outside and securing on the inside of the hoop.

4. Cut out your shapes and arrange into piles so that your various tones and colors are evenly distributed. I used four bees on every other ribbon, which turned out to fifty six bees total. Of course, you can use whichever shape you please- flowers or polka dots or something suited to the theme of your room.

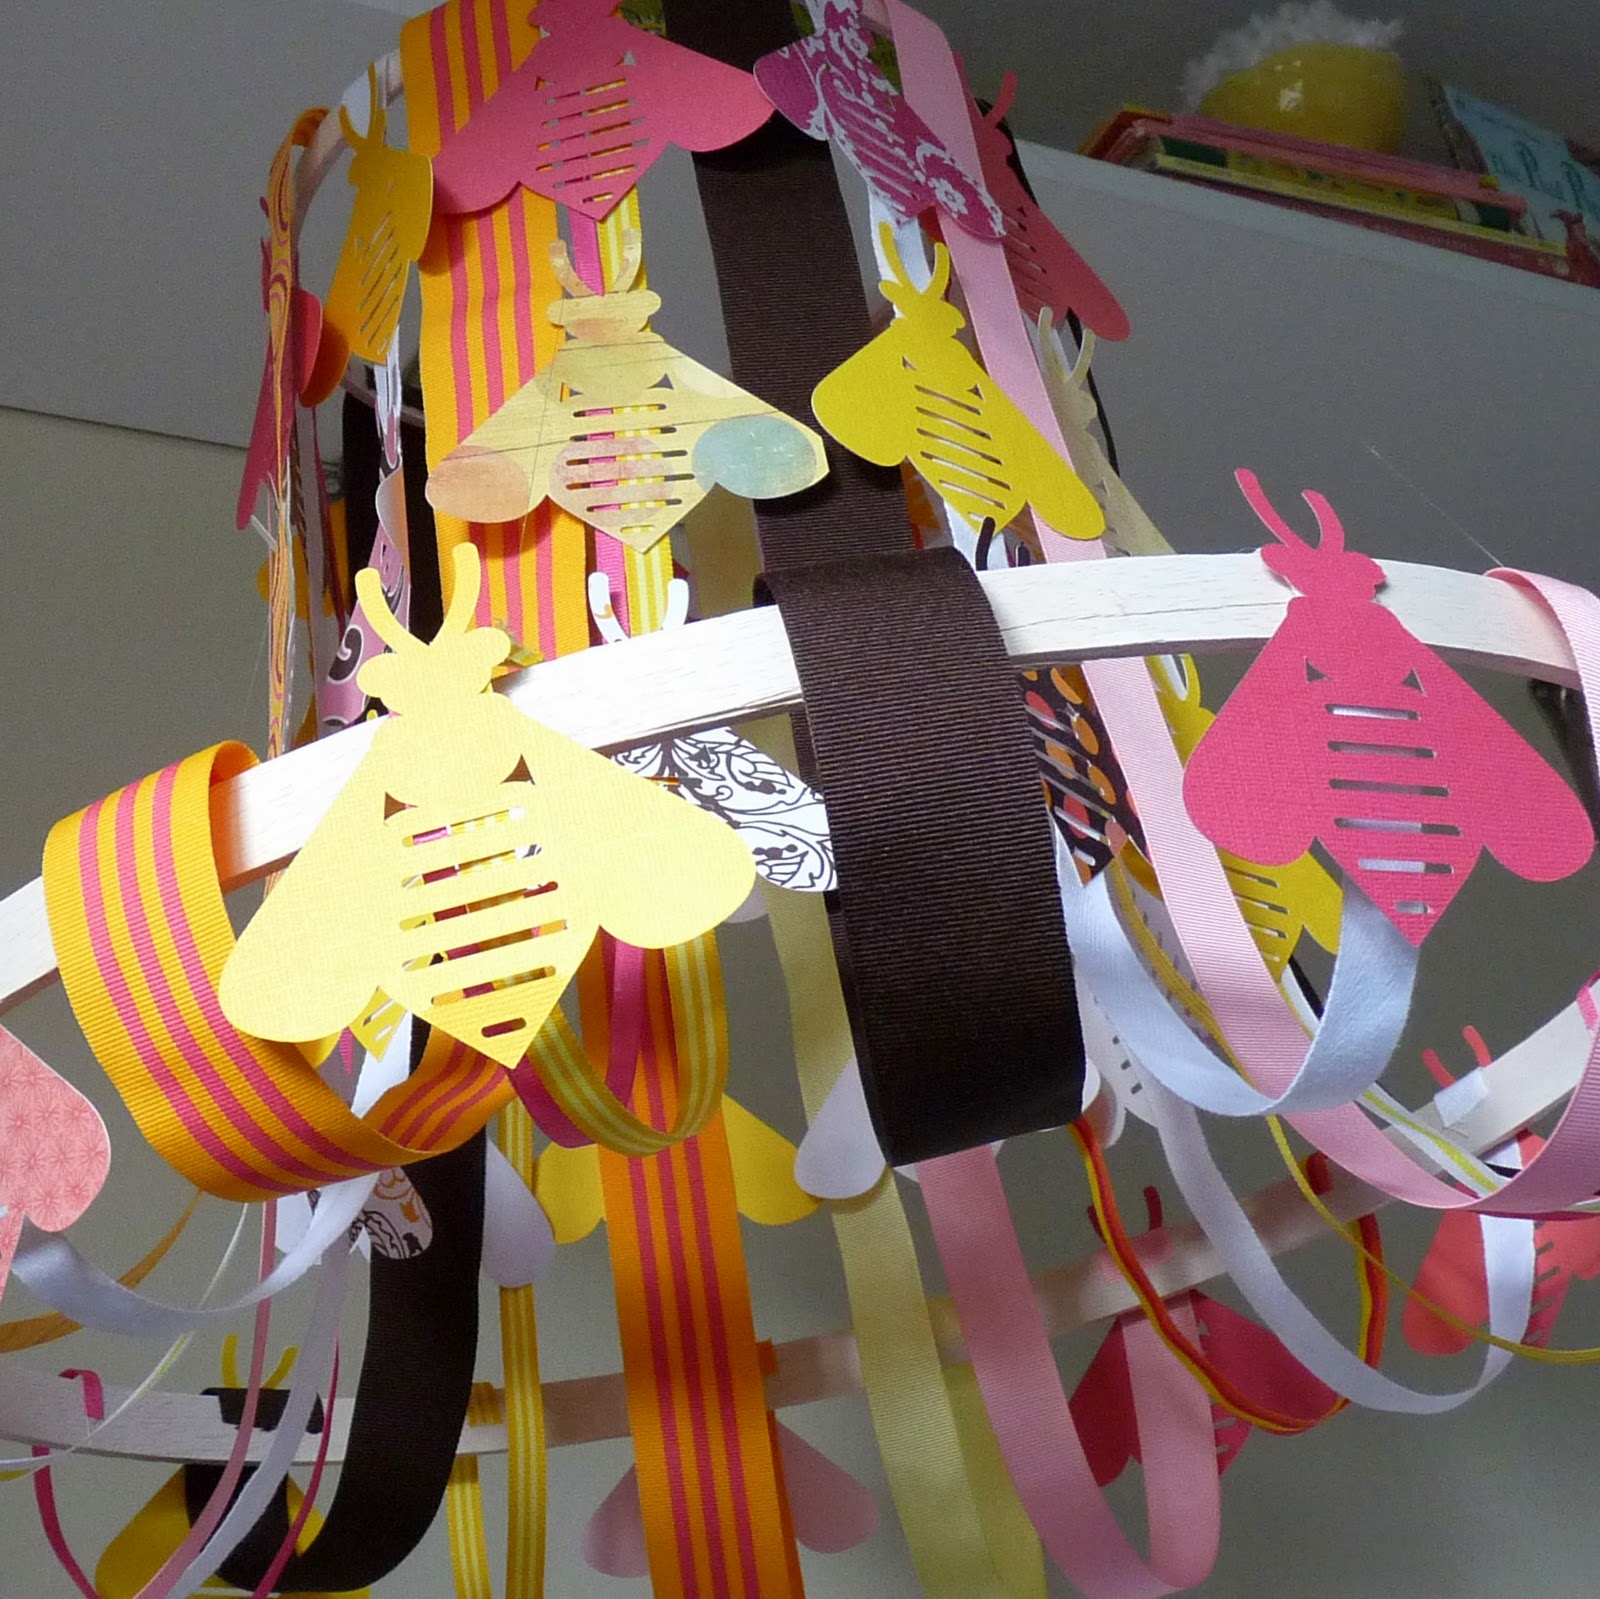
5. Hot glue the shapes in place along the lengths of ribbon. If you use smaller shapes, you could probably cover every length of ribbon in your shape. If you’re using larger shapes like I did, every other ribbon provides enough spacing that there’s not too much overlap.
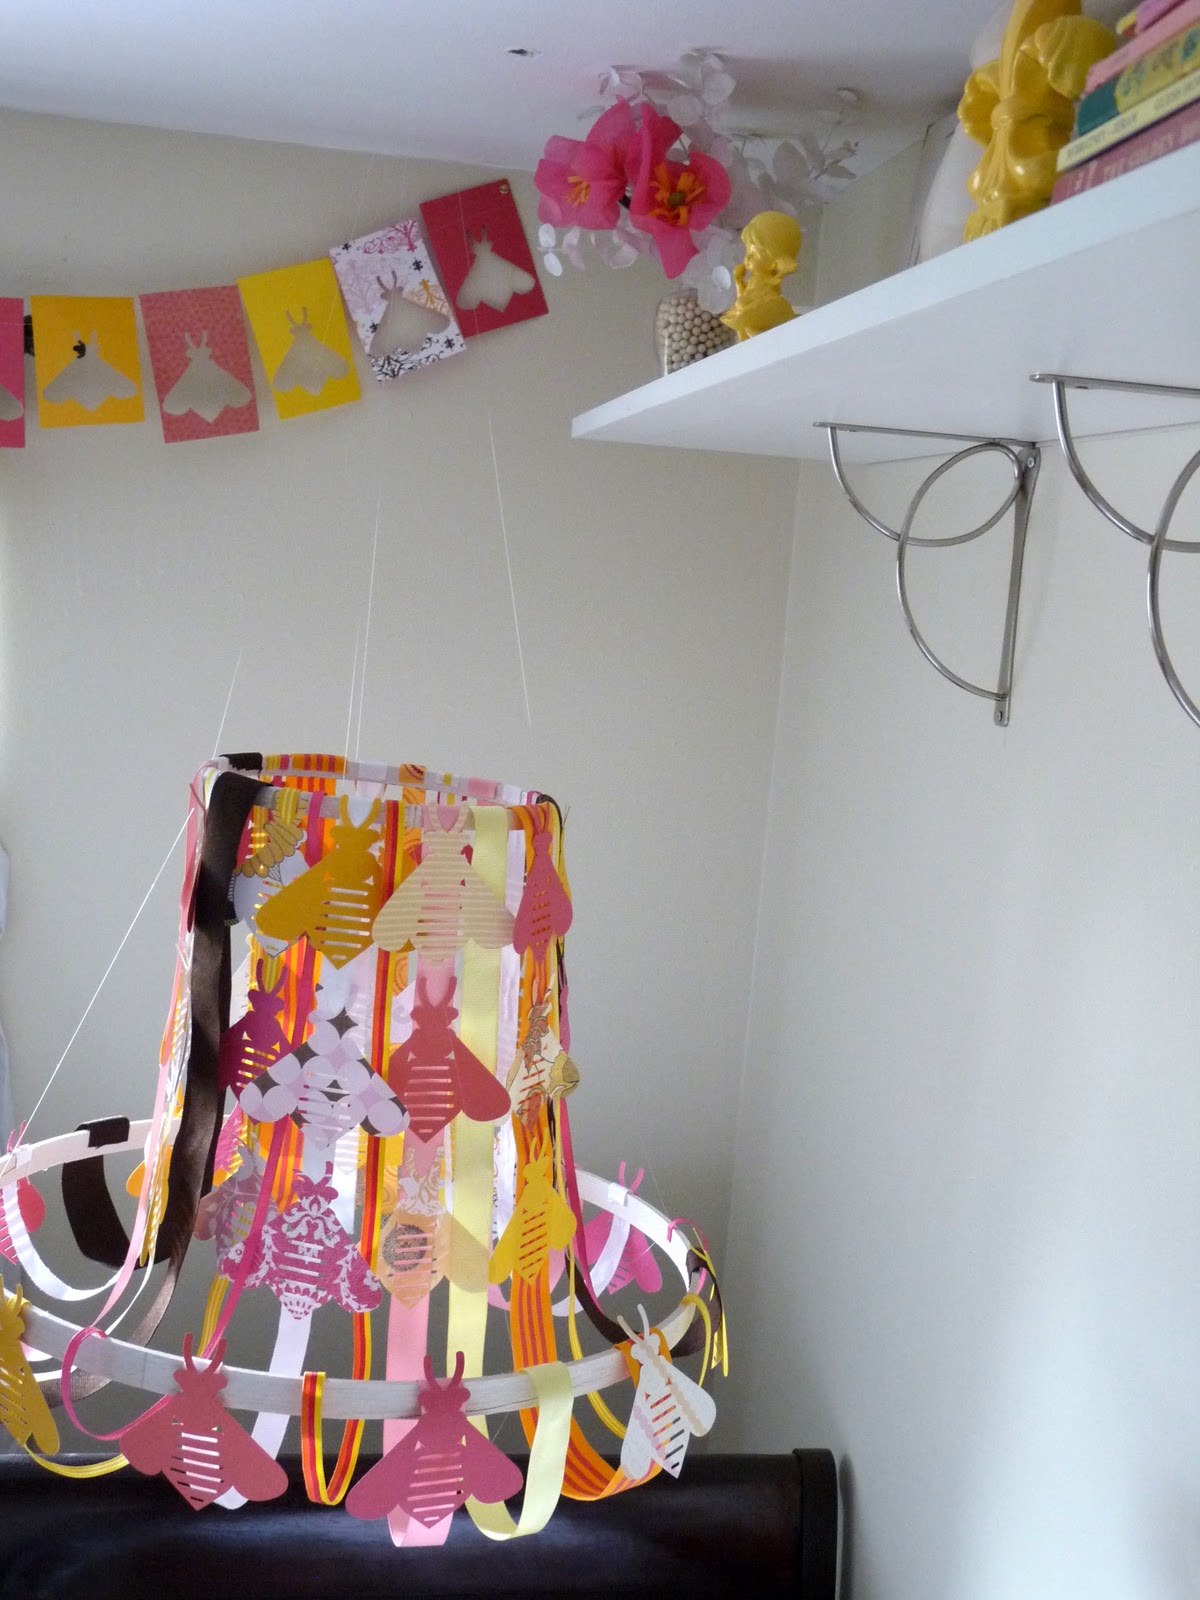
6. Hang the ribbon chandelier in the room of your choice. Since mine is being used as a mobile, it fits perfectly above Piper Jane’s crib! There you have it- lovely custom decor tailored specifically to your home!
ps- This tutorial was first seen on UCreate!