
kojotutorial: double your fun reversible pillow cover
As an Amazon Associate I earn from qualifying purchases.
Three things before we get started:

1- We’re guesting over at The Country Chic Cottage with a fun, pom-pom-y tutorial… go check it out!

2- The Celebrate 1000 Giveaway ends tomorrow… be sure to enter before then! 🙂
2- So You Think You’re Crafty Season 5 starts today. Since I didn’t explain this before, SYTYC is like Survivor for craft bloggers. Every week there’s a theme and voting and a winner, and we can’t tell you which lovely creation is ours until after the voting is over (though, y’all know us pretty well… can you pick out what we made just by the aesthetic?). I’ll be honest, the whole thing is a bit nervewracking (the girls we’re competing with are super creative!), but it should be fun. This week, the theme is pumpkins. Head on over and vote!

In the spirit of SYTYC, today our tutorial is for the Double Your Fun reversible pillow that we entered as our audition project. I was looking for decor accessories for Piper Jane’s nursery and Burke’s Big Boy Room that were multi-purpose, and these fit the bill.
To make one of your own, you’ll need:
-two pieces of pillow-sized coordinating fabric
-pom pom trim
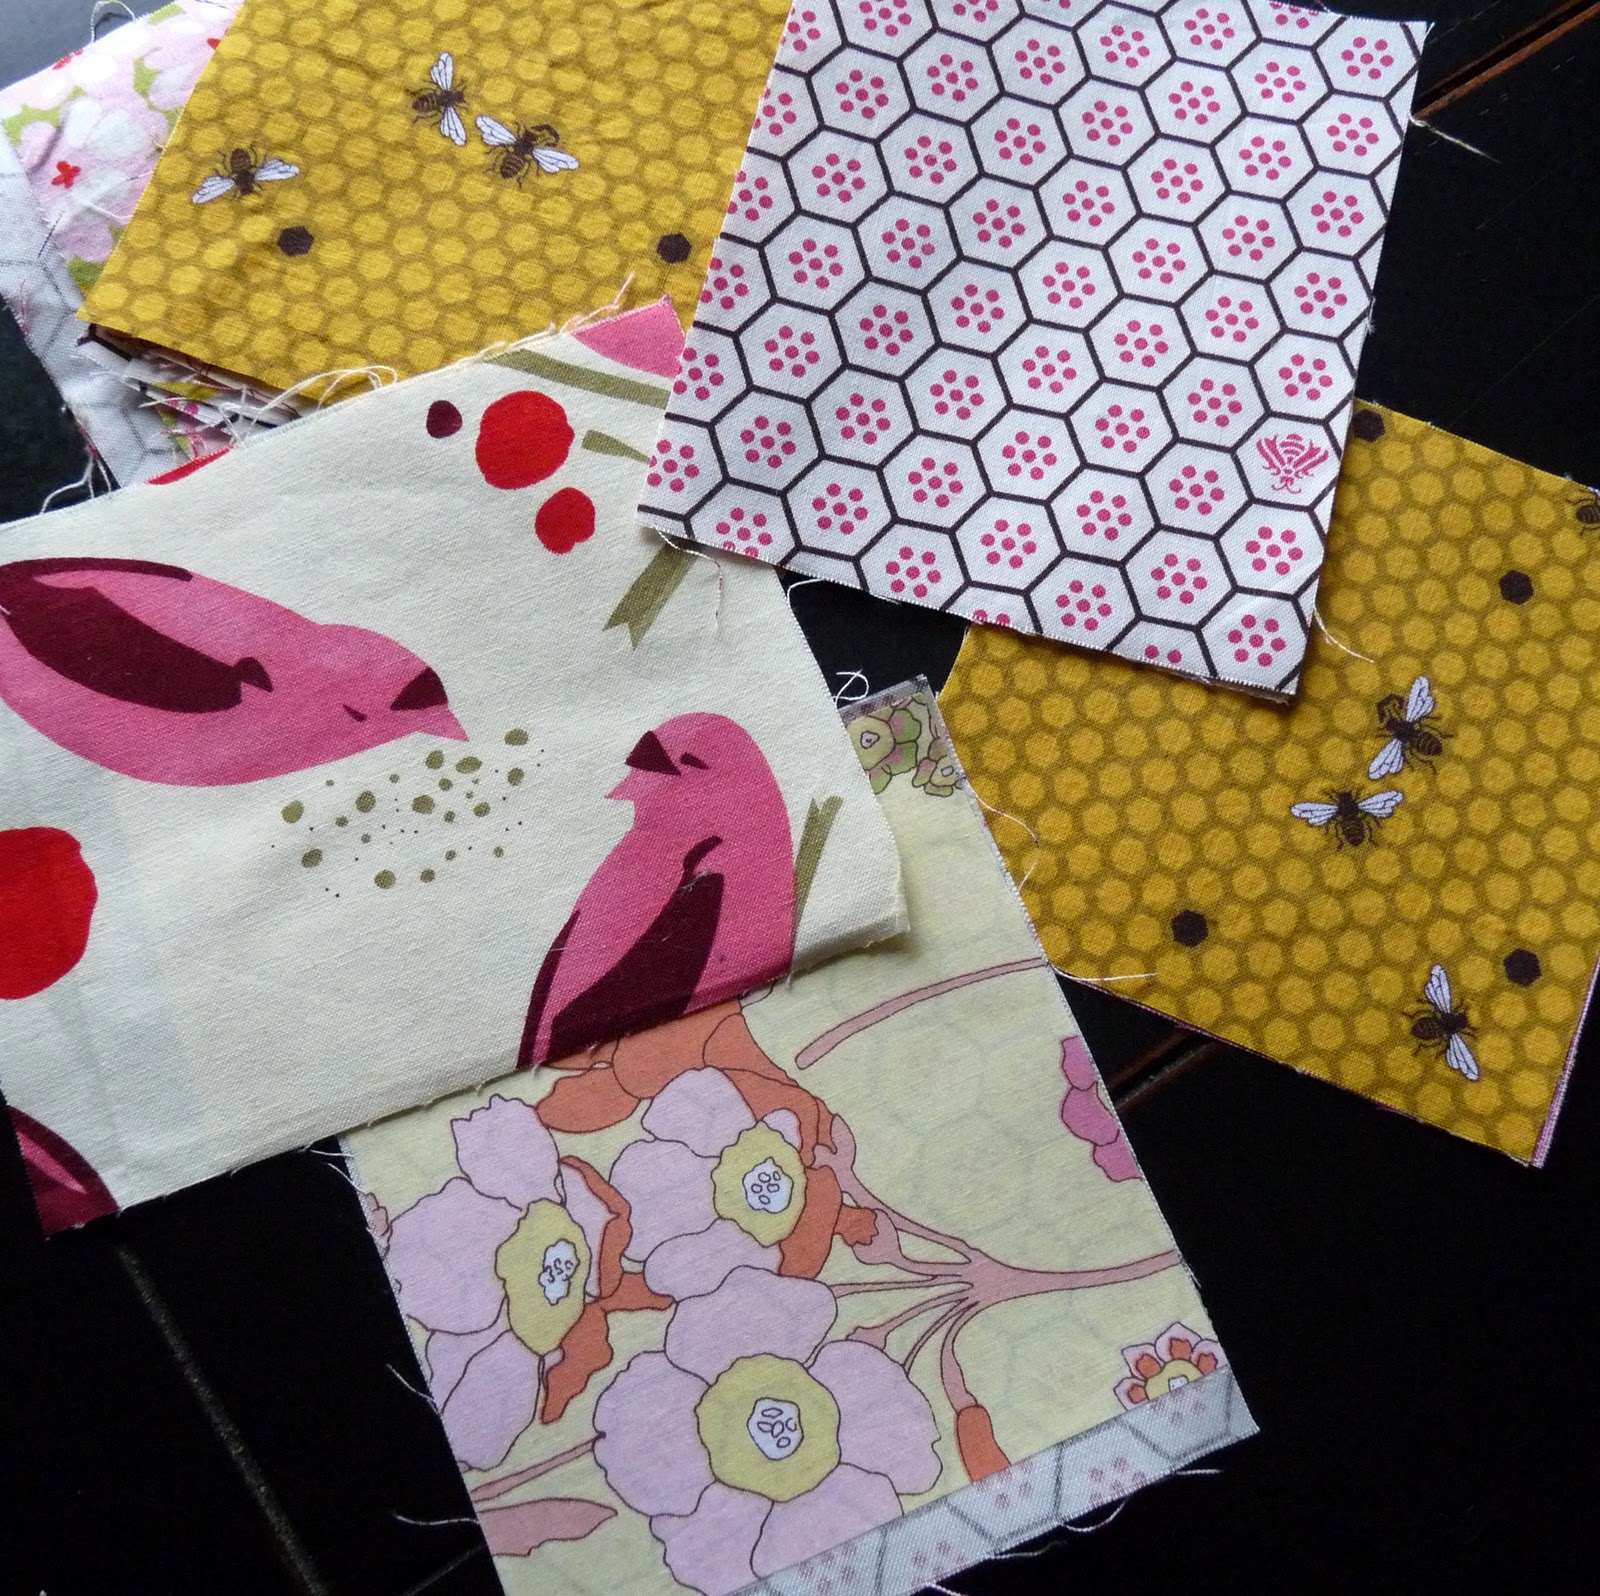
-two 4″x4″ squares of coordinating fabric for each pinwheels (I made 12 for Piper Jane’s pillow and 8 for Burke’s)
-fusible webbing
-buttons for the pinwheel centers
-freezer paper
-fabric paint
1. For the pinwheel side of the pillow, first make your desired number of pinwheels. I’d tell you how to do this, but I love the tutorial at little jenny wren. Do what she says.

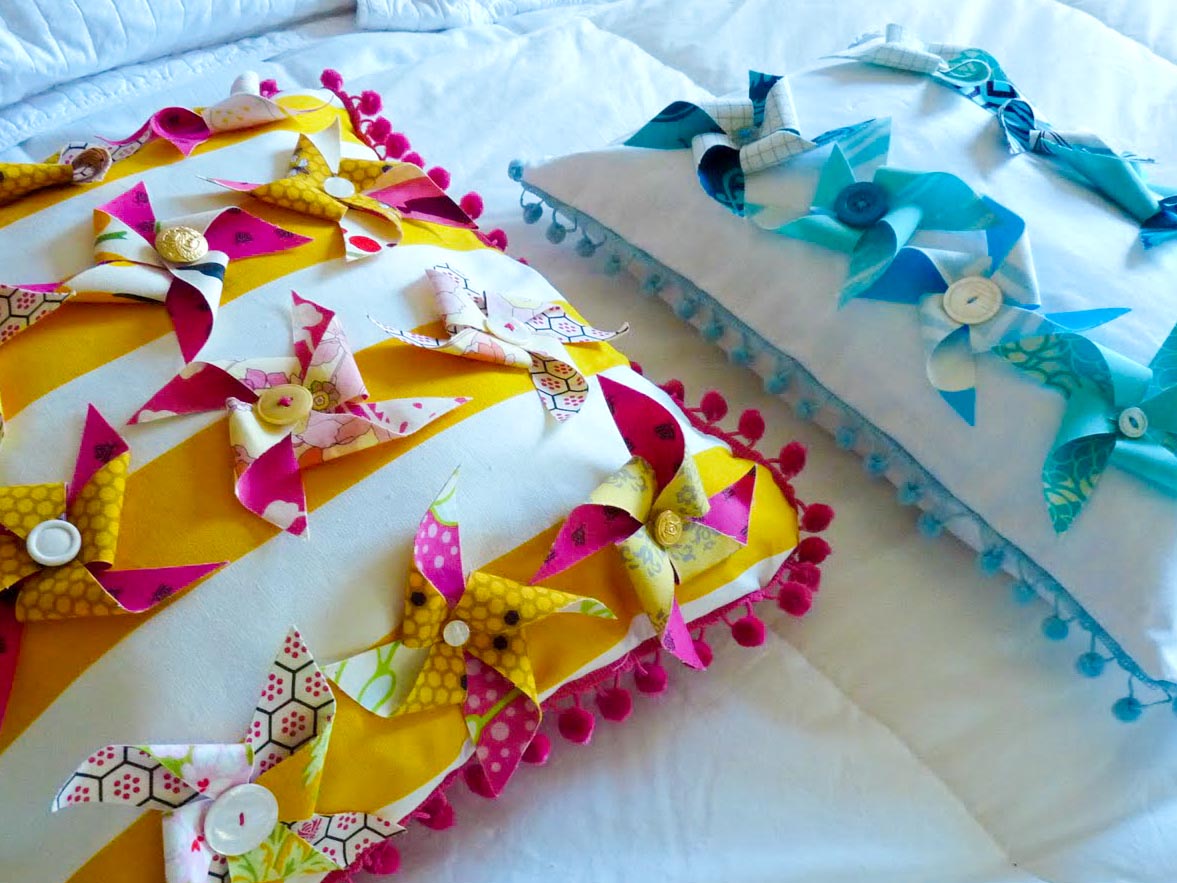
2. Sew your pinwheels in rows to your fabric, using the center button to secure the pinwheel to its side.
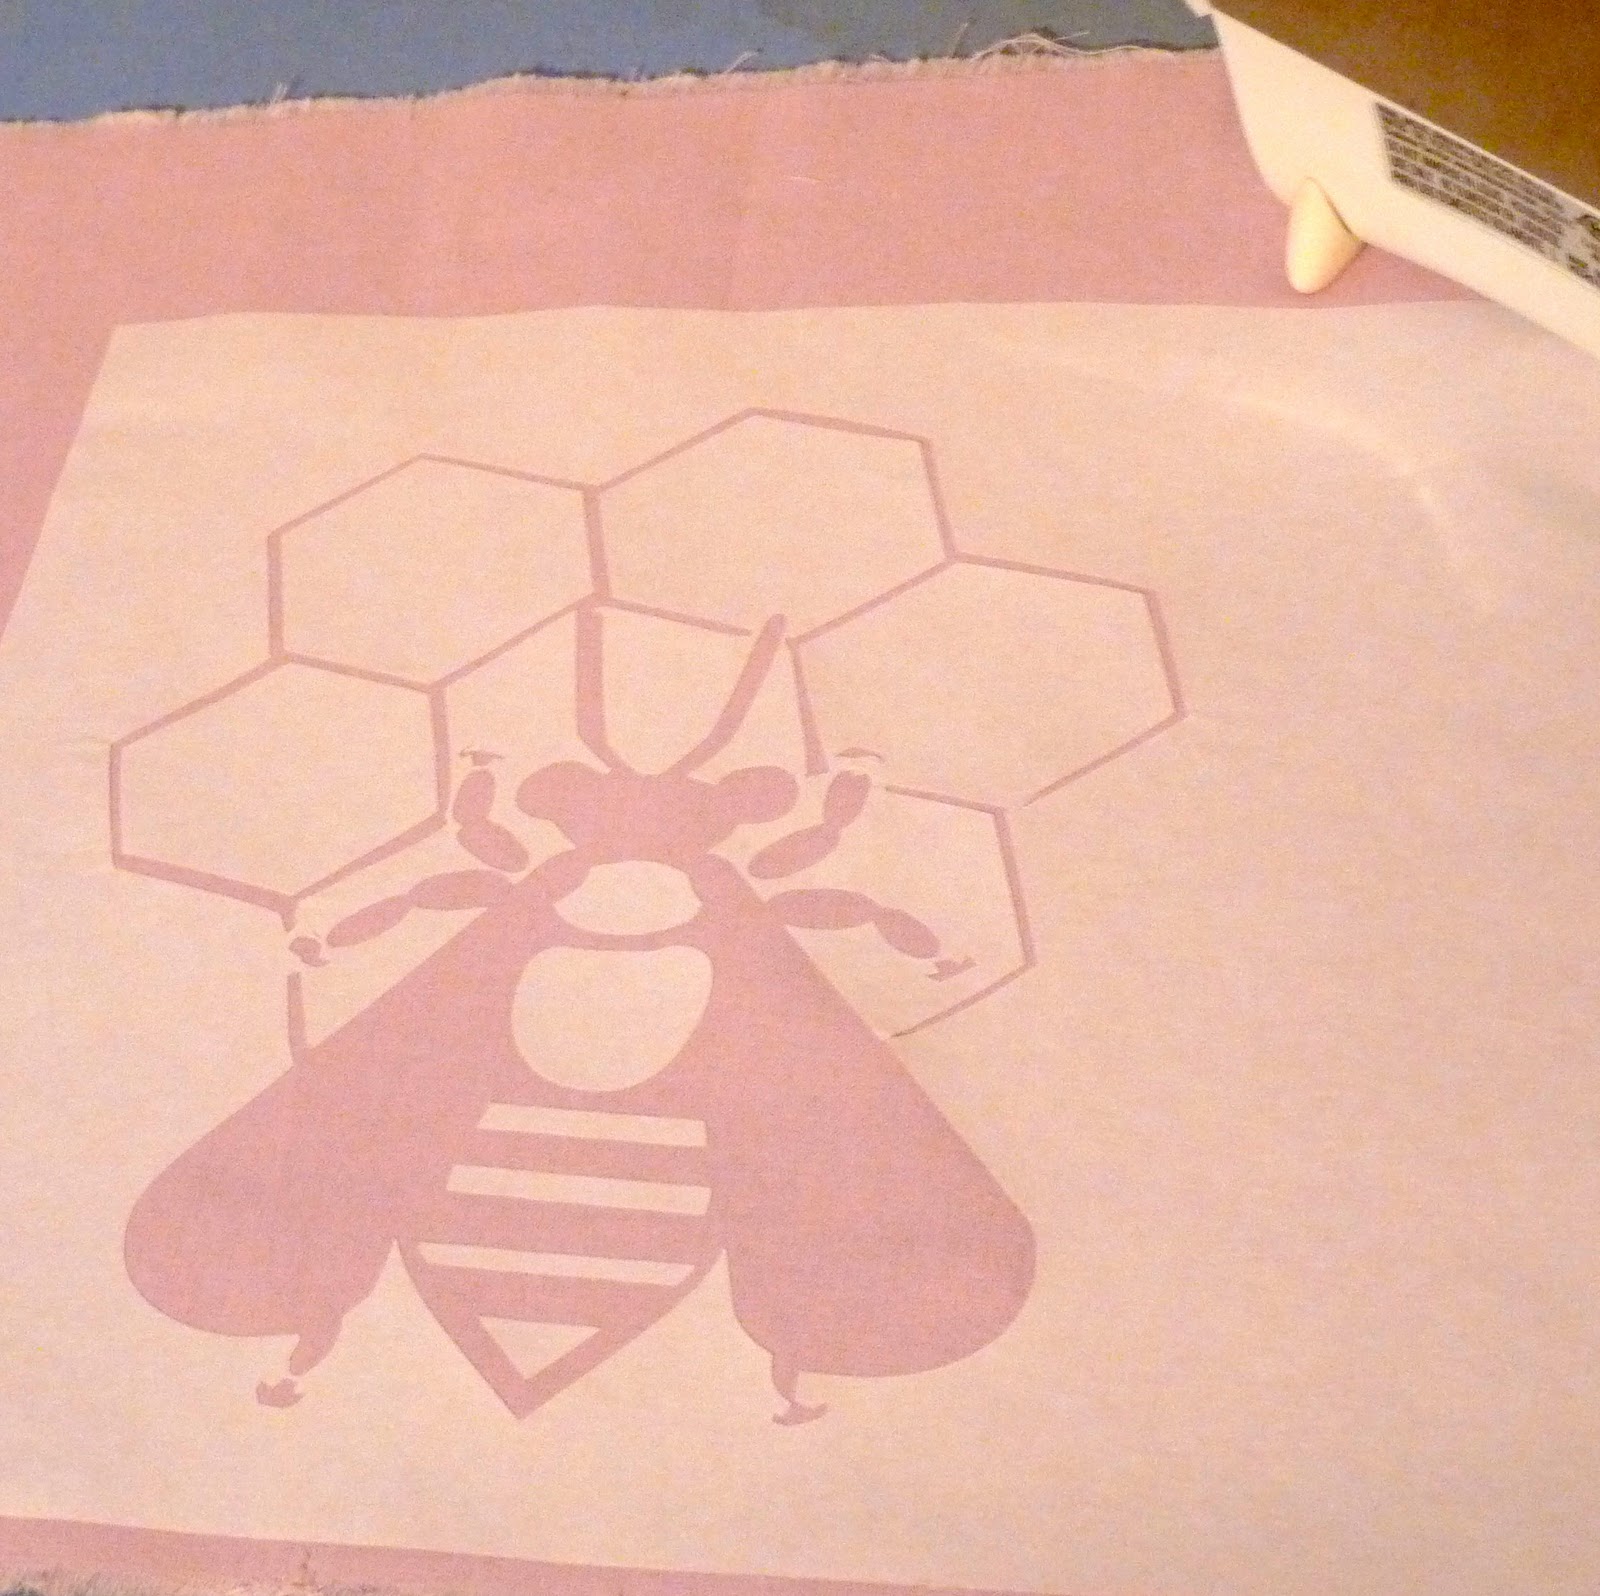

3. Next, make your freezer printed side of your pillow cover. Since this side will have an opening, you’ll make it in two overlapping pieces. Make the design that you want to print onto your pillow so that it can fit onto one of the pieces. Print out your design on freezer paper, cut out, iron onto your fabric and paint (for more detailed directions, check out Dana’s directions).
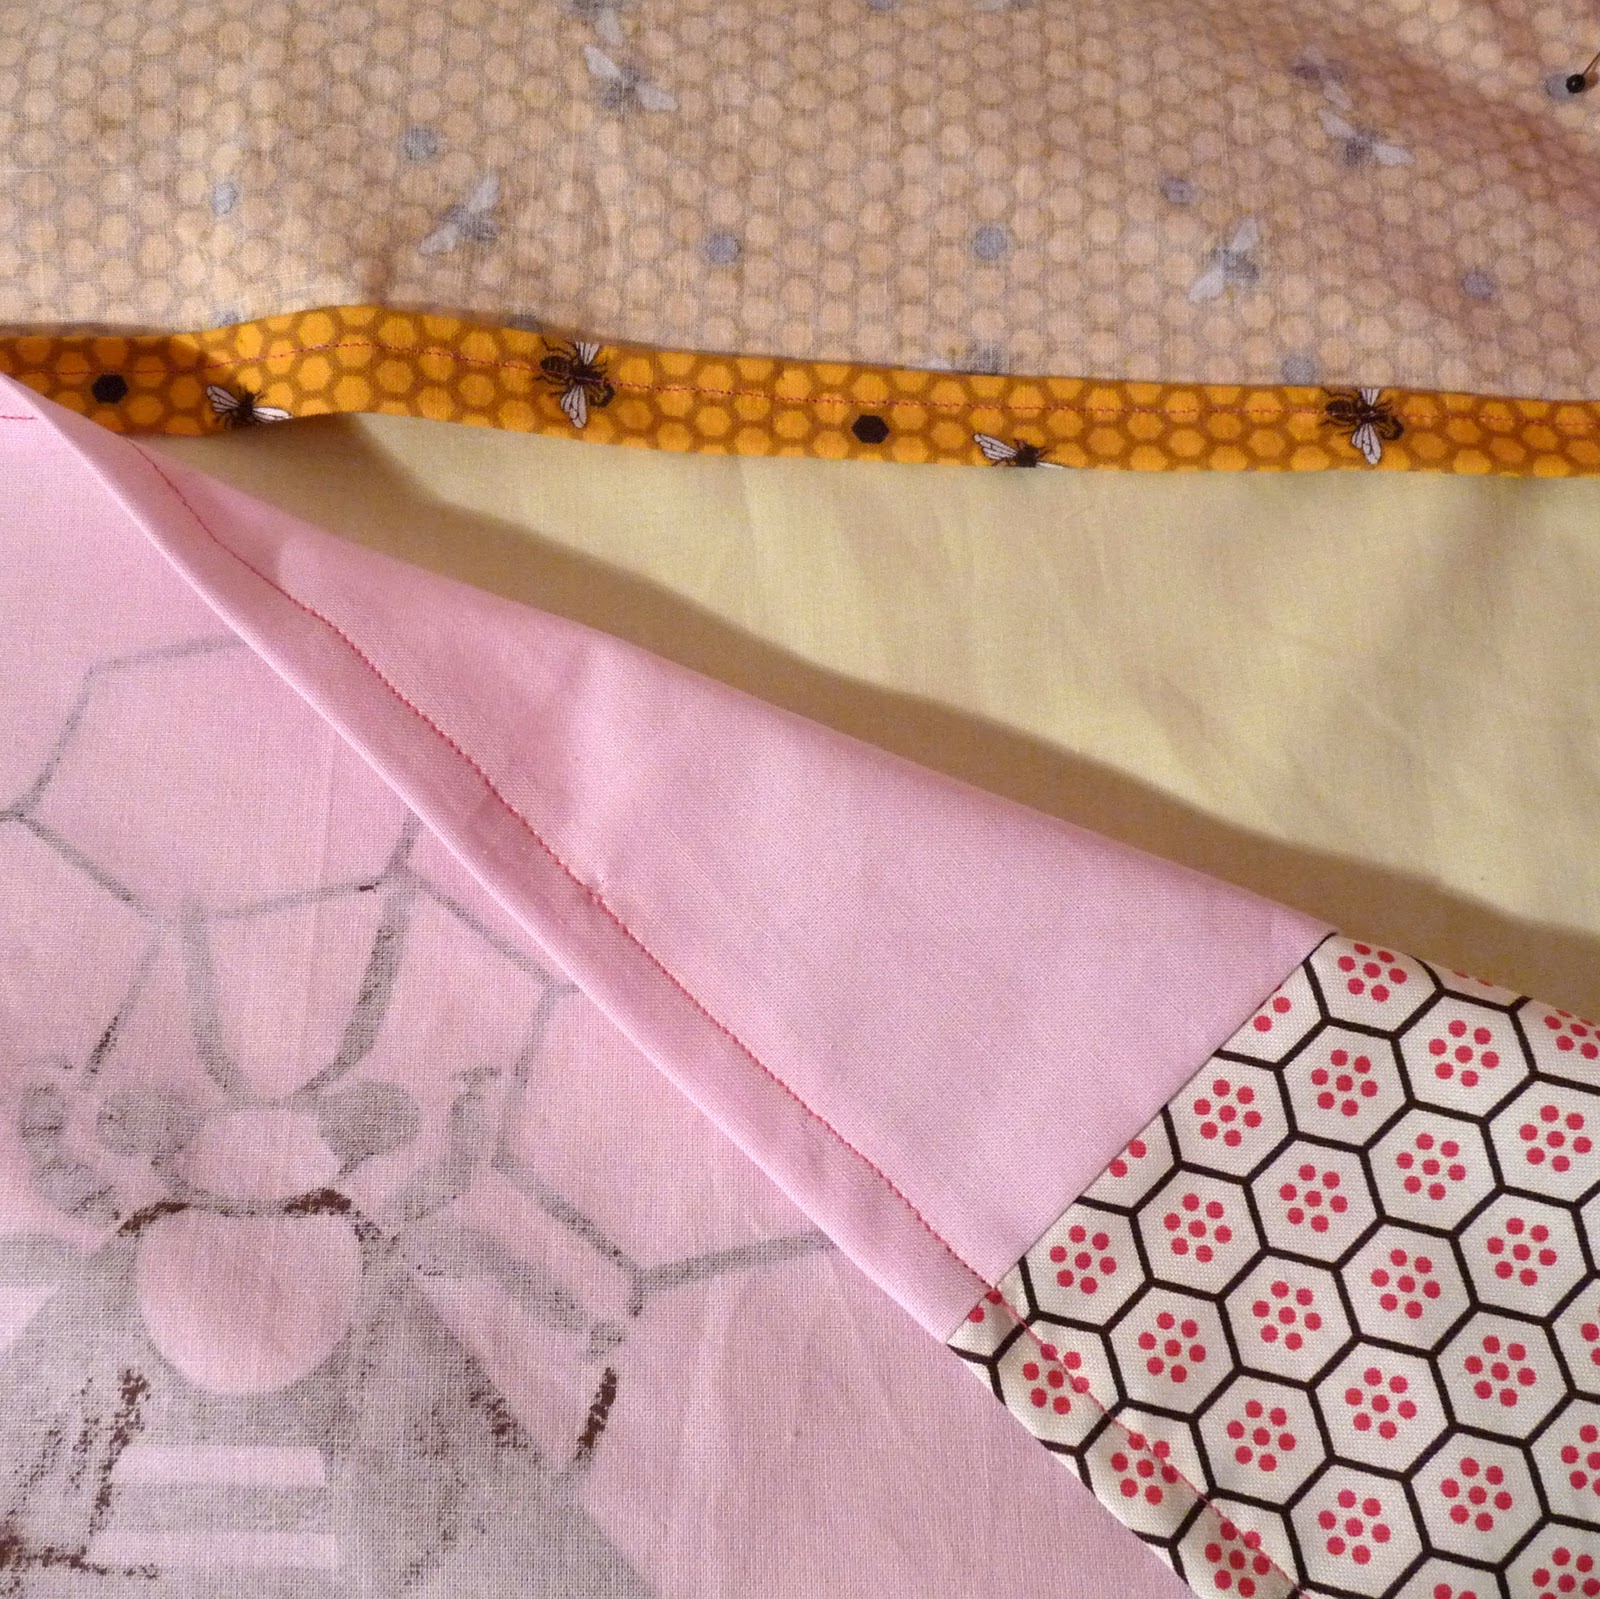
4. Finish off both edges of your printed side. Overlap these two edges so that your two fabric pieces are the same size as your pinwheel side. Pin your two pieces of fabric together, right sides facing in. Tuck the pom pom trim around the perimeter, also facing inward. Stitch around the entire perimeter.

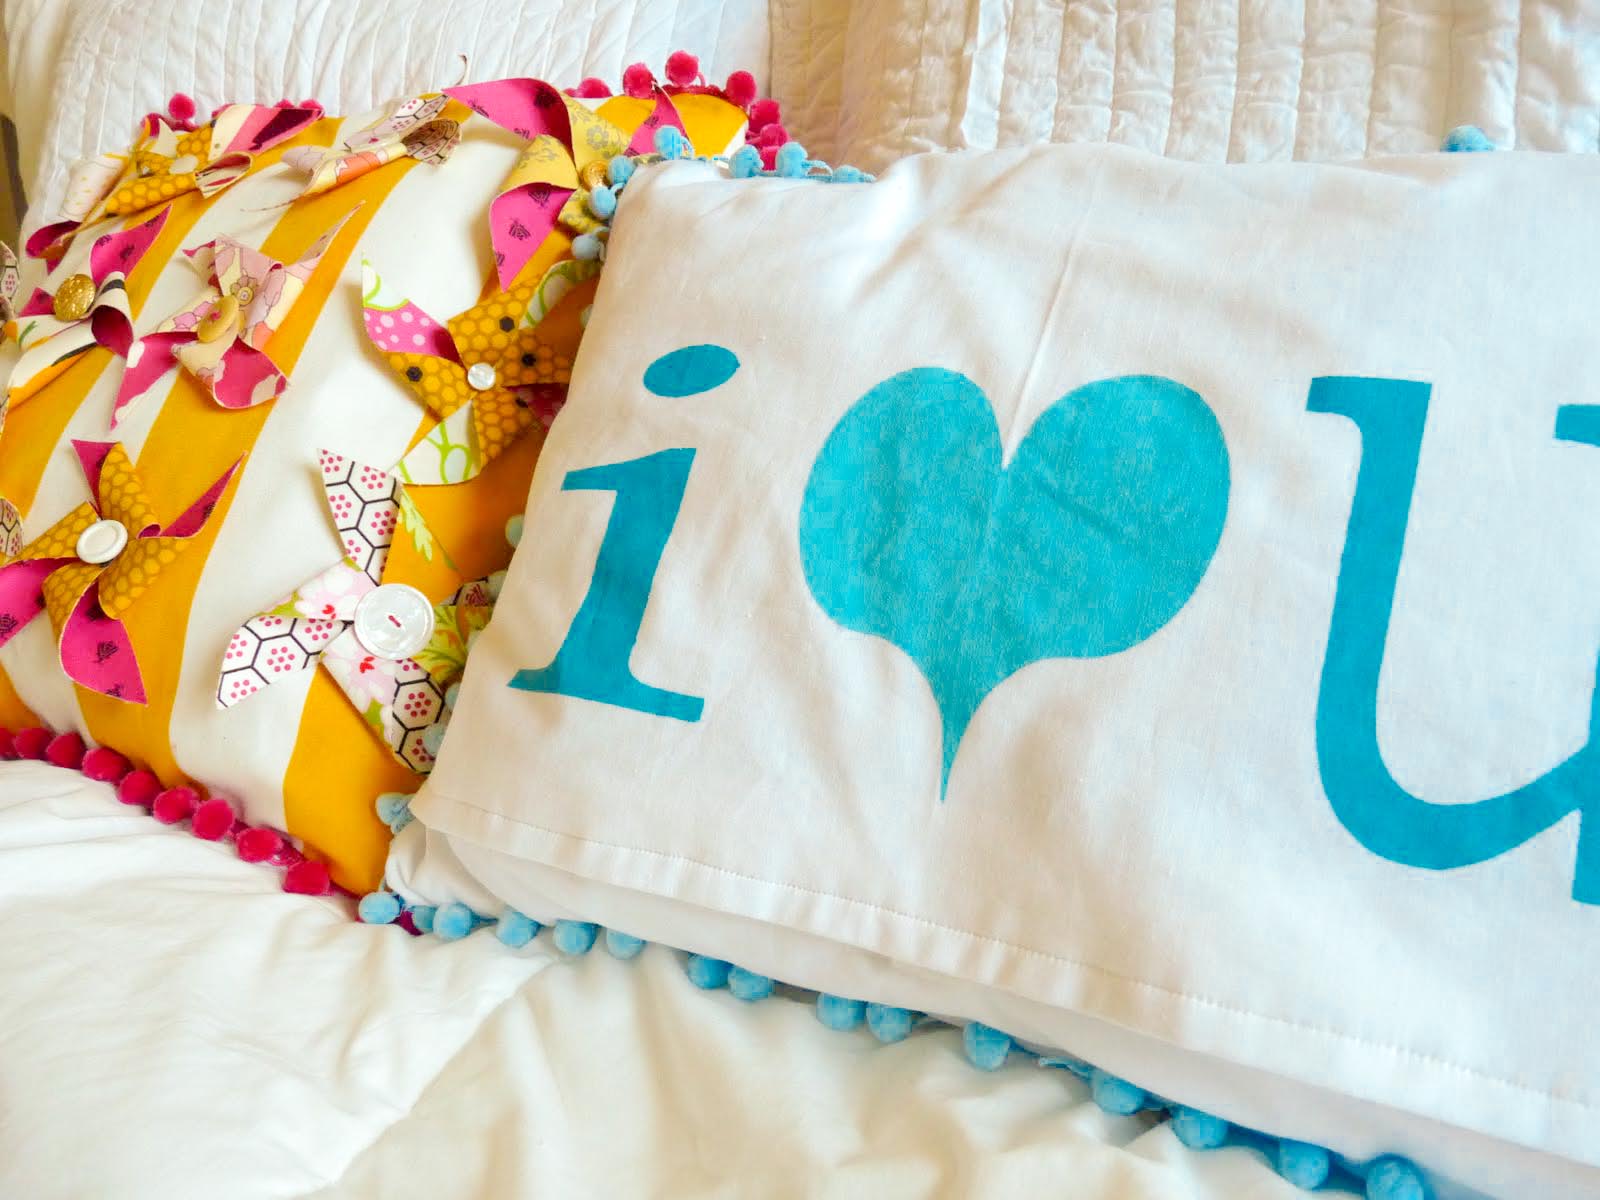

5. Tuck a pillow in your cover and you’re done! Fabulous, multi-purpose room decor… They’re versatile enough (and easy enough), that I’m pretty sure every room of your house needs one!
The fabric pinwheels are fabulous. Thanks so much for the tutorial…I think I do need one!
Best wishes on SYTYC. It was a lot of fun, but stressful. I'm so glad I did it.
Seriously . . . so cute! I'm loving these!
Thanks for guesting girls!! Y'all are the best!
LOVED this – great job!
That is such a cute idea!!
Woohoo, this is the one I voted for! Good luck this week! Fingers crossed for you guys!
Just Another Day in Paradise
First! Love these! And second, I know it was nearly a year ago that this post was made – but I am LOVING that little bed/headboard in the first picture. A) is it homemade (with tutorial?) 😀 and if not B) where did you get it?