
the most beautiful DIY easter eggs
As an Amazon Associate I earn from qualifying purchases.
 Last year, on the night before Easter, the kids dyed all of our five dozen easter eggs in approximately seven minutes. This made a gigantic mess (so much splashing dye!), and also made my heart so sad (not kidding- even as a small child, I took FOREVER to make my easter eggs look “just right,” so having it all over so quickly was a little tragic- haha.
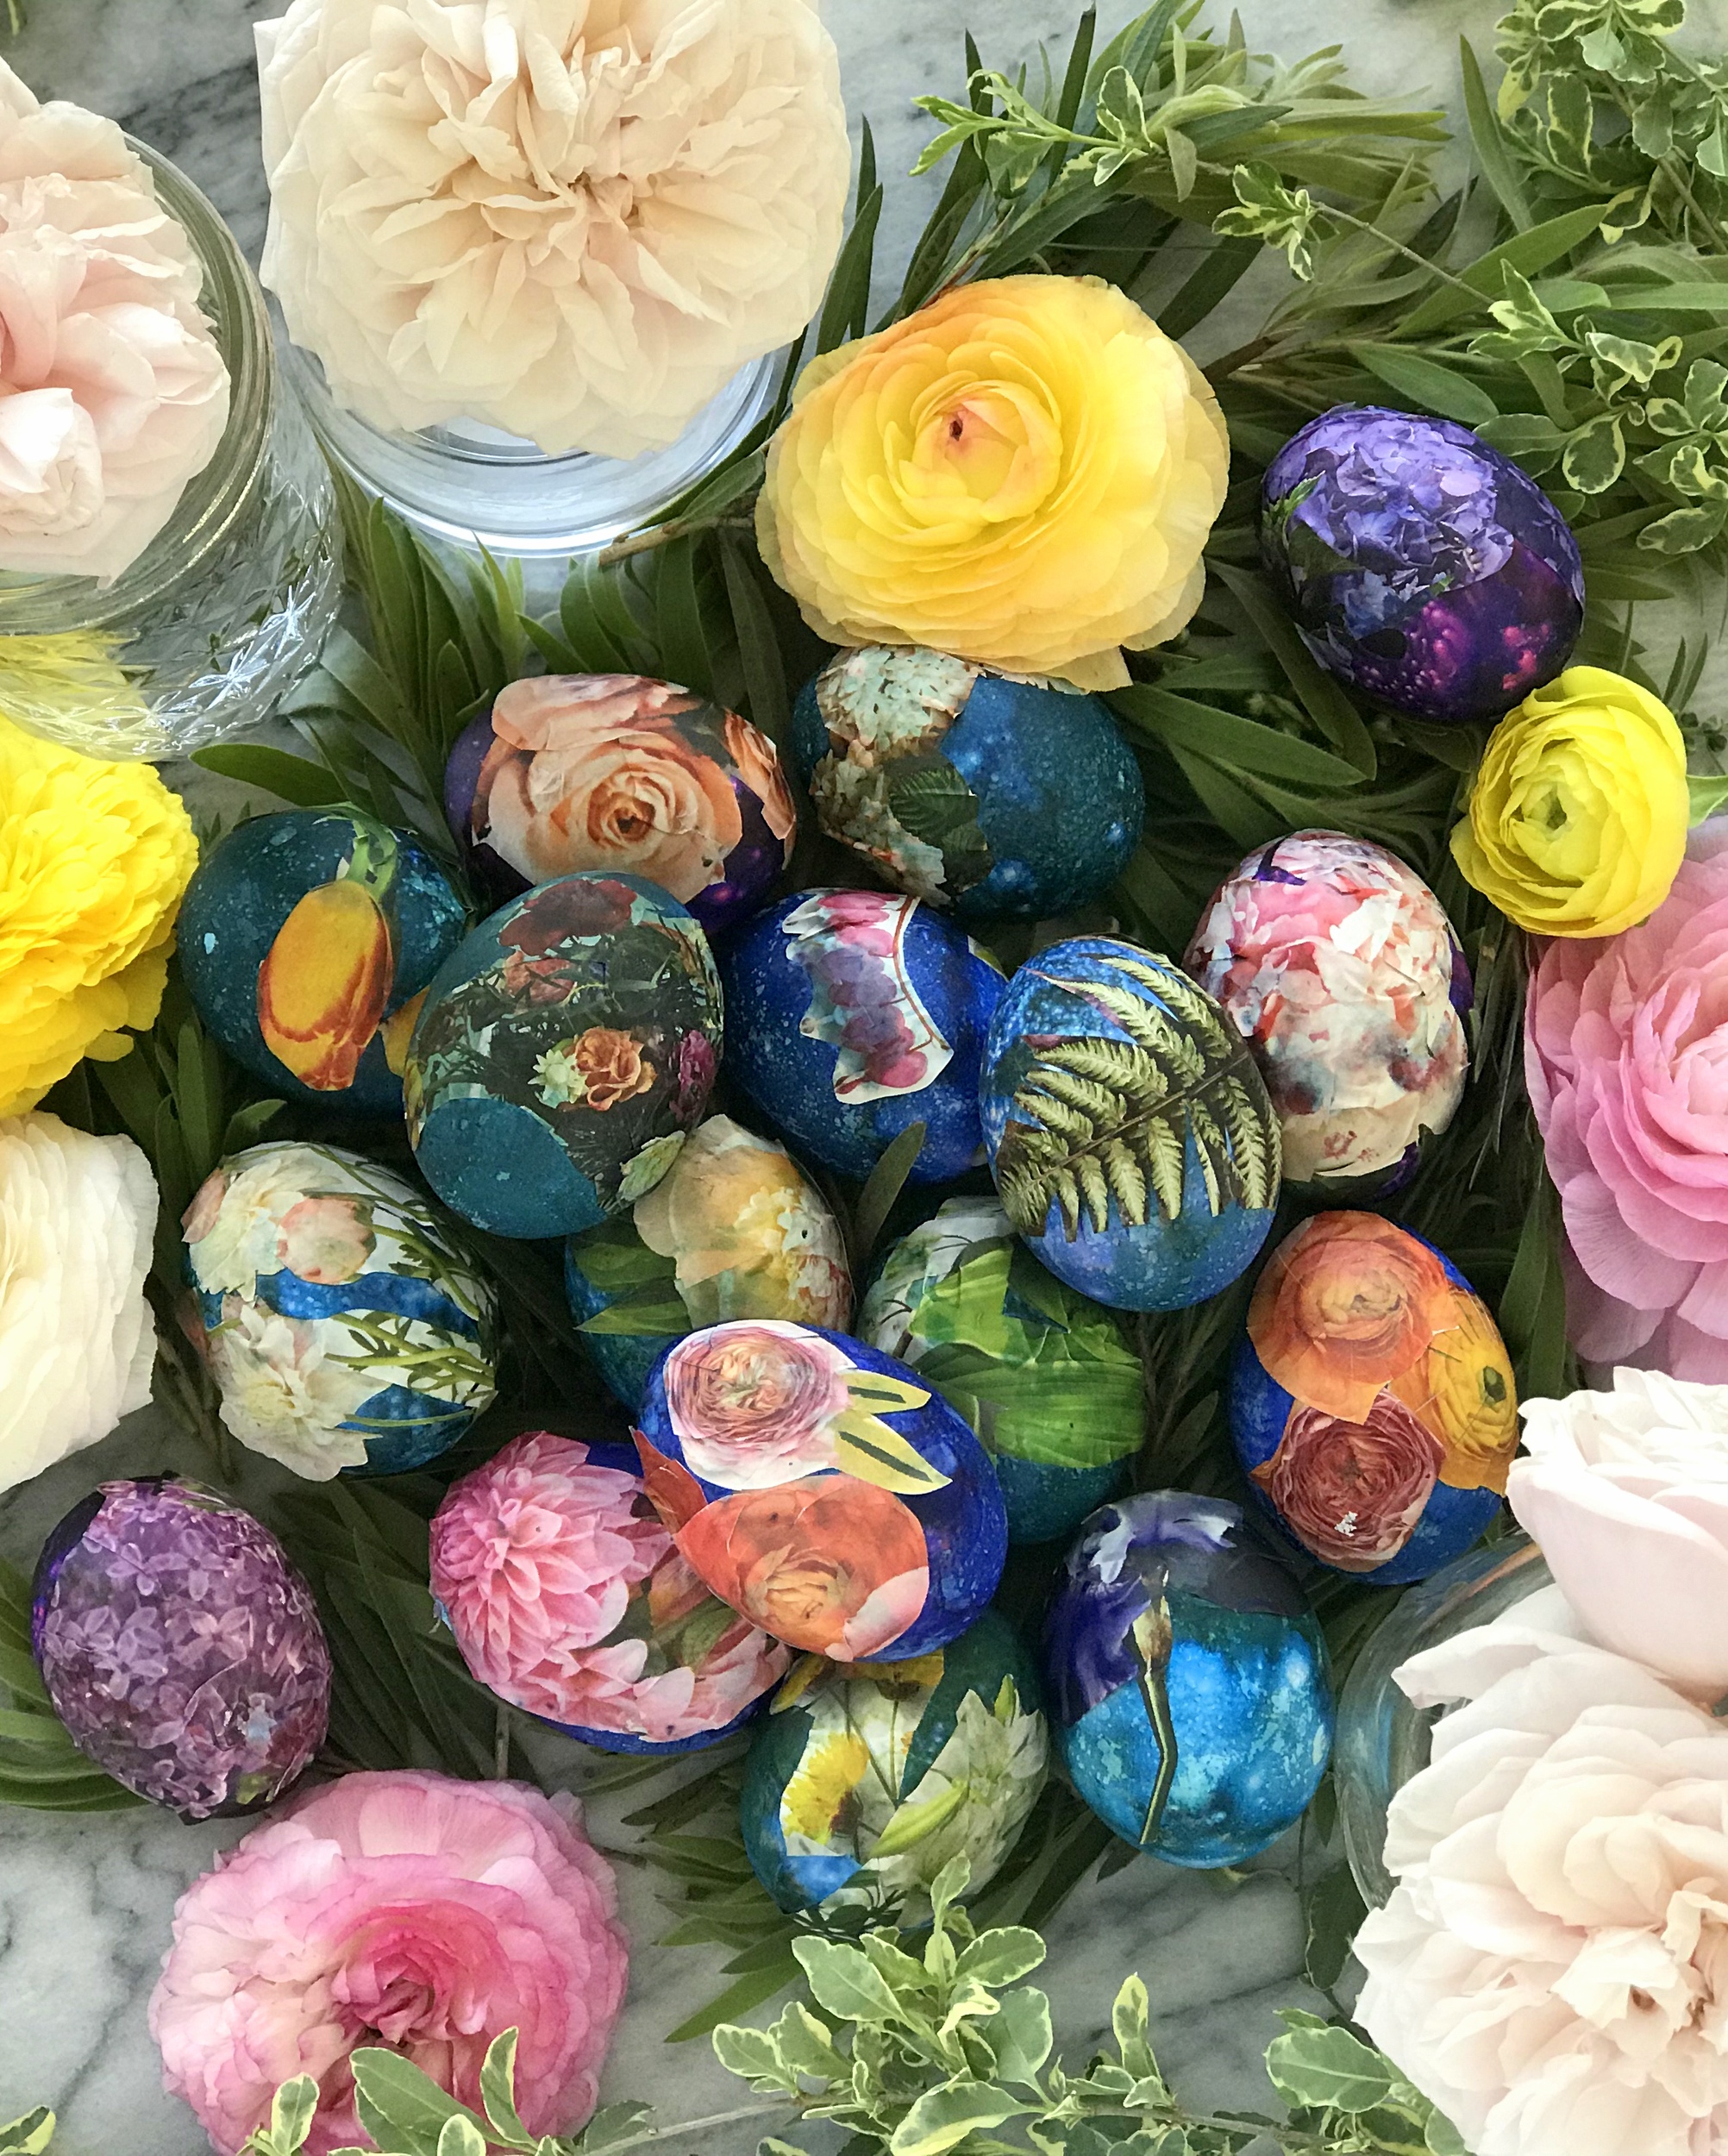
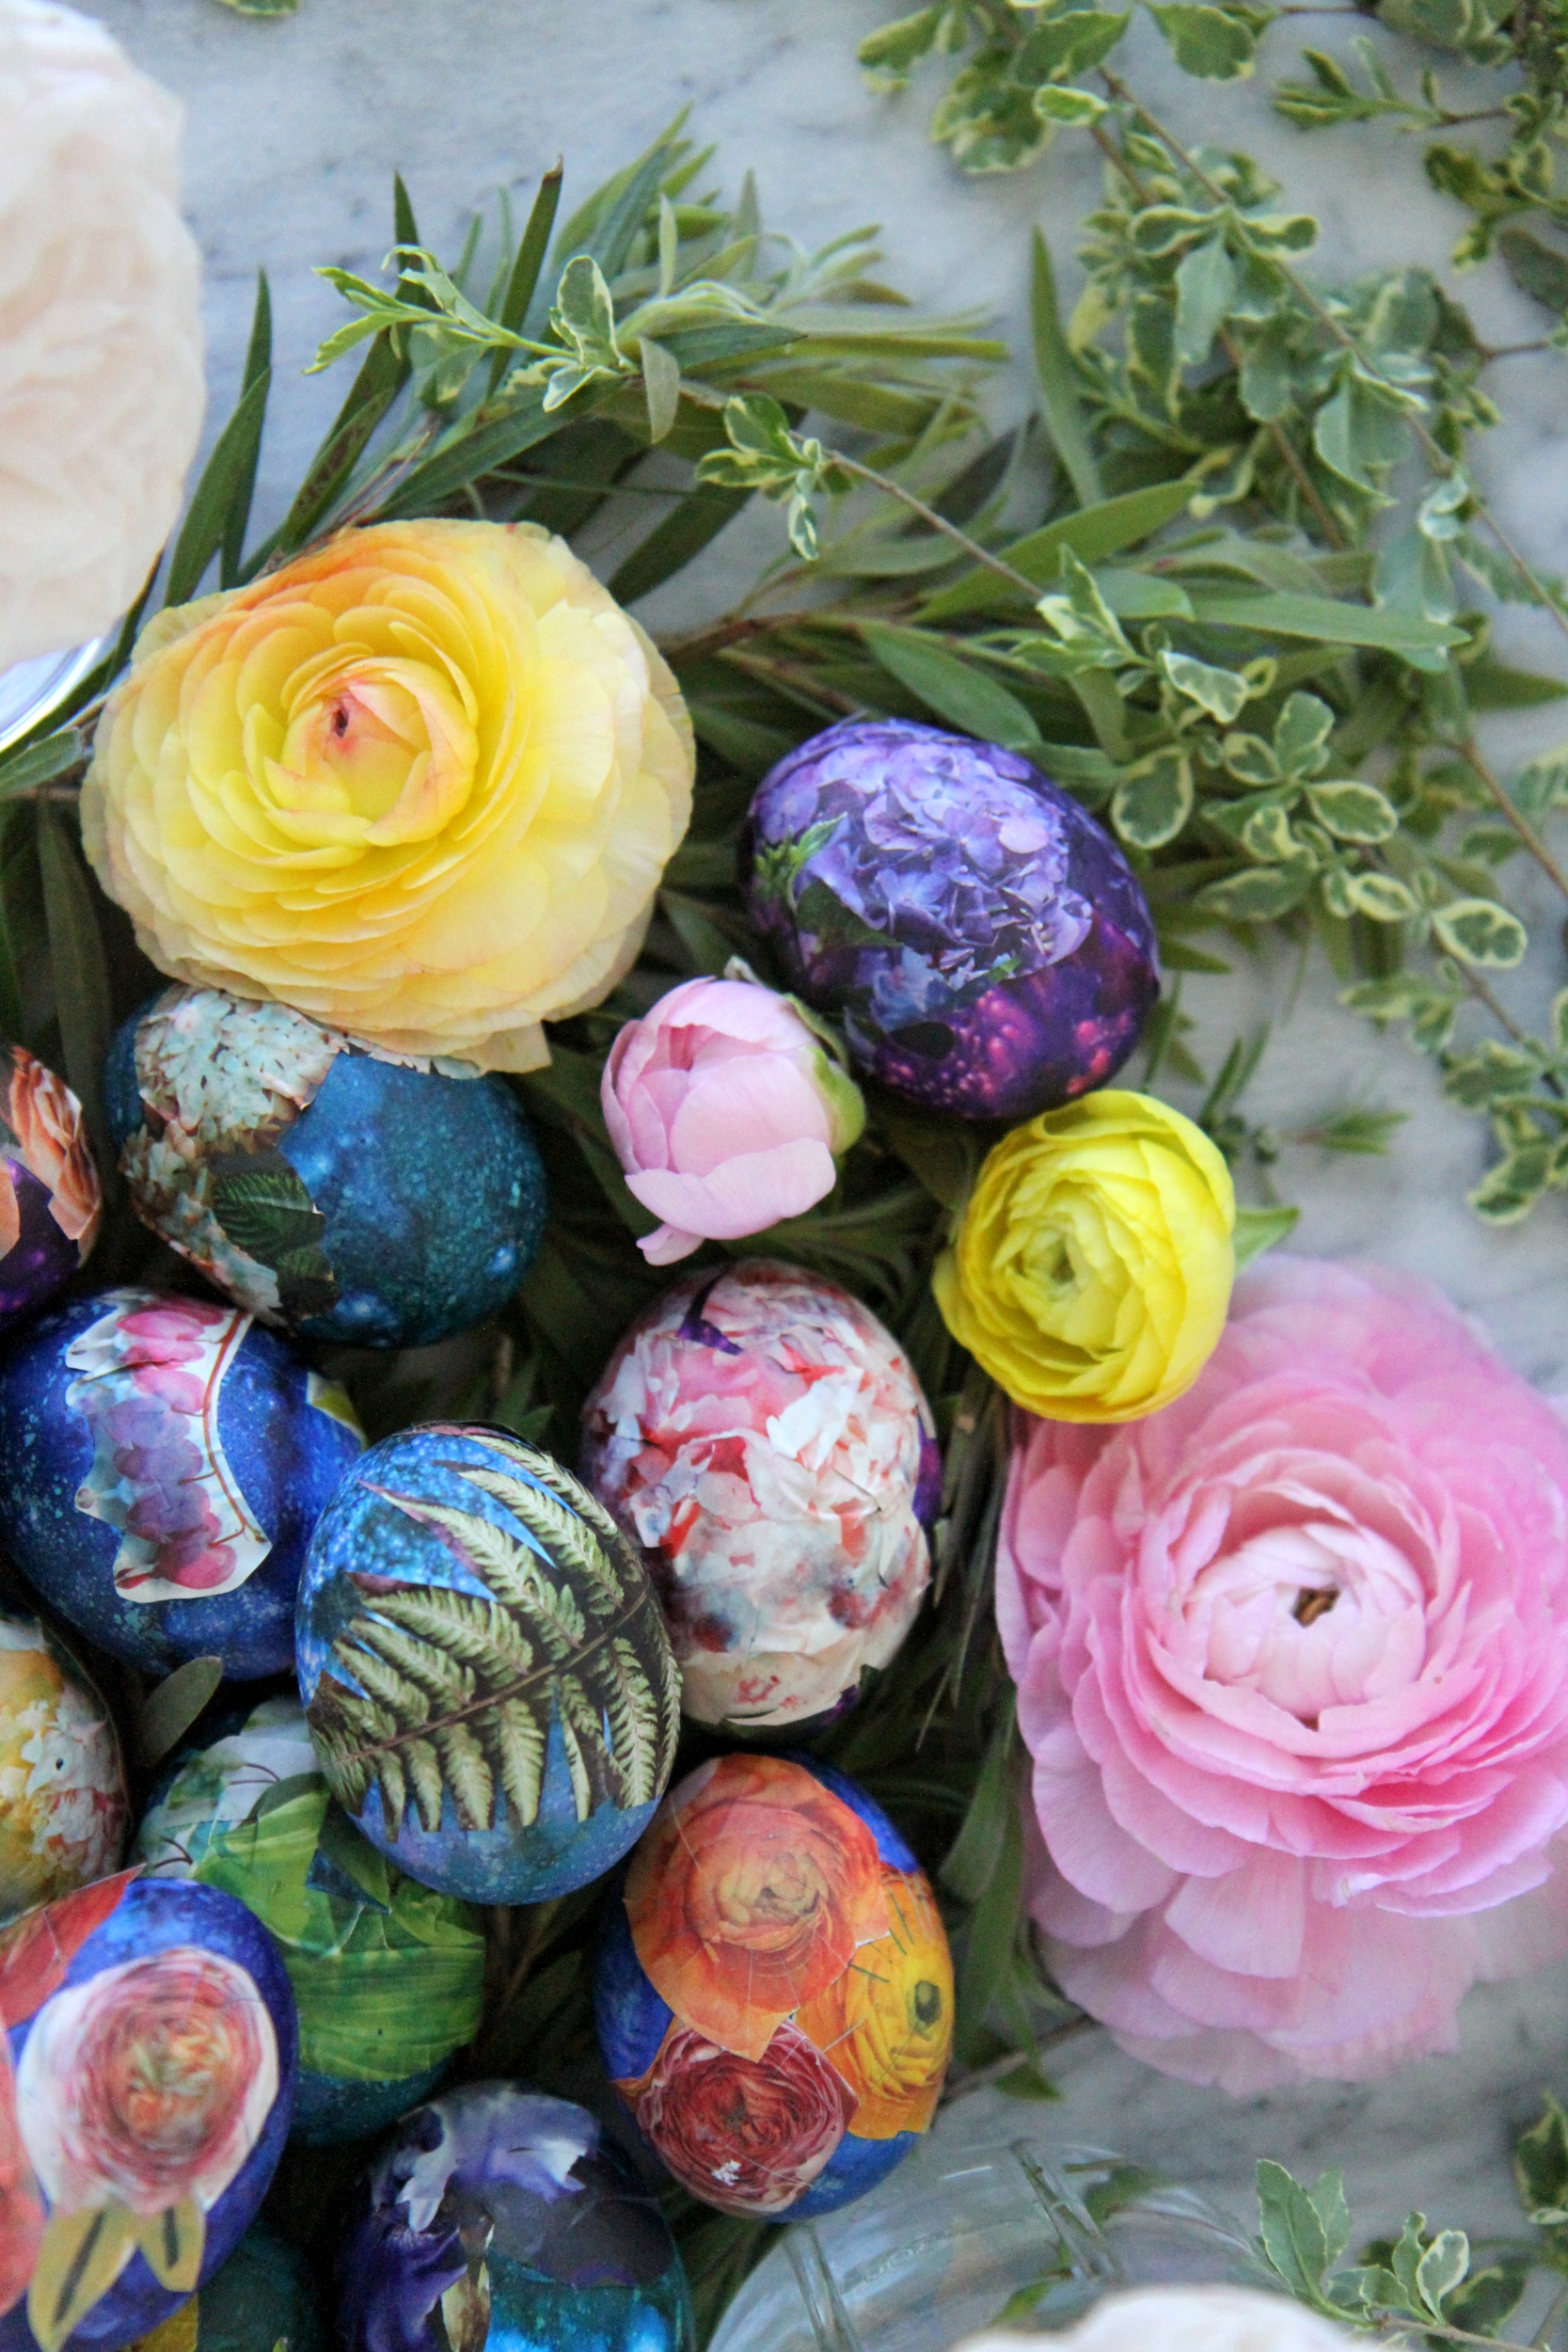
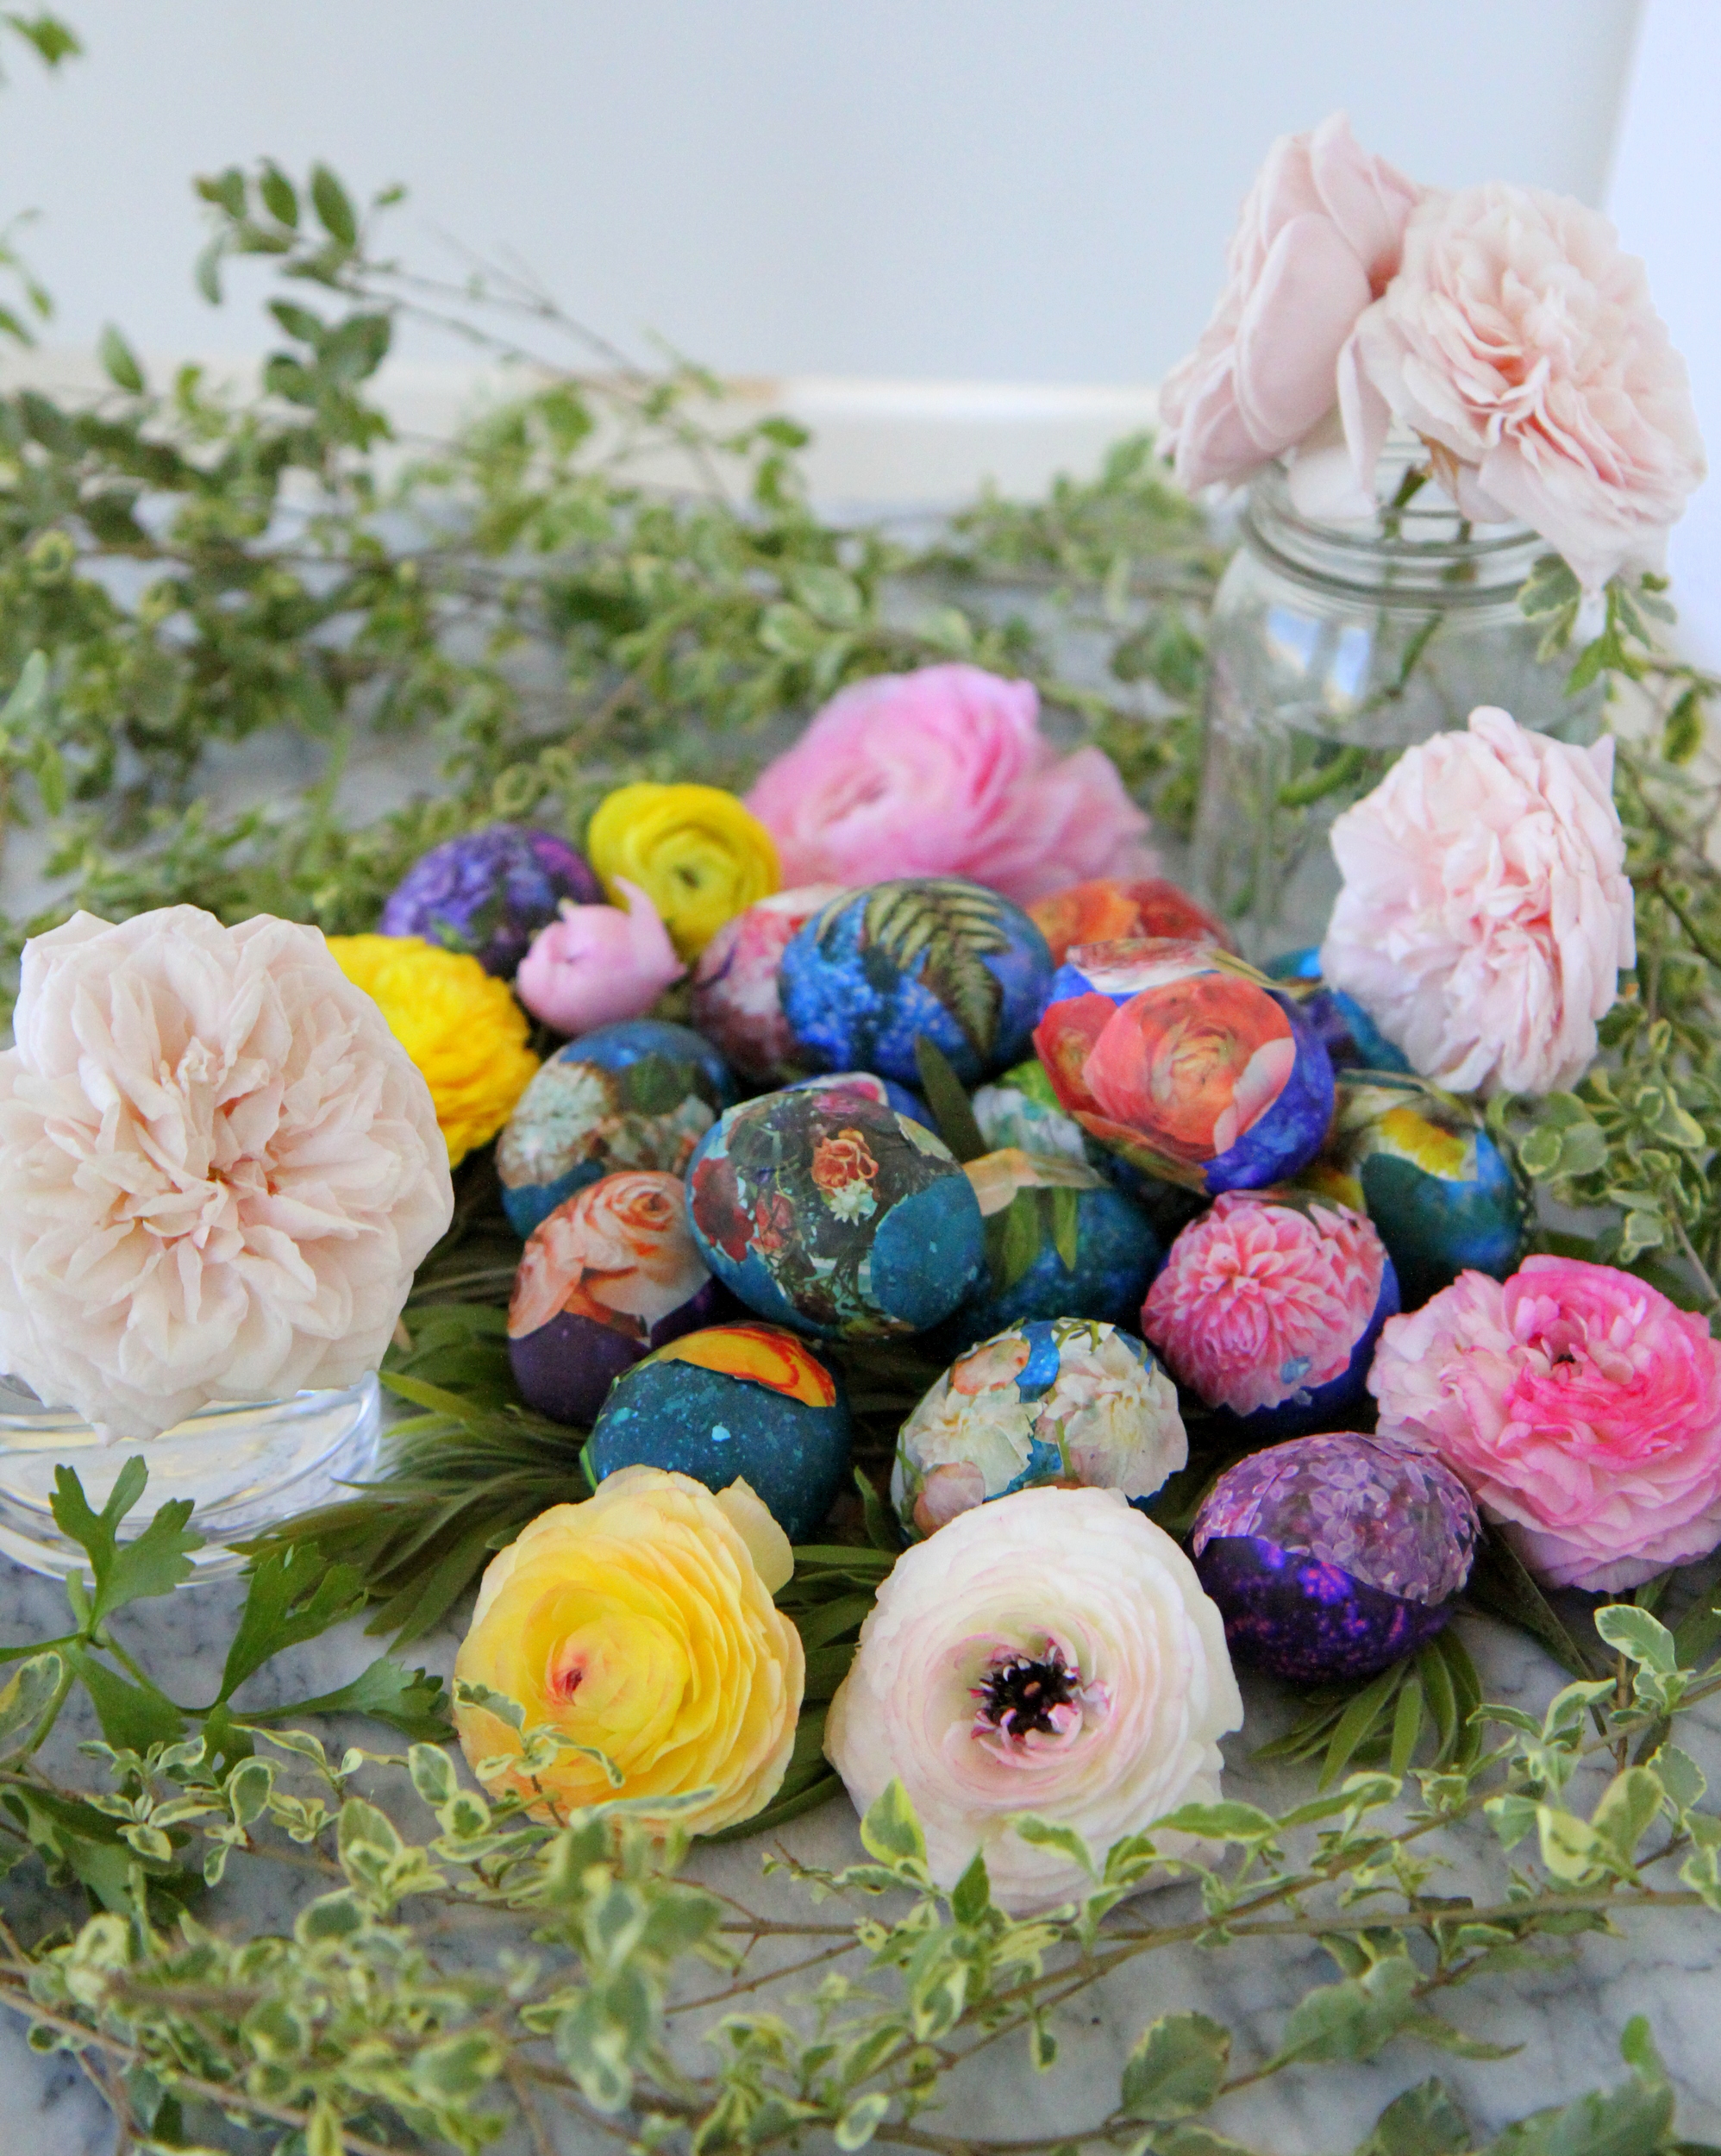
 This year, Piper and I jumped to the opposite end of that spectrum- we started almost two weeks before Easter and made the most beautiful (but also slightly high mainenance) eggs. They are overdyed, flowery, decoupaged and ohmygoodness pretty.
 For all of you out there that are easter egg decorators like us, these are the ones for you.
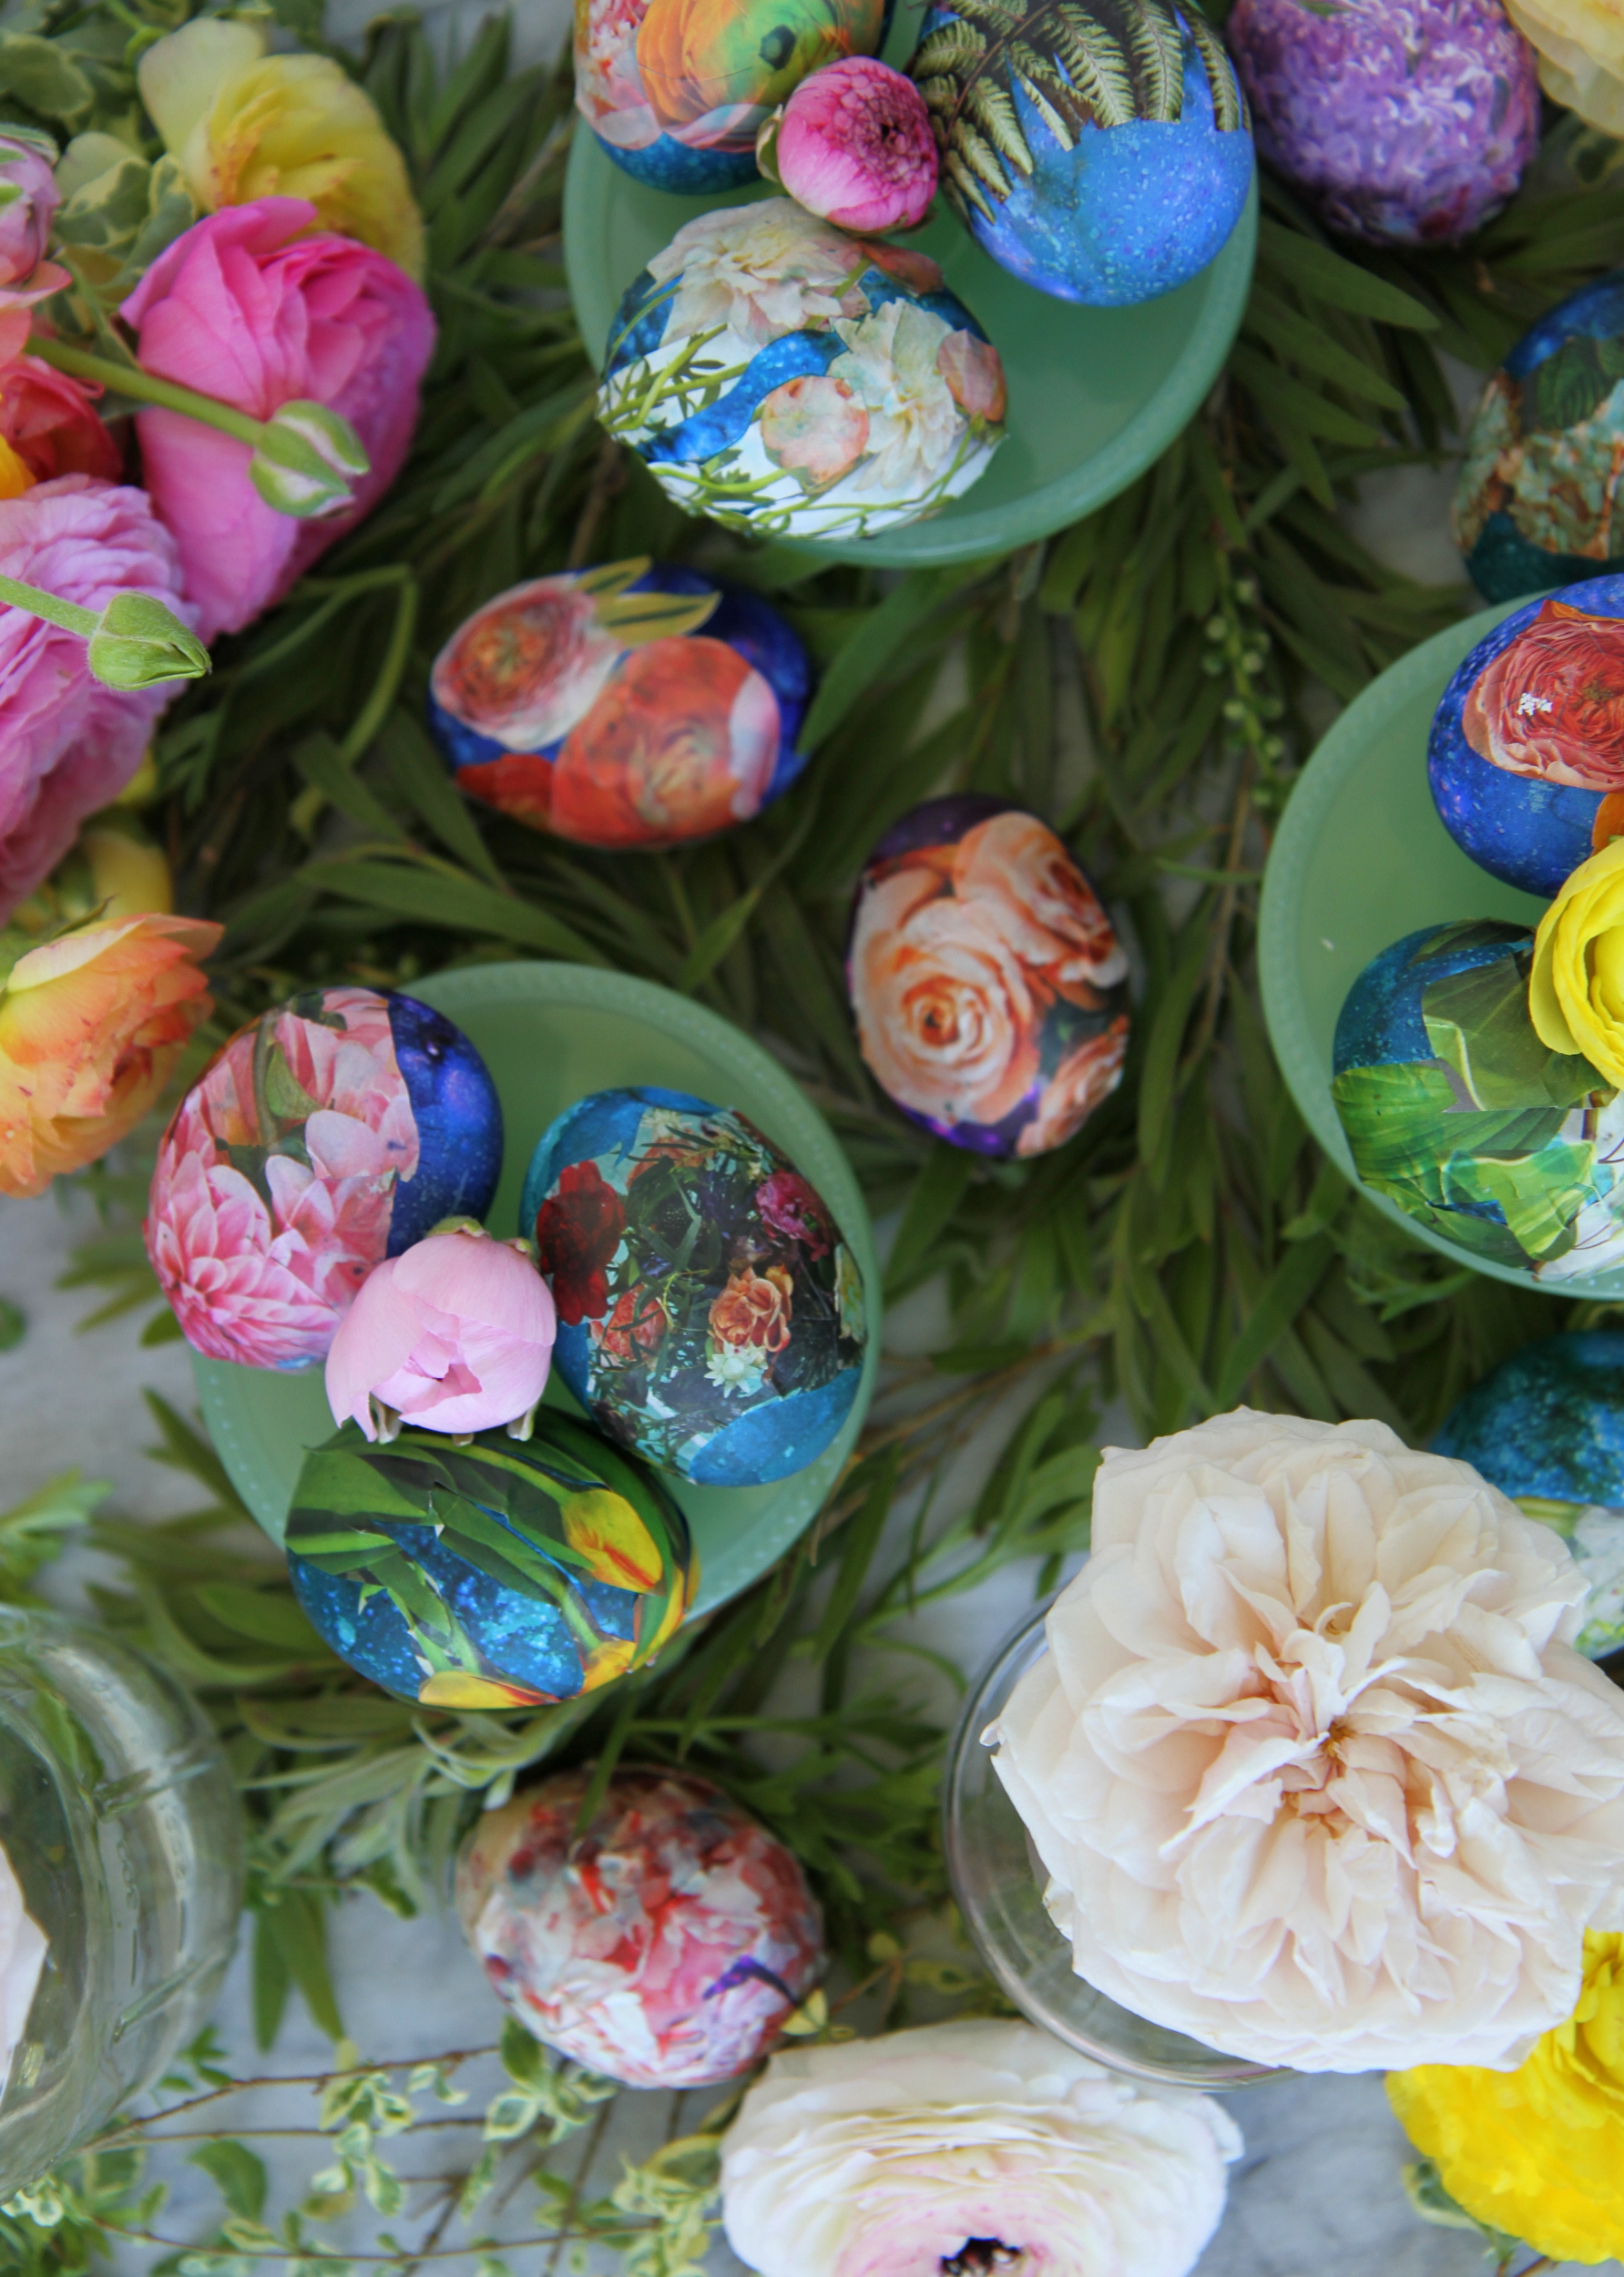
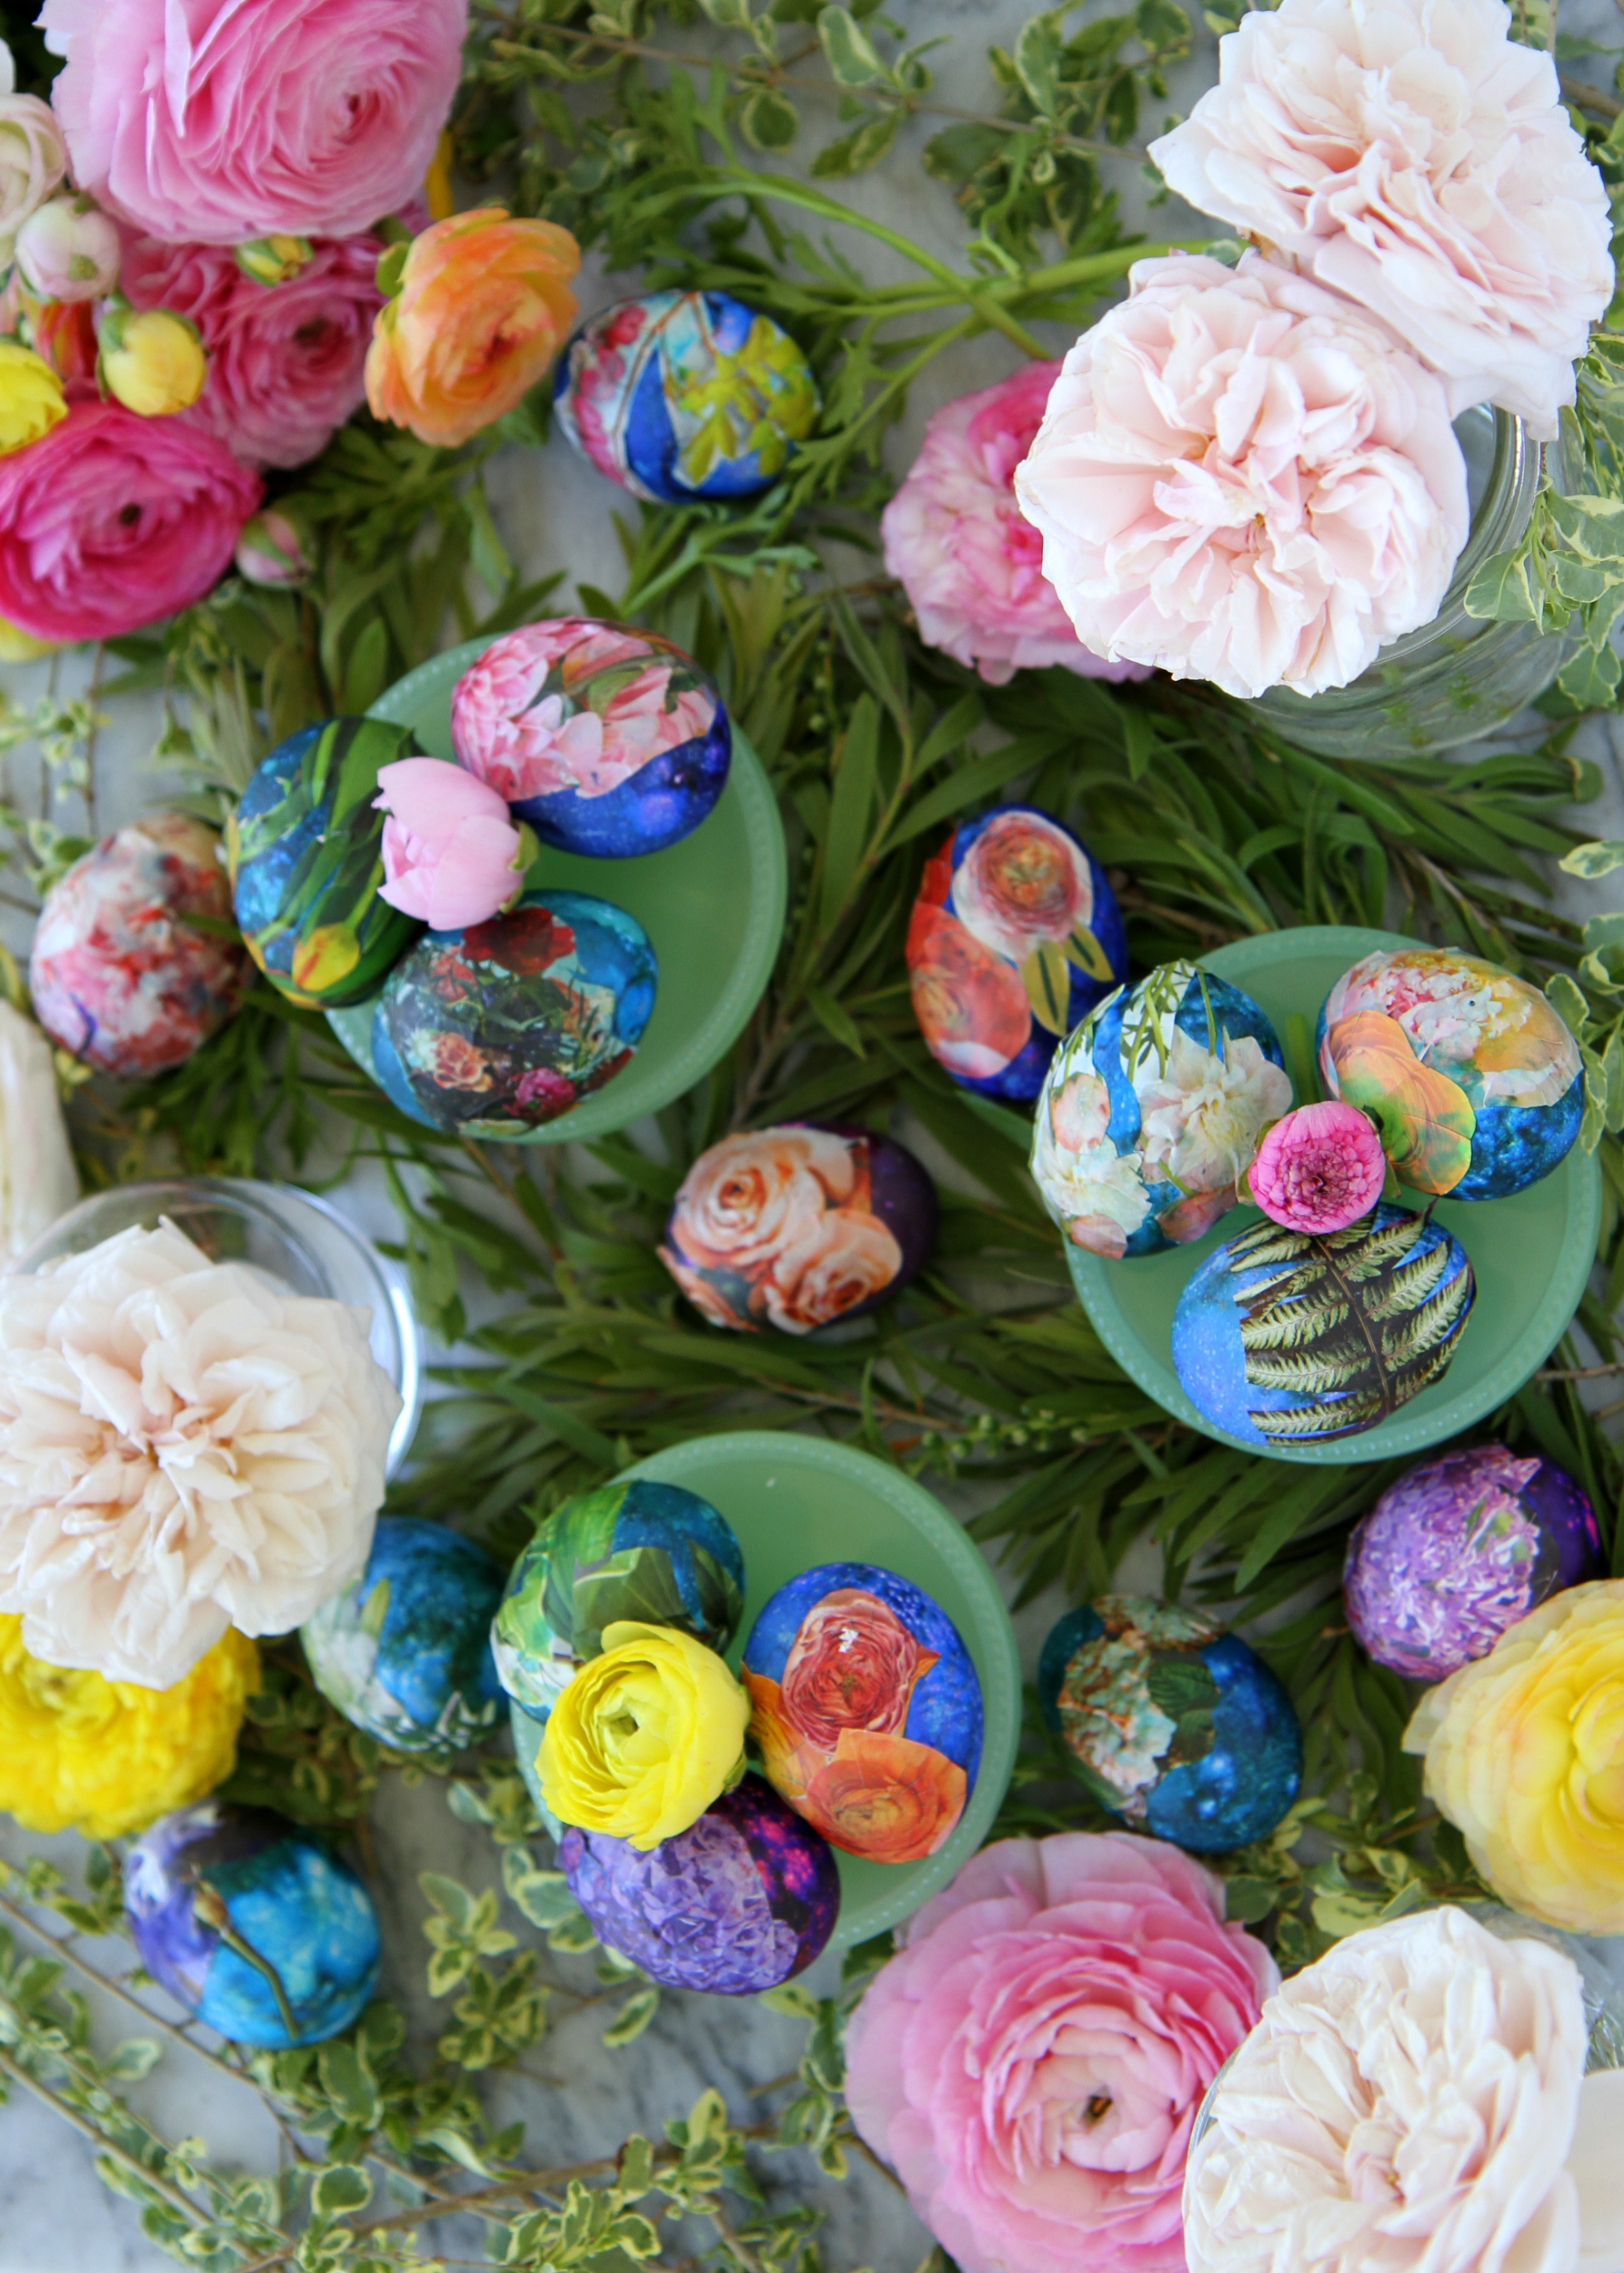
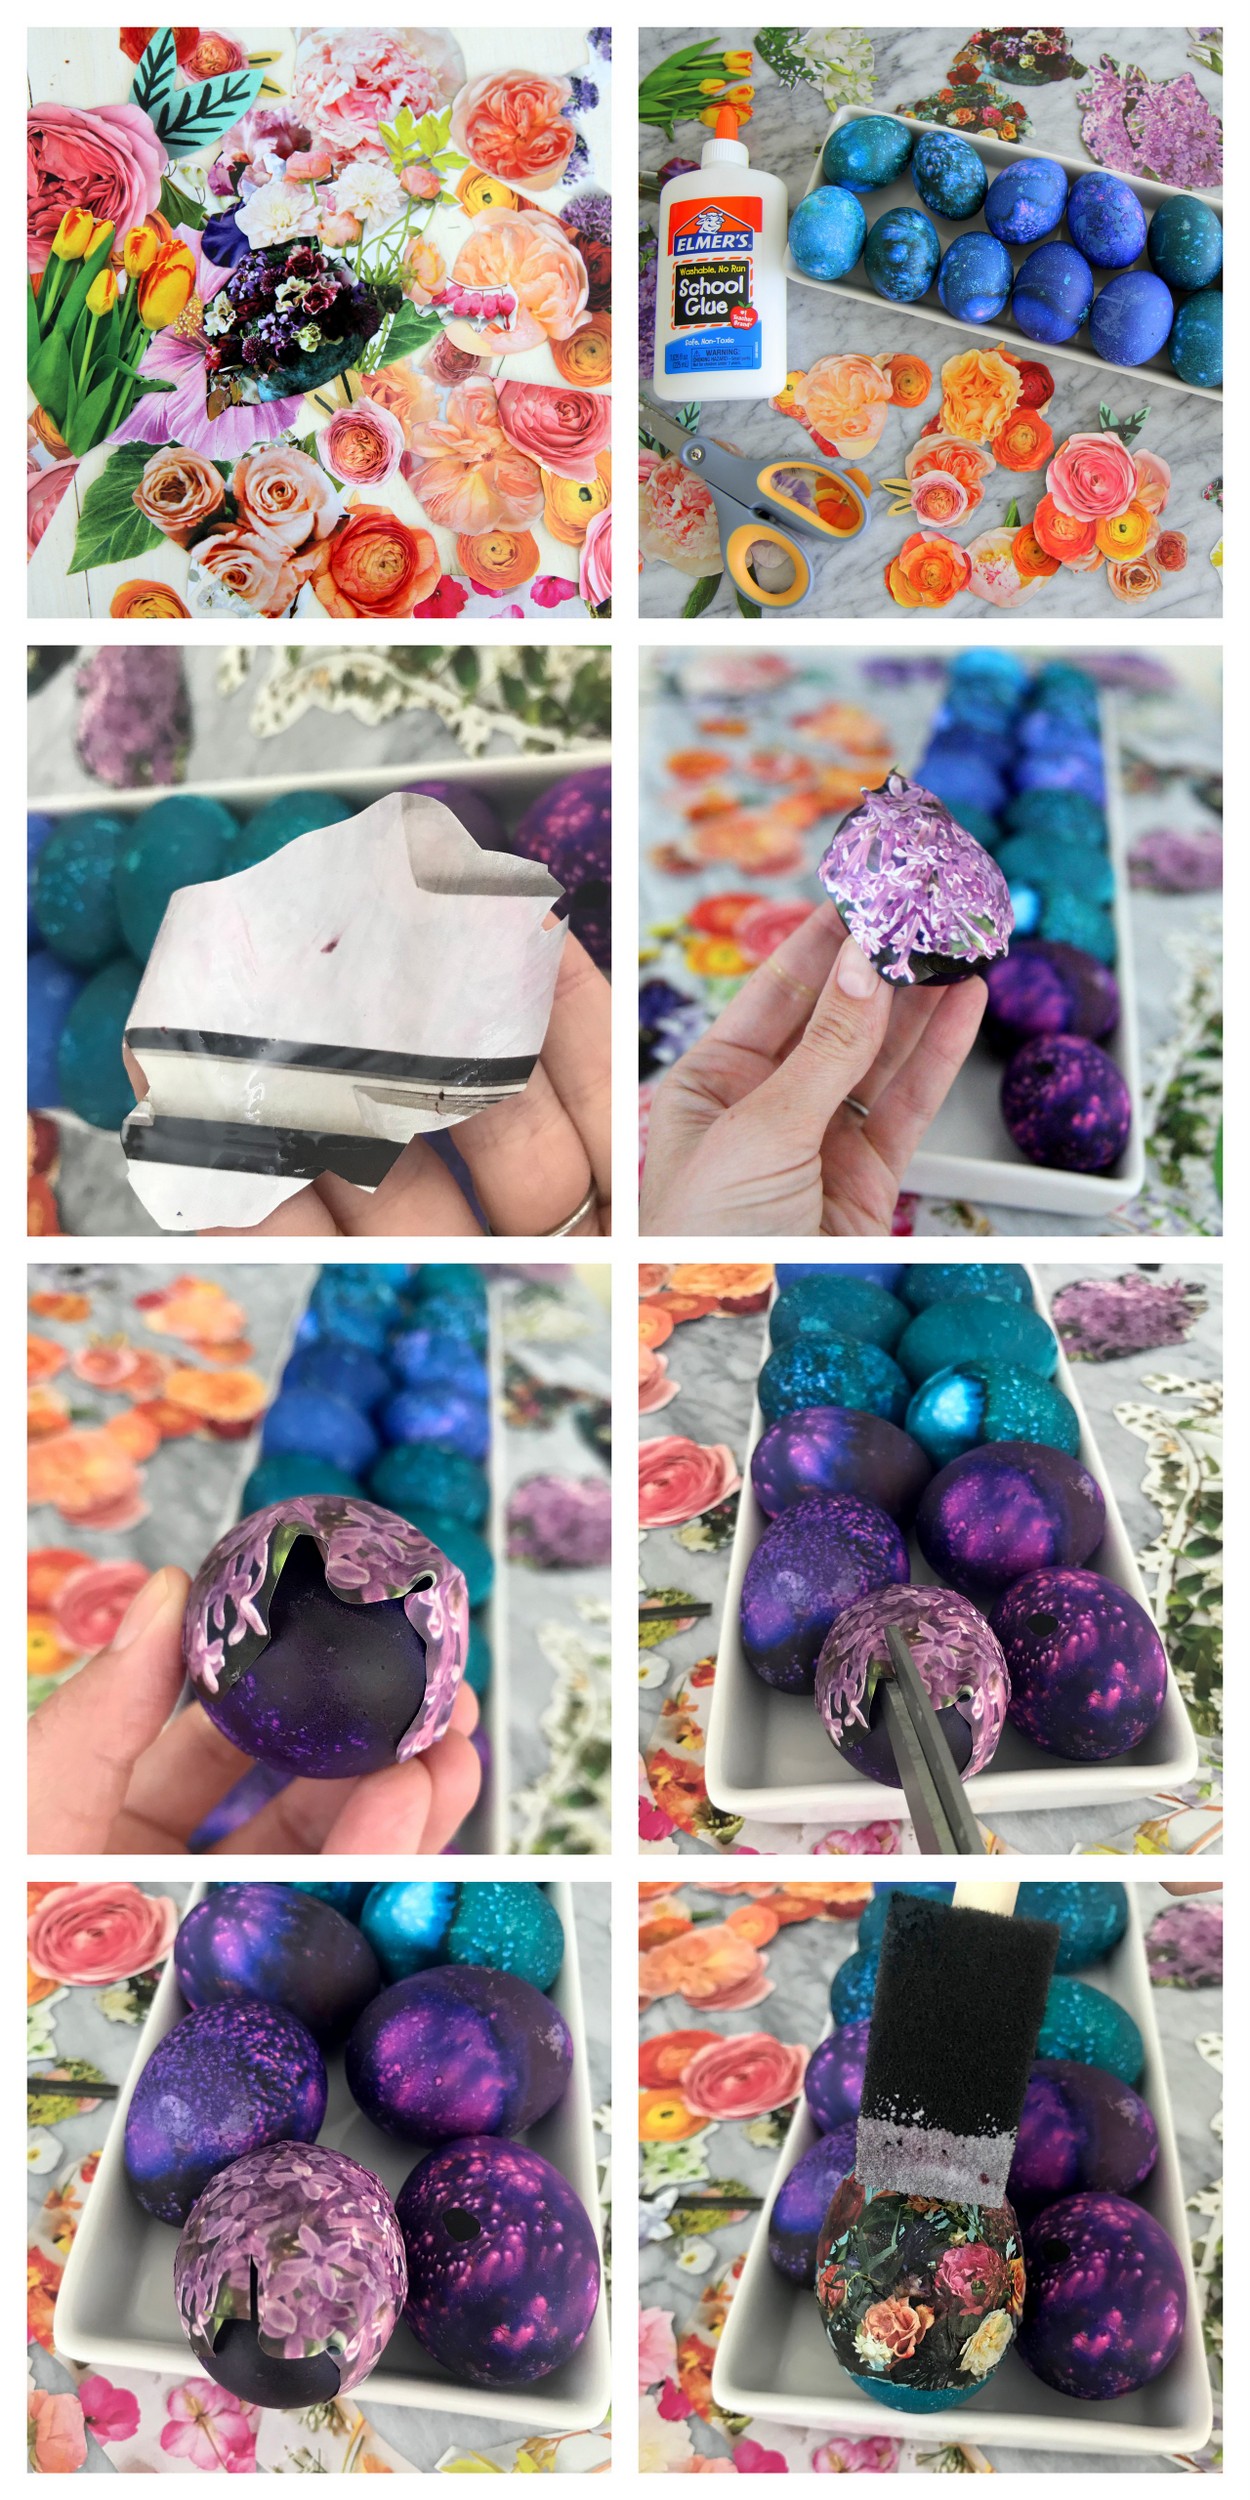 To make them, we dyed our eggs deep blue, green and purple (we used two of each dye tab with vinegar AND added drops of food coloring to each dye cup). We let the dye dry overnight, cut out flowers from magazines (the ones that turned out looking best were large single blooms on thin magazine paper), added a swipe of glue to the back and placed on our eggs. Then, wherever the paper puckered, we made little slits to press flat. Last, we added a layer of glue around the edges of the flower.
 HELLO BEAUTIES.
 ps- Next year, totally going the early-and-high-maintenance route again. #waybetter


One Comment