
how to make a girl’s poncho
As an Amazon Associate I earn from qualifying purchases.
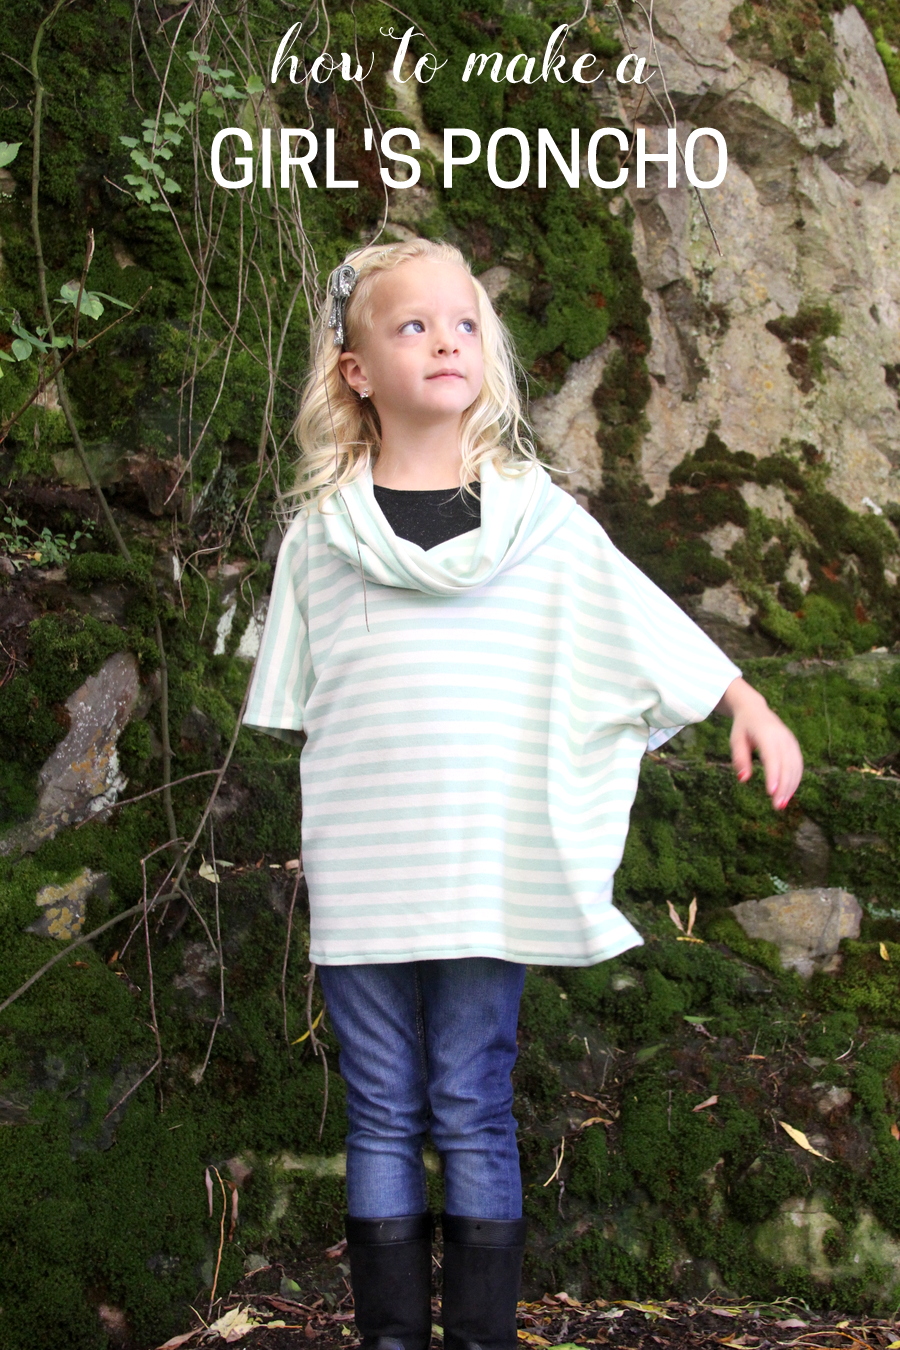
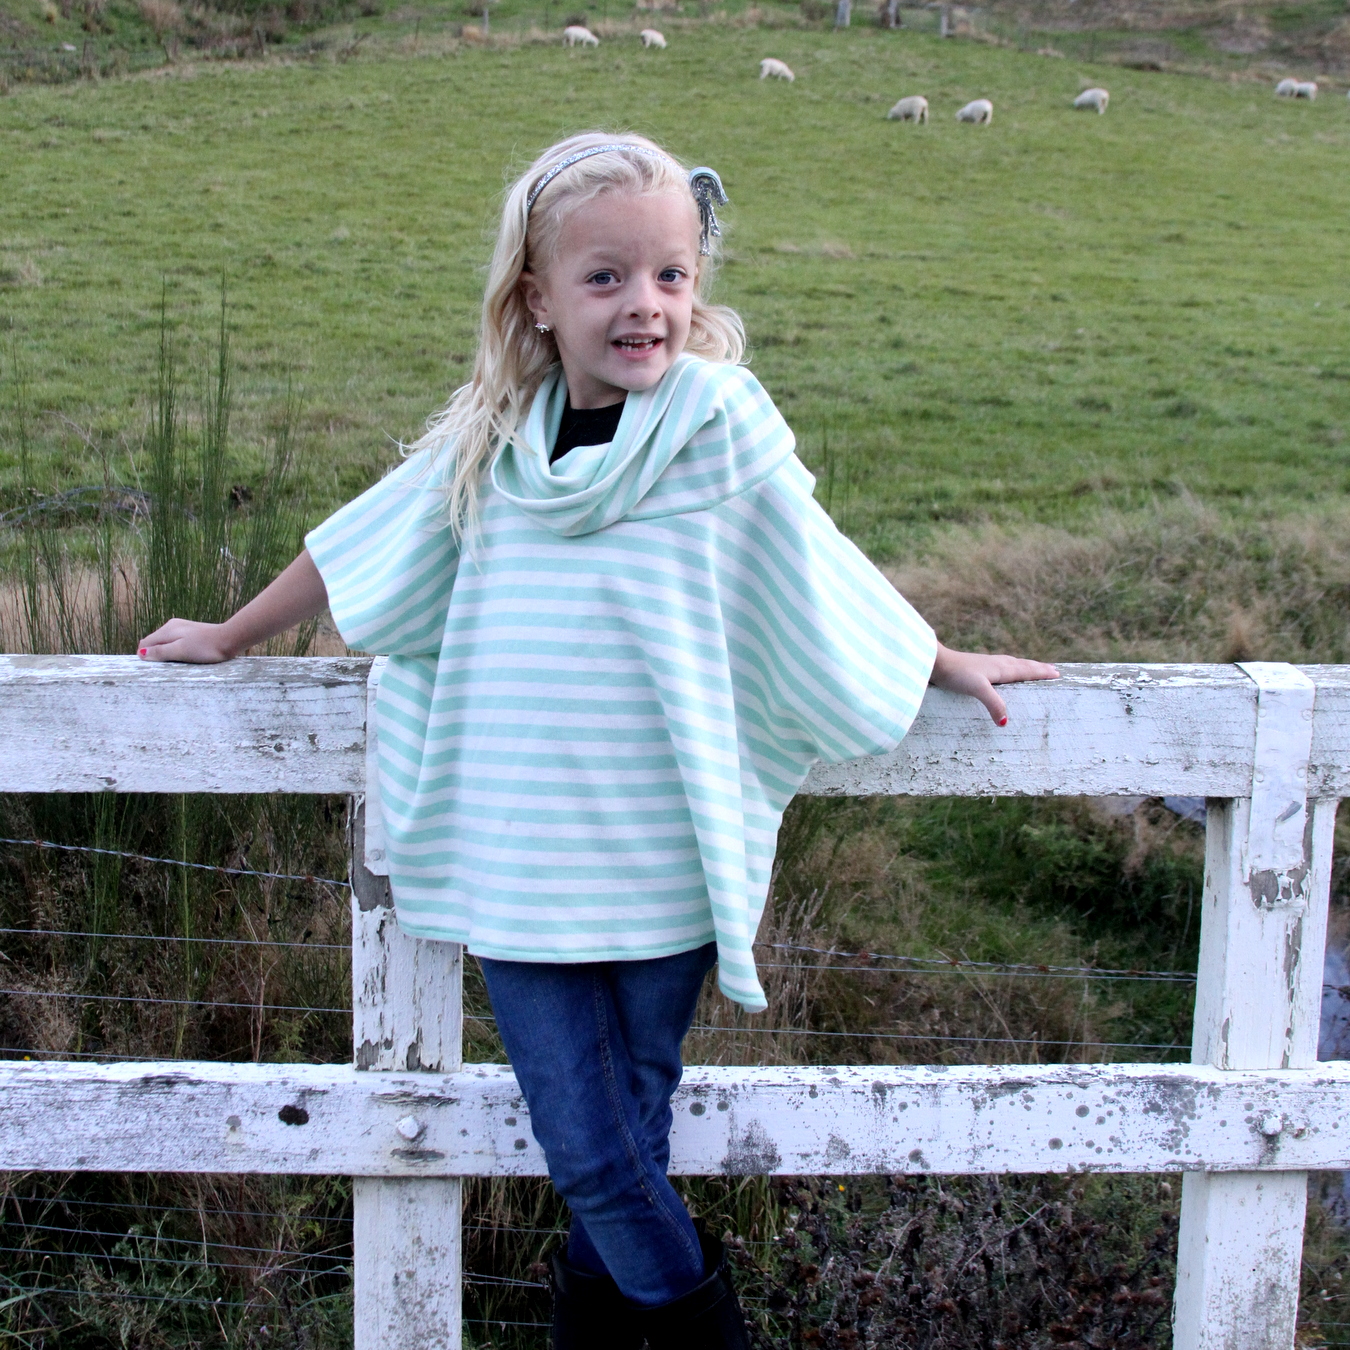
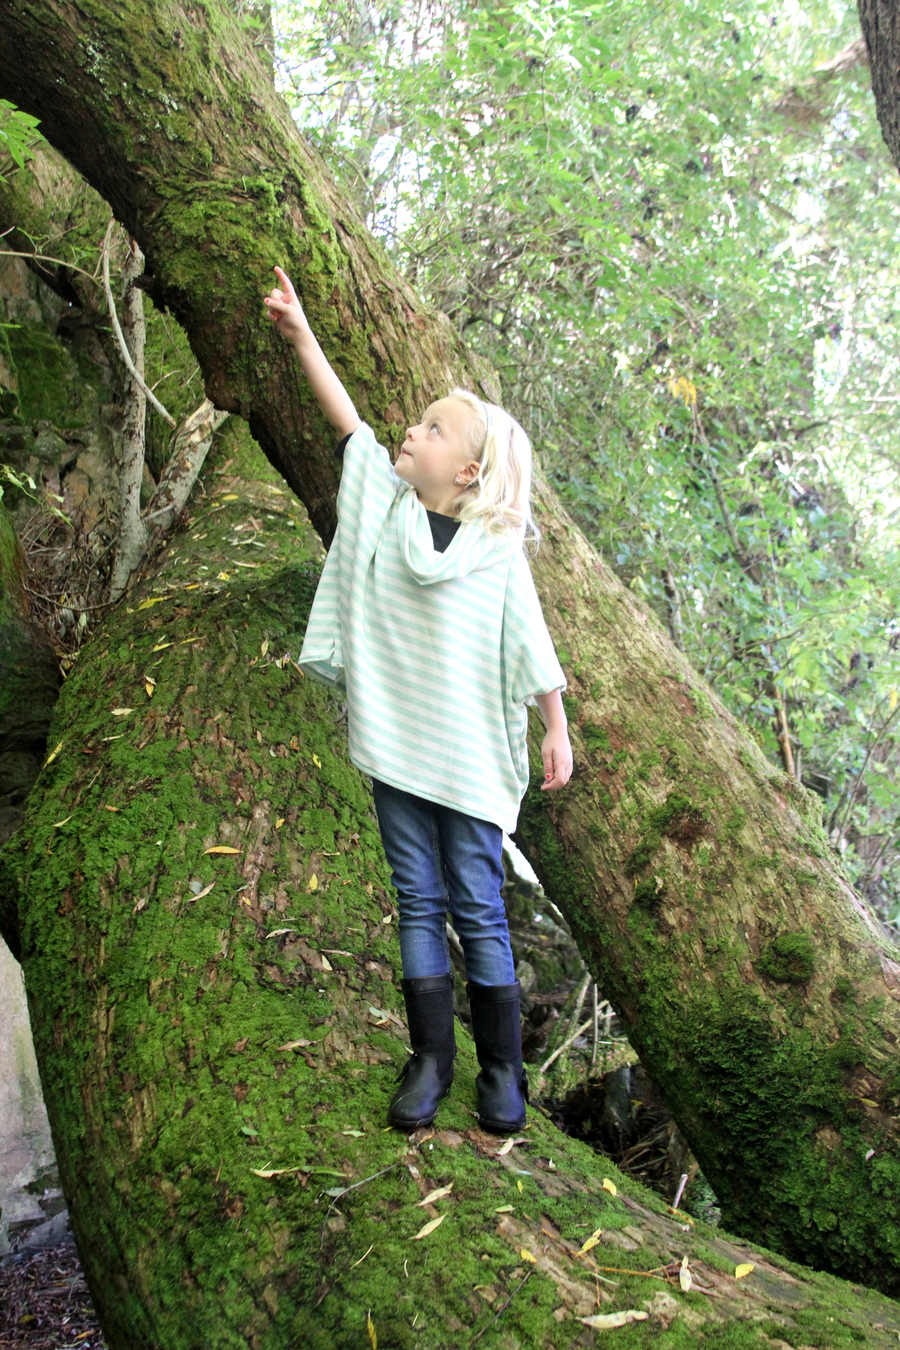
Before we went to New Zealand last spring, I made Piper Jane a little poncho.
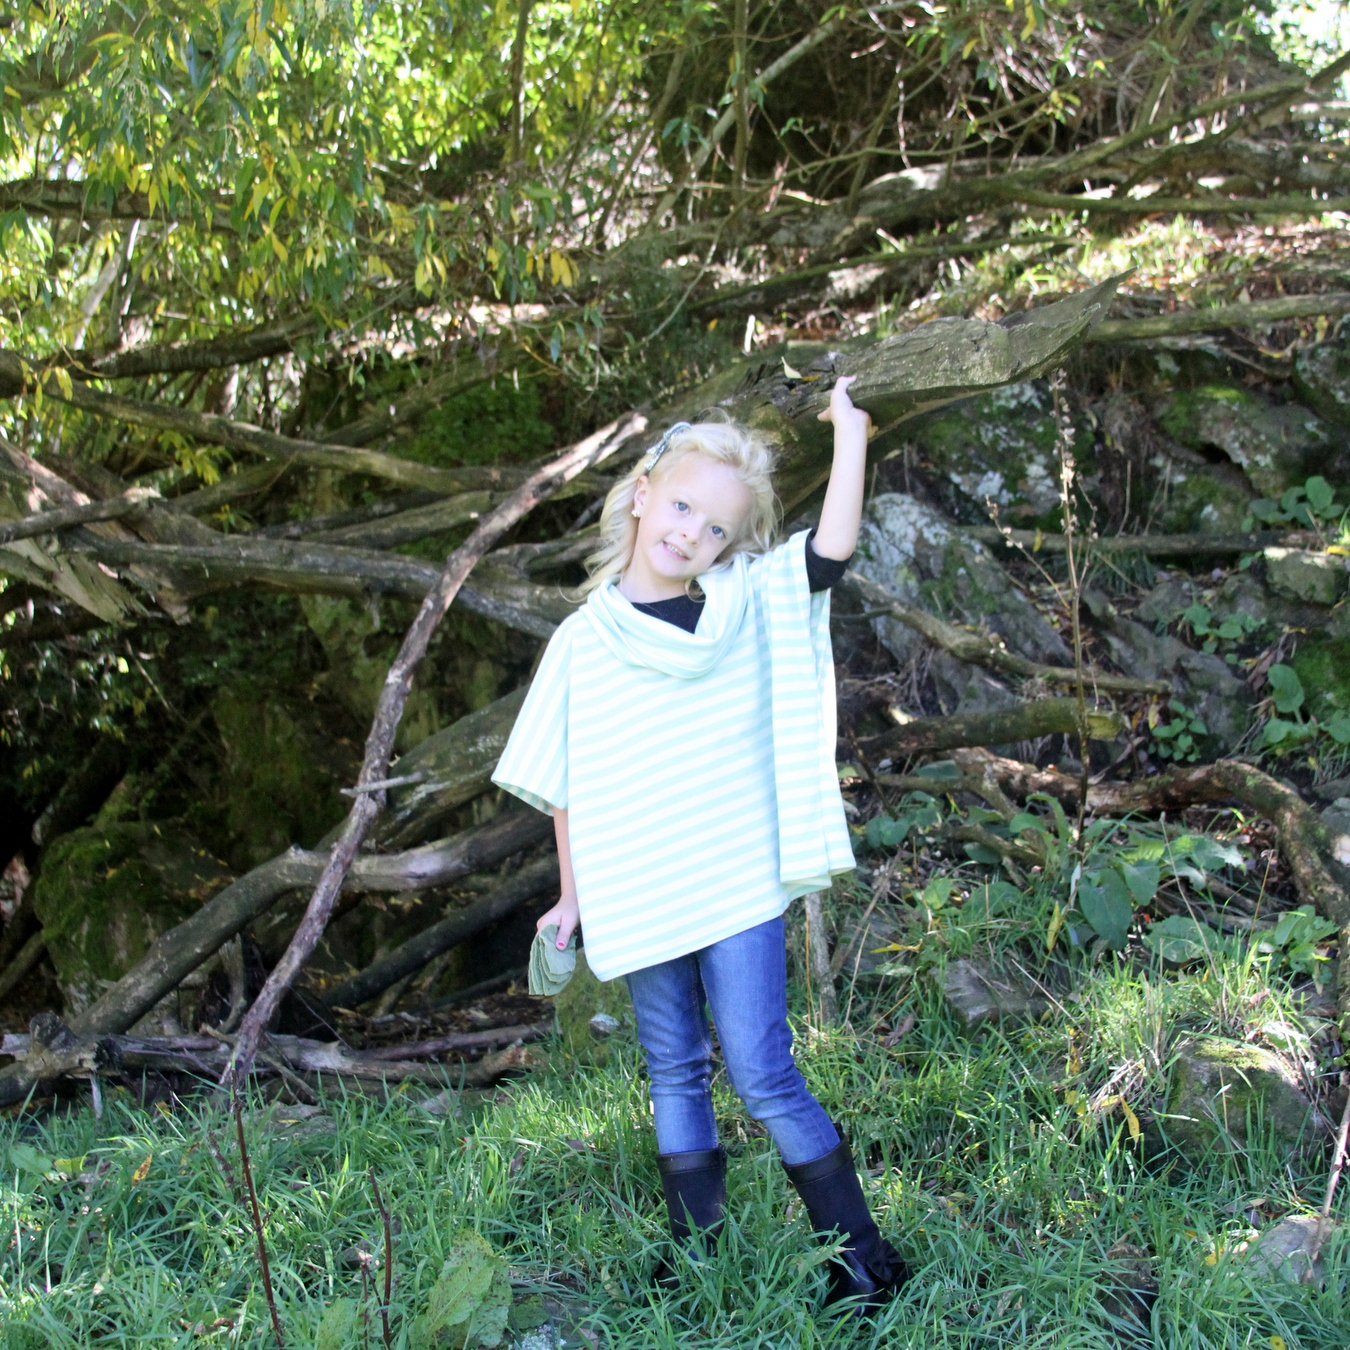 She wore it the whole trip, and it became one of her go-to’s. Now that we’re in New Braunfels ‘winter,’ she has been wearing her poncho all the time again.
 And since it was seriously SO easy to make, I thought I’d share.
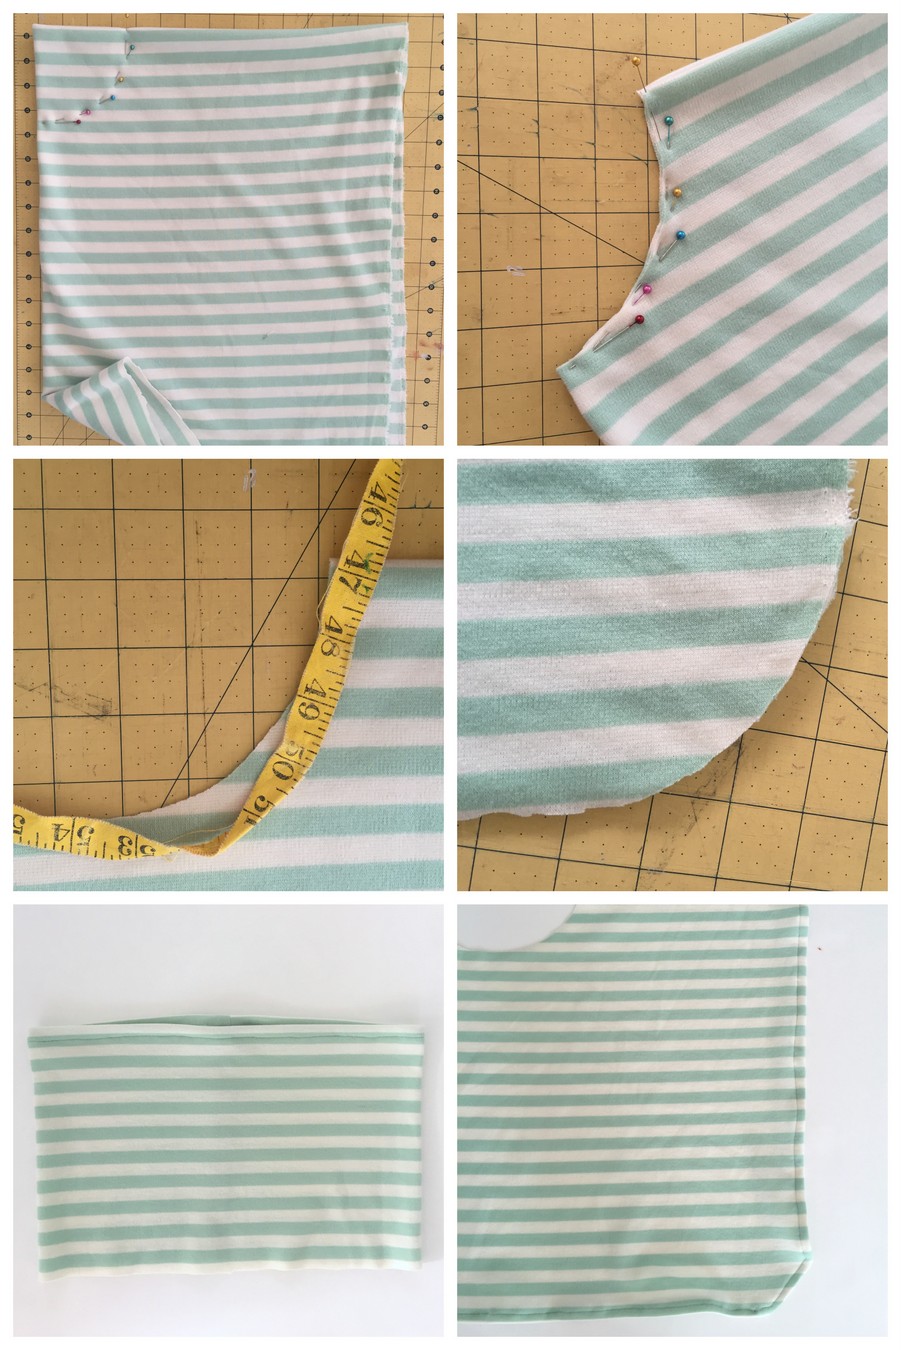 Fold your fabric in half and cut. My doubled over edge was 20″ (so 40″ total) and my width was 31″. To figure out an approximate measurement, I had her hold her arms straight out and measured from elbow to elbow and then added a few inches. Then I measured from her shoulder blade to her hip bone to estimate length. After the hemming, it shrunk up enough that I’d probably add an inch or two if I were going to make another.
Take the already-halved fabric and fold in half again, diving the poncho into quarters. In the center fold, measure out 4″ at regular intervals, giving you a neckline (if I were going to do this again, I think I’d do 3.5″). Cut.
Round four corners, and hem around entire perimeter.
Sew two lines on each side, stopping about 8″ from the top edge (to make the ‘arm holes’).
Cut a rectangle 10″ x 27″ for the cowl. To find the 27″ measurement, I measured around the neckline and added an inch (so if you make a smaller neckline, also reduce the 27″.
Fold the cowl in half, right sides facing each other and set up one side, making a tube. Hem the top edge.
Pin the right side of the cowl facing the right side of the neckline and sew in place (making sure you line up the sewn edge with the middle of the back of the poncho).

 Done and ready to make some little girl extra cozy (and extra happy)!


That’s a great top! I’ve got a Craft Gossip post scheduled for later today that features your tutorial:
http://sewing.craftgossip.com/?p=91337
–Anne
Thanks Anne!!!