
easiest ever DIY bar cart
As an Amazon Associate I earn from qualifying purchases.
 Guys, I haven’t been this excited for a project in a long time.
 It started back in Denver, when I bought a bar cart to use for all of the parties, and then promptly put it in storage (ugh!). But not before I’d fallen in love. Bar carts, y’all- so versatile.
 Naturally, a DIY bar cart edged its way to the very top of my To Make list. And after putting this little gem together, I could not be more thrilled.
 Although making anything here is an absolute comedy of errors (it’s funny, except in the moment, and then it’s just frustrating), I think if you live in a normal place with access to a Home Depot or Lowes and normal building supplies (and also spray paint that isn’t expired and doesn’t do weird stuff to your project and then require five extra trips and a ridiculous number of extra minutes to fix), you might be able to knock this project out in an afternoon or two.
 Or you could just go to Target and buy yourself a bar cart for $120. That also would work beautifully.
 But back to this DIY bar cart. To make one yourself, gather-
-Two 19″ x 36″ pieces of 3/4″ ply wood
-Four 19″ x 3″ pieces of 1/2″ ply wood
-Four 37″ x 3″ pieces of 1/2″ ply wood
-Four pieces of 32″ corner flashing (optional- spray painted gold on both sides)
-Four casters/wheels (I spray painted mine gold and they’re holding up pretty great so far)
-Two long handles or towel bars
-Gold and white spray paint (optional)
 After the wood is cut to size and the hardware and flashing spray painted gold, begin to assemble each tray. To do so, wood glue the 1/2″ panels around the 3/4″ rectangle and then secure in place with a few screws around the perimeter of the bottom. The shorter edges are an exact match and the front panels cover the corners.
Add 1/2″ flat trim to the top of each tray for a more finished look, tack in place with small nails.
Paint the trays white. Add towel bars or handles.
Add flashing to each corner, meeting the top edge of the flashing with the top edge of one tray and the bottom edge of the flashing with the bottom edge of the other tray (creating two tiers of trays, held together with flashing). Secure in place.
Add casters/wheels to the bottom corners. Done!
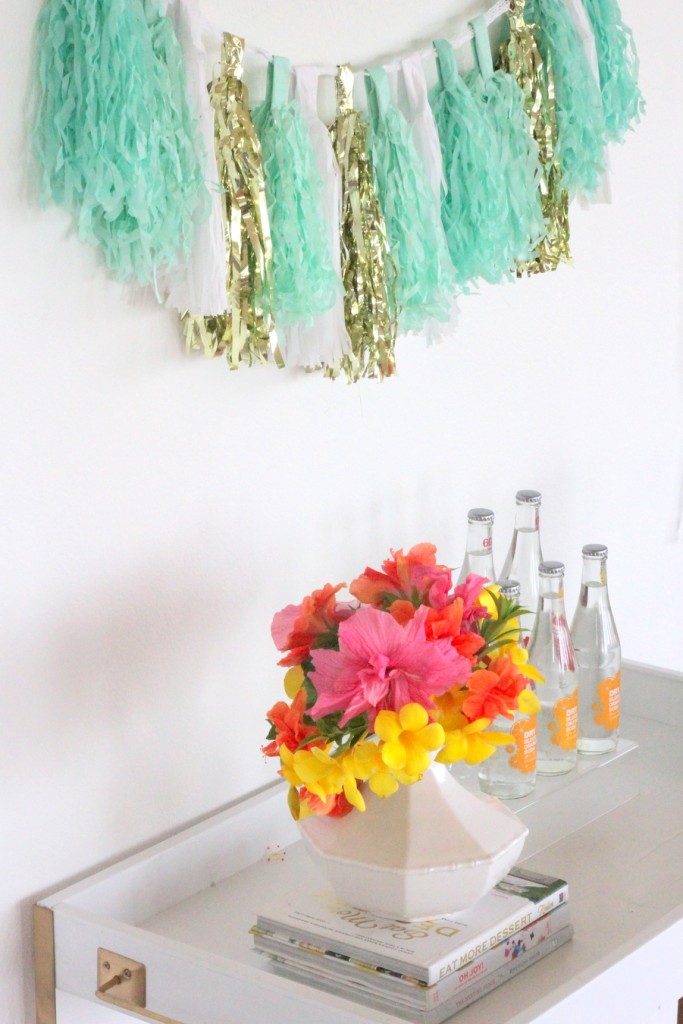
 Ready for everything from Pirate Party Brunches…

…to summer entertaining! Seriously, this DIY bar cart is the perfect project!


We just had a conversation about what we put in storage. We can’t remember! I’m pretty sure there’s not a bar cart in there, but all the tools to make one probably are. Someday!