how to spice up your kitchen- word art decor tutorial
As an Amazon Associate I earn from qualifying purchases.
One of our best-girls-in-the-world, Erin from Our Family Four, is back today (check out her past projects here, here, here and here) with a fantastic word art decor tutorial. Take it away Erin-
Hello kojo readers!! It’s Erin from Our Family Four and I just wanted to share a quick little project with you.
Kirstin and I are in a similar boat in that we have both moved in the past several months and are attempting to pull our new homes together bit by bit, room by room, and project by project. I decided to dedicate all of my free time for one month to decorating so that I could try to scratch that off of my list for good!! This is only temporary decorating as we are renting our current flat in London, but I did make some good progress! (Here is a round up of all of my living room projects, if you’re curious.) The project I’m sharing now was the first thing that I made, and a happy way to spread some more fabric around the house.
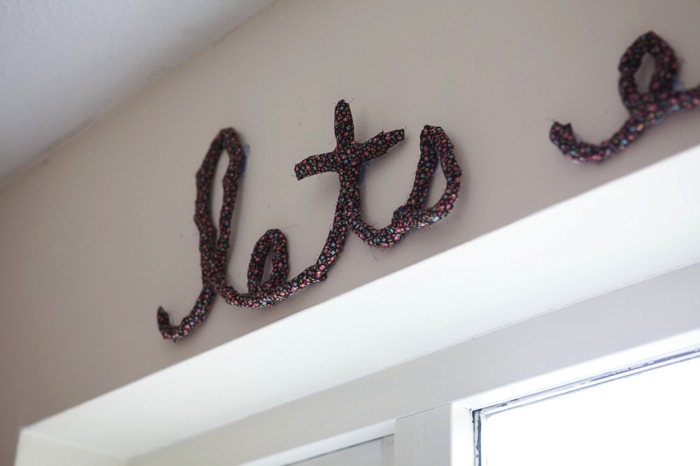
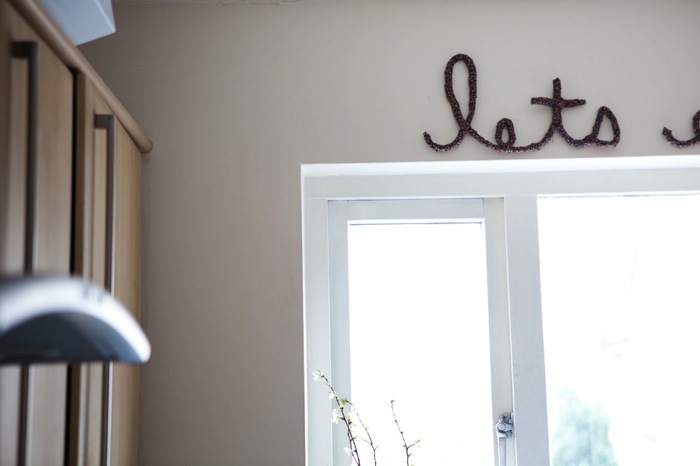 Let’s…add a little decoration to the kitchen, shall we? Yes, let’s. And while we’re there…
 Let’s eat!!
(Don’t you love a little encouragement like that when you’re in the kitchen? Okay, okay, we’ll eat!) 🙂
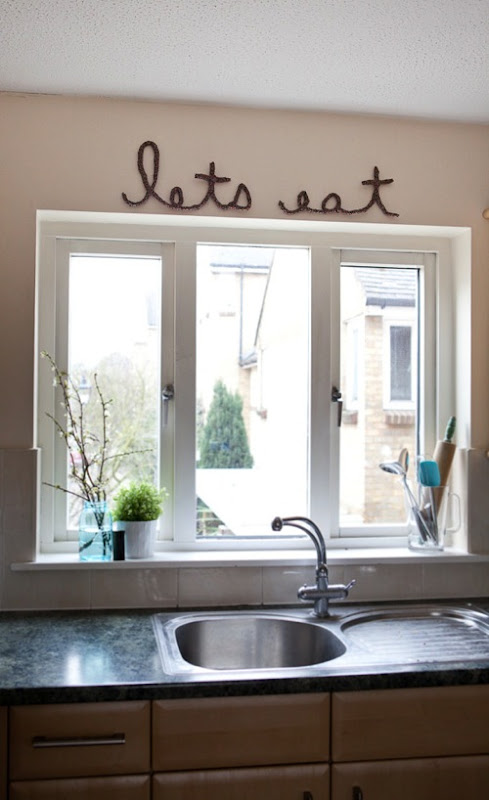 This project is pretty darn simple. It’s a lot like the “yarn around wire word” projects that are floating around.
 This project is pretty darn simple. It’s a lot like the “yarn around wire word” projects that are floating around.
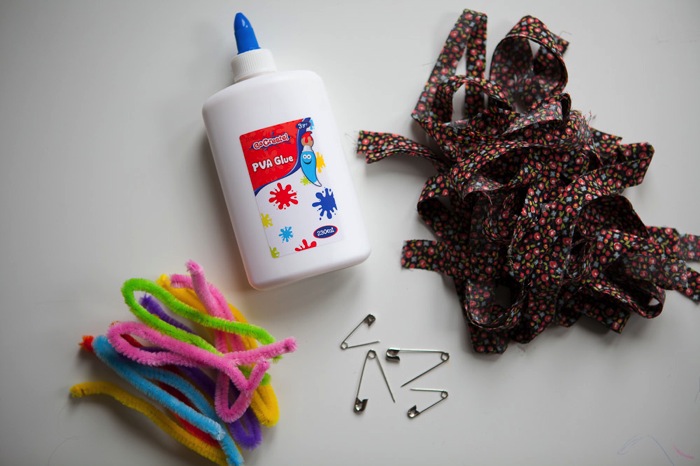 But I had fabric that I wanted to use instead of yarn, and I wanted mine to be bulkier than a wire, so I improvised a bit.
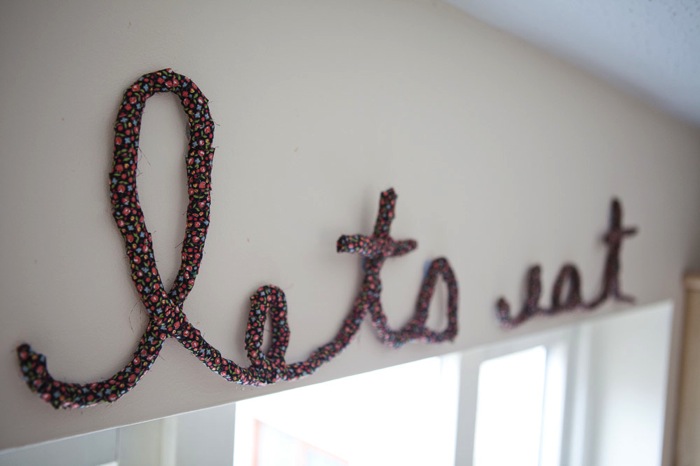
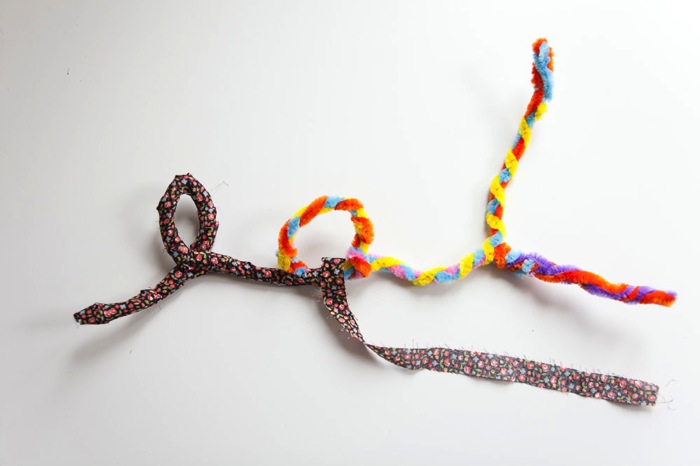 I twisted 3 strands of pipe cleaners together and twisted them around to make my word. I cut my fabric into long 1/2 inch wide strips and started wrapping. I just periodically dabbed a bit of PVA glue under a strip and kept wrapping. (PVA is like Elmer’s, except that I’m in England and they’ve never heard of Elmer’s. But this is basically Elmer’s folks. 🙂
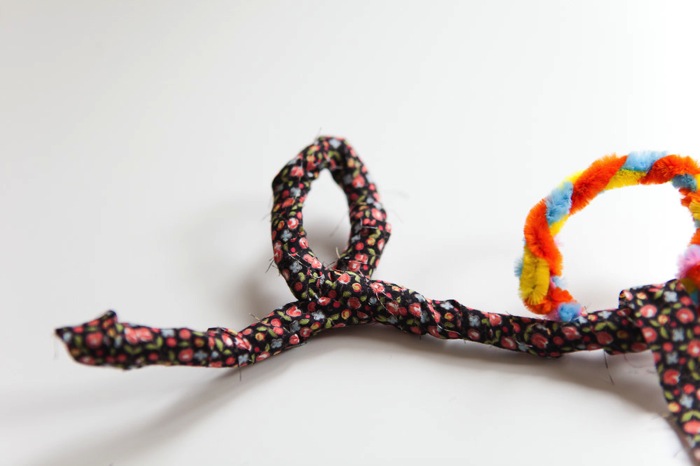 When there was a place where the wire crossed over itself, I wrapped across both wires and wrapped that spot a little more tightly than the rest of it for some added re-enforcement. Then I just kept wrapping until the whole word was covered and secured my ends with another dab of glue.
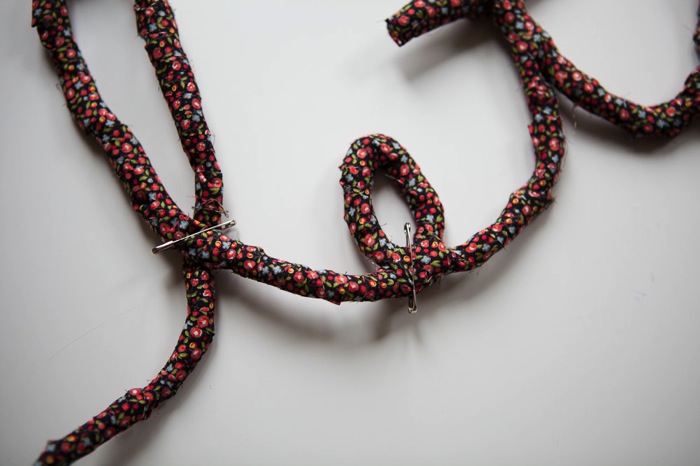 The “lets” word was a bit heavy, I think because the tall “l” was a bit awkward. I safety pinned the spots where the wire crossed over itself for reenforcement as I finished wrapping that word. (I didn’t need to do this for “eat” so I would just play it by ear depending on the word.)
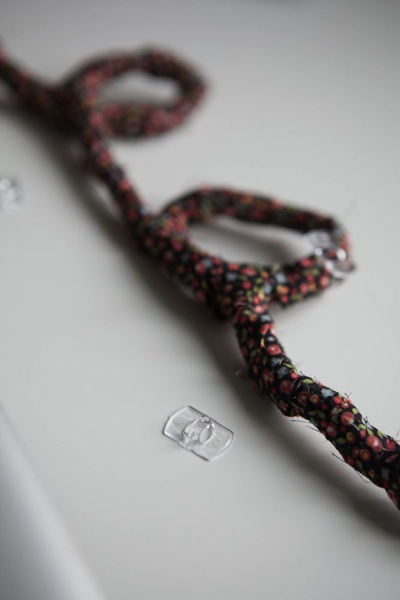 Since we are renting our flat I am aware of putting too many holes in the walls. (Notice I didn’t say “I’m avoiding it.” It’s more that I’m picking and choosing. 🙂 So I used these little command hooks that I had leftover from Christmastime. Luckily they are discreet, tiny, and slipped easily under the loops from the strips of fabric.
 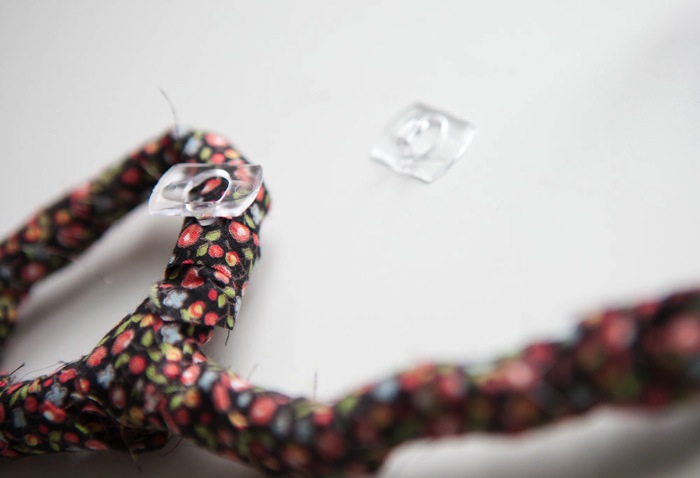 Then I hung it up!!
 It’s so fun!!
 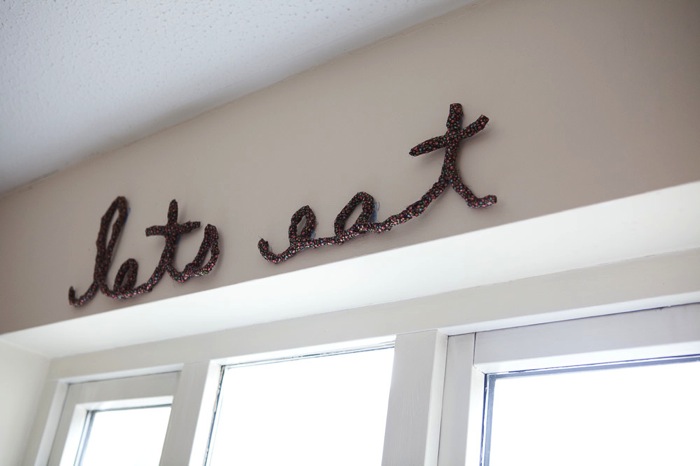 My only regret is that I can’t see the tiny pattern as well since it’s hanging above eye level. This is one of those projects that looks really good close up, but I still like it above the sink. Chances are that it’s going to get moved down once I get some frames on the wall in the kitchen. Which is why I’m so glad that I went with those Command Strip Hooks-no nail holes=no guilt with re-arranging. 🙂
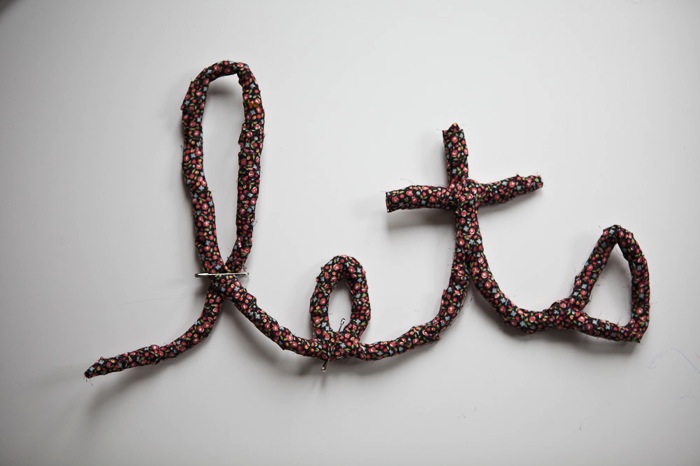 As soon as I finished it I started thinking about other words that I’d like to see wrapped in fabric. This could be a great way to use up some scraps too!!
In the entry, maybe “Welcome” or “Hello.” In a kid’s room, or something fun like “play time,” “girls room,” or their name. In a bedroom, “love” or “us.”
What word(s) would you make and which room would you use it in?! Give it a try, it’s an easy and rewarding little project.
Thanks again for having me Kirstin!!
 Be sure to go say hi at Our Family Four– and while you’re at it, check out her cu-ute dress sewing, doll making, and more dress sewing, bubble short making and even more dress sewing.
This is so clever and lovely! Erin is so great. Pinning!
Isn’t she fabulous? Love that Erin. 🙂