
how to make your own custom 2013 blog planner (part 1)
As an Amazon Associate I earn from qualifying purchases.
 I have a pretty specific list of dayplanner requirements– it has to be big enough for list making, have monthly overviews and daily space, and have room in the back for me to jot down my ideas.
My dayplanner wishlist makes that list even longer- I would love to have a readymade chore list right in my planner (organization = higher productivity for this girl), I have all sorts of blog categories (projects, posts, FB, twitter and ideas) that I’d love to have a space for, and labeled “Idea” pages in the back would also be nice. Oh, and, I’d love if it were pretty too.
I’m sure you’ve already surmised that my ideal blog planner does not exist. And it’s pretty important to me, so DIYing my own was pretty high on my priority list this winter.
 And, I have to tell you, I love the end result of my toils.
 In fact, just glimpsing my DIYed dayplanner in my purse makes me smile. When I open it up and find my lists of daily chores, space for my blog planning, idea pages AND all of my dayplanner requirements all between two covers, it makes me a little bit giddy. I might even call this dayplanner gloriousness- that’s how much I love this thing.
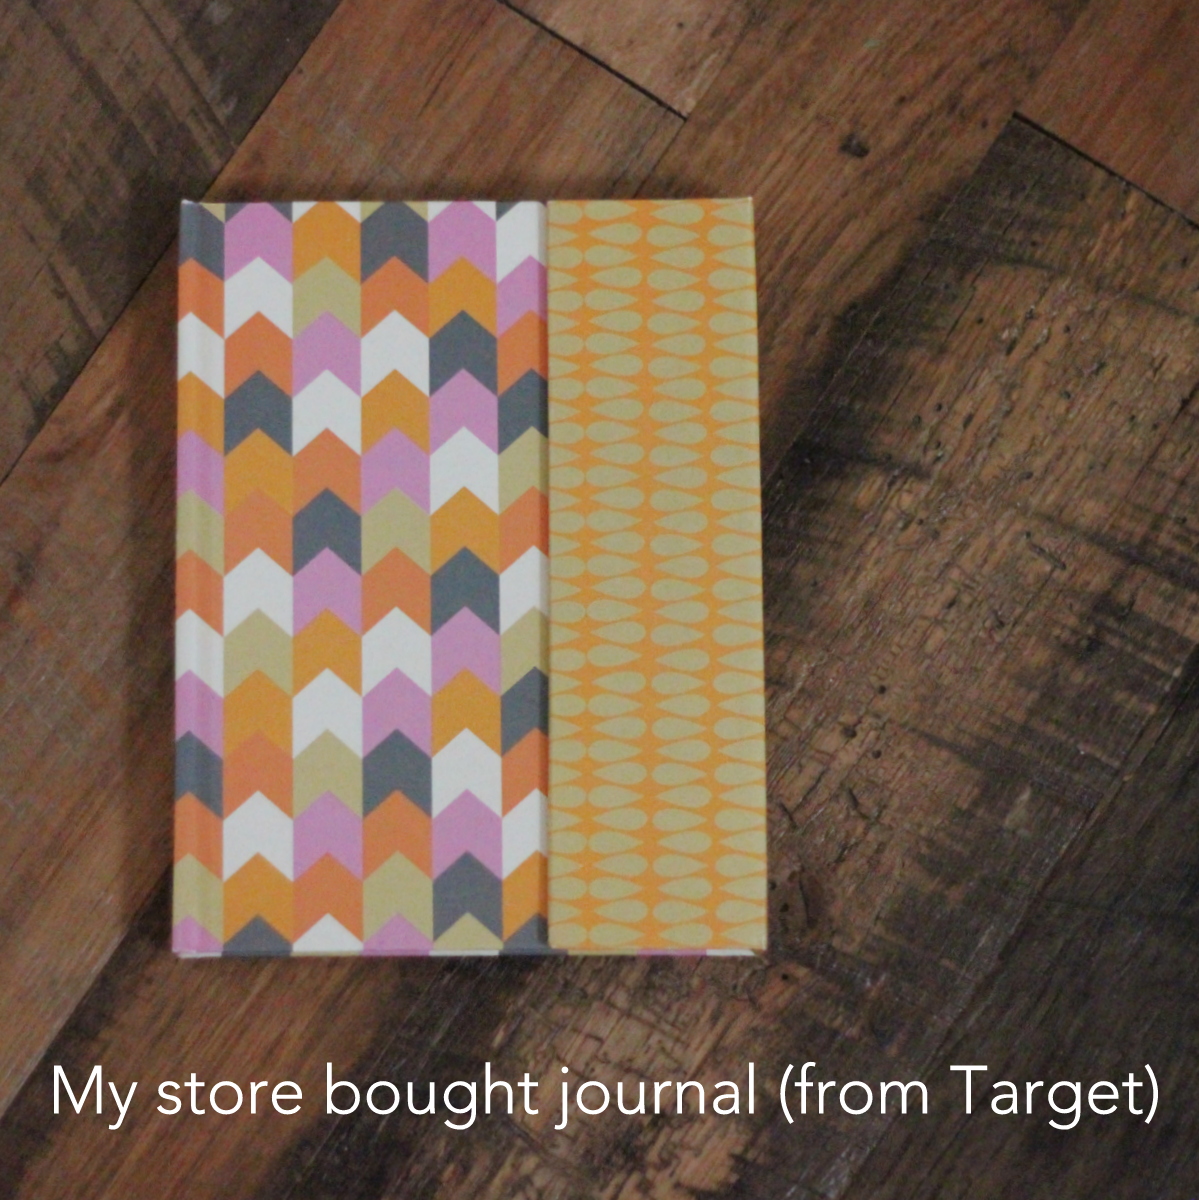
Even better, I modified an existing, Target-bought journal for this project (cutting out several of the more labor-intensive steps of book making). Which means, of course, that you can make your own blog planner/day planner as well (tailored to your own requirement/wishlists). YAY!
This first ‘how to make your own planner’ post will cover making the contents of the planner itself, though the steps will be different depending on what you design for yourself.
*Sidenote- if you don’t want to design your own system, I love these fabulous printable planner inserts by I Heart Organizing. Those would work as an already-existing option.
 You should probably buy your journal/hardbound book before you start designing (so that you can tailor your sizing). I did this part backwards (designed first, bought the journal second) and it worked fine, but it’d probably be smarter to do it the other way around.
 After you design (or buy) the contents of your planner, print everything out on your home printer or at a printshop (like Kinko’s). My planner pages are all on half sheets of paper, and there was definitely some trial and error as I tried to figure out the front-to-back printing system (I can send you what I finally determined to work if you’re using half sheets with two days per page like I did).
Next, stack your printed pages in order and separate into six equal sections (two month segments). Put a same sized piece of cardstock in the front and the back. Clip together with paper clips of clamps.
 Use a piece of cardboard to make a binding template. Measure out equally spaced holes (five worked well for me), draw guide ‘dots’ and use a drill with a small bit to drill through those holes (use a scrap piece of wood underneath your drilling).
 Then, use your template to drill holes into your six sections of paper (as well as your front and back pieces of cardstock). Make sure you line up your template exactly the same each time (I lined mine up with the top edge of the stack of paper and clamped in place). Using the template will ensure uniformity of hole spacing.
 After all of your holes are drilled, thread one of the middle holes with thick string, embroidery floss, or even dental floss. Tie off.
Alternate tying off holes by section (so that there isn’t one especially bulky spot in the finished stack) and bind all six sections by passing thread/floss through the alternating middle holes. Then bind all six sections together in one big stack through the top and bottom holes. Pull the binding string taut, but not so tight that the papers begin to fold and pucker.
 Once the sections are all bound together at the top and bottom, go back and bind through the middle holes. Everything should be lined up and pulled together at this point, so binding through all of the sections goes pretty quickly.
Your entire insert is now bound together and ready to be made into a custom 2013 planner…
 Once this is finished, finish your blog planner with part 2 of the tutorial.
Your planner makes me happy! I have all those things, just not in the same place. But as my life becomes less compartmentalized, maybe it’s time to look at putting them all together. Hmmmm……
I feel like we are kindred spirits about organization, friend. 🙂
I’m bookbinder and think this is an interesting way to bind a book. If it works, it’s ok. BTW, love the planner.
Carolina- I am definitely not a book binder (haha!). 🙂 But after adding adhesive contact paper to the front and the back covers (and hot gluing the bound up side to the already made binding), it is staying in place just great. Any tips for next time??? 🙂
There is an easy way to do it without sew pages, it`s call american ( I learned in Spanish, maybe in English has other name). I can send you the tutorial I have.
Ooooh, love that Carolina! Send it over!
What a fantastic idea. i am always struggling to fit everything that I need to keep track of in one planner! What a great idea to design your own! I really like your layout. Truly awesome. Your cleaning list makes me a little dizzy though (um you’re amazing!!! is what I am trying to say). 🙂
Haha- the cleaning list is new. I’m actually not starting it until February (we have house guests until then and I am hosting 5 parties in January). And, true confession- I have a cleaning lady coming on Saturday.
But I will let you know how it goes once I start. 🙂
What a cute idea!
-m
Thanks Meaghan! 🙂
Your planner looks great! I have been trying to make one for a while.
I would appeciate it if you would consider sharing. Thanks.
Thanks Sharon- I sent you the blank copies of the planner pages- modify away! 🙂
I love this idea! I always have to write down my list of things to do each day to actually get it all done. What a great idea to do the same with all of my sewing / blogging projects!
Thanks for sharing!
Jenny
Seamingly Smitten
Thanks Jenny. Obviously, I can totally relate- LOVE the to do lists. 🙂
Oh, please send me your template! I love this idea! I love making lists, but it would be so nice to have the lists I make over and over already done.
What a great idea. I have been struggling with how to keep everything straight in my life. Would you also email me the blank pages so I can try it out? Much appreciated. I am SUPER excited to do this.
I LOVE it! What did you create it with? Looks like a perfect size. I like your “categories”. Thanks so much for sharing. :o)
Thanks Carrie!
Do you mean which computer program did I use? I made it in Powerpoint… the pages are 7″x10″ which was perfect for my planner size. 🙂 Hope that helps!
Is there any way I can get a copy of your lists of what you put under “House?” I am a newlywed and a First Year Law student and am constantly struggling to maintain any semblance of control over our house and from what I could tell your lists look like they might be helpful to get my started in the right direction.
Thank you so much for posting this.
Sure Paige! Let me dig up my list for you. Can I email it to you?
Could you please email me a copy of your blank planner pages? Thank you!
Hey Grace, lost them in a computer crash (UGH)! Sorry!