retro fabric christmas lights tutorial
As an Amazon Associate I earn from qualifying purchases.
I have such a treat for you guys today- one of our BFFs in blogland, Erin (of Lemon Tree Creations and Our Family Four) is here to share a fabulous Christmas project. They’re amazing- both these Retro Fabric Christmas Lights and Miss Erin herself. Check out the loveliness-
Hello lovely kojodesign readers! I’m Erin from Our Family Four and I’m so glad to be back today to share a fun holiday tutorial with you guys!
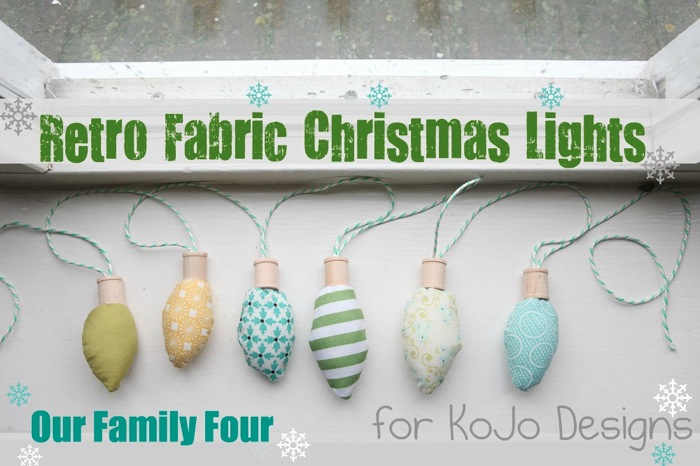 I just love those big old fashioned Christmas lights, don’t you? They remind me of being a child at Christmastime. They were so fun and bold and bright, I just loved them. So I decided to make some with a few of my favorite mediums: fabric and a hot glue gun! 🙂
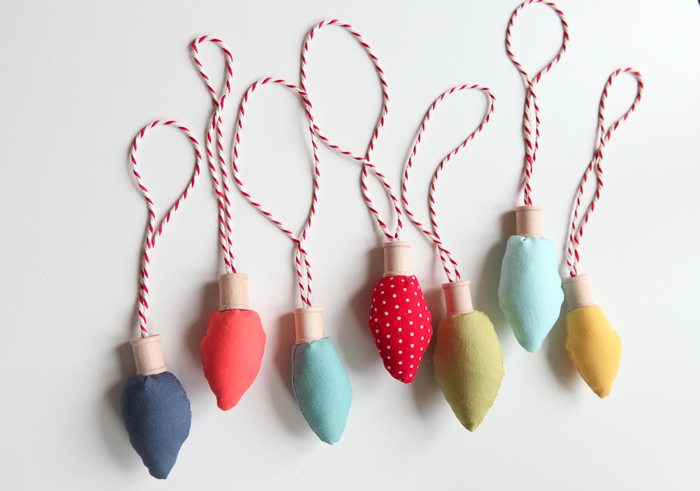
We moved to London a few months ago and we love it! We left 90% of our possessions behind, (it’s sparse around here, folks), which means that I have a completely blank slate for my Christmas decorating this year. The fun thing about a completely blank slate is that I can go in absolutely any direction with my decorations, and that is exactly what I did with these Fabric Retro Christmas Lights. I made tons, in lots of different little combinations.
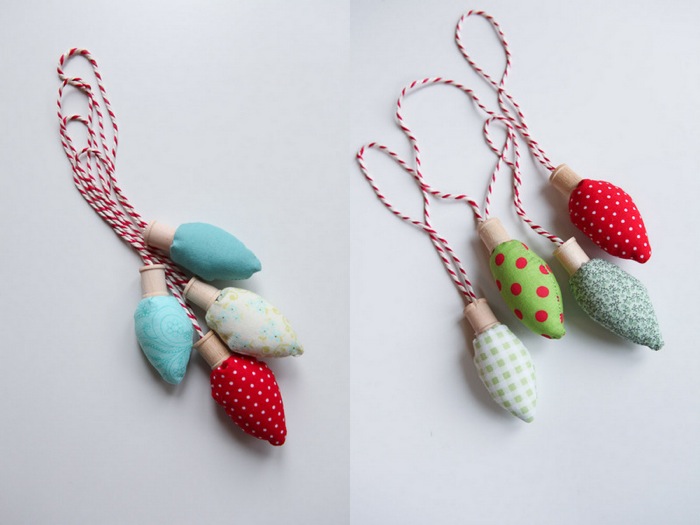 Once I got started on these, I didn’t want to stop until I had tried out all of my options. First I just wanted a few bright splashes of color for my tree, then I thought it would be a good way to use up some of my fabric scraps, then I wanted to make a set that coordinated, then I wanted to see them in solid colors…you get the idea. Or you could buy a fat quarter pack and all of your bulbs would coordinate perfectly. 🙂 No matter what, you might have to sneak a little red and white polka dotted one in with every combo because it just SO Christmas-y. 🙂
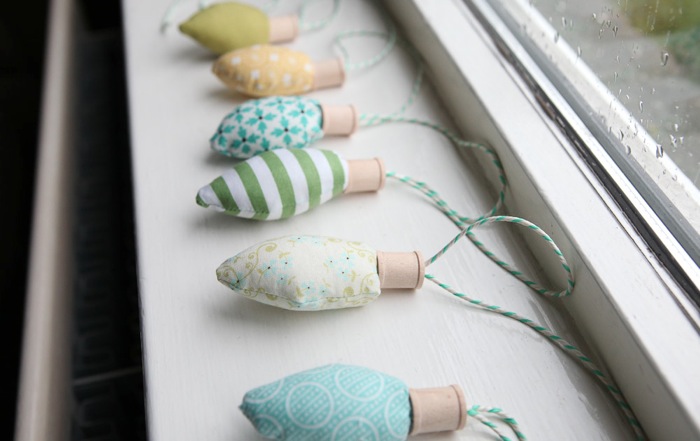 I’ll show you two versions, the Christmas light ornament, and the strand of Christmas lights. Ready?
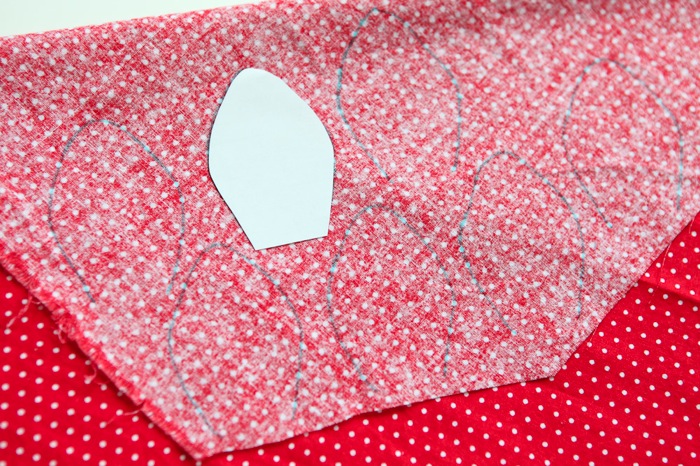 First I made a template of an exaggerated Christmas light bulb out of paper. I traced the template on the back of my fabric, placed two pieces of fabric right side together, sewed along the line that I had traced being sure to backstitch at the start and stop of the line. I left the bottom of the bulb open.
 I cut out the bulbs with my pinking shears, and flipped the fabric right side out.
 Next I stuffed it full with polyfill,
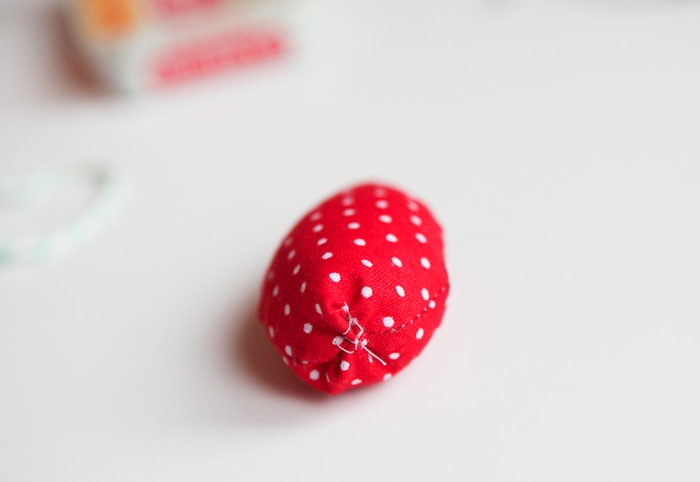 tucked the ends in and then stitched the bottom closed. Congratulations, you have a Christmas light!!
 Now make a few more. Or a dozen. Throw them into a pile, arrange them in little sets, and toss them at your kids. But be sure to get them back-a lot of hard work went into those. 🙂
 Grab some bakers twine and wooden spools, (I used the tiny 1/2 inch ones), and your hot glue gun. Now, there are two different options for making the sockets, a Christmas light ornament or a strand of bulbs.
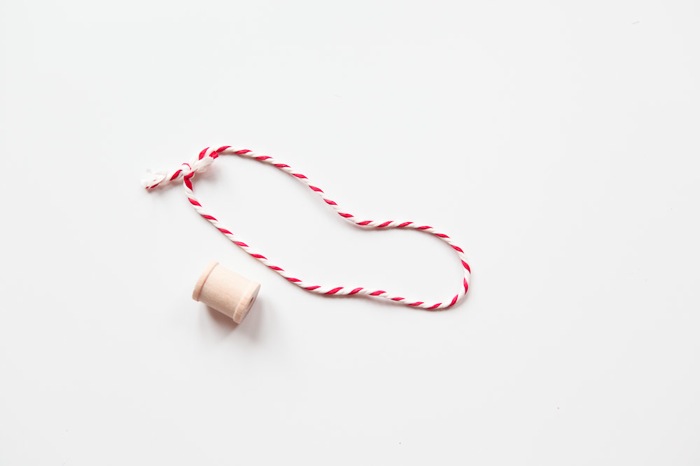 For my single bulb I cut a strand of bakers twine about 12 inches long, tied the ends together, and used a crochet needle to tuck the knot into the hole in the spool. I put a glob of hot glue in the hole and pulled the twine back through just a bit so that the top of the spool would be completely flat, and the twine would be secured.
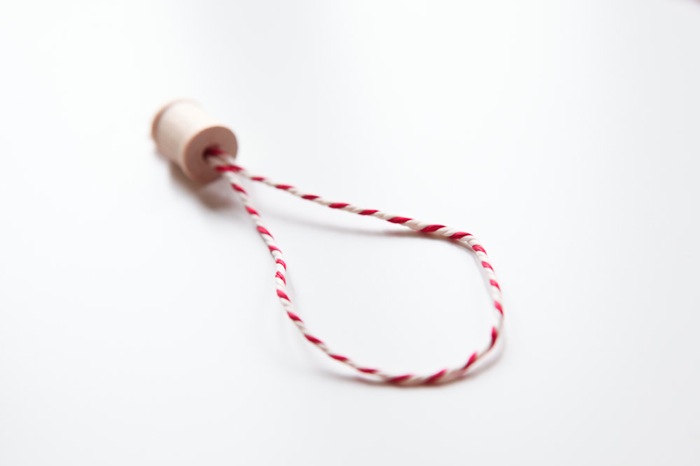
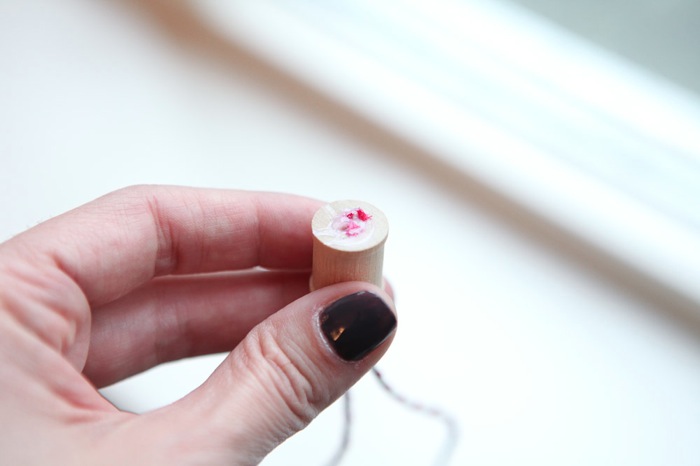 I put a big glob of hot glue on the top of the spool,
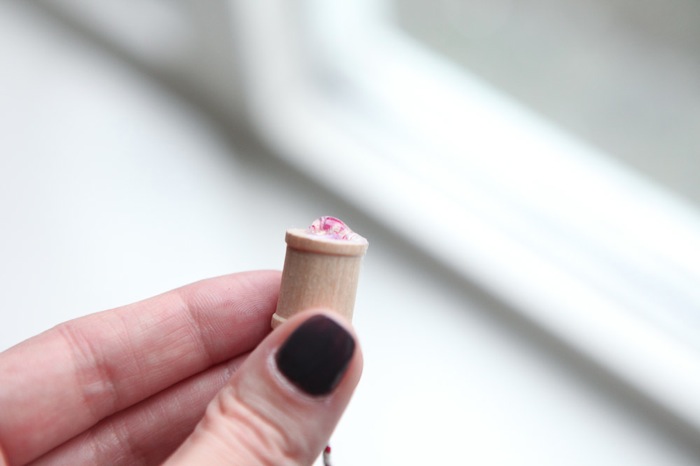 then stuck a Christmas light on top, pushing it down so that any of the glue that spilled over the edge of the spool would be covered by fabric.
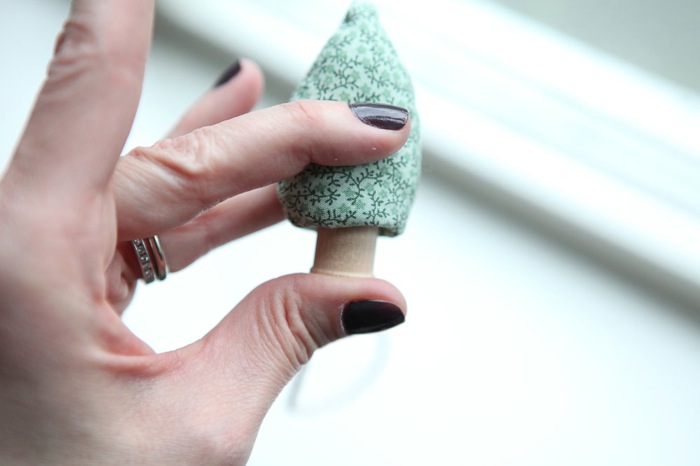 Ta da! An ornament!
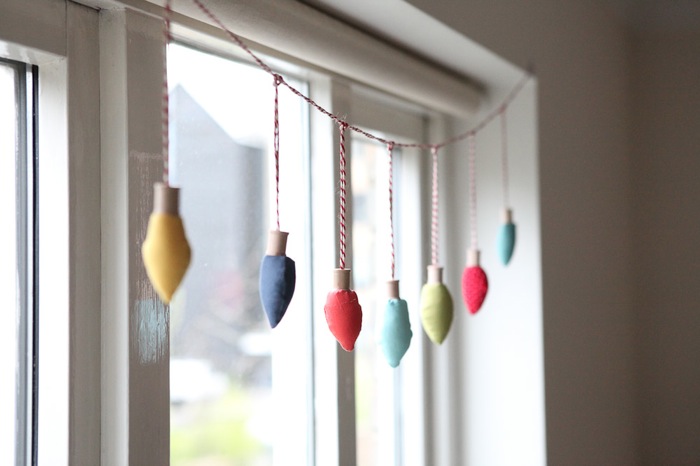
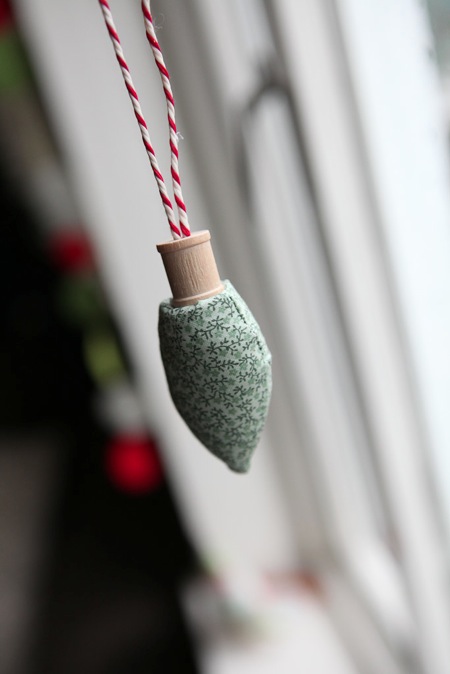 For the strand of Christmas light I kept a long strand of bakers twine. I used a crochet needle to tuck a section of the twine through the hole on the spool,
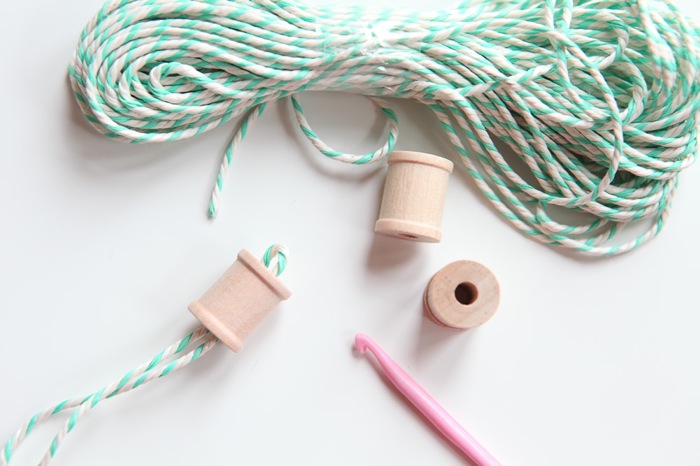 and secured it with a glob of hot glue, and then pulled the twine back into the spool a bit so that the top was flat.
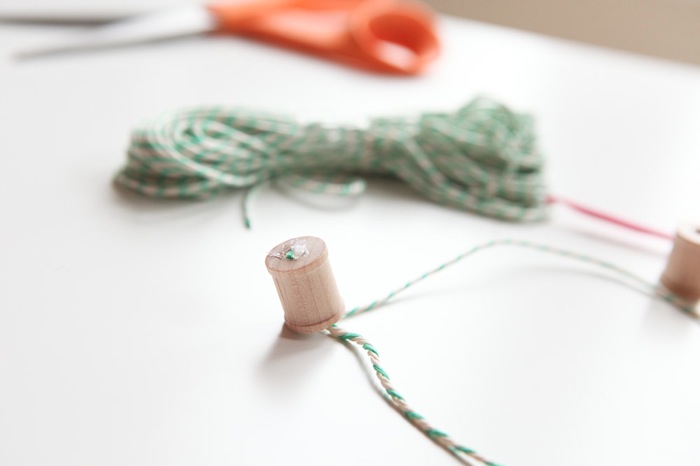 Then I measured down the bakers twine about 9 inches, and attached another bulb in the same way. I did this 4 more times until I had a strand of 6 evenly spaced light “sockets.”
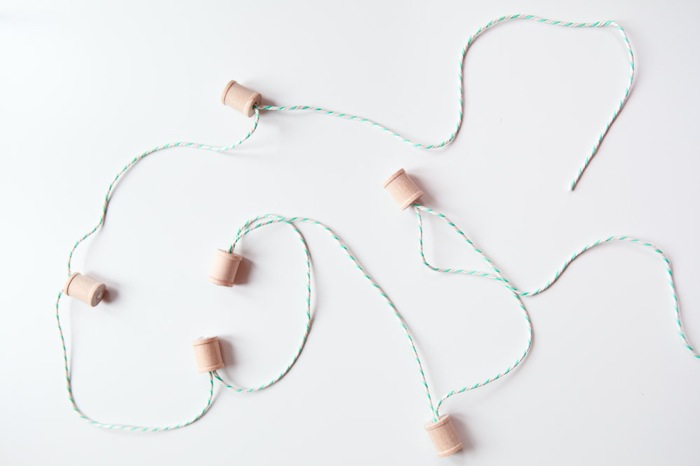 Then I chose the lucky 6 lights that I would attach to these sockets, hot glued them on, and admired them happily.
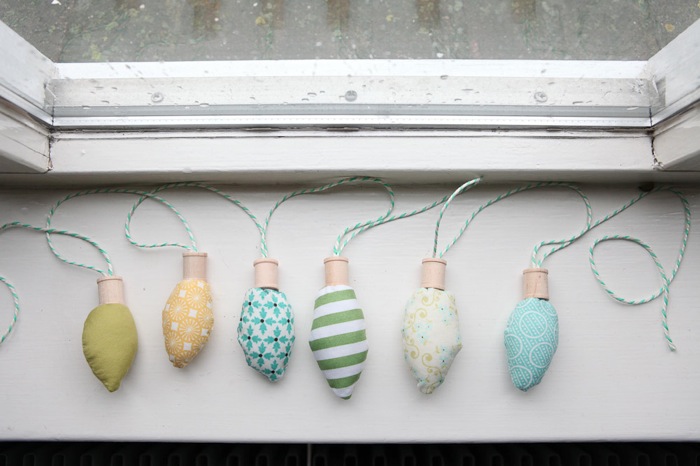 If you decide that you want to turn your ornaments into a strand of lights, simply hang up a string of bakers twine and attach the bulbs afterwards. It’s no biggie, and still looks adorable.
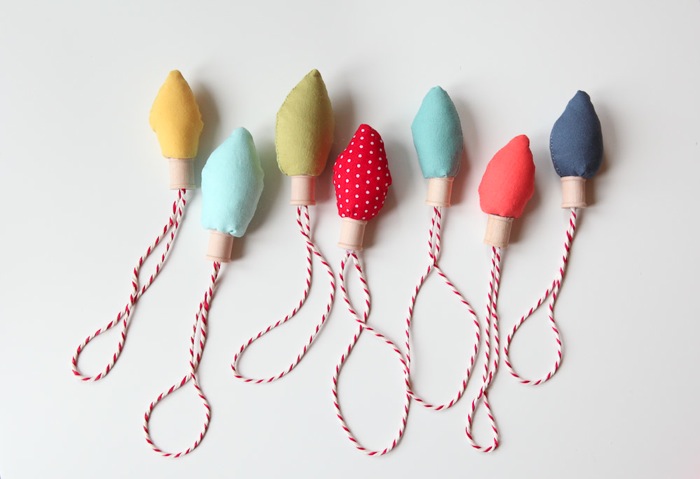
 You can also embellish your bulb sockets if you’d like. You could wrap them in the bakers twine, ribbon, fabric or anything else that you have on hand.
 The possibilities with washi tape alone are endless, am I right?
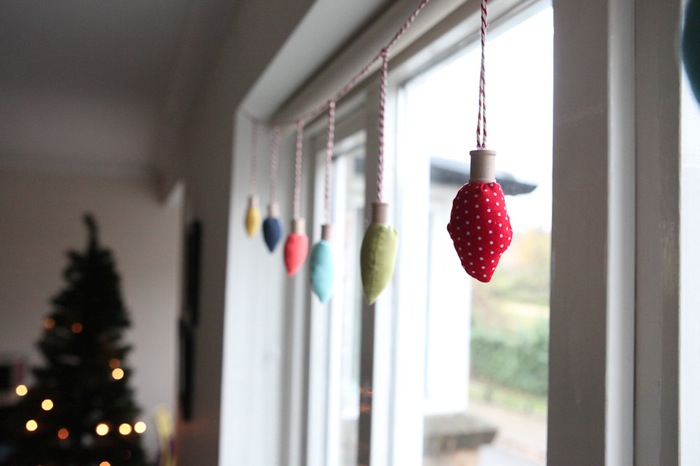 I hope these make their way into your home somewhere this year, onto your mantle, above a window, across a mirror, or maybe into the stocking of a loved one. 🙂
Feel free to stop by and say hi at Our Family Four and let me know if you make some! I’d love to see!
Thanks for having me Kirstin and Jordan!! 🙂

I love this! We have a Christmas attire contest at school for the staff/teachers in 2 weeks and I may just be creating some of these to decorate myself with! Great idea!
Okay, adorable.
Right? 🙂
super cute!! (:
I’m with you- love Miss Erin (and those fabric lights!!!). 🙂
Oh my goodness! THese are adorable!
-liZ
liZ, aren’t they GREAT???? can’t wait to make some myself!
these are just the cutest ever.
Nikki, I agree completely. Erin is brilliant!
Love this little lites, and so easy peasy to make. Saw you on Craft Gossip, so glad you were featured today….I’m now following you. Thanks
Jaan, thanks for stopping by (and following). Isn’t Erin a genius? 🙂
Soooo sweet!!!
Thanks Tina! 🙂
These are so sweet! Love it!
Kim
Thanks Kim- I love them (and Erin!). 🙂
i might use left over wine corks, we seem to have quite a few
love the idea
xxx
What a great idea- let me know how they work! 🙂
Super cute and child proof FTW!
Aren’t they great???
Yay, I loved putting these lights together and had fun getting the tutorial together. Thanks for letting me share it Kirstin! 🙂
Erin, THANK YOU. You are invited back any time… all the time. This month, perhaps (if you still want). 🙂
Love this! I am going to make some “name ornament” place cards for my gutses, and then they can take their ornament home and place it on their tree.
These are adorable and fun!
I absolutely love these! Unfortunately I am not the slightest bit crafty. Do you sell these? Or would you be willing to make me a set? I LOVE them!!!
Heidi, I’ll ask Erin, but she lives in London, so I’m not sure she’d be able to get them to you in time… 🙁
I’m COVETING these in a major way!!! SO CUTE!
What a great idea! I can make these and attach them to the gifts.
I LOVE that idea Marilyn! Your gifts will be so pretty!
Great idea and super cute and fun
Thanks Shirley- I love Erin’s stuff!
Do you have a template for the lights? I love your design! Thanks!
Hey Kelley- no template, sorry! It’s more of an eyeball-it kind of project. 😉