how to make a squid costume
As an Amazon Associate I earn from qualifying purchases.
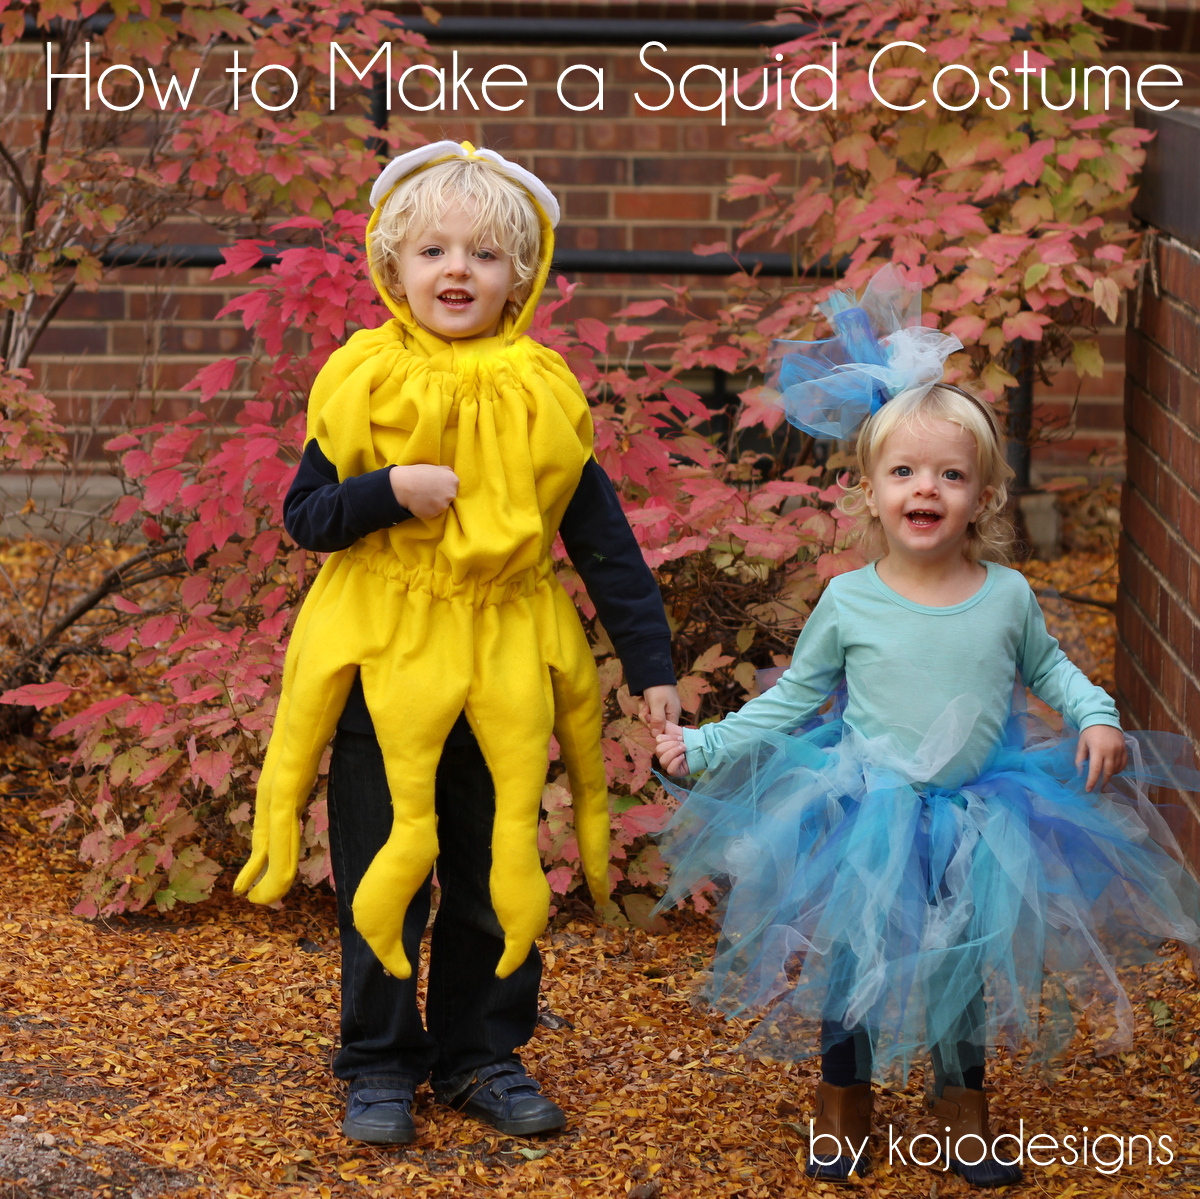 I love Burke’s imagination and ‘vision.’ That kid keeps me on my toes, and I absolutely love that about him. He also (usually) doesn’t ask for much and is so thankful for the things I make for him.
 Because of that appreciative-and-not-demanding combo, I really love trying to problem solve ways to make the things he imagines come to life. Whether it’s a “Yellow” themed birthday party or a Squid Halloween costume, I love making things for him.
The Squid costume design is similar to the idea of a hooded towel (except it closes/ties in the back and the hood is not attached).
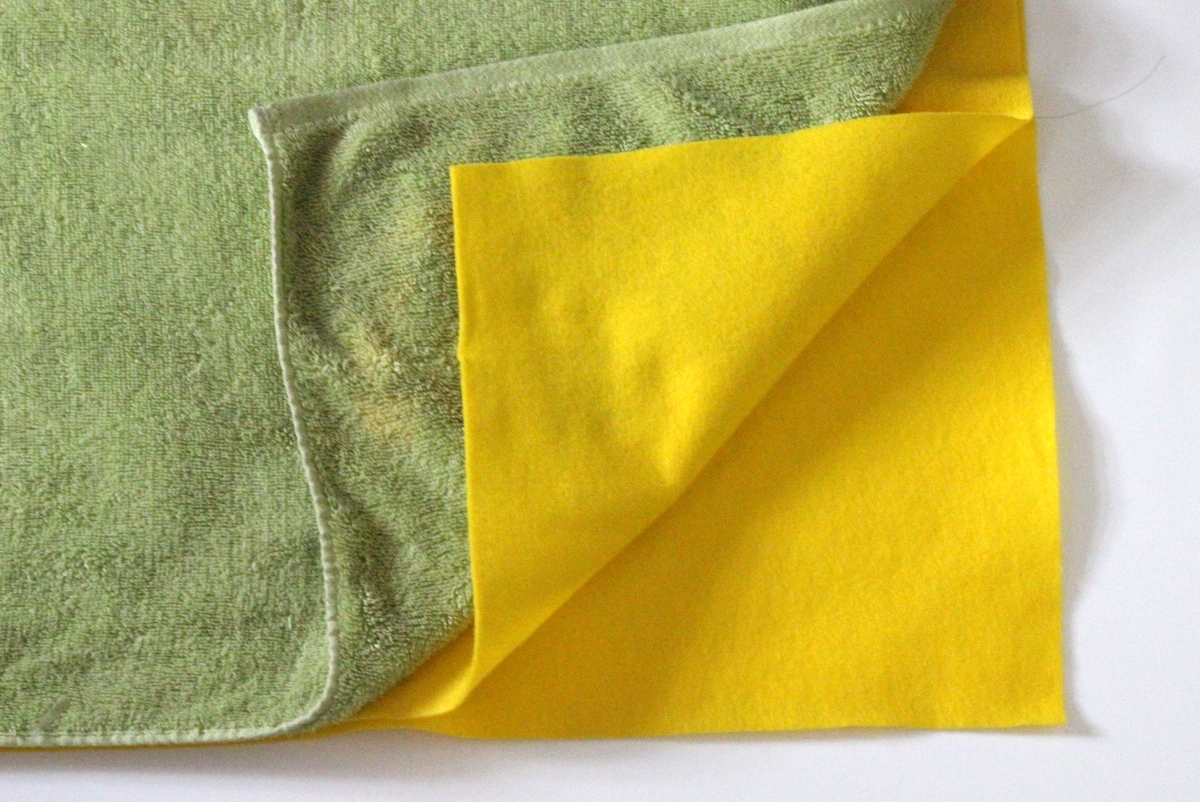 Take your felt and fold it in half horizontally (‘hot dog’ style for those of you who’ve spent much time in an elementary school classroom). Match up your doubled over fabric with a hooded towel (or a regular towel will do too!). The felt will be a little longer and a little wider.
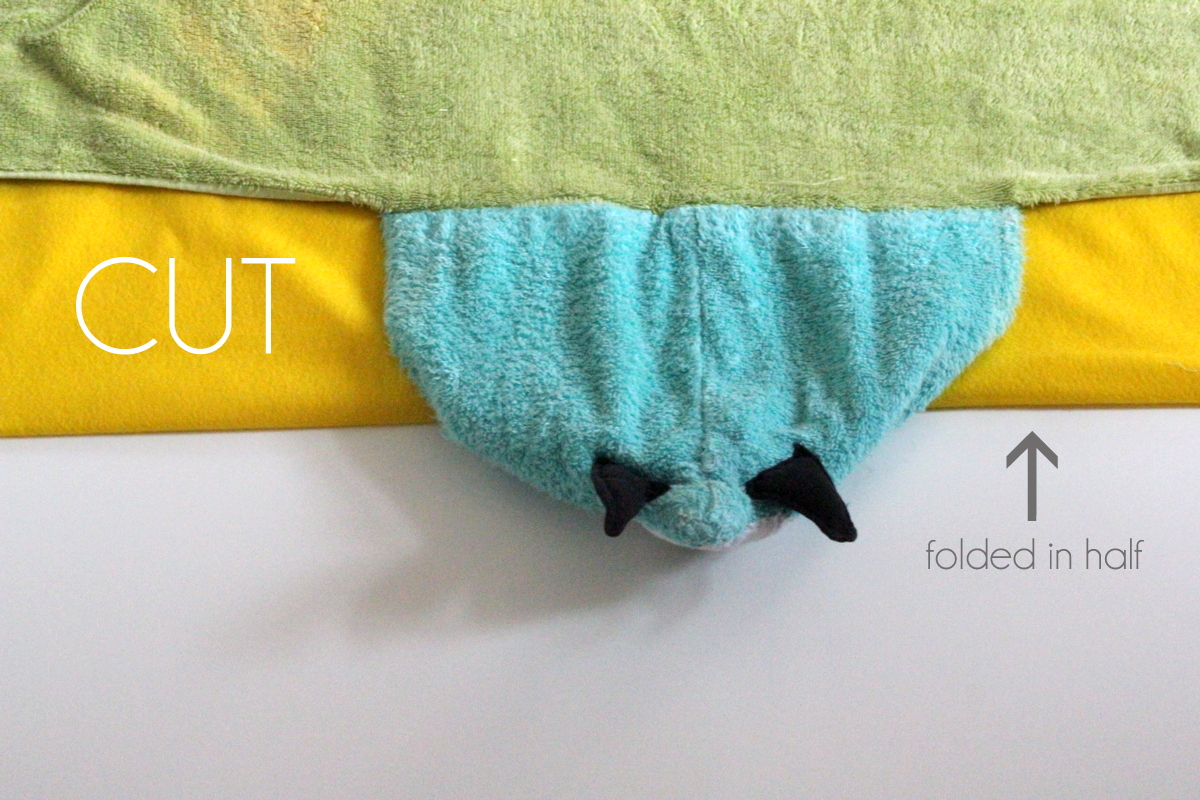 Leave the width, but cut down the height (the shorter length) to match the towel (cut on the folded side to preserve a larger piece of leftover felt- instead of cutting from the unfolded edge).
 To cut the eight legs (times two because you’re cutting two matching pieces), with the two felt pieces still stacked, fold over in half vertically (‘hamburger style’ to keep with the theme). Visually, find the approximate middle and cut a slit about halfway up the felt. Repeat until you have four (approximately) equal slits in your doubled fabric (which, is actually all eight ‘legs’ when you unfold).
 Leaving the two felt pieces stacked (still), unfold and start to cut ‘leg-ish’ curvy lines along the slits. I just freehanded these (with scissors). Don’t make them too complicated, as you’ll be sewing the legs together and then turning right side in (too many curves will make that more difficult).

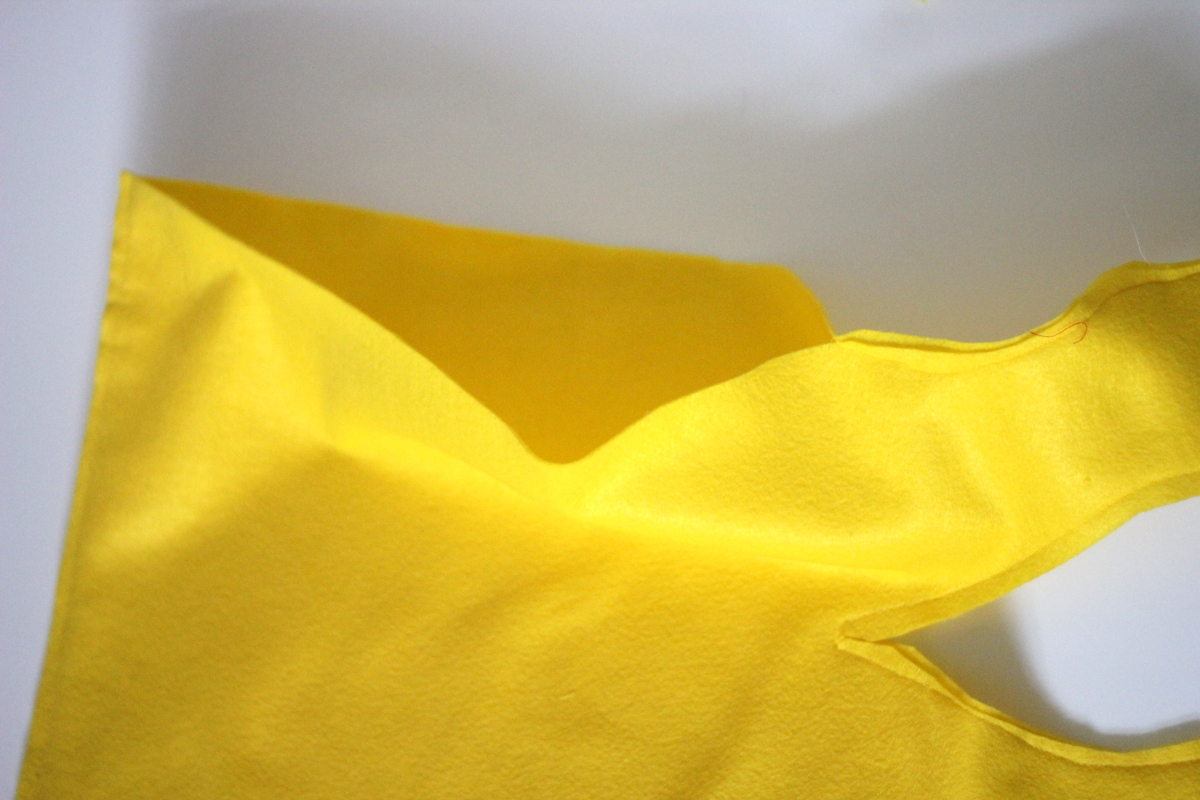 With the matching pieces still stacked, pin the two pieces together. Sew around the perimeter of each ‘leg.’ Also, sew up one side and along the top edge. Leave one side open.
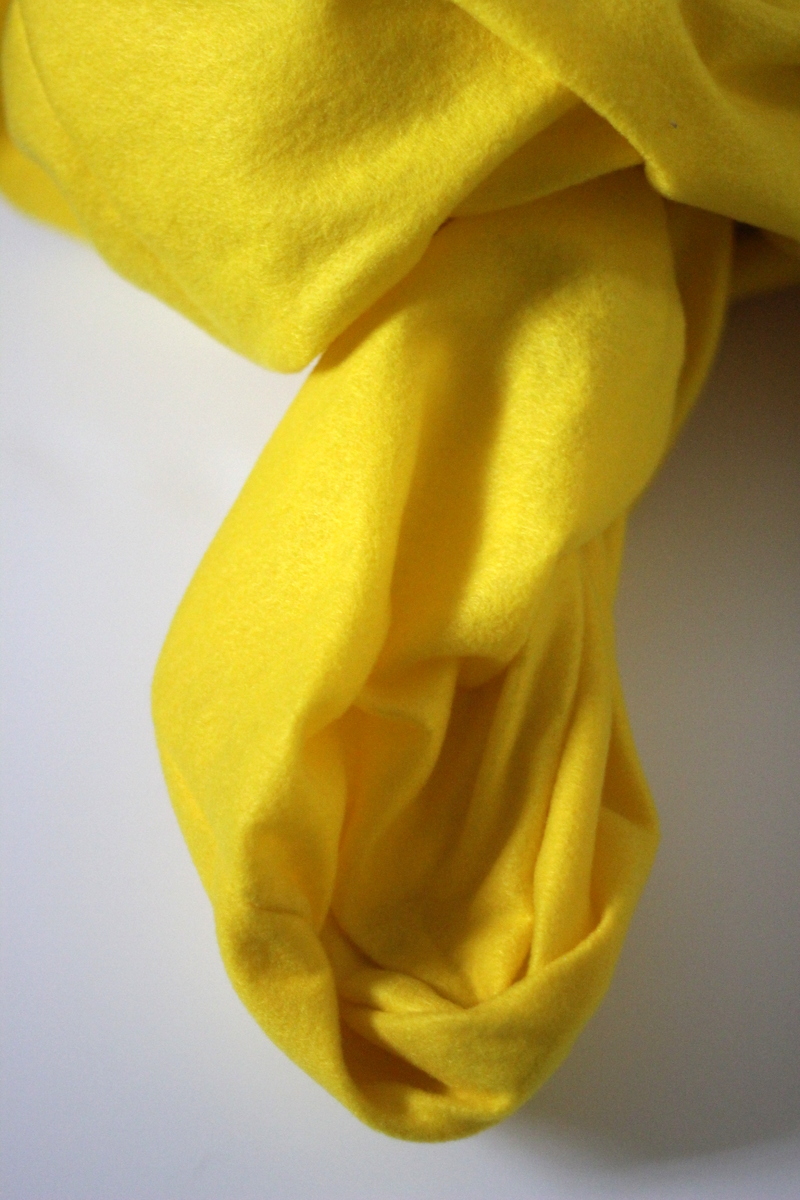 Turn the entire costume right side in, pulling everything out of the open edge.
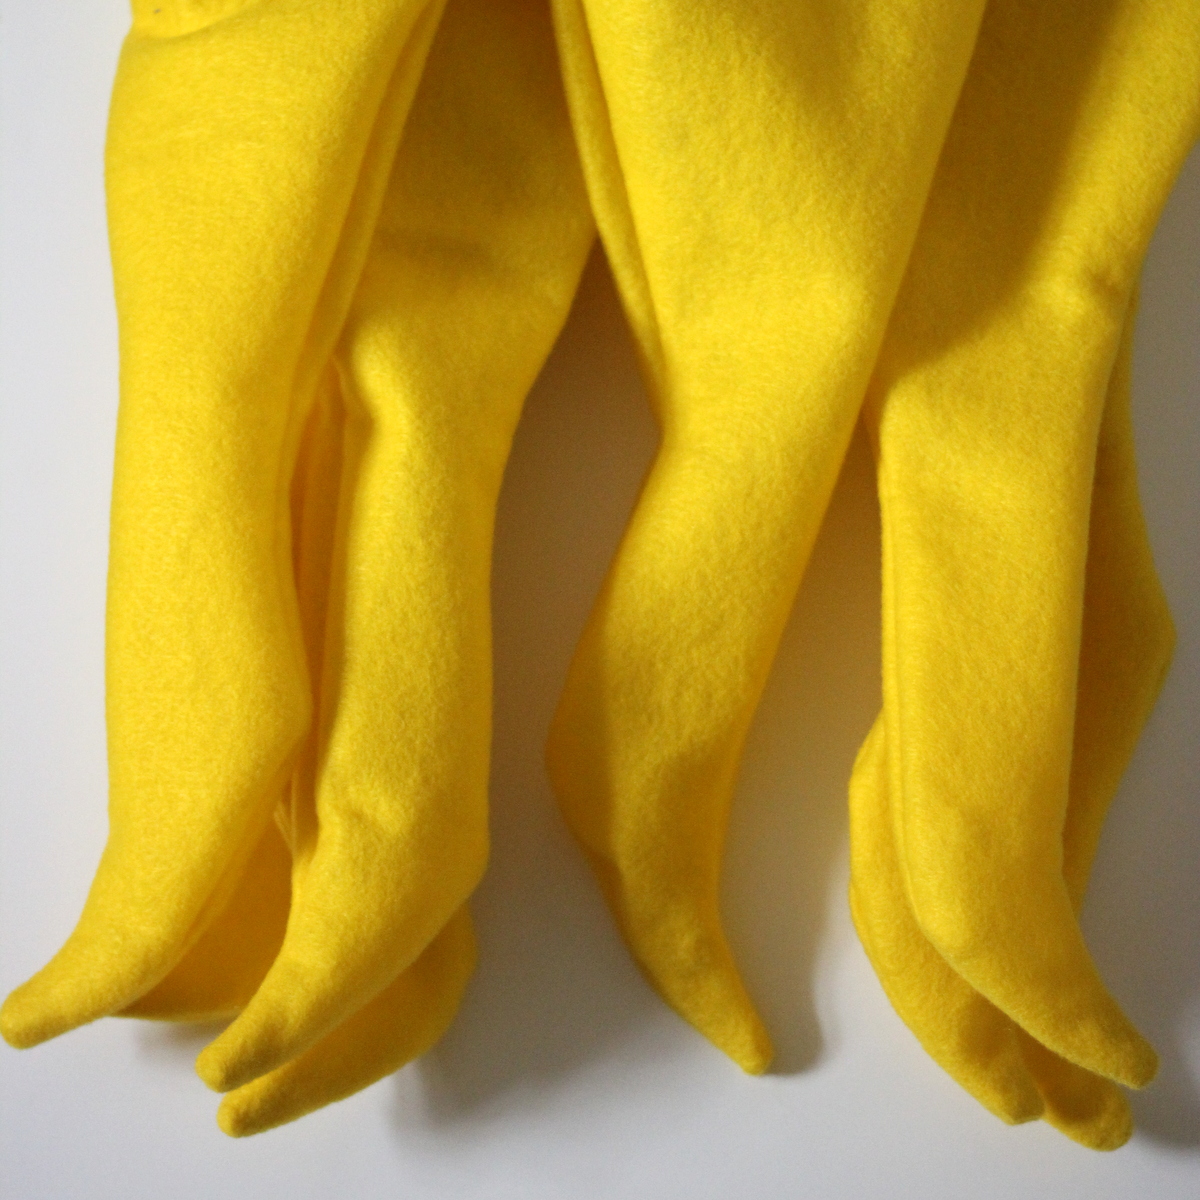 Poke a chopstick (or something else long and pointy) into each leg to turn right side in.
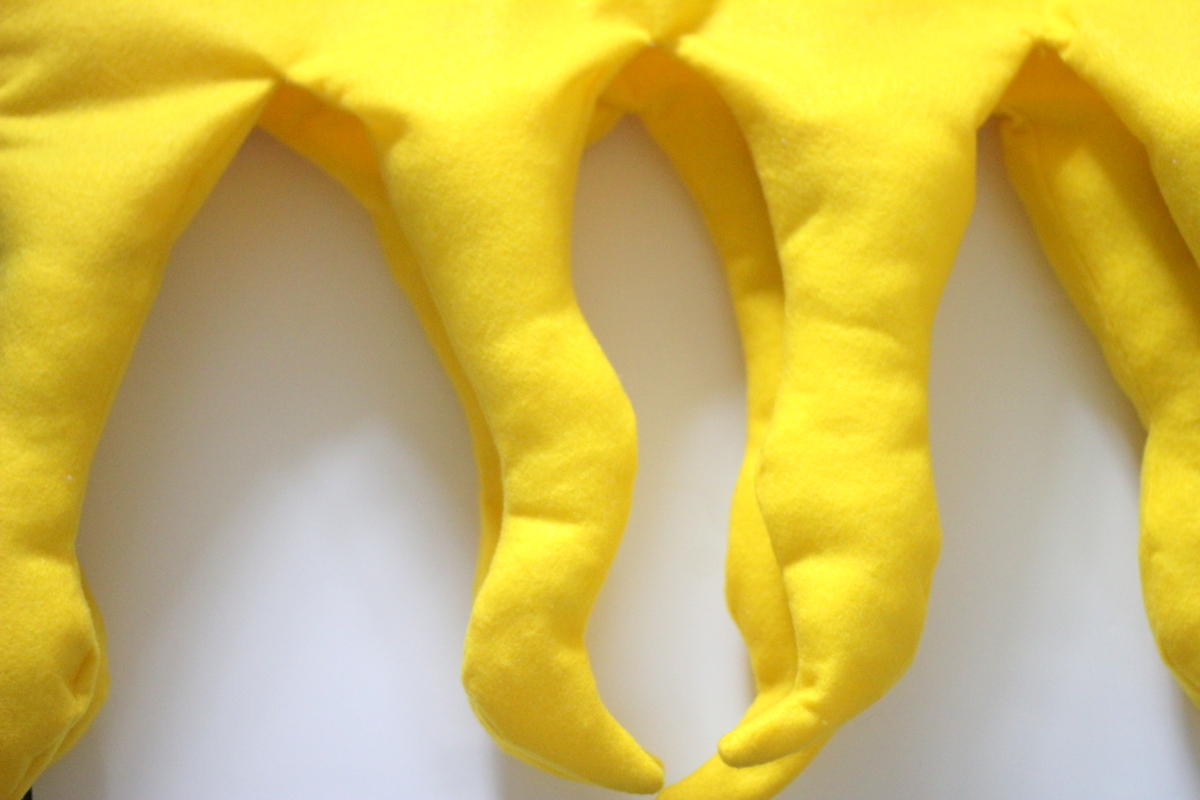 Use batting or fabric scraps to fill the legs with stuffing.
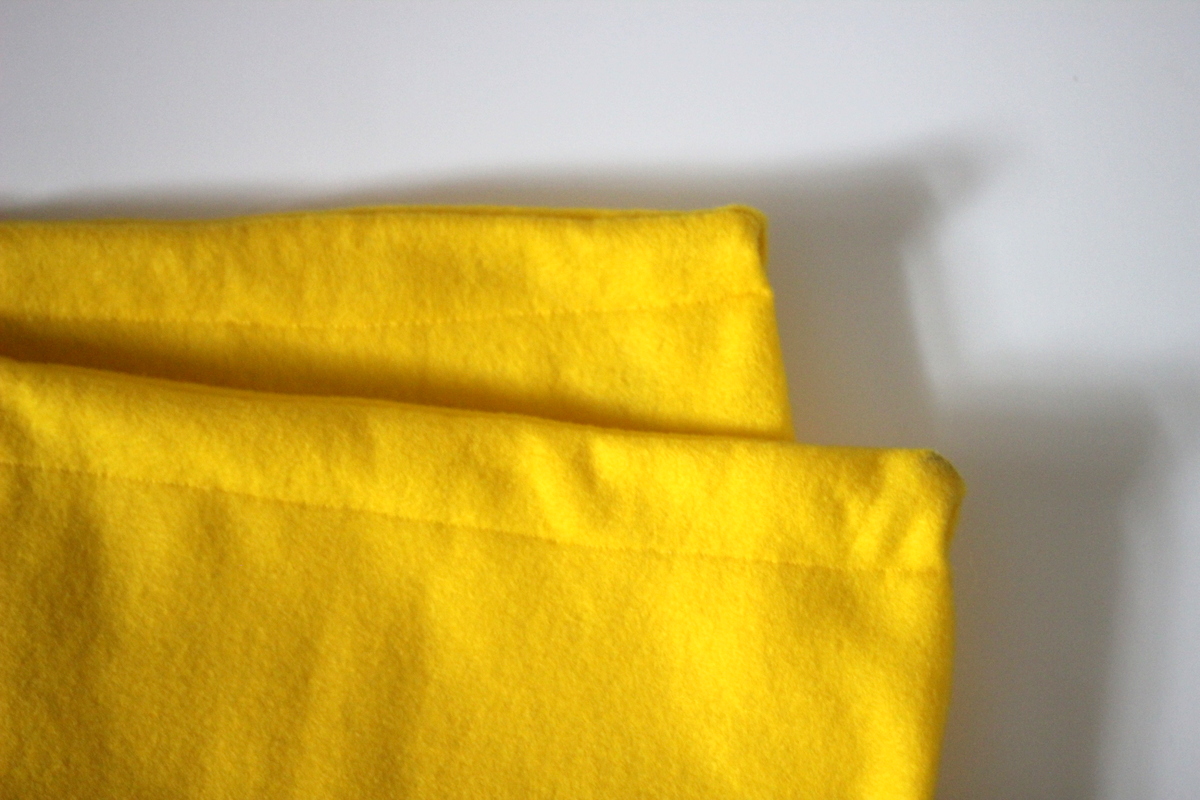 It’s time to make two casings so that the ‘body’ of the squid will squinch up into a ball-ish shape at the top of the costume. First, with the costume still turned right side in, sew a long straight line a couple of inches from the top edge. You’ll have the seam rip a few stitches out on the already sewn-shut side in order to pull a ribbon/elastic through the casing. To make the armholes, cut slits through both layers of felt on each side. Since the felt doesn’t fray, just cut at arm height, with enough room for an arm to move through easily.
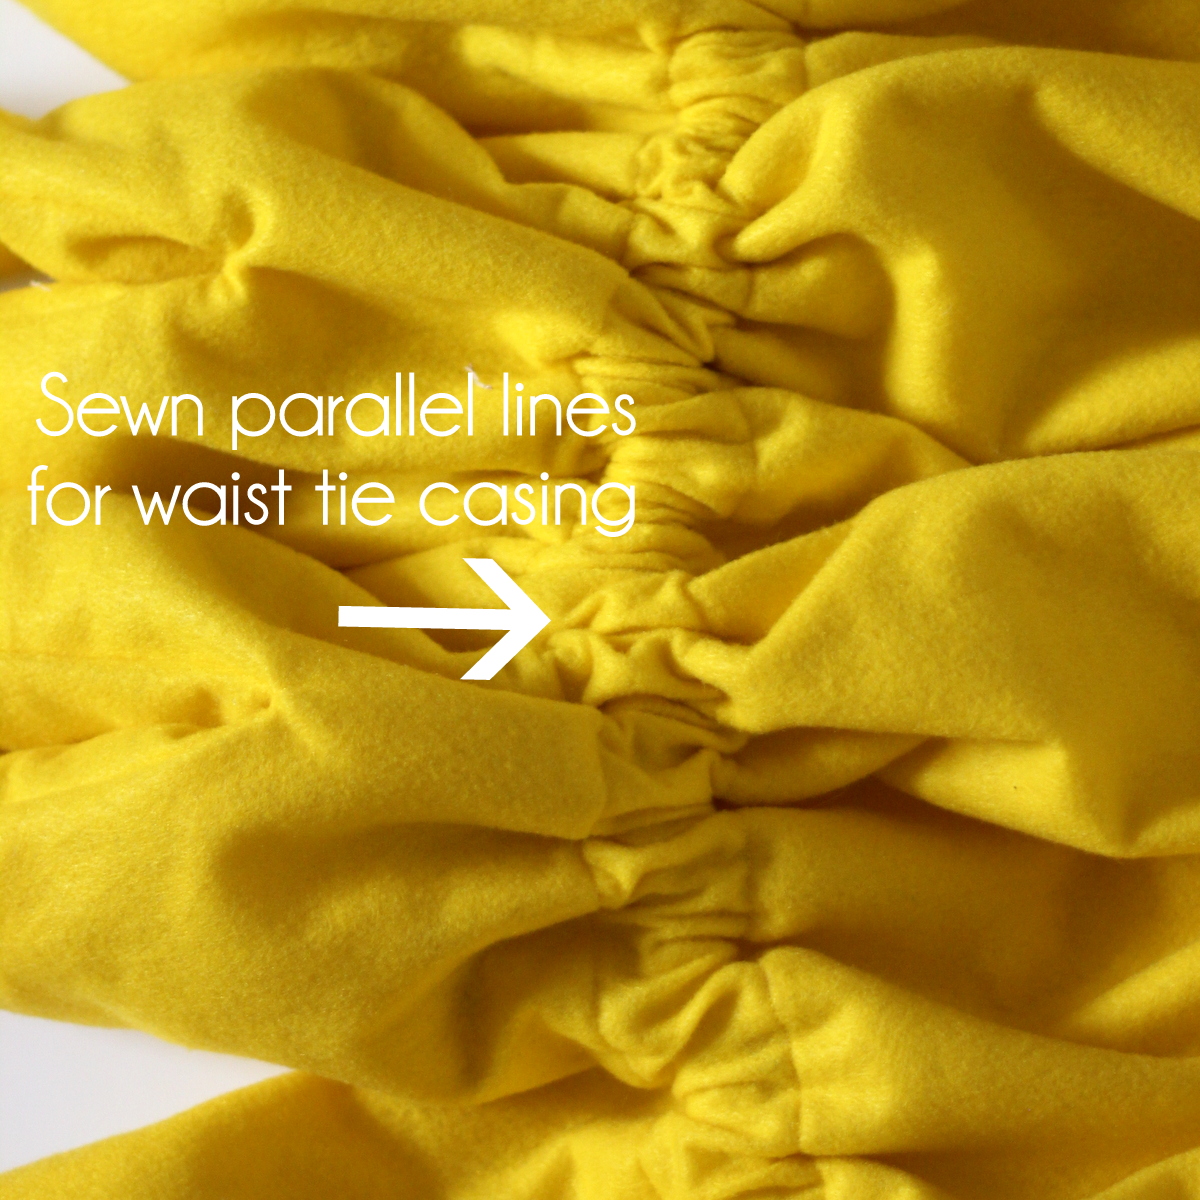 Next, sew two parallel lines, a couple of inches apart, a few inches above the tops of the legs. I drew guidelines with a fabric pen beforehand, just to ensure straight lines. Again, you’ll have to seam rip out a few stitches on the sewn-together side in order to create a casing/tube that you can pull a tie through.
 For both ties, sew two lengths of ribbon (mine were about a foot long each) to the ends of a piece of elastic. For the tie that goes in the bottom casing, make the elastic the size of your kiddo’s waist, minus a couple of inches. For the tie that goes in the top casing, make the elastic the size of the perimeter around your kiddo’s shoulders minus several inches. Add fray check or clear nail polish to the ends of the ribbons so they don’t fray.
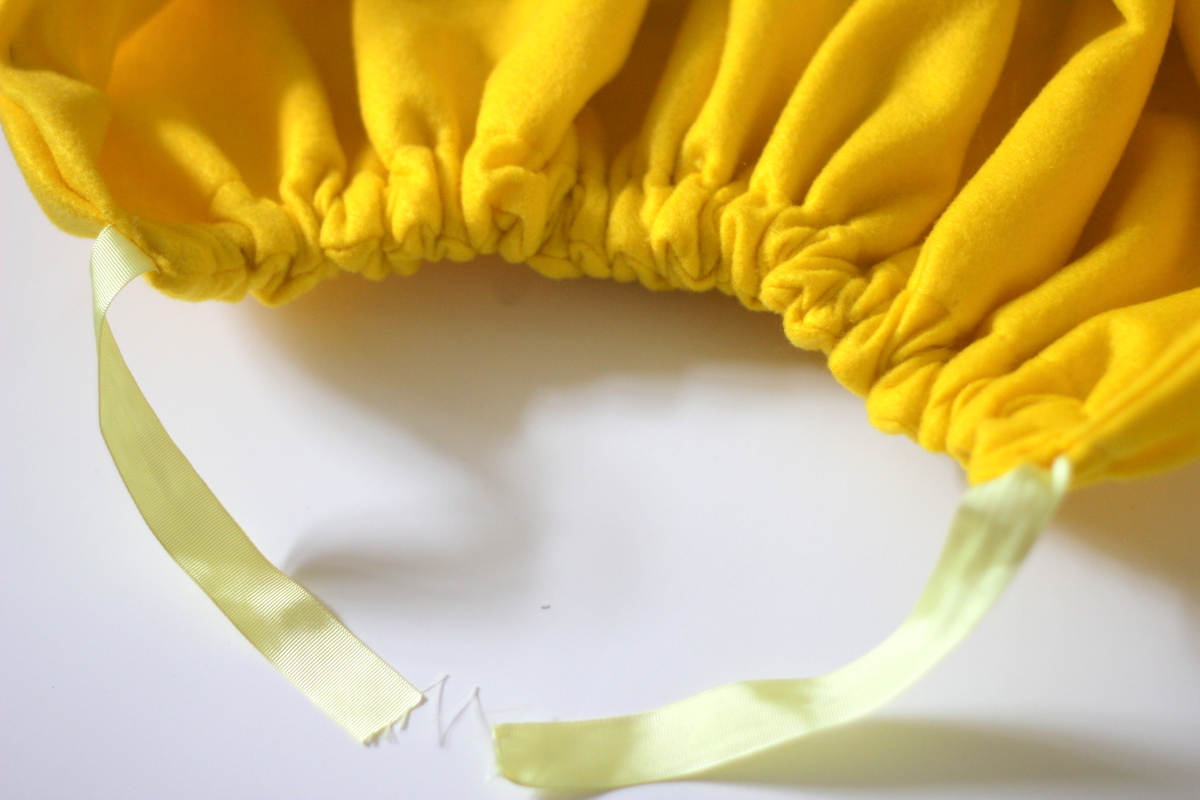 Pull each ribbon-and-elastic through its respective casing. Tuck the raw edges into the casing and sew each end of each casing closed (four total).
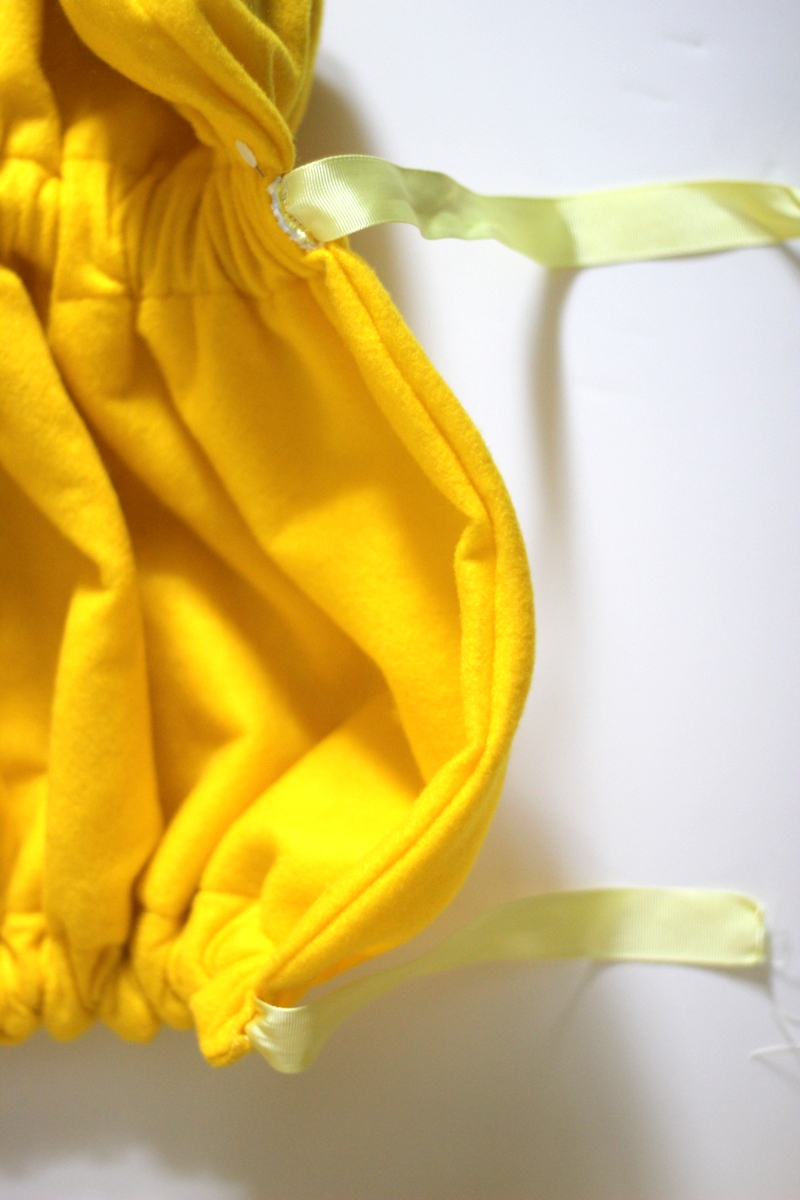 For the open edge, tuck the raw edges into the opening, pin in place and sew closed.
FOR THE DETACHED HOOD-
 Match the felt you cut off at the very beginning with a hand towel. Cut down to the size of the towel minus the decorative edges.
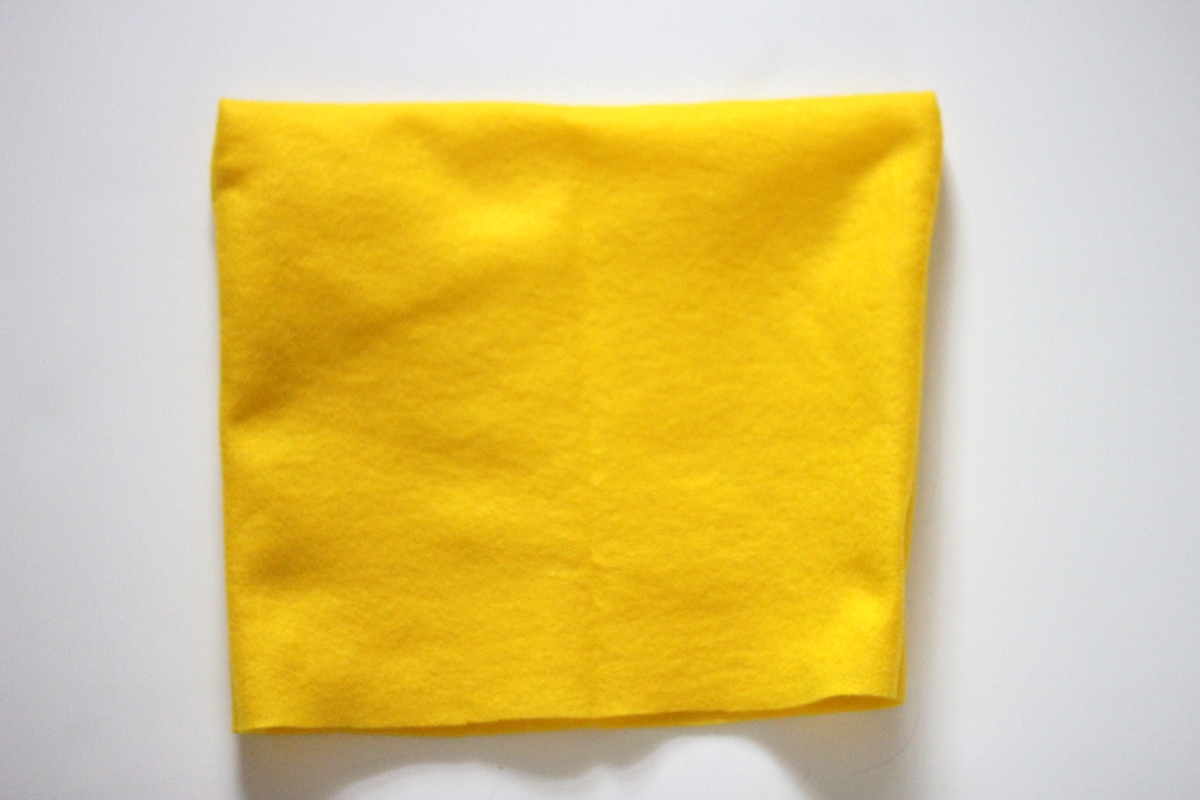 Fold in half width-wise and pin along the right and left sides. Stitch down both sides (but not across the bottom). Turn right side in.
 Tuck the upper right corner into the upper left corner.
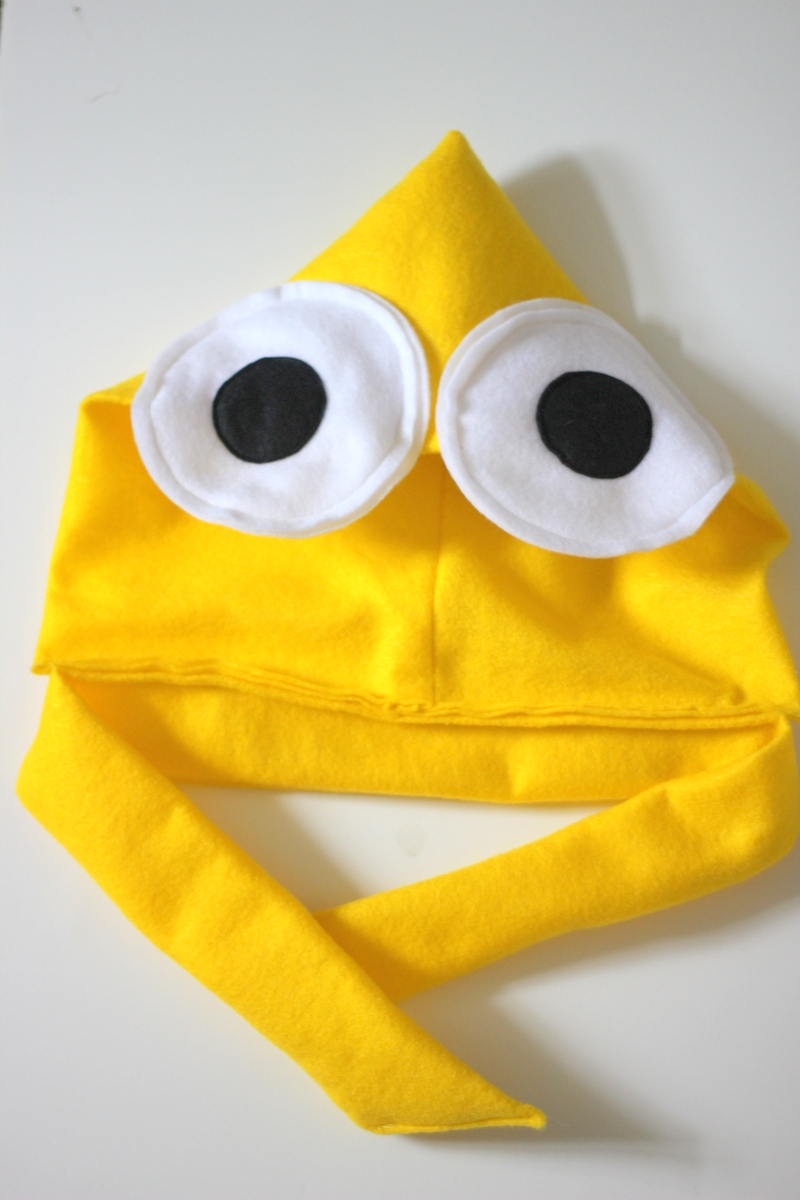 To add eyes, cut out four 5″ white felt circles and two 2″ black felt circles. Double up the white felt circles and sew together, resulting in two doubled layered white felt circles. Sew the black circles to the center of the white circles. Sew the top half of each white circle to the hood, making ‘squid eyes.’
 To add the hood tie, take a long thing rectangle of felt (about 5″ wide and 40″ long). Fold in half, sew along the open edge, turn right side in and finish of open edges (I made mine into points). Then sew the tie to the bottom edge of the hood.

 To wear, tie the hood on first, then add the squid ‘body.’ Your little squid is ready for Fall Festivals, trick or treating and the glory of Halloween!


awesome!
Thanks Kate!
LOVED the Instagram costume, btw!
Am I missing something, I cannot see how the arm holes are created in the instructions.
Hey Melissa, the armhole instructions are near the end of the squid body assembly directions. Hope that helps.
Thank you so much for this! My little one wanted to be a “giant purple squid” for Halloween, and voila! Your pattern and tutorial made it possible, thank you!
A
Alice, I love that so much!