kojo tutorial- the forty five minute dress
As an Amazon Associate I earn from qualifying purchases.
 I hinted at this in The Happy Birthday Dress post- I have discovered the easiest dress-making method ever.
 I should time myself making one of these gems- it takes less than an hour for sure- maybe forty five minutes-ish? In fact, the pretty bow is the most labor intensive part, for sure.
To make one yourself-
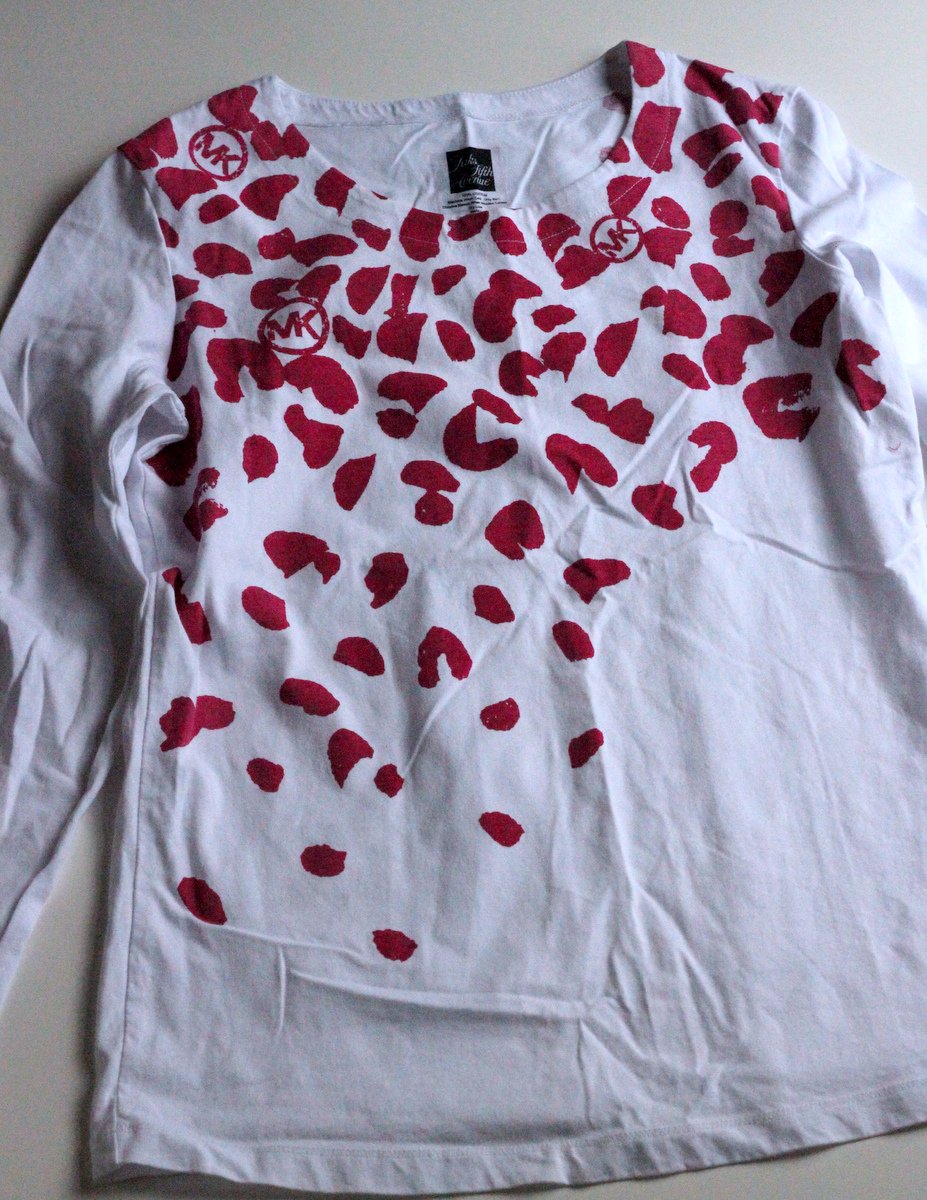
 Find a jersey shirt that is approximately as long as the size of dress that you’re making (a women’s small or medium t-shirt makes for a great 18m or 2T sized dress).
 Cut off the sleeves right inside the seam.
 Also cut a straight line across the top.
 Fold over the top edges (on the front side and the back side) and then fold over again. Make sure that the sleeves/bodice approximately match the sleeves/bodice on a regular dress (Piper’s dress sleeve-to-neck height is about 3 inches for reference). Pin the double-folded-down top edges in place.
 Cut a long thin rectangle of coordinating fabric (5” wide and 50” long makes for a long bow, 5” wide and 36” wide makes for a more moderate bow). Press the rectangle in half, right sides facing in. Sew up along the open edge, making a tube. Turn right side in, tuck the raw edges into the tube, and sew the ends into points.
 Make a tiny slit in the middle of the back casing.
 Thread the ‘bow’ through the front casing, pulling out the two ends so that there are equal lengths on each side. Tuck each edge into its corresponding casing opening. Pull both out of the middle slit.
 Tie in a bow and look at the clock… has it been more than an hour?
 Maybe whip up another one of these little dresses, just for kicks. Then, when your little one wakes up from her nap, show her the new dresses that you made for her during one single nap time.
 Piper Jane lo-oves these dresses (both of them)- she calls them the Pink Dot Dress and the Horsey Dress (the striped one is made from an old Polo t-shirt). She requests to wear one of the two every day. Funny girl.
 I keep thinking we’re going to be venturing into leggings-and-boots weather, but the warm is hanging on around here (hence the sandals-and-sleeveless dresses). Is it fall-ish where you are?


At 9:32 a.m. it is currently 43 degrees here in northern central Indiana… a bit chilly but I refuse to turn on the heat in the house so far. I really miss a fire in the wood stove like we had in Alaska so maybe I’ll do a little baking instead! 🙂
The dress is adorable! I can easily see it with a long sleeve T and leggings for extended wear! and the subject is as cute as can be as well! Have a wonderful day!
Oooooh, I love wood stoves! We had one when we lived in Canada.
Baking sounds like just thing ‘warm’ thing to do. 🙂
And you’re right about extending the wear- the wonders of a long sleeved T and leggings. Good thing Piper’s wardrobe consists of mostly dresses, leggings, and solid shirts. 🙂 Thanks for the comment- have a great day too. 🙂
cute dress! i love the print on the shirt you started with, too! great find!
Super cute!! Love this. Thanks for sharing.