
rainbow smocked sundress tutorial
As an Amazon Associate I earn from qualifying purchases.
 I adore today’s guest- Cheryl from A Pretty Cool Life. She has one of those blogs full of really, really great ideas (love this periodic table art, this rainbow bunting quilt and these rainbow dipped wooden spoons are so great), recipes (can’t wait to try these refrigerator pickles with cucumbers from our garden), and tutorials (need these rainbow edged dish towels). She also takes gorgeous pictures, is all around fun, and is PERFECT for Color Your Summer (I highlighted a couple of her colorful projects here, but there are more at A Pretty Cool Life!).
Hi kojo friends! I’m so excited to sharing a simple project today in my all time favorite color combo…rainbow!
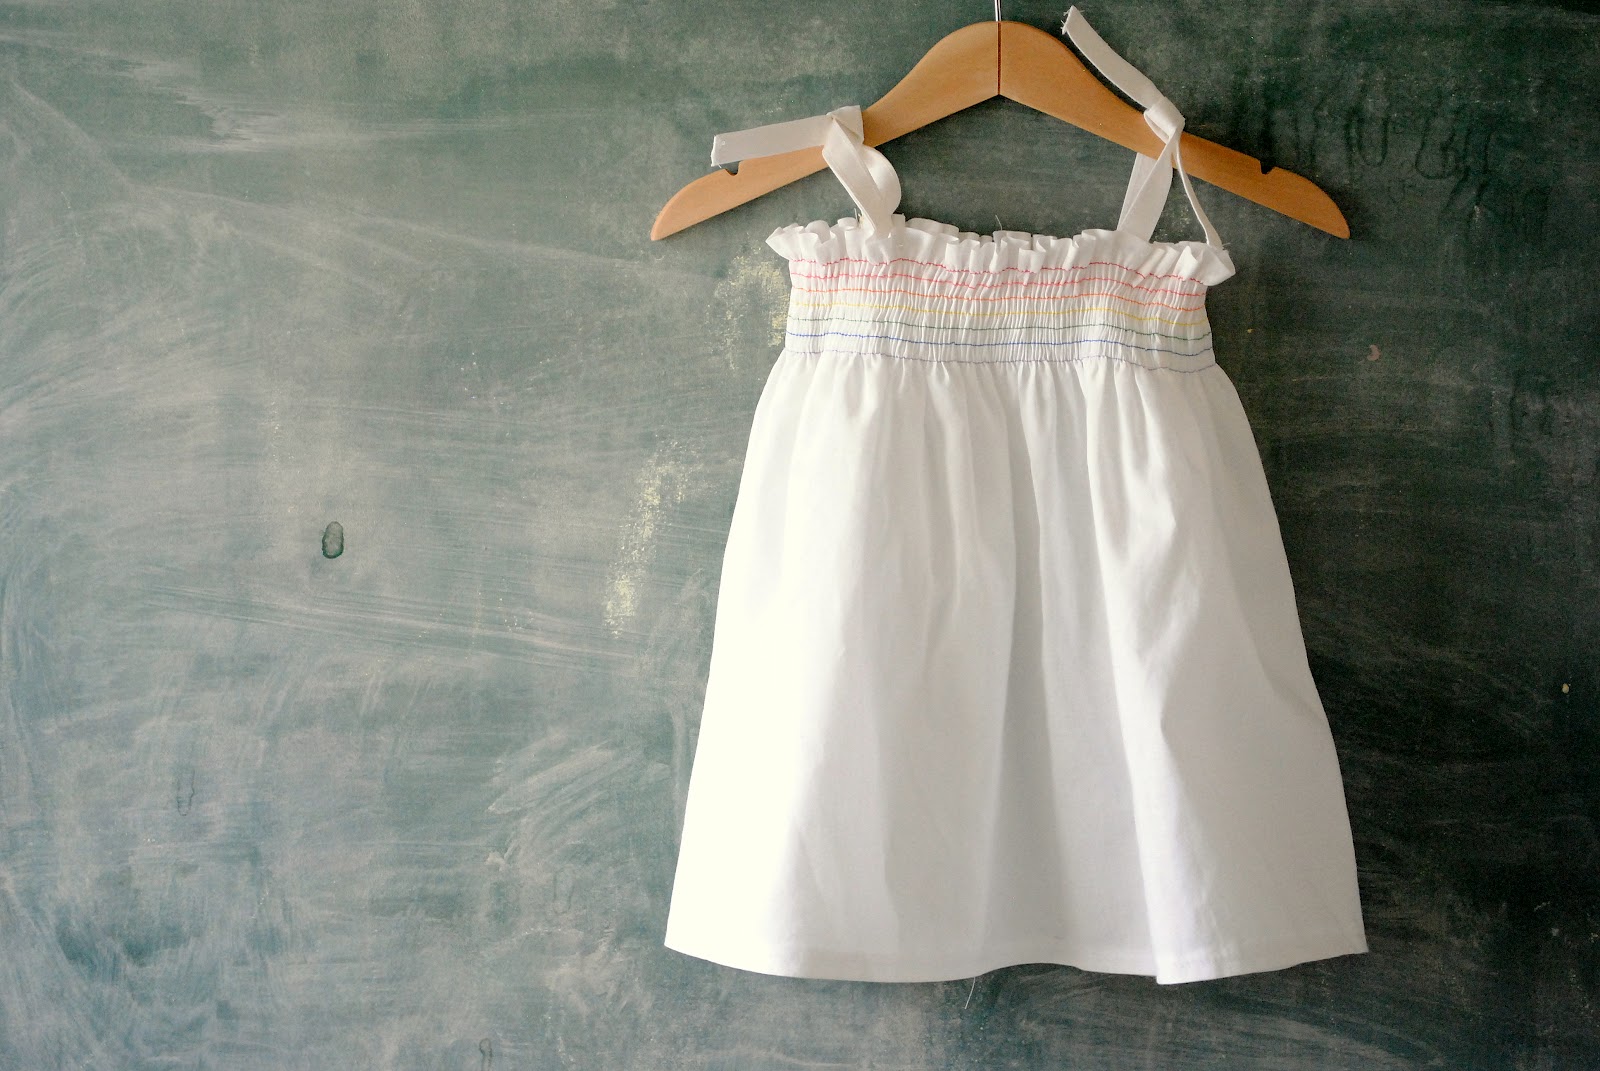
Who doesn’t love a little smocked sundress? And who doesn’t love a little rainbow?
This is a wonderful beginner project, and is so versatile, as it can go from dress to tunic to top. Your little one will get tons of rainbow-y wear out of it!
This really is the easiest of sewing projects…if you can sew a straight line and are willing to keep changing the thread in your sewing machine, you can make it.
Here’s what you’ll need for a dress that is about a 12 month size (the measurements are easily adjustable…make one for a littler girl, a bigger girl, or even yourself!):
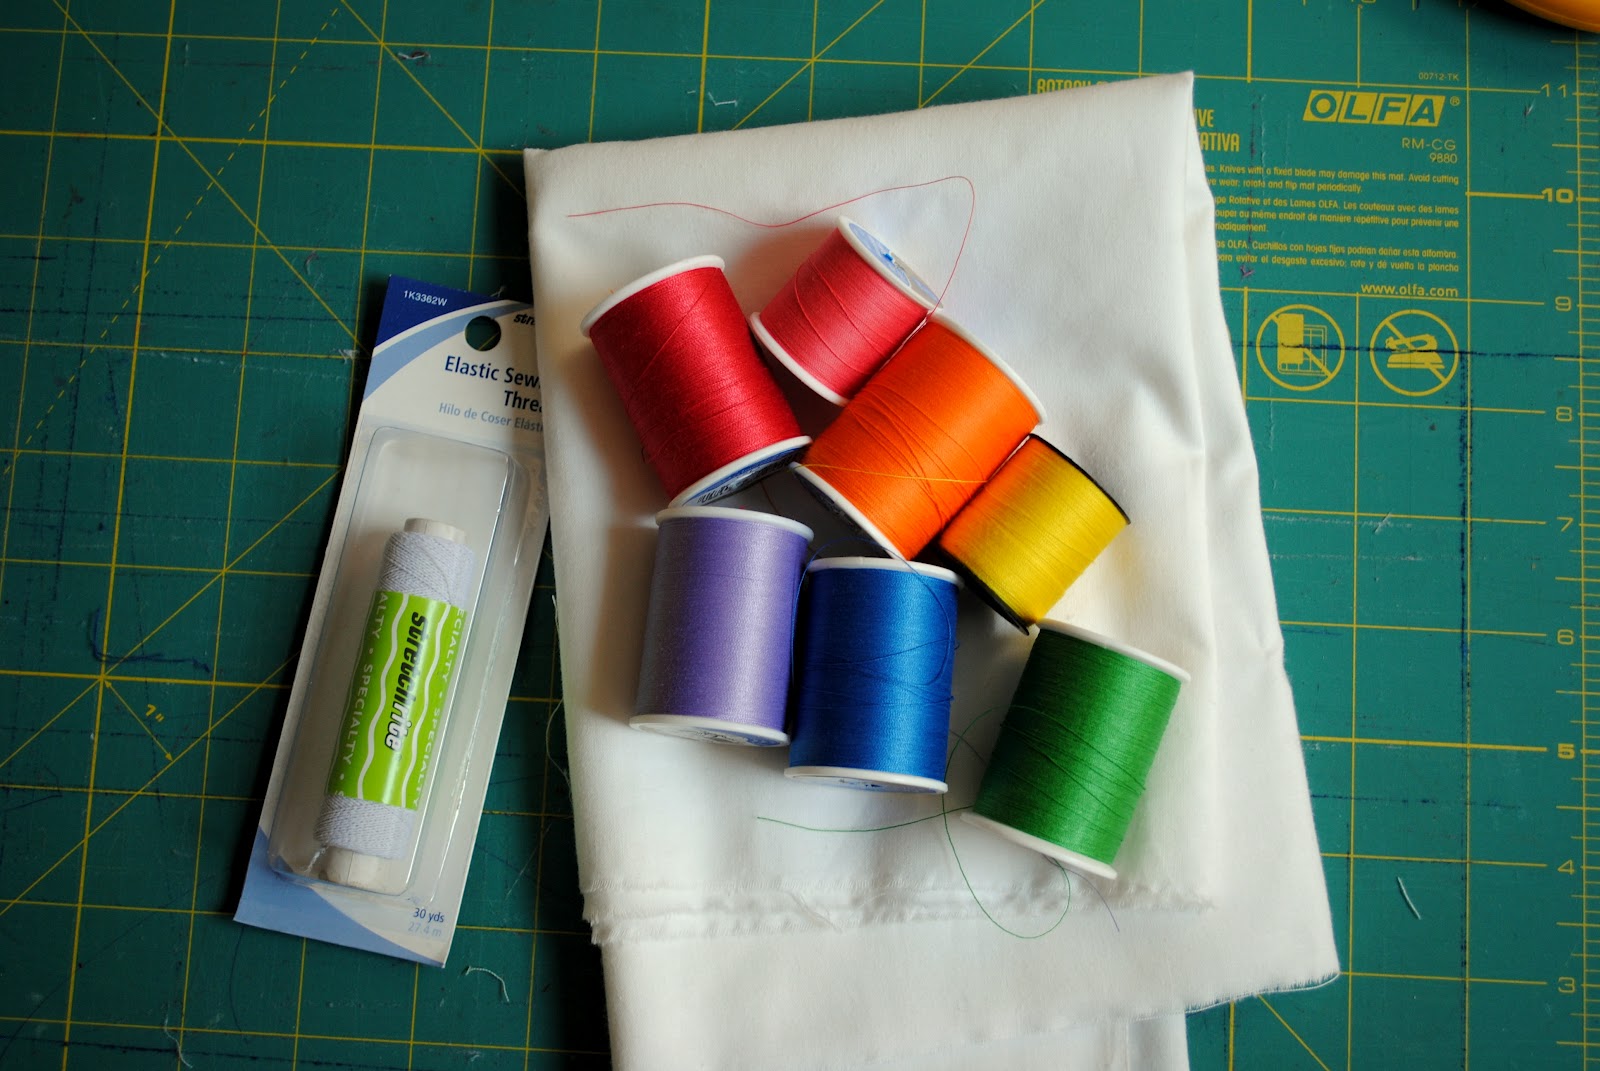
about a 1/2 yd lightweight white fabric…gauzy cotton, linen, knit, etc.
elastic thread (usually found on the notions wall at the fabric store)
a ROY G BIV rainbow of thread
And here’s what you’ll do:


Cut a 15″ x 44″ piece of fabric
Finish the long edges by serging (or however you like) and hem (this is how I like to quickly hem)

Hand wind your bobbin with the elastic thread. Just wrap it around nicely…not too loose, and not so tight that it stretches.
Load your wound bobbin into your machine as you usually would and thread your machine with your first rainbow thread.

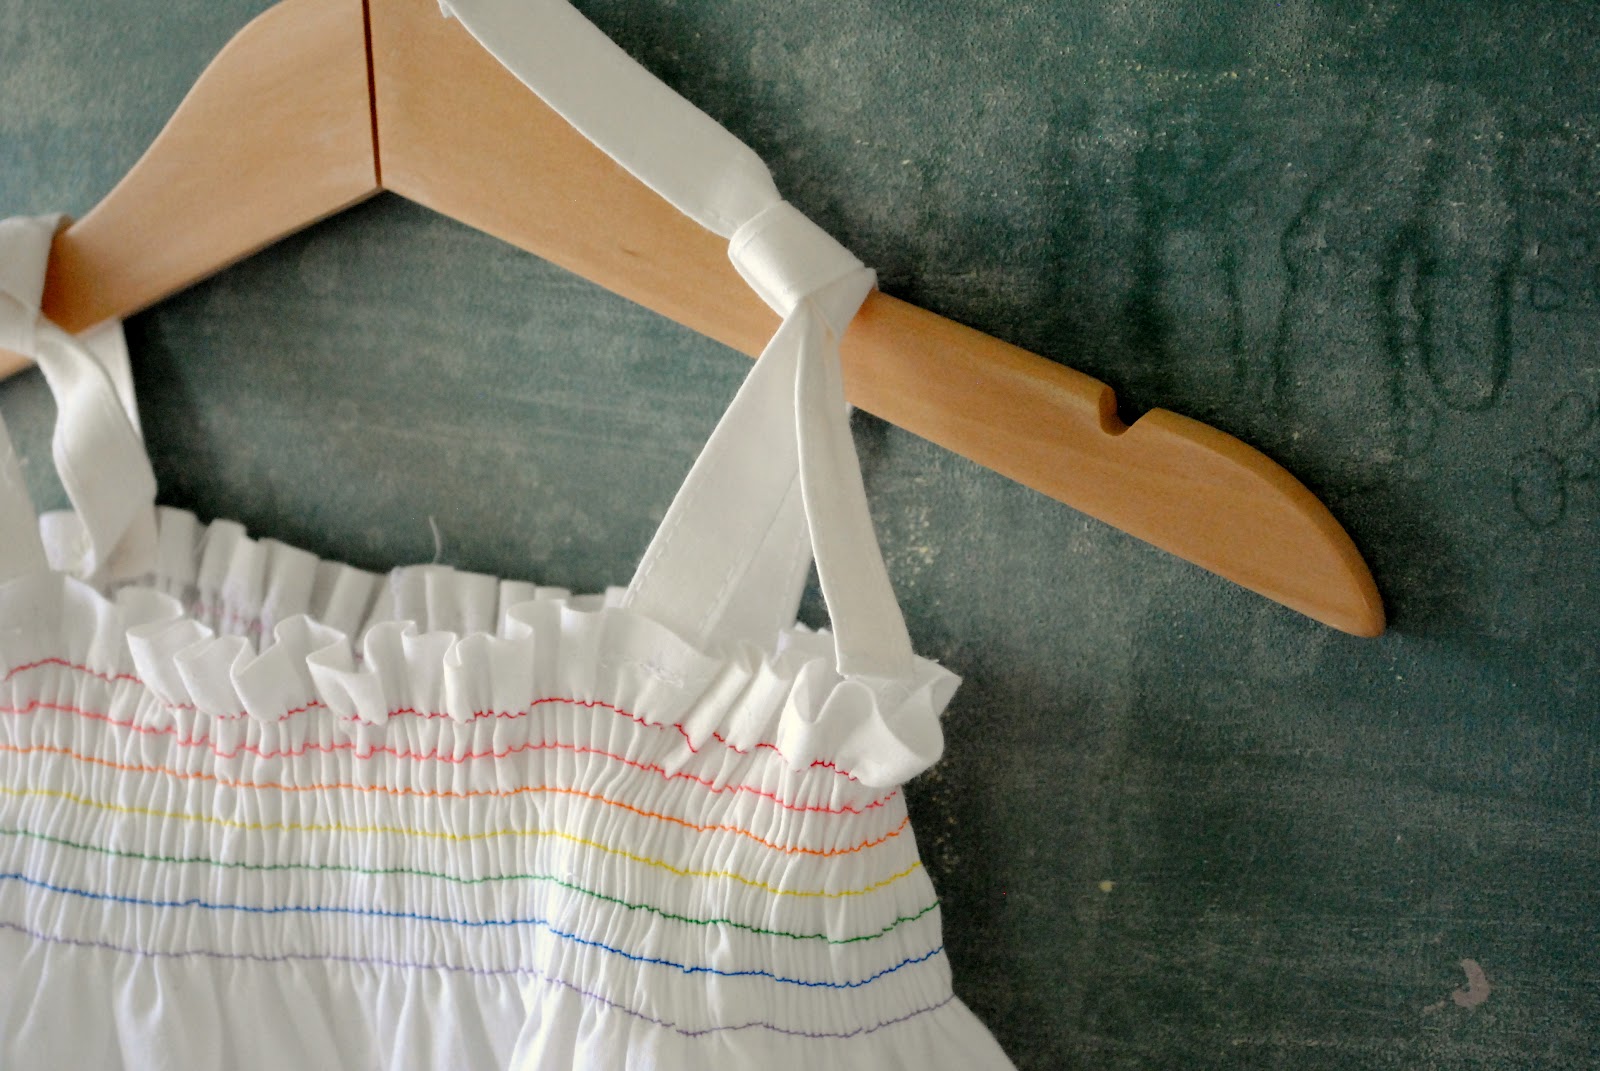
Using the edge of your presser foot as a guide, sew a straight line (don’t forget to backstitch!) parallel to the hemmed edge. Your fabric will start to gather as you go, creating the smocking.
Do this, changing the color of your top thread and leaving your elastic wound bobbin, until you’ve used all the colors in your rainbow of thread.
Pin and sew the short ends of your fabric, creating a tube. Serge or finish that edge.

Lightly mist your smocking with water and iron. The fabric should really gather! Center your seam before you iron. This will be the center back of the dress.

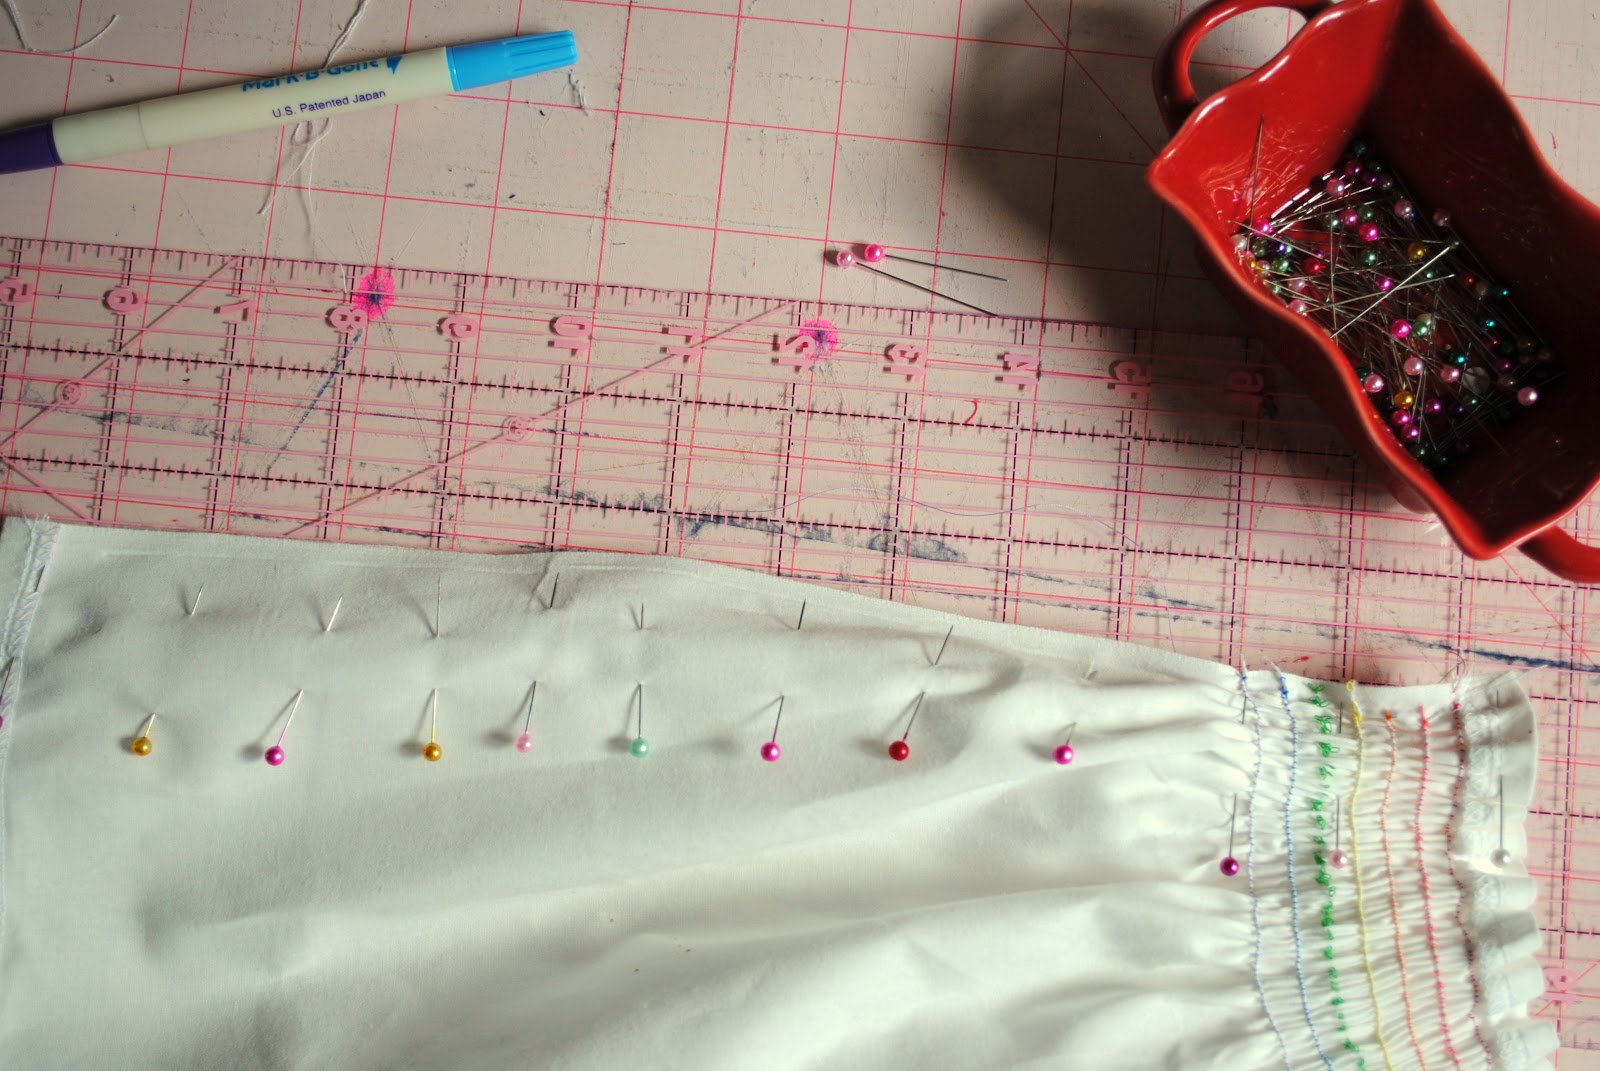
Measure about two inches (adjust as necessary) over from the seam and mark on the front and back. This is where the straps will be sewn. Set aside while you make the straps.
Cut four 2.5″ x 10″ strips (adjust length as necessary).
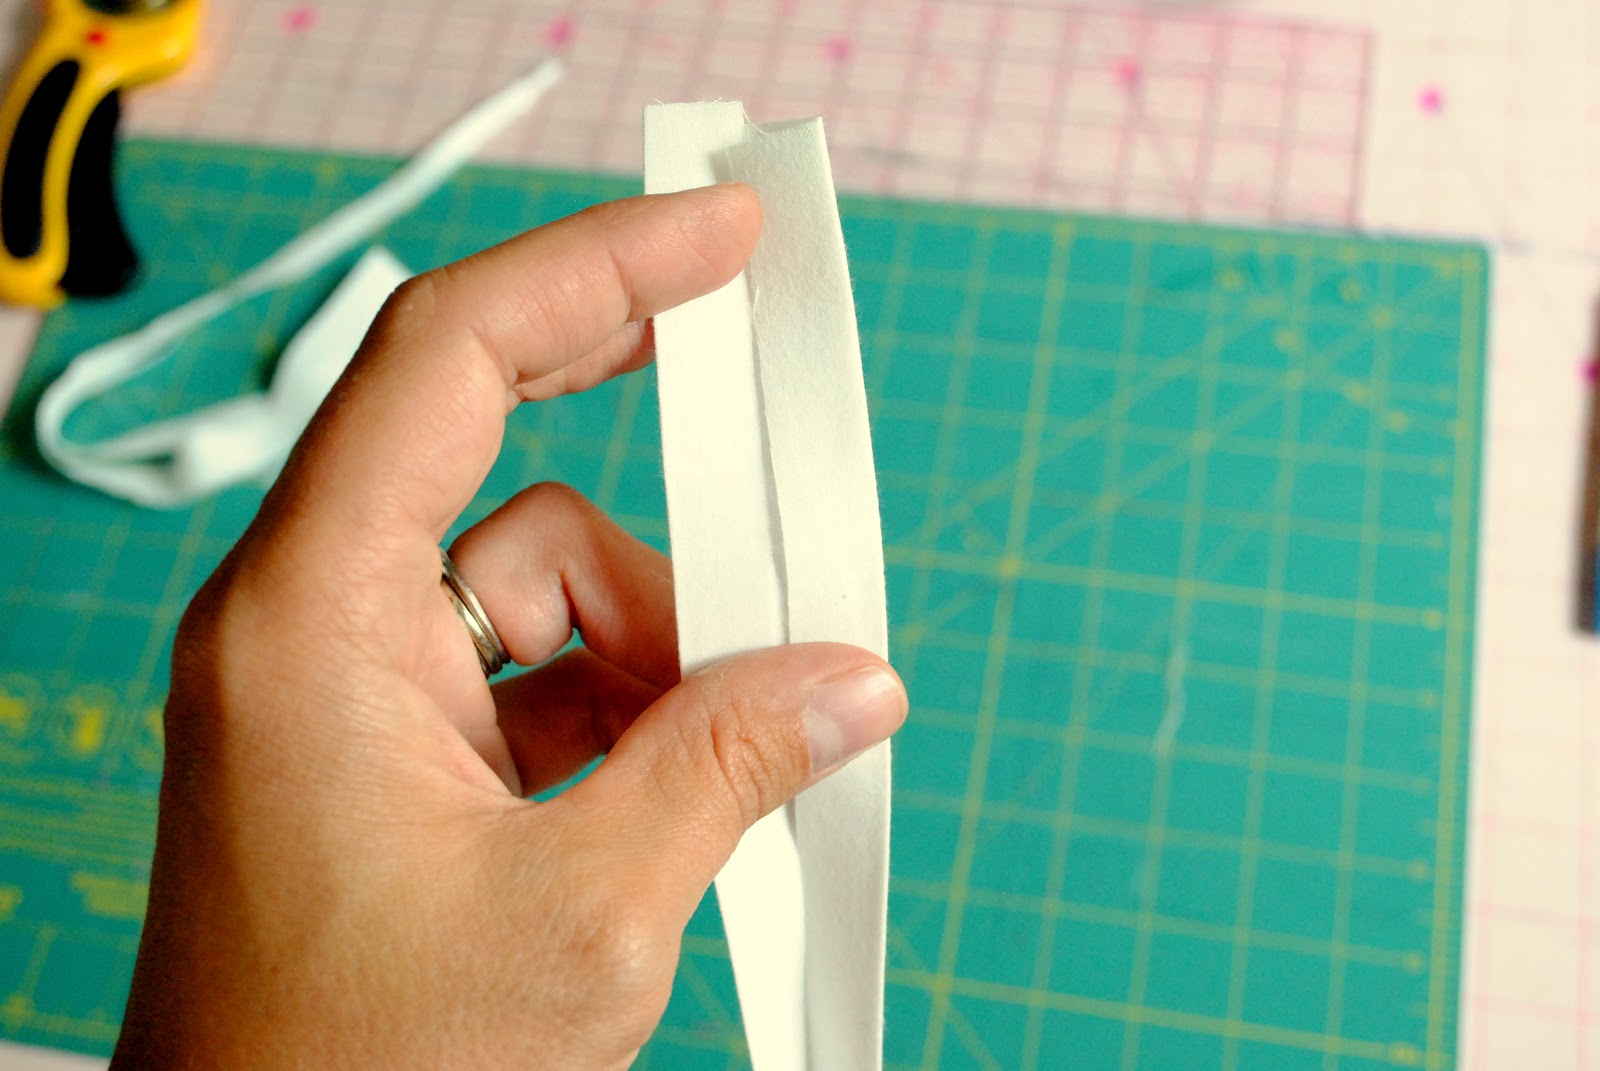
Fold in half lengthwise and press crease.
Open and fold in fabric to crease, pressing again.
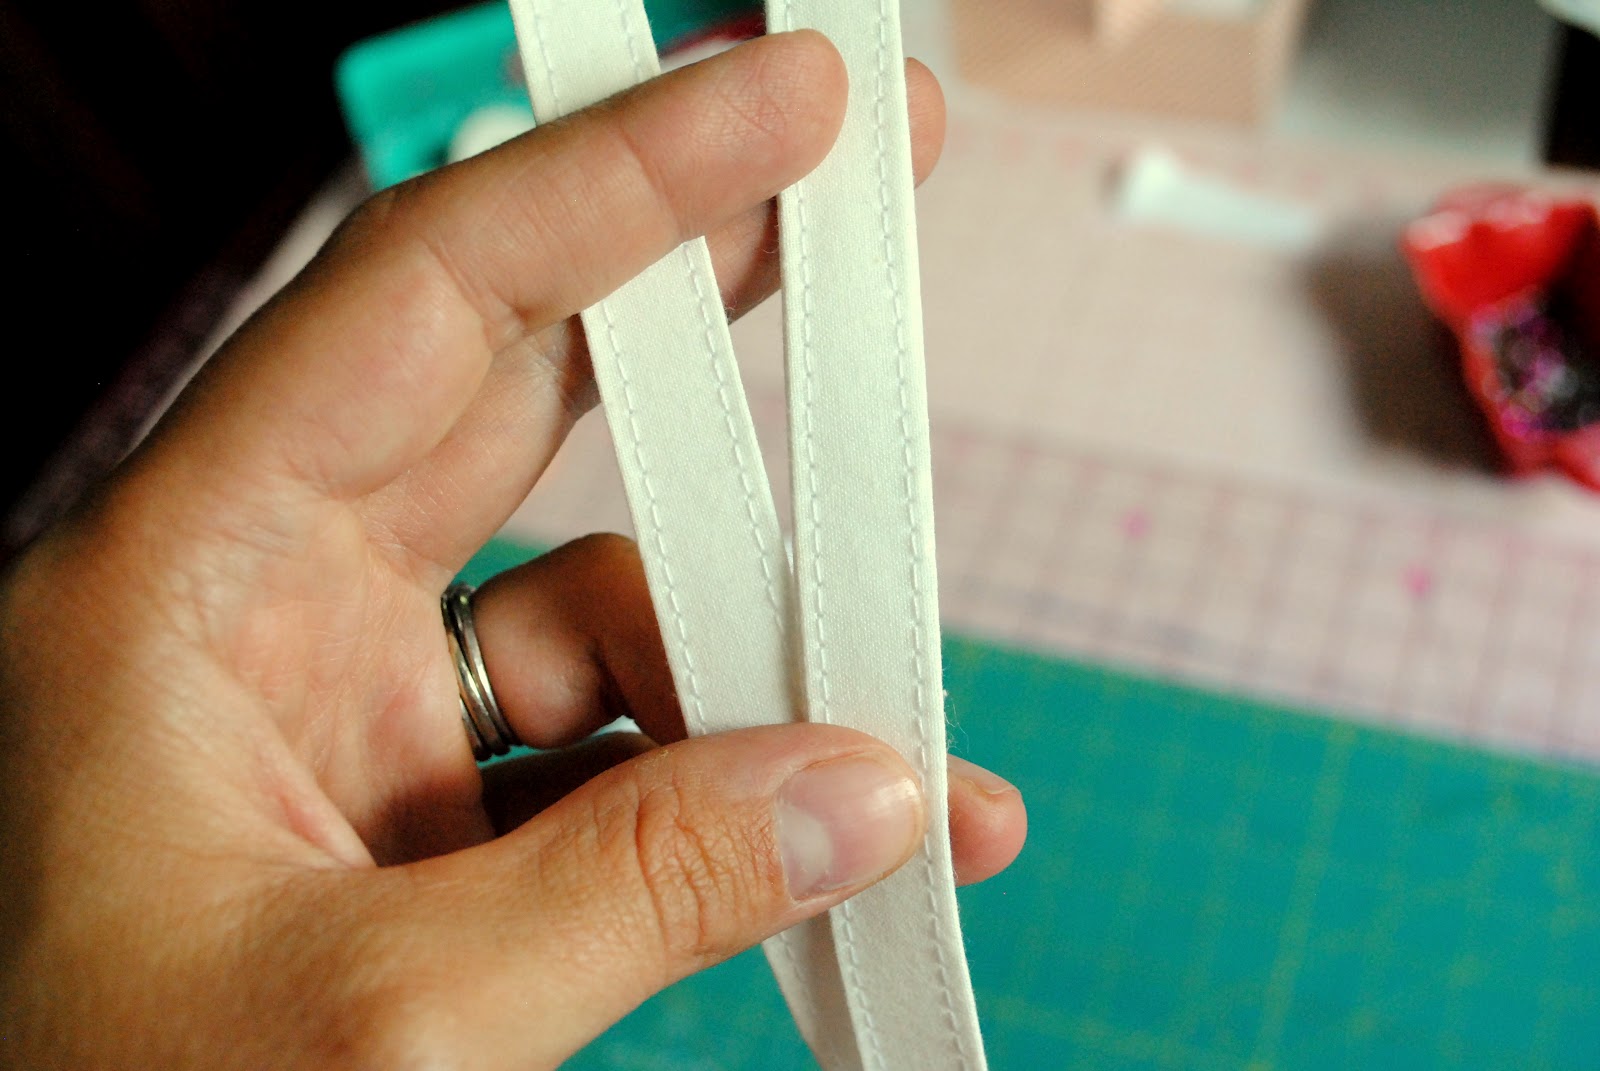
Sew a scant topstitch along each edge.
Pin and sew straps to markings on dress.
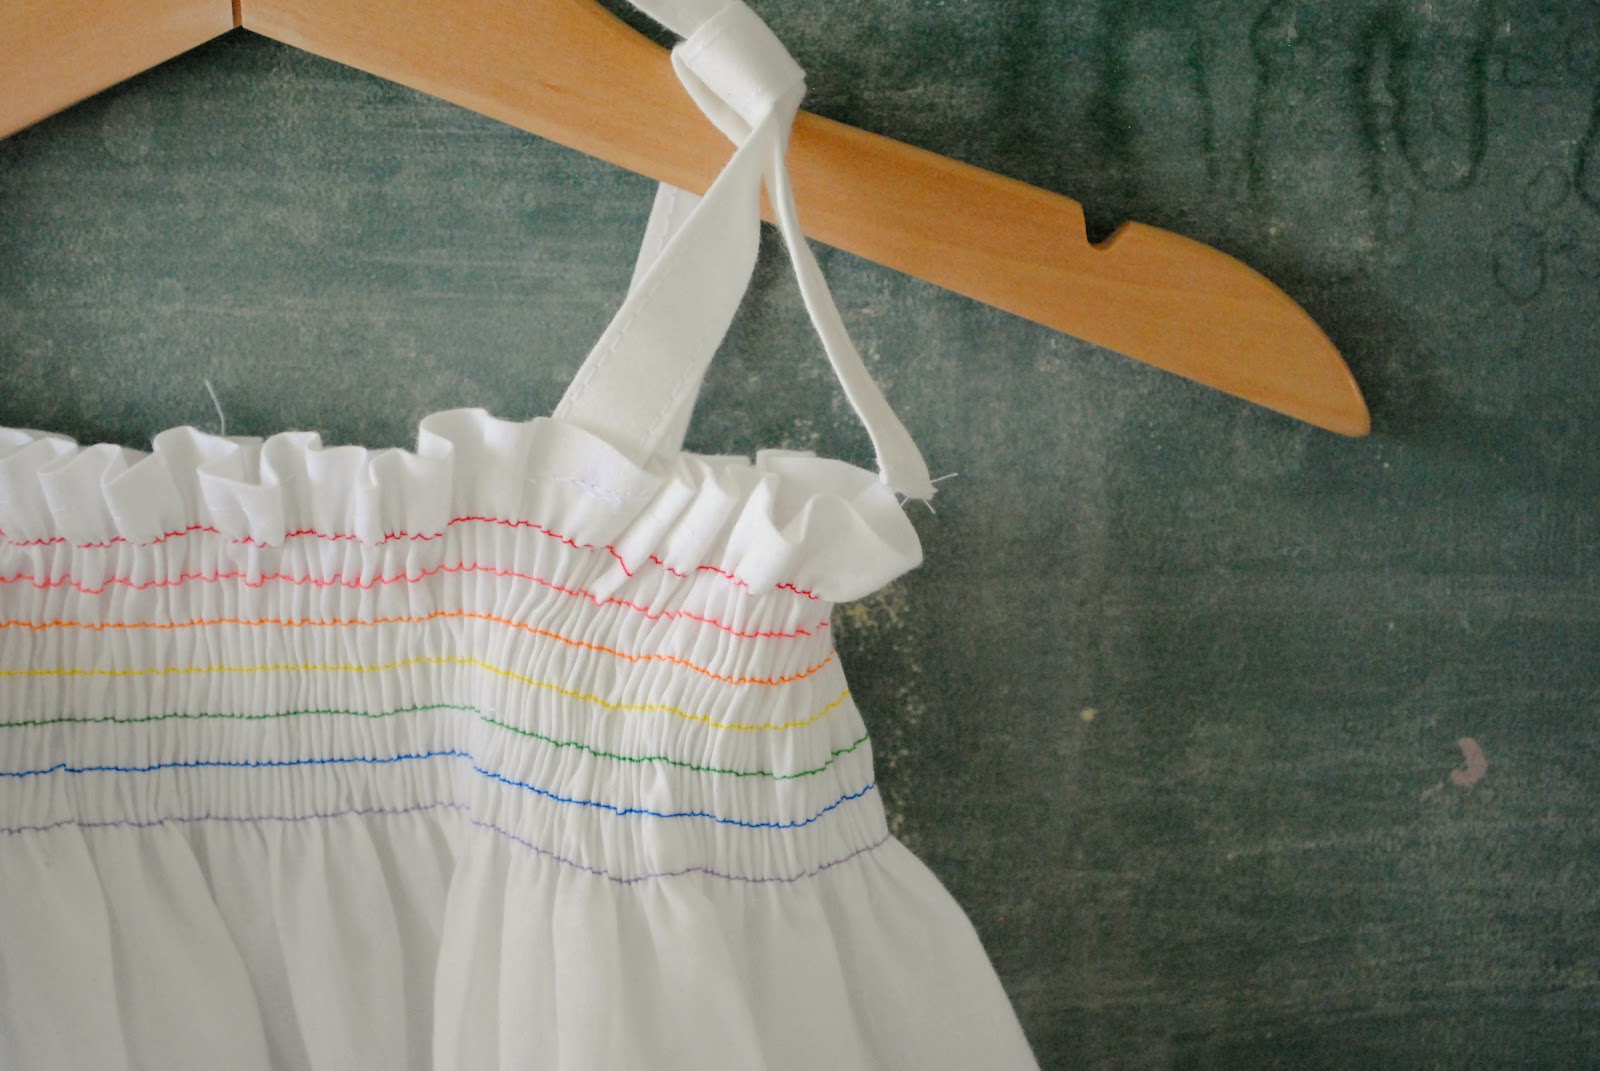
And there you go! A Roy G Biv smocked sundress! So easy, right?!
 SO fabulous! Be sure to head over to Delia Creates for more Color Your Summer goodness (a purple shirt by A Little Gray)!
*gasp* This is fabulous. How cute would it be to make a shirt like this and then use the other rainy cloud tutorial to make a skirt or the other way around?!!? I just might have to try it. I’m a little terrified of shirring though…
What a great idea! And I had already pinned her rainbow dipped spoons and bunting quilt before, how fun! Great site, thanks for showing us!!
oh this is perfect! i’m terrified of shirring too but need to get over it. what a fantastic summer dress! off to add her blog to my reader. 🙂
So subtle but So effective! I love it!
Isn’t it so great? Love Cheryl and her sweet dress!
I LOVE this dress. Such a perfect rainbow project.
Love love it. Cant wait to make it.
Alison, isn’t it great? I already am collecting supplies to make one too!