
white tutorialS- polka dot quilt and polka dot playroom
As an Amazon Associate I earn from qualifying purchases.
 Today we are DOUBLE-Y lucky to have not one, but two, fabulous guests (and not one, but two, amazing white projects). Kristen and Allison from Lullaby Lubbock are some of our best girls. They throw parties like it’s their job (check out this Roaring 20s party, and this Candyland party! Also, I cannot get over the fabulousness of the box-turned-ice-cream-truck at this Ice Cream Party?!?!), they are guru’s when it comes to life-with-kids (Allison’s reward jar has been quite the effective system for Burke), and their creativity (and t-shirt making) is boundless. Also, Jord knows (and loves) these girls in real life (they all lived in Lubbock together- they’ve all moved since then, though)- she always says they were some of those rare souls that ‘got her’ creatively. Fun fact- the Anthro-Inspired Duvet pictures were taken in Allison’s (former) guest room. Yep, we’re tight like that.
These girls went above and beyond for their white tutorials- not only do we have a white quilt tutorial for today (before you get scared off by the word ‘quilt,’ it looks beginner-quilter-friendly), we also have a white polka dot paint tutorial-
Woo Hoo!
Thank you Kirstin and Jordan for having us!
We still cannot get over the fact that we are a part of this group of such amazing bloggers!
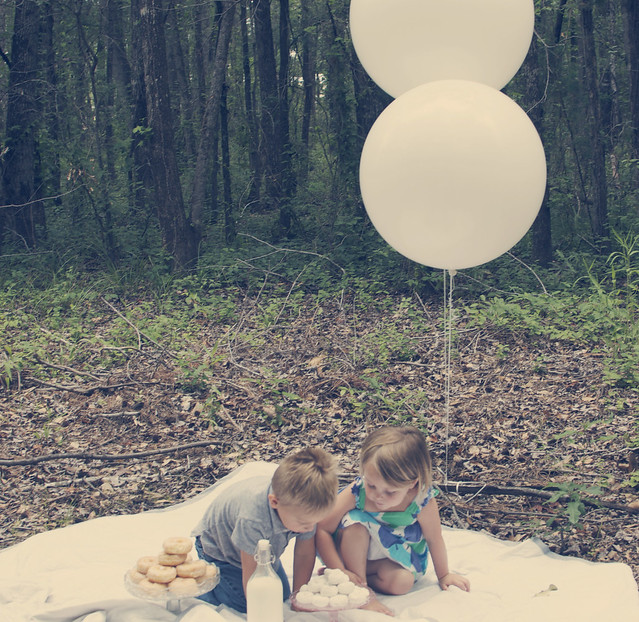
Even though we are miles away from each other we are always on the same page. We both talked about what we wanted to do for this series and had lots of ideas. When we finally settled on them they ended up both involving polka dots- just in different places. I like to think great minds think alike :)One of our favorite things about summer is picnics. We have picnics and tea parties all the time in our yard or at the park. One of my favorite things is seeing tiny hands serving each other in tiny cups using their grown-up manners. So precious.
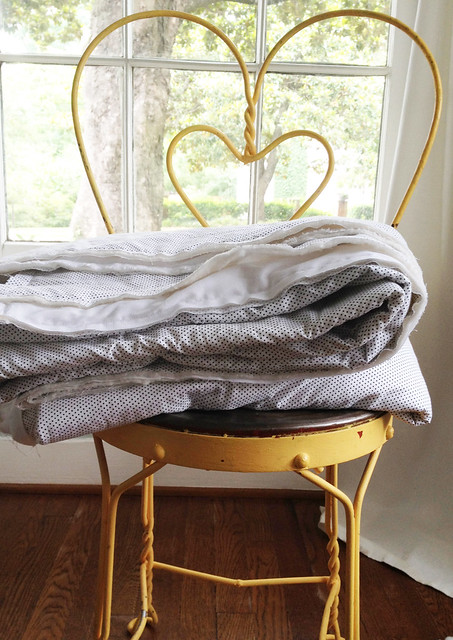
Needless to say, I knew this quilt would get a lot of miles out of it.
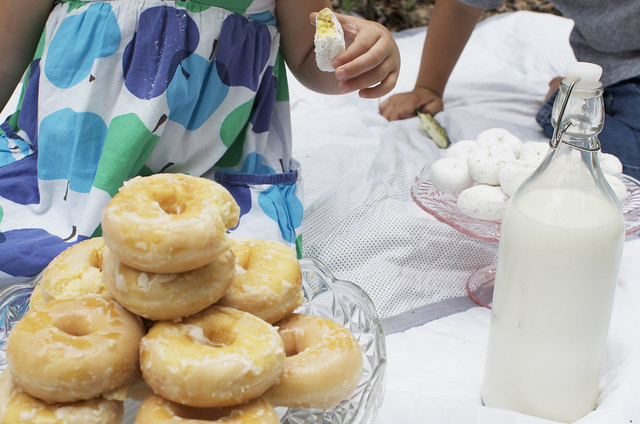
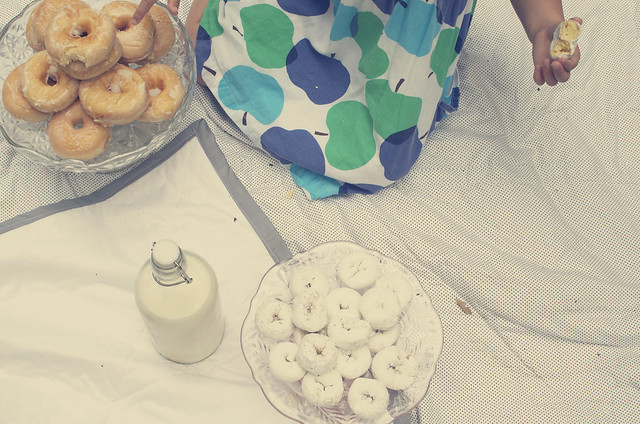
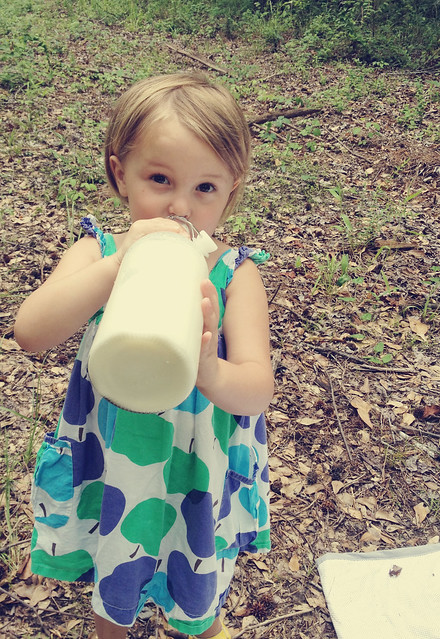
To break it in, my twins and I grabbed some donuts, milk and our new white quilt and headed out to have a little Polka Dot Picnic.


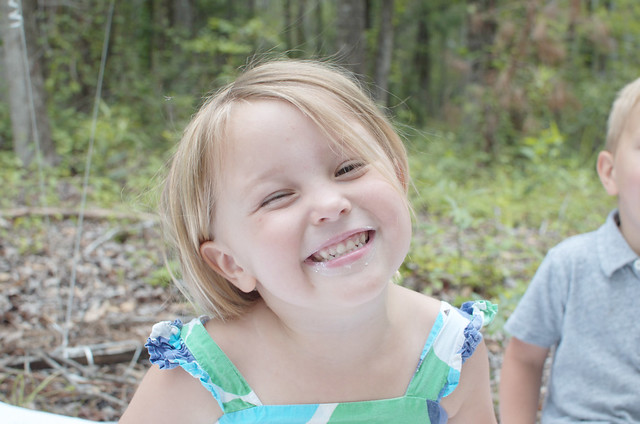
Powdered Sugar smiles are the sweetest 🙂

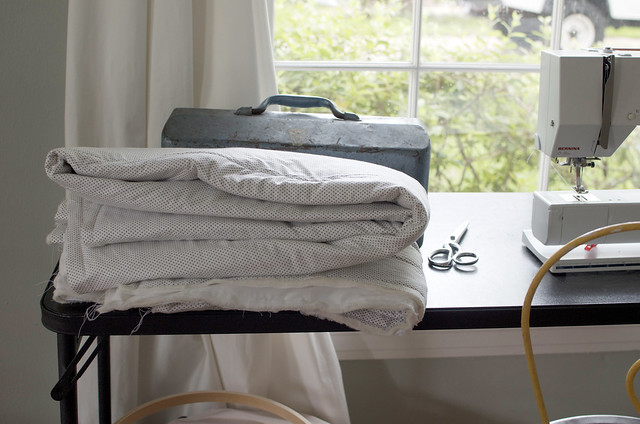
This quilt was so super easy and anyone can do it.
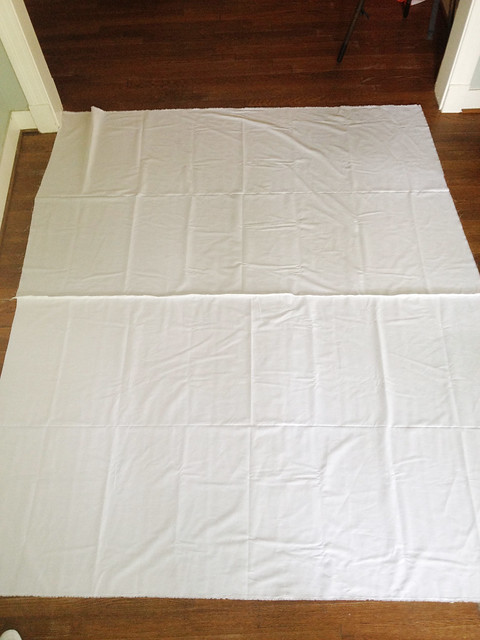
My quilt back side is just a white cotton fabric from my local fabric store.
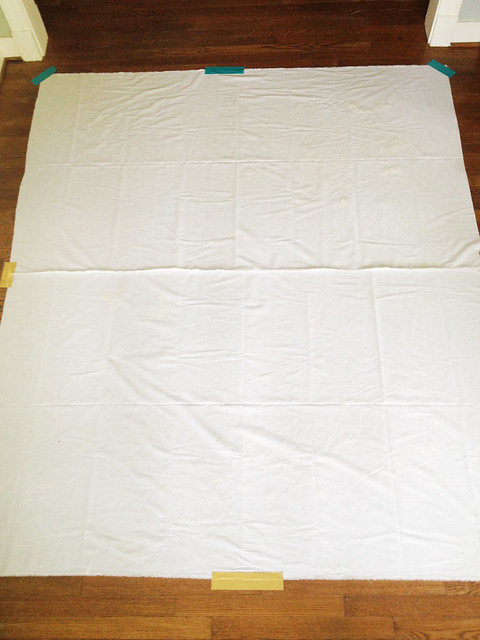
I could not find a way to get the fabric to stay in place so I grabbed some duct tape and taped it to the floor. I am sure there are much more professional ways to go about this, but the duct tape worked like a charm.

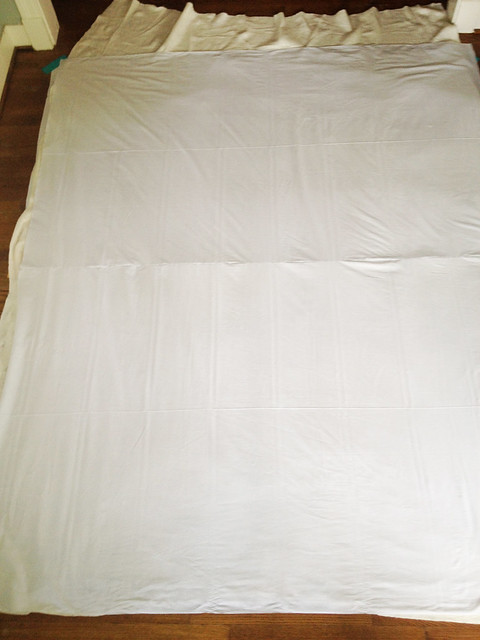
I just loved the spray adhesive. I used Krylon Easy Tack. I know that traditionally you are supposed to pin your quilt, but the spray did the trick so perfectly. It kind of changed my life.

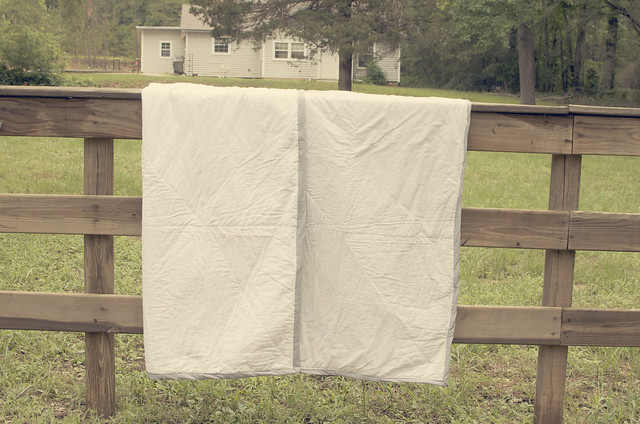
To sew it together I started by sewing around all of the edges to make sure it wouldn’t shift.
Then I sewed parallel, perpendicular and diagonal all over the quilt. Anywhere that I wanted a line, I made it. It is so freeing to be able to sew however you want and make it look however you want.
Then it was time for the binding.
I started by making my own bias tape.
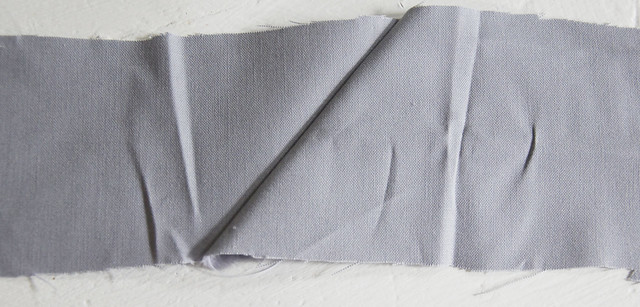
I cut strips on the bias and then sewed them together by laying them perpendicular to each other and then sewing them together diagonally at the corner.
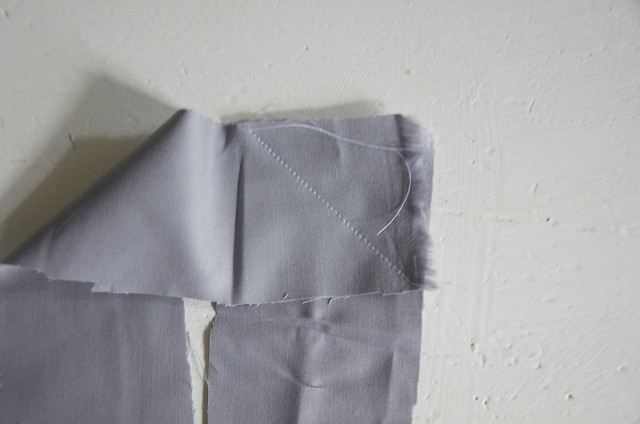
Once you lay it out flat it makes a straight line with a diagonal seam.
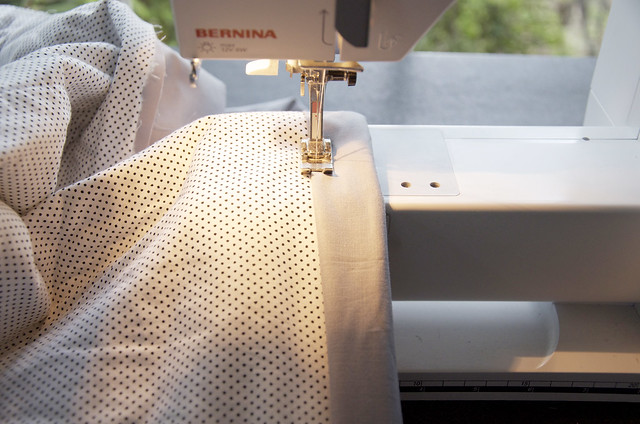
Then it was time to get this binding bound.
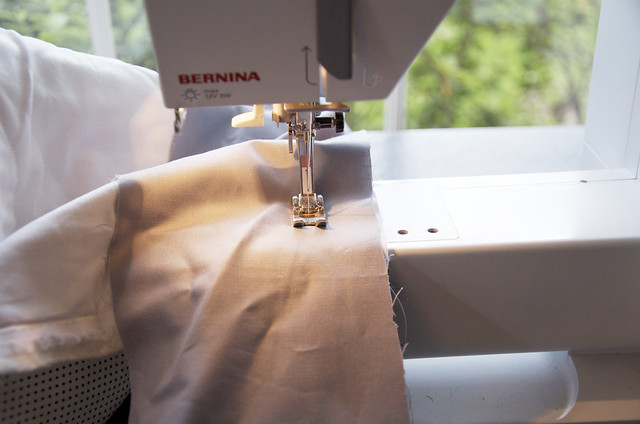
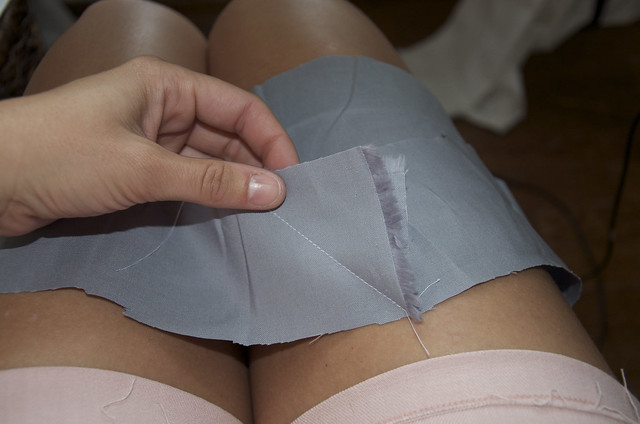
I started by sewing on the white side of the fabric and just laying my bias tape on top of the white fabric. I used a 5/8 in seam and sewed up until a couple of inches from the corner.
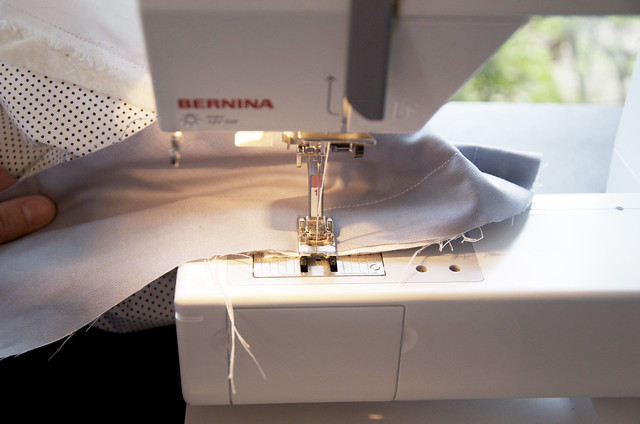
Next, I sewed off of the quilt.
I folded the binding the opposite direction of the quilt and then back over on top of the quilt while keeping it tact together with my finger.

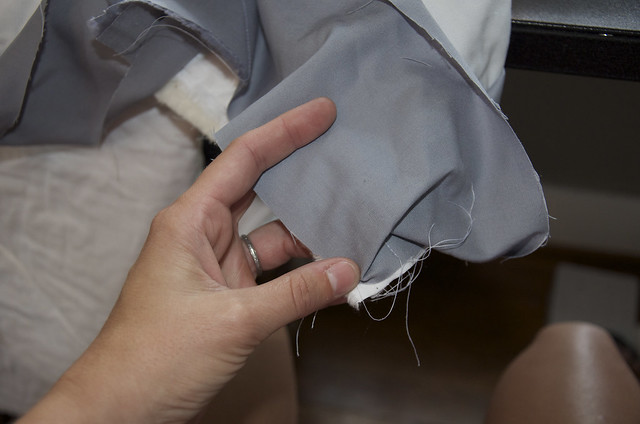
Then I began sewing again down the folded binding.
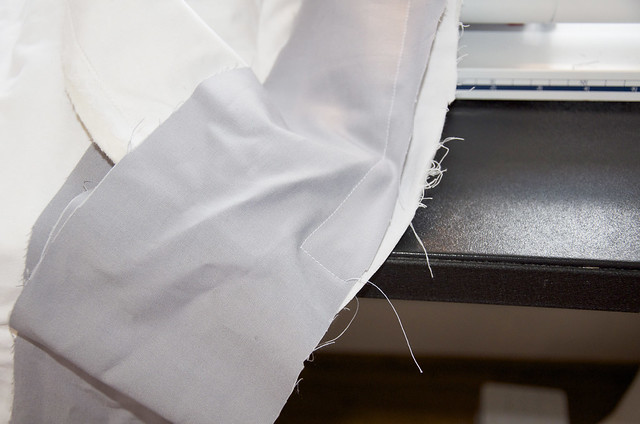
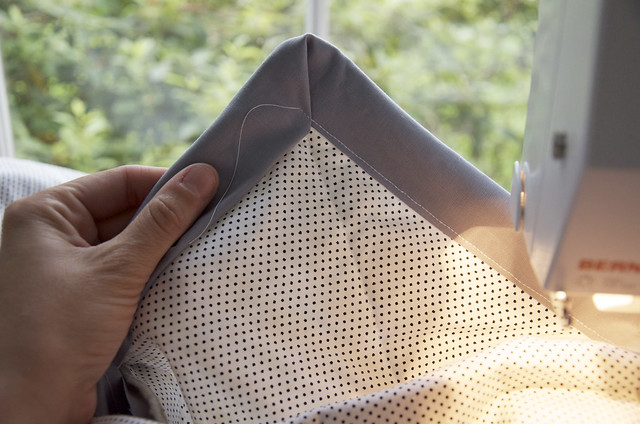
Once you turn the binding over and begin on the opposite side you have a perfectly folded corner.
I used this tutorial to guide me through.
Once I had bound the entire white side, I folded the binding over and ironed (or folded again) the binding underneath itself and bound the other side of the quilt.
And there you have it!
Easy peasy!
Thank you Kirstin and Jordan for letting us be a part of such a colorful and fun series!
From one polka dot to another . . .
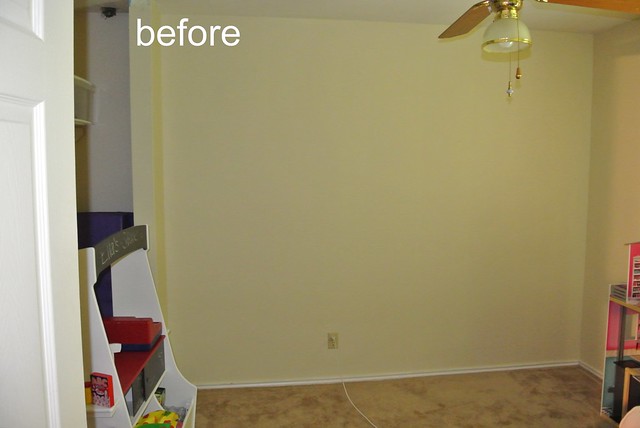
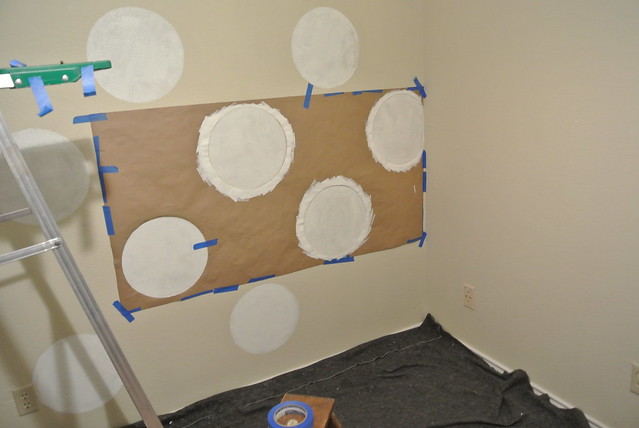
last week my girls started sharing a room. I think it’s so sweet that they get to have sister sleepover every night. Not too mention an extra bedroom freed up. I love that we can now have an official playroom! (and maybe a little craft nook too) There is no rhyme or reason to the play room quite yet. It’s basically just every toy we own thrown into one small square room.
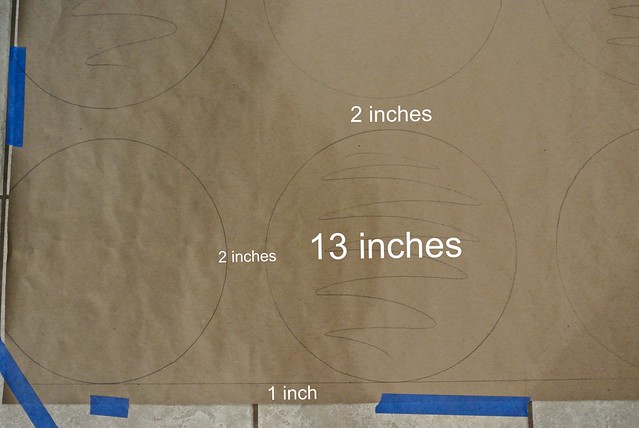

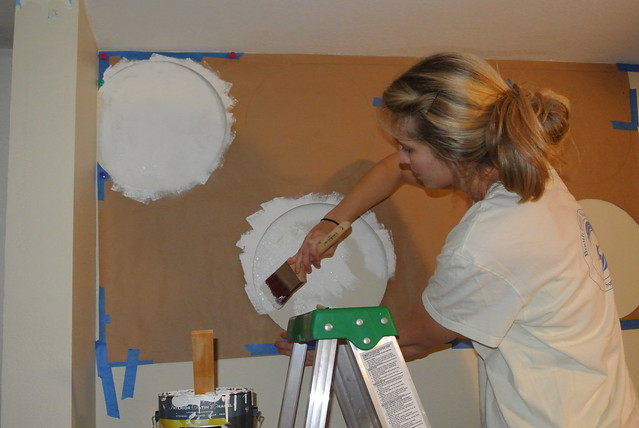
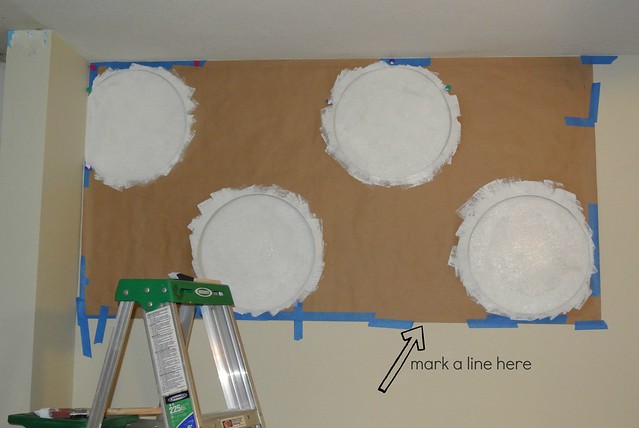
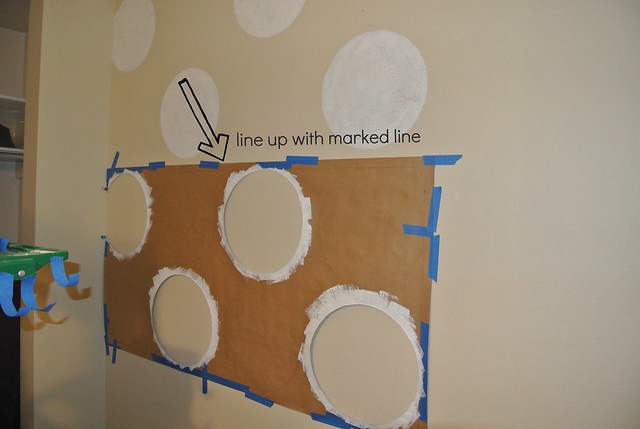 Then you repeat again.
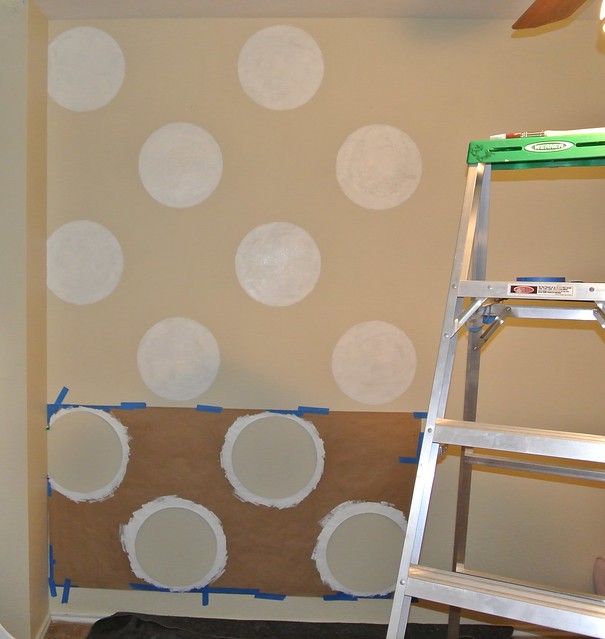

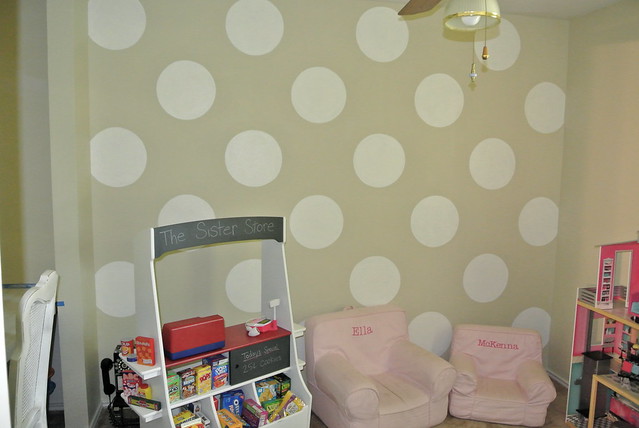
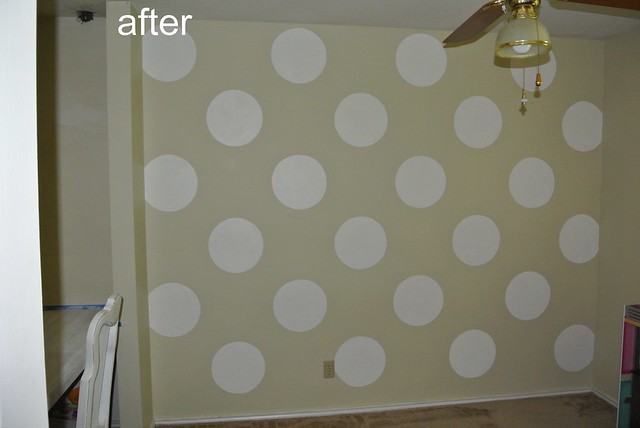
I love the polka dots on the wall. How fun!
Aren’t they great Robin? Love that Allison! 🙂
what pretty projects! Love the wall and the easy quilt. That spray adhesive trick is genius!
Thanks Delia- aren’t these girls fun??? And smart too! 🙂
Love your white blanket too!!!
You are just the sweetest Kirstin! You are so so talented and we are honored to be on your blog today! Thank you for letting us be apart of this series!
Allison, we adore you guys. Seriously, love!
Thank y’all so much for having us!! We are just thrilled to be here!
Kristen! I was so excited to get on the blog and see your faces. Love you guys and your projects!
THANK YOU SO MUCH! I recently rescued an old wooden bunk set from the garbage and it was green, rather then re-painting the whole thing. I was going to go over it with purple polka dots for my one daughter on one bunk and pink vertical stripes on the other bunk for my other daughter, SO this helped me brainstrom on how to do it!