
rainbow tutorial- the dottie skirt
As an Amazon Associate I earn from qualifying purchases.
 I just adore today’s guest, Shannon from luvinthemommyhood. Her blog is FULL of beautiful images (love all of her round ups!), pretty sewing projects (like the Emerson tunic dress and the Autumn tunic) and cozy knitting tutorials (love this mustache cup cozy)! Best of all, we’ve loved Shannon forever (seriously, she was one of our very first ‘DIY blog’ loves), so she feels like an old friend (a sweet-and-really-talented-at-the-same-time friend).
And(of course), Shannon’s Dottie Skirt tutorial is ABSOLUTELY adorable, colorful cuteness-
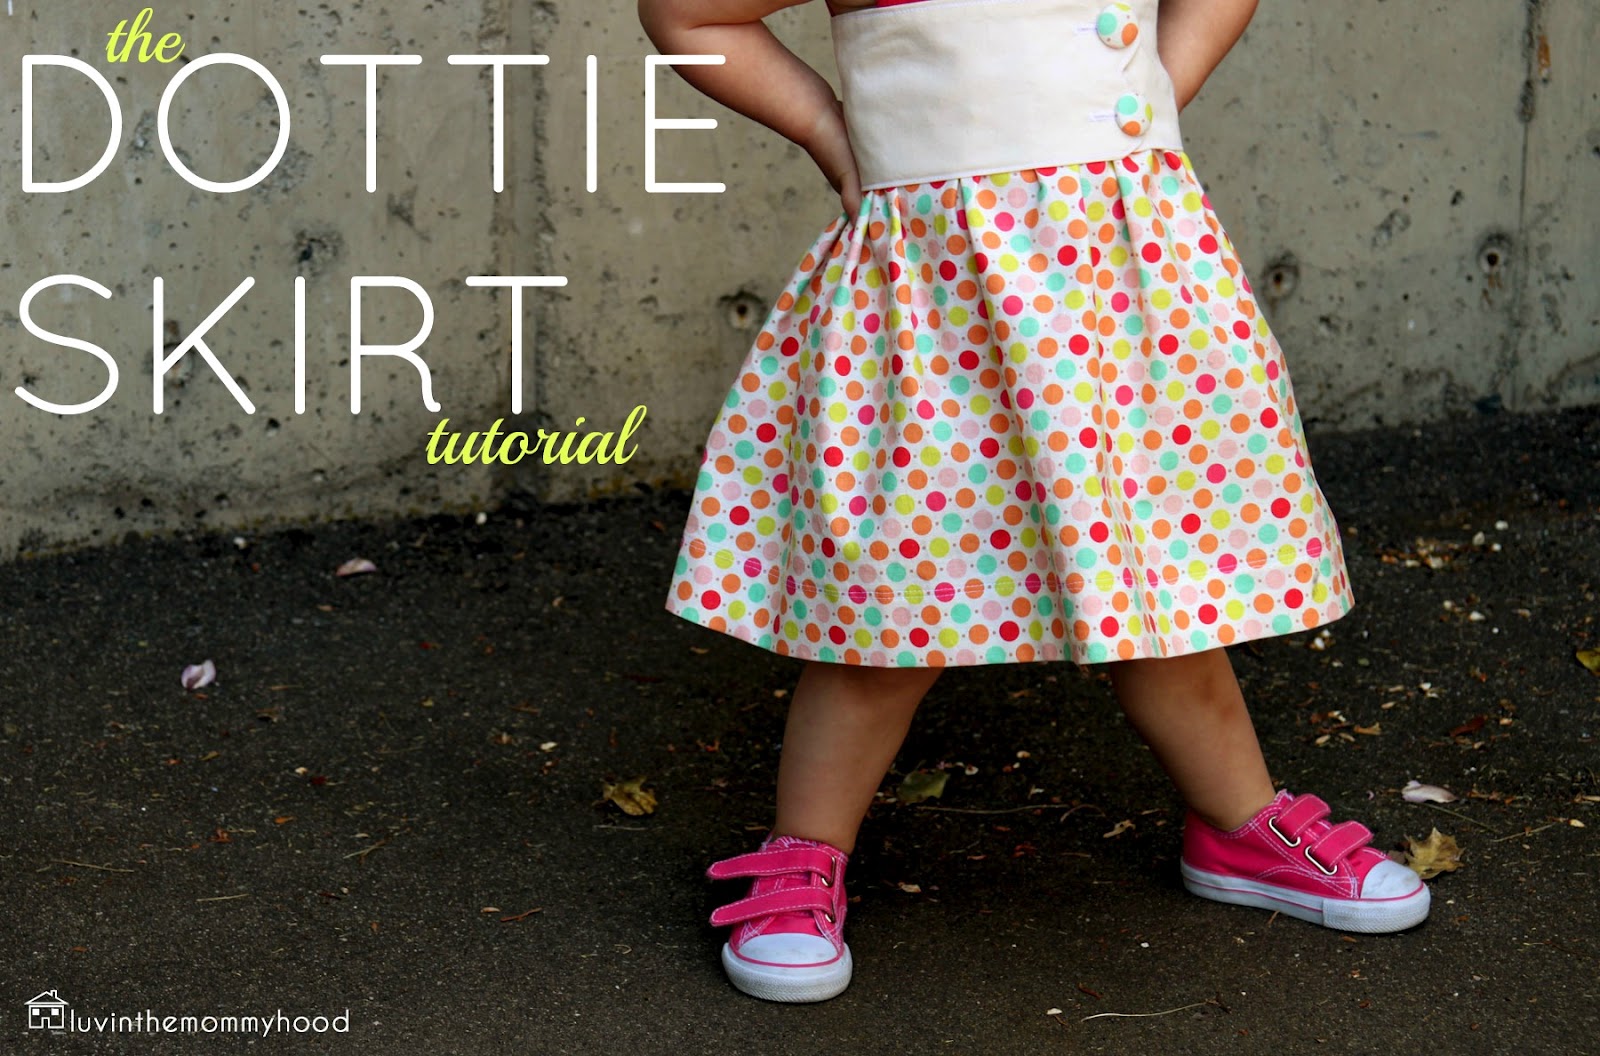
when kirstin of “kojo designs” asked me to join in on her and delia of “delia creates” summer series called color your summer i was thrilled! last years was ahhhhmazing and i’m super excited to get to be a part of this years series. i was even more excited to choose the color “rainbow”! you all know i’m not afraid of color when it comes to my kiddos clothes and i’m working really hard on adding pops of color to even my own wardrobe so i jumped at the chance to use rainbow as my inspiration starting point.

i knew right off the bat i wanted something that had lots of yummy colors that to me represented the feeling of summer. yummy sherberts, sunny weather, ice cream cones and balloons in a blue sky. i immediately went right to my stash pile and grabbed one of my fave prints – sweet nothings collection – dots cream by zoe pearn for riley blake designs. it screams color and rainbow to me without being too cutesy and overly colorful. i think it’s playful and the colors are right up my alley. i love the mix of turquoise, orange and chartreuse – so fun!
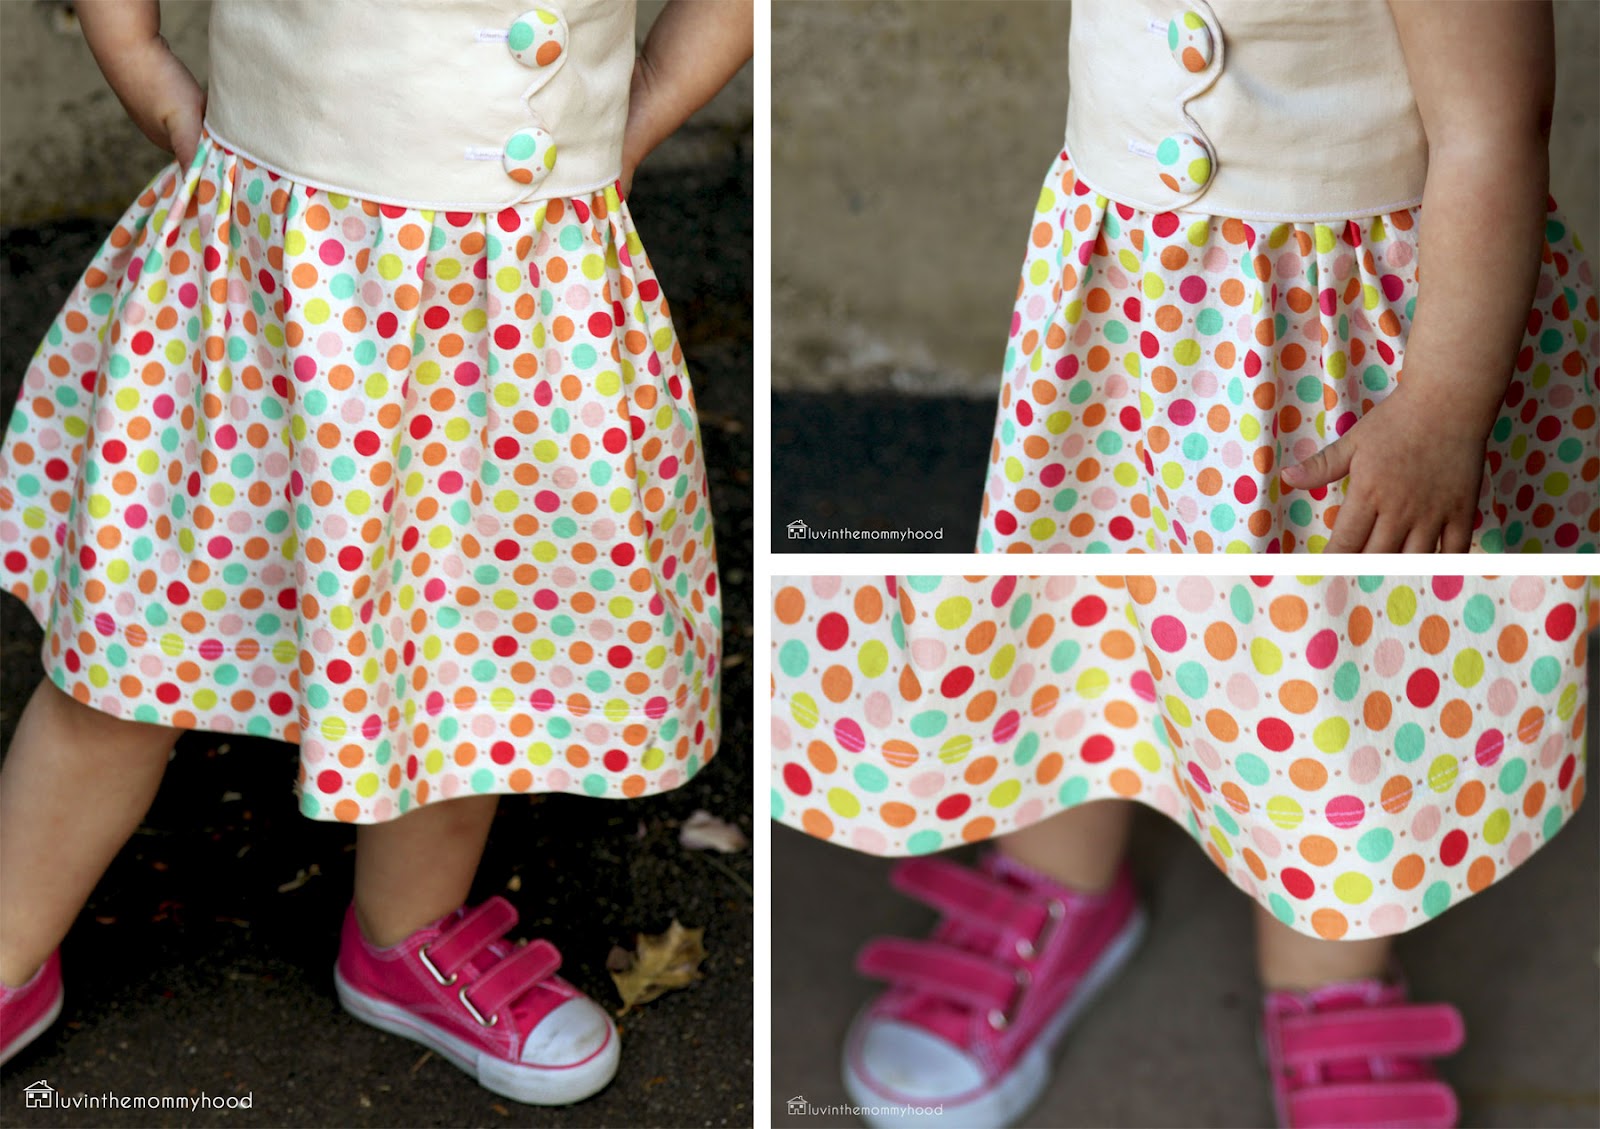
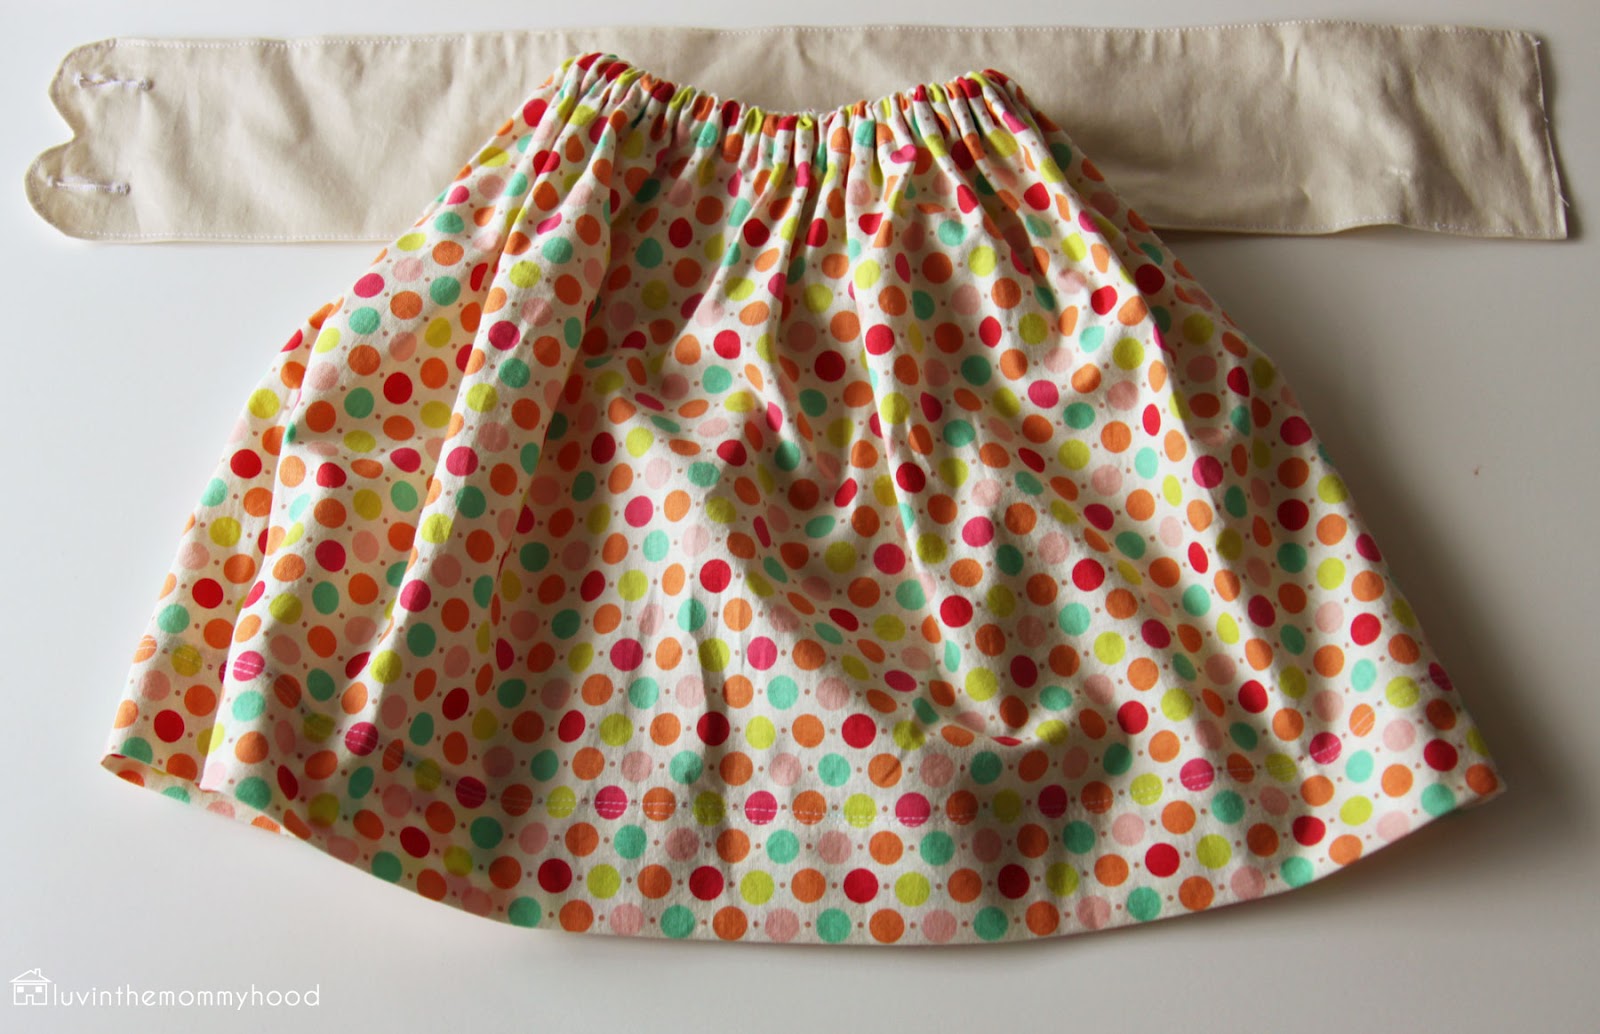
when deciding what to make i realized i’ve made skirts for my girls before but have never done a skirt tutorial on the blog before so i figured it was about time to whip one up! i decided i wanted something that had a fun twist to it! a high waisted skirt that had a fun belt attachment that was easy to construct and fun to wear with a bit of a vintage flair to it! the belt is made on it’s own and simply stitched onto the back center of the skirt only. the belt is decorative and the elastic waist of the skirt is what holds the skirt up! i love the scalloped end of the belt and how it plays up the dots of the fabric. i can see many more of these in our future in all sorts of color combos! you ready to make one too? yay!!! happy sewing ladies!!

Materials
– (1) piece of fabric for skirt for the size of your child. Mine was approximately 42″W x 16″H and was quilting cotton.
– (1) piece of fabric for belt for the size of your child. Mine was approximately 22″W x 8″H and was quilting cotton.
– (2) covered buttons or buttons desired.
– fabric marker
– 3/4″ elastic long enough to fit waist of child.
– scissors
– Co-ordinating thread

Templates
Instructions
*Please note this tutorial will only show you how to construct the skirt shown. I simply used the full 42″ width of my fabric for the skirt width. I did not cut my rectangle in 2 pieces to make my skirt. I only made one seam to join my pieces to make the skirt. You may choose to you use any width or length of fabric that fits your child best. There are a lot of great free online tutorials showing you how to find the right size of skirt for your child. I like to use the 2:1 ratio for skirts like this. You simply measure your child’s waist and times it by 2 to get your width. Easy right? Then go ahead and measure down to where you would like the length of your skirt to end and add on to that measurement your hem allowance (in this case I did a 2″ hem) and another for your waist band (depending on the size elastic you are using I would suggest about 1 1/4″).
STEP ONE – SEW YOUR SKIRT
Take your main piece of skirt fabric and with right sides facing each other fold in half matching your short ends together. Sew this together with a 1/4″ seam allowance. Press. Finish off your seam by zig zag stitching, pinking or serging.


With your wrong sides facing out (right sides facing each other) fold 1/4″ along your skirt top pressing as you go. Fold another 1″ along the skirt top pressing & pinning as you go. Top stitch along your inner folded edge taking care to leave a 1/2″ opening to pull your elastic through. Press. Attach a safety pin to one end of your elastic and pull your elastic through the entire waistband of your skirt.

You can now choose to:
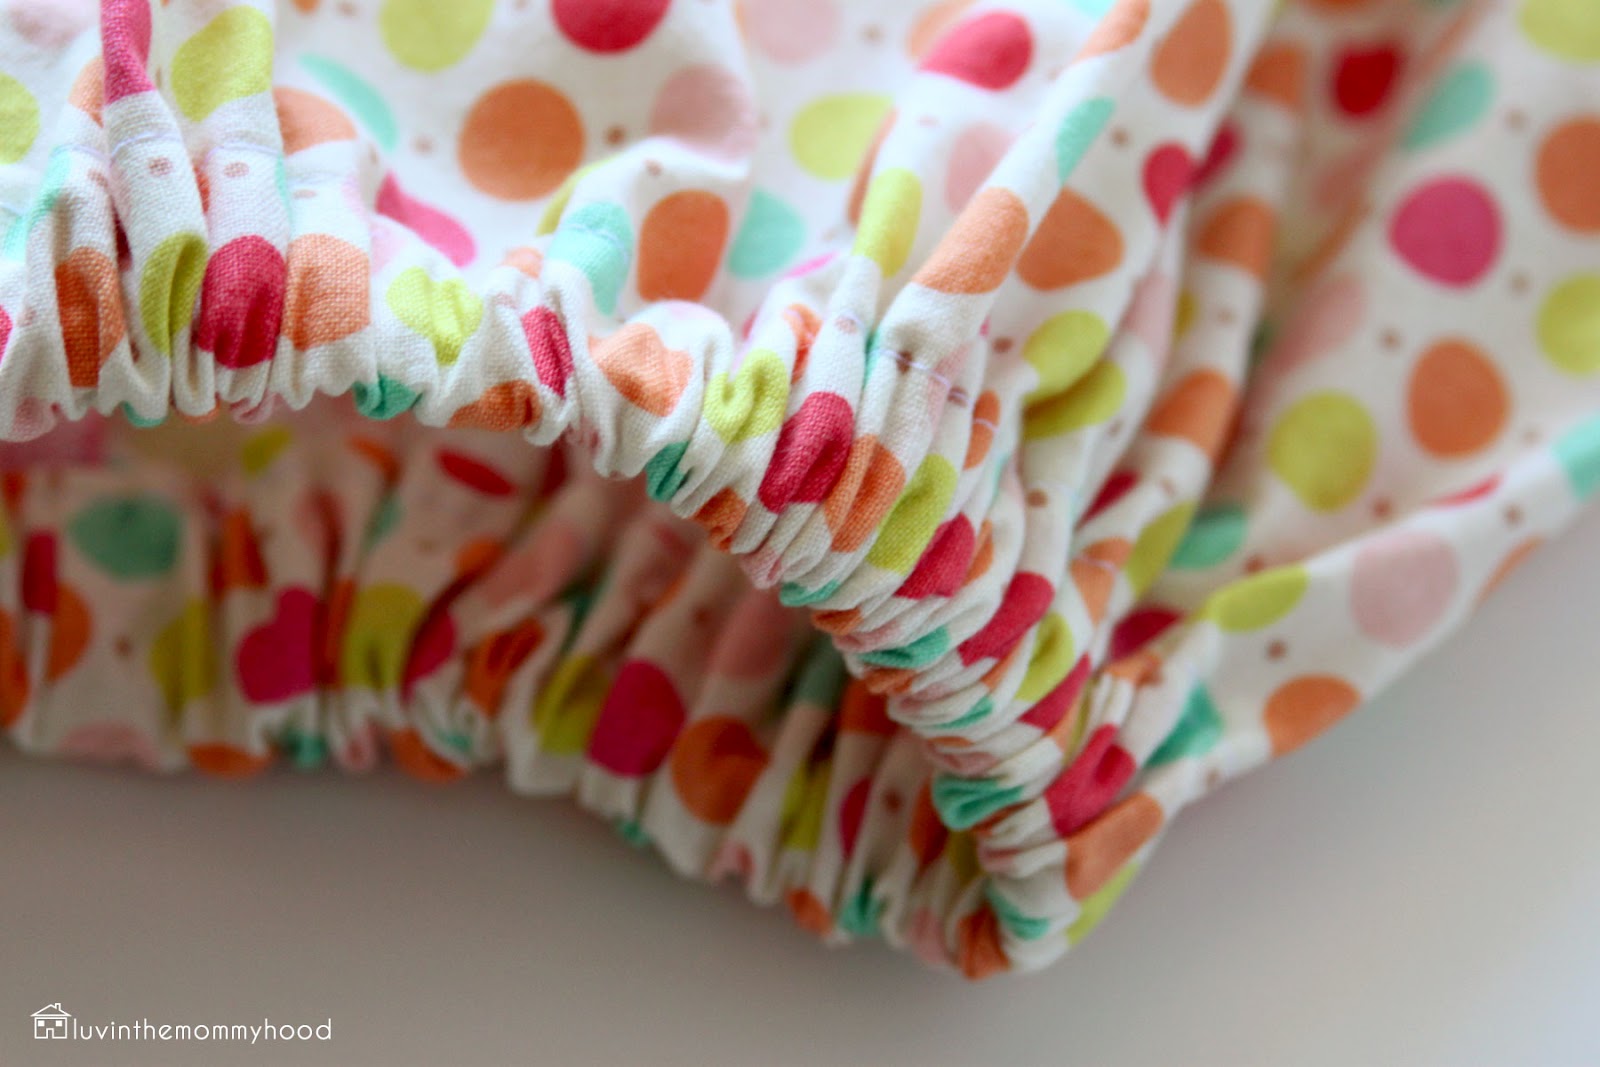
Stitch your two elastic ends together using a zig zag stitch. I like to go over mine a few times. Put the elastic ends that you just sewed back into your casing and then top stitch along the opening of your waistband to close it your opening.
STEP TWO – MAKE YOUR BELT
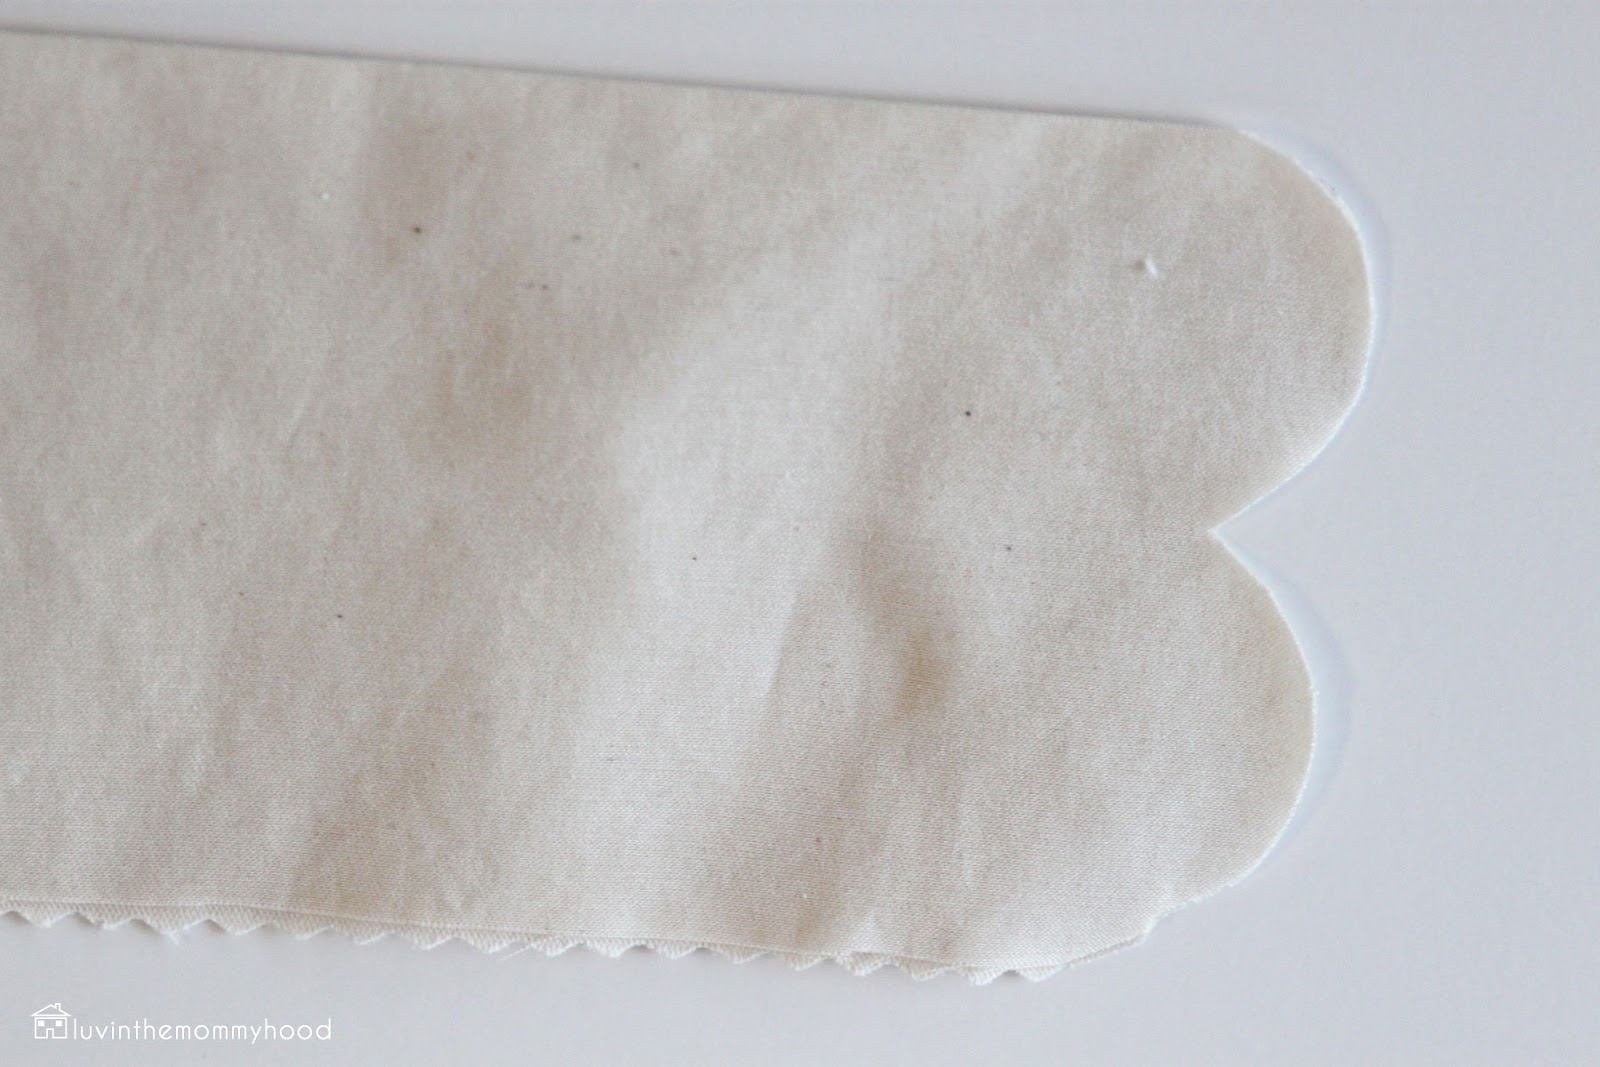
Cut out your belt to the width that will fit your child adding on at lest 3-4 inches so the belt will overlap and be off center when buttoned. Your belt will be 8″ high when cut out and approximately 4″ high after stitching. Fold your belt fabric rectangle in half matching your long ends together with right sides facing each other. Press. Using the template and your fabric marker draw and cut out your scallops vertically along one of your short ends. Use the pattern piece for the belt to see where to place the scallops. *See image above as to how it will look after cutting out.
Stitch along almost the entire perimeter edge of your belt leaving the long folded edge unsewn taking care to leave a 2″ opening to pull your belt through to the right side – I like to do this along the straight long edge. Notch your curves so they will lay nice and flat. Pull the belt through to the right side making sure your scallops are nice and curvy. Press really well. Topstitch along entire belt perimeter closing your opening.

I liked the look of having my belt off centered when buttoned. You will need to find the center of the back of your skirt. Make sure your center back is where your skirt seam is that runs down your skirt. Pin belt really well over top of skirt in the back making sure your skirt top is about 2″ from the top of belt. Your belt will cover a chunk of the skirt. Top stitch along the bottom center of your belt for about 2-3″ (*only!) to attach your belt to the back of the skirt.
STEP THREE – MAKE YOUR BUTTONHOLES AND BUTTONS

Now you get to make your buttonholes – don’t be scared! I used to have a phobia of buttonholes and after practicing them a gazillion times feel much better about them. I cannot stress enough that you need to do a practice piece just to make sure you have the right size and will be happy with your button hole. It’s much better to make a mistake on it than to make a mistake on your belt and have to redo the whole thing. Start by marking where you would like your buttonholes to go. Sew your buttonholes using the method you prefer. Then using a seam ripper or your scissors open up your buttonhole.

Next you need to attach your buttons. I tried the belt on my daughter and marked with a fabric marker a little dot where I wanted the buttons to go making sure they aligned with the buttonholes I just sewed. I love using covered buttons and cannot use enough of them. I have an addiction with normal buttons too but there is something about covered buttons that is so fun! You get to make them any color/fabric you want them to be! In this case I used the skirt fabric to add some color to the belt. I used two buttons. Handstitch your buttons (or machine stitch if you are using a different kind of button and your machine allows) to your belt. Voila! You’re almost done! You’re doing awesome!
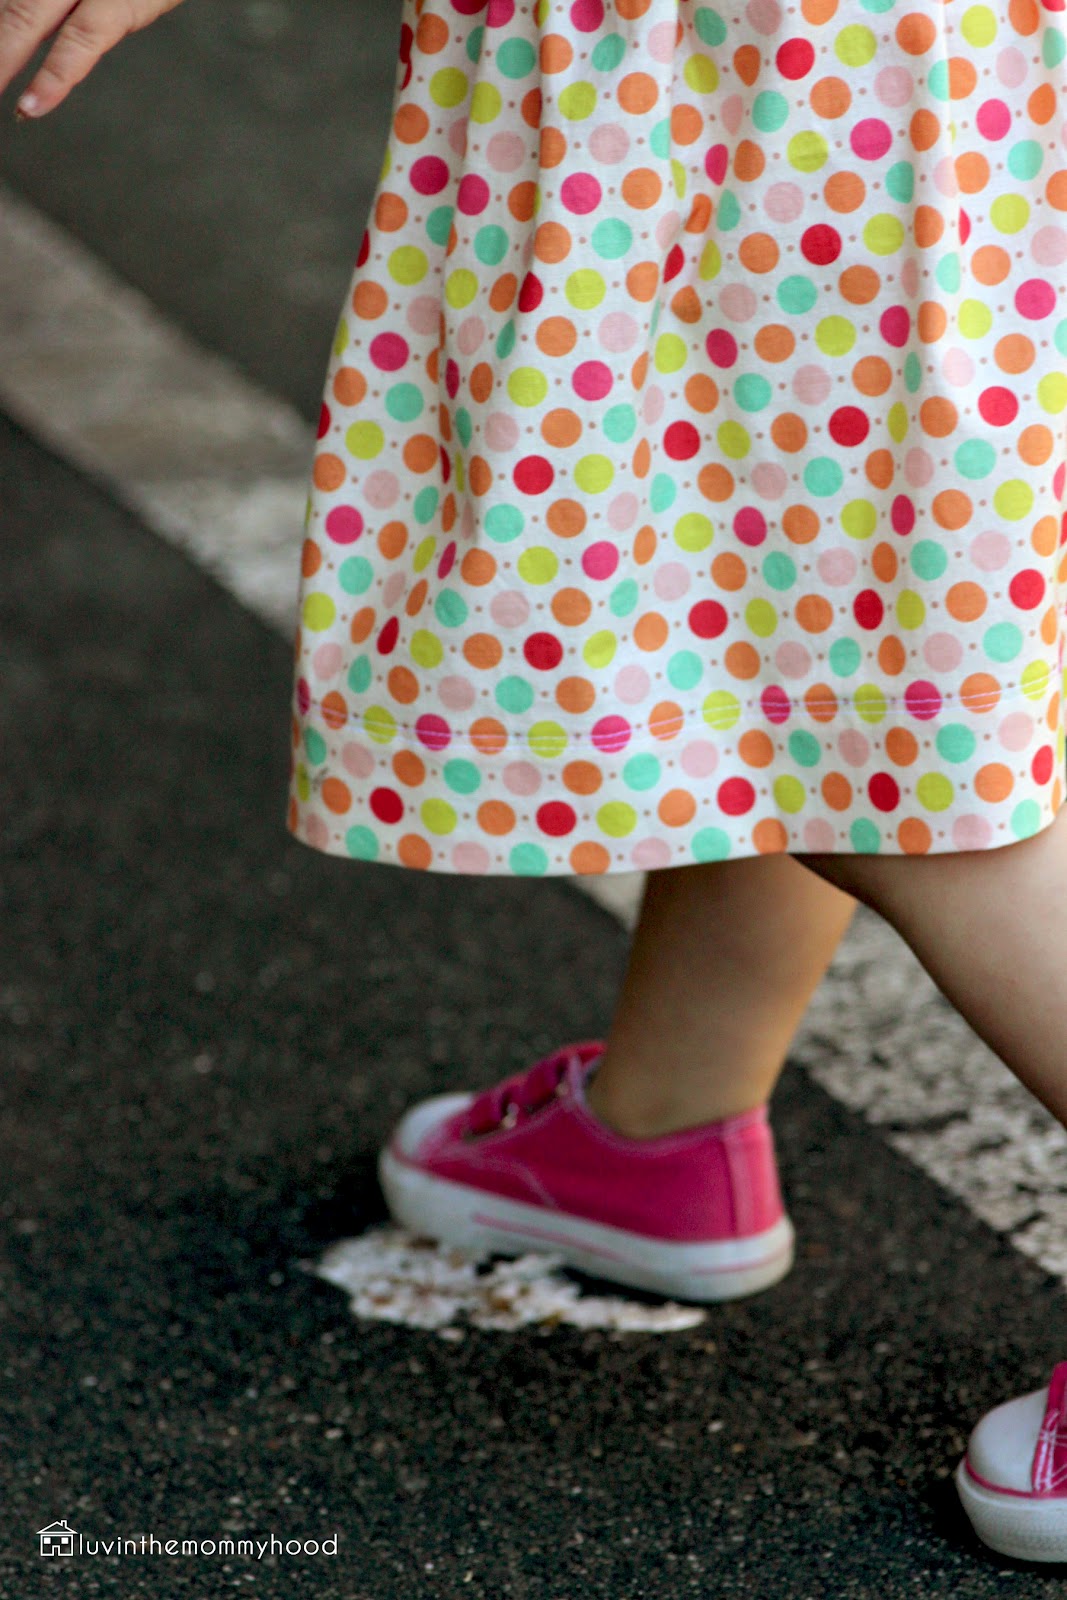
STEP FOUR – HEM YOUR SKIRT


Measure the length you would like the skirt to be and start by folding up half of that and pressing and then folding the other half and pressing/pinning as you go. Stitch along the inside edge of your fold. I like to topstitch twice around for a nice professional finish. I like the little detail it adds. Press again. Add your label if you are using one and away you go! An adorable, twirly, girly rainbow of a skirt just perfect for summer and ice cream cones!
Thank you so much for having me Kirstin! I had so much fun being a part of the series! Wishing you all a very colorful, fun & sewing filled summer! You can find all things luvinthemommyhood here:
 As if that wasn’t enough colorful goodness (so. darn. cute, right?), there is a rainbow dotted umbrella tutorial at delia creates today!
This is adorable Shannon! I love high-waisted skirts. The belt/waistband on this one is so pretty. Thanks for joining CYS this year!
so beautiful!! i love the scallop belt!
I just saw this on facebook! Its absolutely one of the most adorable skirts I’ve seen in awhile. Its on the to do list for sure for my 4 year old daughter! 😀
Thanks everyone and thank you to Kojo Designs and Delia Creates for me having me be part of Color Your Summer!
Wait a second – I didn’t even realize from the Pinterest Pin that you made your own belt too – so stinking cute Shannon! I love it!
Thanks hun! Super fun!!
Great job Shannon! So unique & adorable 🙂
Isn’t it? LOVE.
I am in LOVE with the scalloped cumberbund….what a fantastic idea!