
rainbow tutorial- layered polka dot dress
As an Amazon Associate I earn from qualifying purchases.

Helllllloooo, KoJo fans! So excited to be here!
I’m Alicia and I write a blog called La Famille. I write about all kinds of things; mom stuff, craft projects, sewing projects, fluffing my nest, daily life, homeschooling, and just completely random stuff. I host a link up every Wednesday, called the Happy Day Challenge where I give you a challenge for the week on doing something happy!! I recently moved from South Dakota allllll the way to Asheville, NC. We love the mountains! I have three little chillins and I made some really yummy avocado chicken enchiladas for dinner last night. There, do we know each other a bit better now?? 🙂

So I’ve guested here at Kirstin’s before, and can I just be honest?? Kirstin is superwoman sew-er lady and I just pretty much guess at everything I do. It’s a little intimidating to be here in the presence of crazy-awesome-seamstress woman. But when she told me I was up for a “rainbow” project I immediately reverted back to my Rainbow-Bright-loving-days and ran with it.
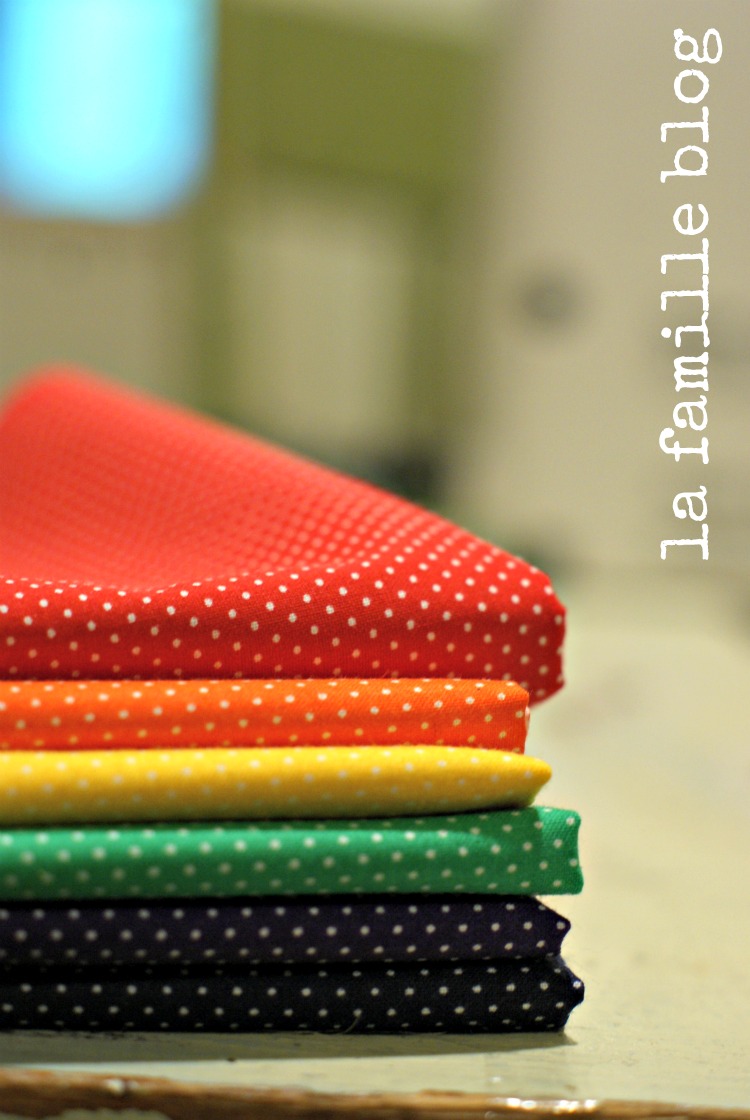
I then found the cutest pin dot fabric in every color on the rainbow and the “Rainbow Dress” was born.
So here’s the deal with my instructions…I’ll try not to be vague, but really I just guess a lot so I’ll try to convey my guesswork to you 🙂
Besides the rainbow colors (1/2 yard of the red, 1/4 yard for the rest), I bought a 1/2 yard of ribbed white knit too. This is the top of the dress. I doubled the fabric up to make it a little less stretchy and see-through-y…


After you’ve got your top made and your strips cut and the edges finished, go ahead and gather those strips. I used a serger to finish the edges with a rolled edge, but you can definitely iron the edged under and sew.
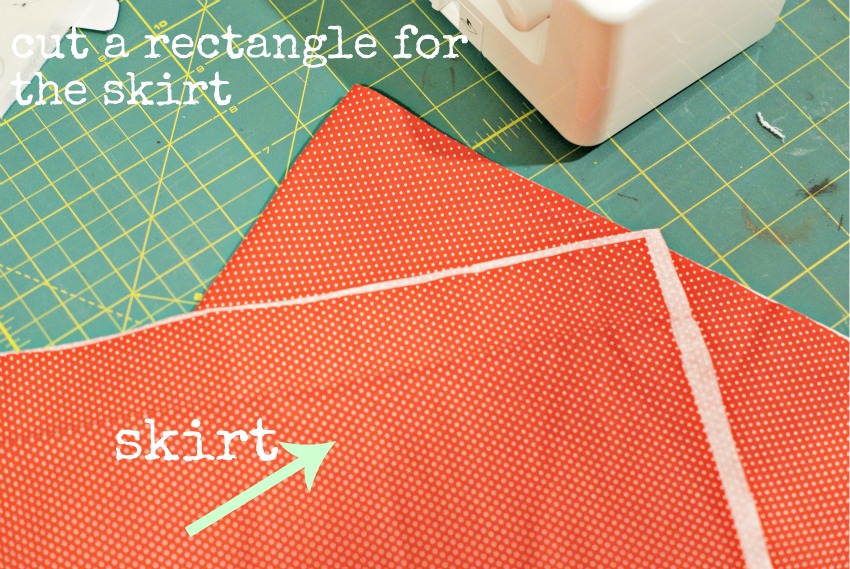
Next we’re making the skirt part that we’ll sew the ruffles to. This is solely based on the size of your girlie. However long you want the dress to be, add about 12″ to that, that will be your length. Now for the width, make sure it can go around her 1 1/2 times.

After all your ruffles are sewn to your skirt you should have a good six inches left on top…it’s ok to have a lot here, you can cut off more later. Now we’re going to cover the top edge of the top ruffle to give it a nice finished look. Just grab the edges of the skirt and fold down over the top of the ruffle and sew it down.

Next we’re sewing the casing for elastic on the waist. You may or may not have to cut some extra off the top depending on how big you cut the skirt from the get-go.

Add the elastic and finish it off…

Now this is definitely easier for me to do with my model. I put the top on her and pinned the skirt right where I wanted it. In this case, it’s high waisted, but you can pin it where ever you want to.
When you’re done you’ll just flip it inside out and sew the top to the bottom.

Not too hard, right!?
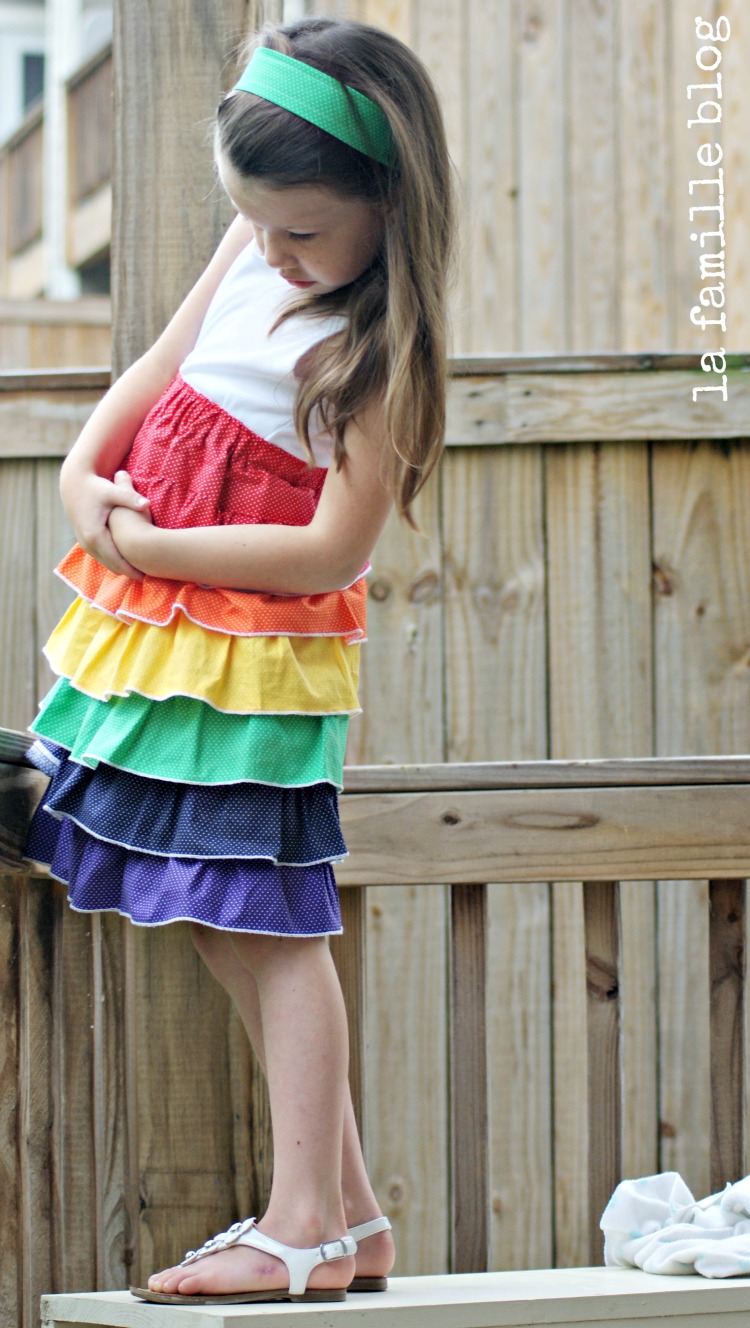
Now you have your very own Rainbow Bright!!

Thanks so much for having me Kirstin, and thank YOU girls for listening to my rambling tutorial 🙂 Hope you’ll come by and see me at La Famille.
xo,
{alicia}

And don’t forget to go check out the other rainbow goodness at Delia Creates today (hint- all of you looking for things to make for boys are going to love it!).
I LOVE that fabric. I had a stash of the orange for a long time, but can’t find it anywhere now. Care to share where you found all your dots?
this is such an adorable dress!
love it, alicia!
xo
Thanks Mary! Love that Alicia! 🙂
Uh…this is like THE cutest dress ever! Love it!
Thanks Becky! I totally agree! 🙂 Can’t wait to make one for Piper Jane.
really cute rainbow dress any girl would love! The picture of the girl sitting with her ankles crossed is adorable. 🙂 Thanks for sharing your tutorial!
Jenni- didn’t Alicia do a great job? LOVE! 🙂
What an adorable skirt! Very well done.
Thanks Delia! Love the tshirts too!
gosh, alicia, now i want a sewing machine right along with a printer! : ) it looks absolutely amazing. soph is such a gorgeous little model, too.
Carissa, isn’t sophia adorable???? And the dress is too cute! Thanks for stopping by! 🙂
This is amazingly adorable! I cannot wait to make one for my daughter!! (and I am sure my husband will thank you for helping me spend more money on fabric!)
Haha- our poor husbands! I am totally with you on making one of these STAT though! 🙂
Oh that is SO PRETTY!!!!!
Emily- isn’t it great? Alicia is so talented (and isn’t Sophie the perfect little model for it?)!