
green tutorials- one handed sarong AND a green fabric flower
As an Amazon Associate I earn from qualifying purchases.
 I am absolutely thrilled that our guest today is the lovely Rach from Family Ever After. She has great ideas (love the 4th of July fruit salad!), throws fabulous parties (LOVE the ballet birthday party she threw for her daughter), has a great eye (don’t you love that pretty stenciled wall?), and hosts a mean sewing competition. Even better, though, she’s genuine and caring and just all around terrific- y’all, I adore this lady (lucky me- I even had a chance to meet her in April).
You guys are going to jump with joy when you digest what I am about to tell you- Rach made a one-handed sarong (some of your will remember something similar from last year’s Color Your Summer, but we never got the tutorial), added some pretty ruffles, and is here to share the tutorial with us. SO EXCITING (and also, such great news for my email inbox full of one-handed sarong tutorial requests!).
Hi! I’m Rachel, from Family Ever After. I’m incredibly thrilled to be here on one of my all-time favorite
blog series, hosted by two of my most favorite bloggers! (Thanks Kirstin and Delia)!

Do you remember the awesome reader entry from last summer’s Color My Summer? It was a one-handed swim suit cover, and it was brilliant. I loved it because I’m constantly juggling bags, food, and kids at the pool. This is exactly what I need- something easy to slip this on only using one hand! There were a bunch of requests on how to make the one-handed sarong. I have scoured the internet for a tutorial, but I’ve been unlucky finding anything. So, I decided to figure out how to make it myself! And it was so easy.

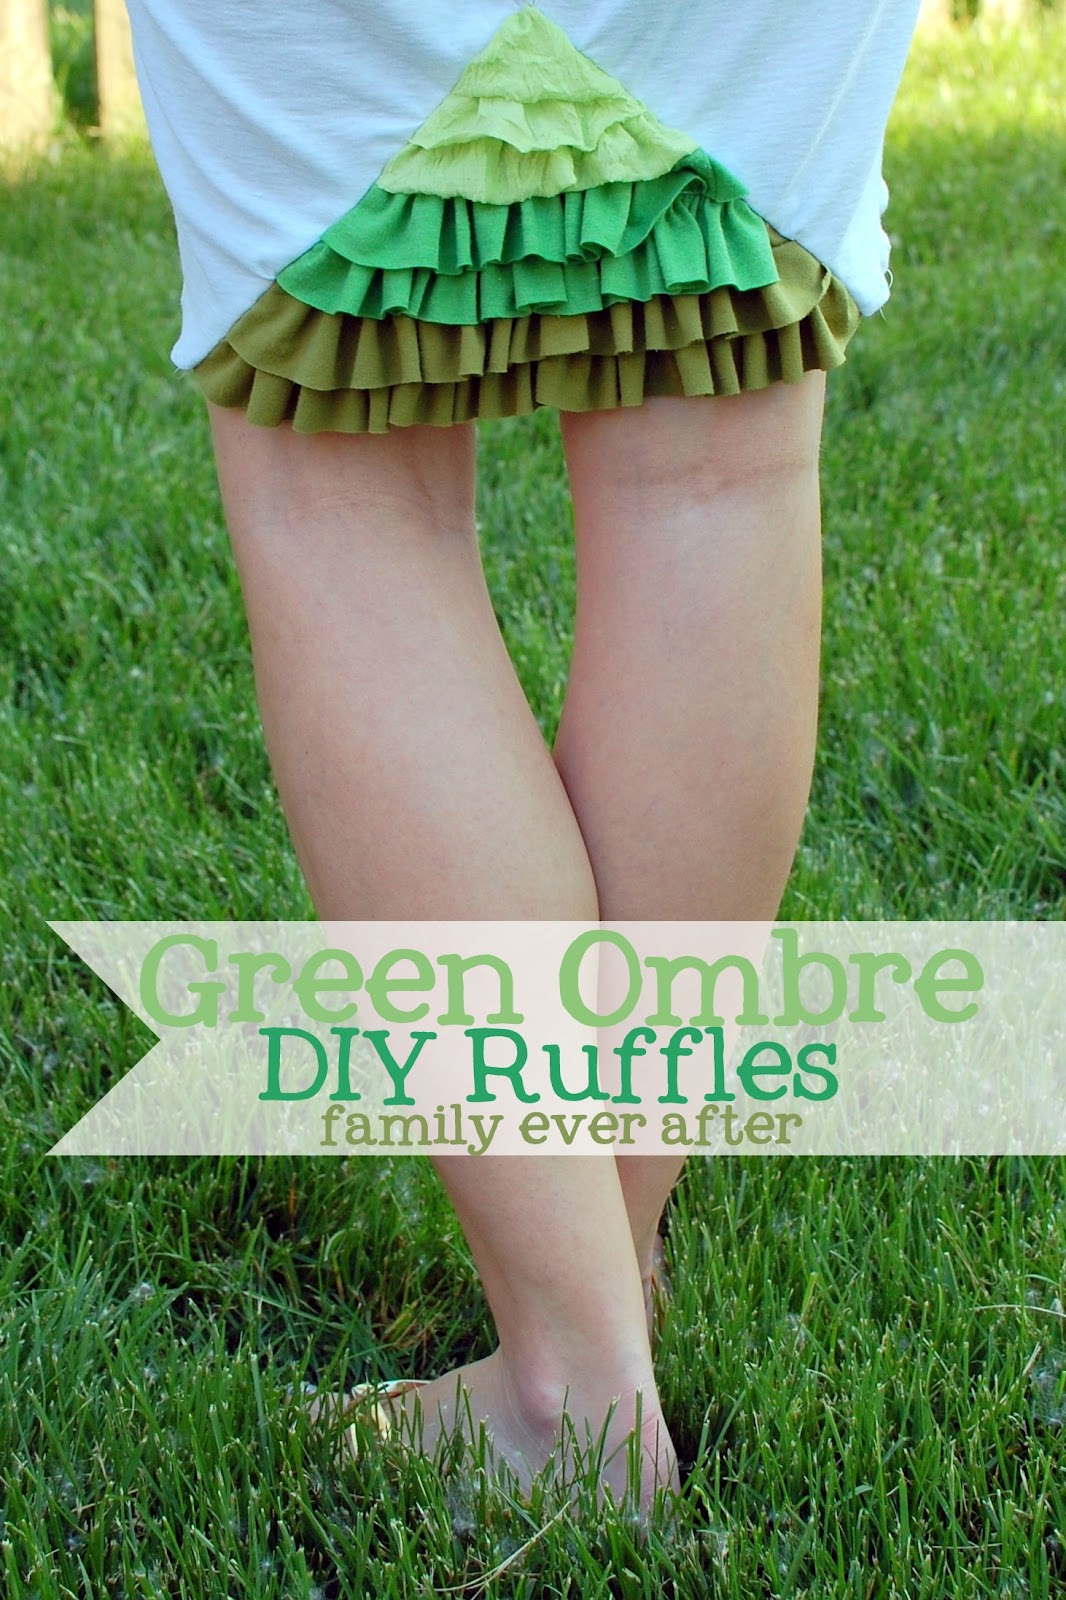
Here’s how I incorporated my lovely color…. GREEN!
I’m on a mission this summer to re-purpose and use up my fabric stash before I buy any more. I made this cover-up using materials I already had. The cover-up would have looked extra cool with a green knit, but I challenged myself to get creative and add green with what I already had… hence the fun little bustle!
(one of the ruffles in the picture is wrinkled; it’s not like that in real life though, you’ll see)!
Let me show you how I made this!
aka- I was totally winging it. I had no plan, I was just getting a little scissor and sewing happy as I went along! This is definitely a project you’re going to want to try on as you go.
*The great thing about working with a knit on this project is that you don’t have to be totally accurate with your cutting, etc. This is a forgiving project 🙂 Also, when working with knits, it’s a good idea to get a special dull needle. But, I’m lazy and I just used the one in my machine, and it worked great.
Supplies:
1 yard knit fabric (I’m 5’2″ so get 1.5 yards if you’re taller)
scrap fabric if you want to add the bustle
regular sewing supplies + optional ruffle foot
Directions:
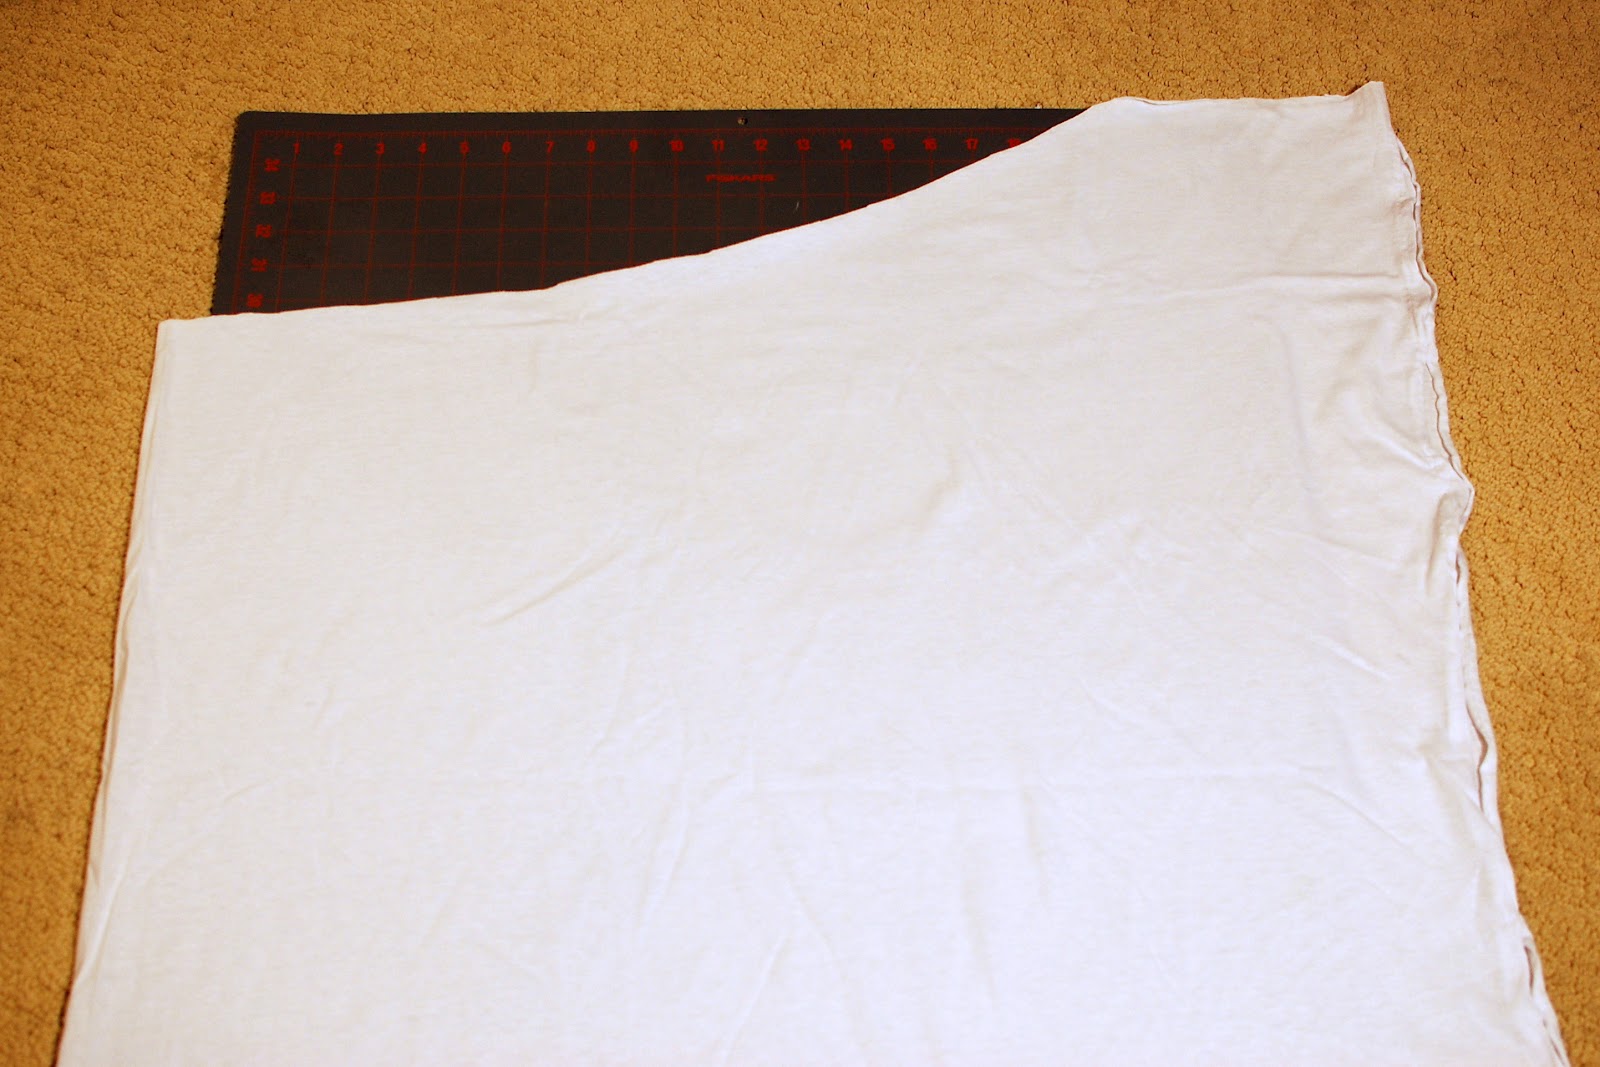
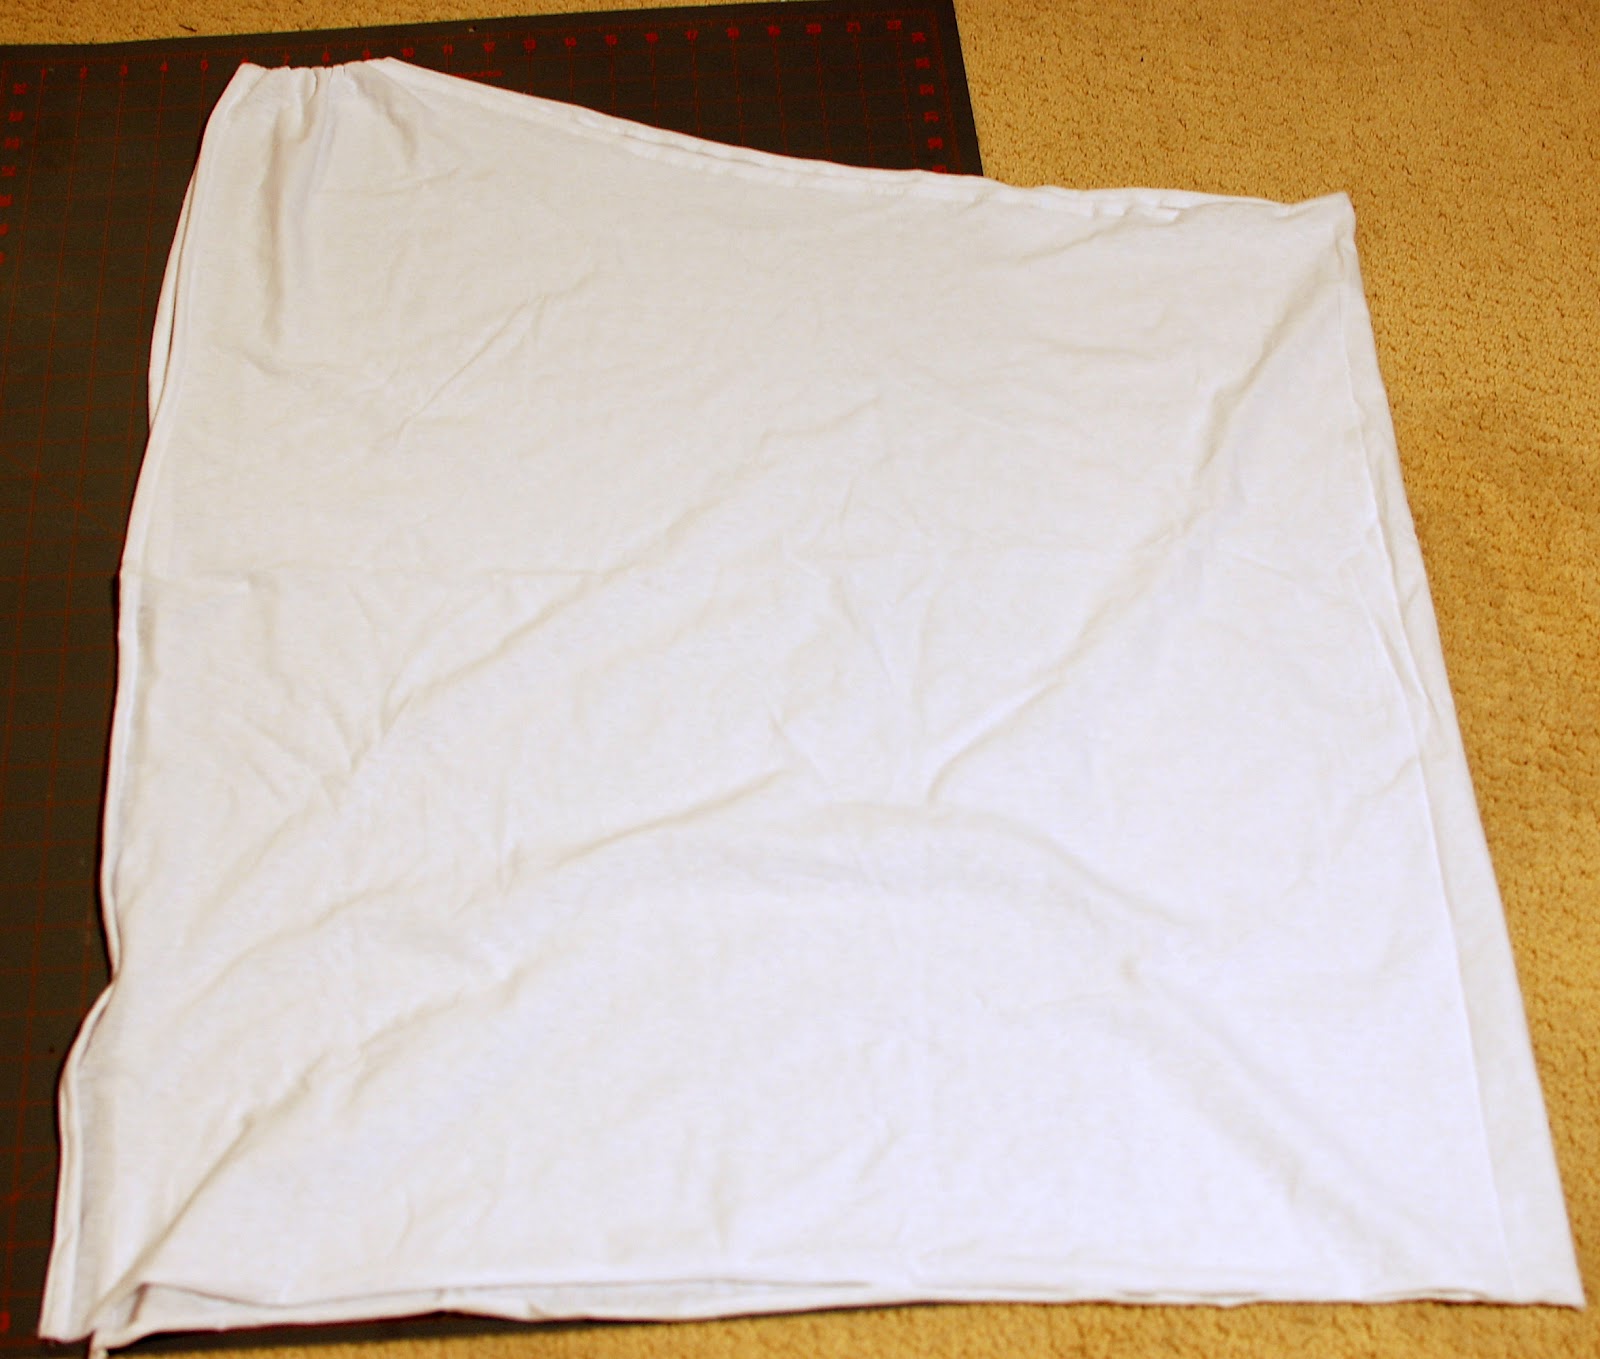
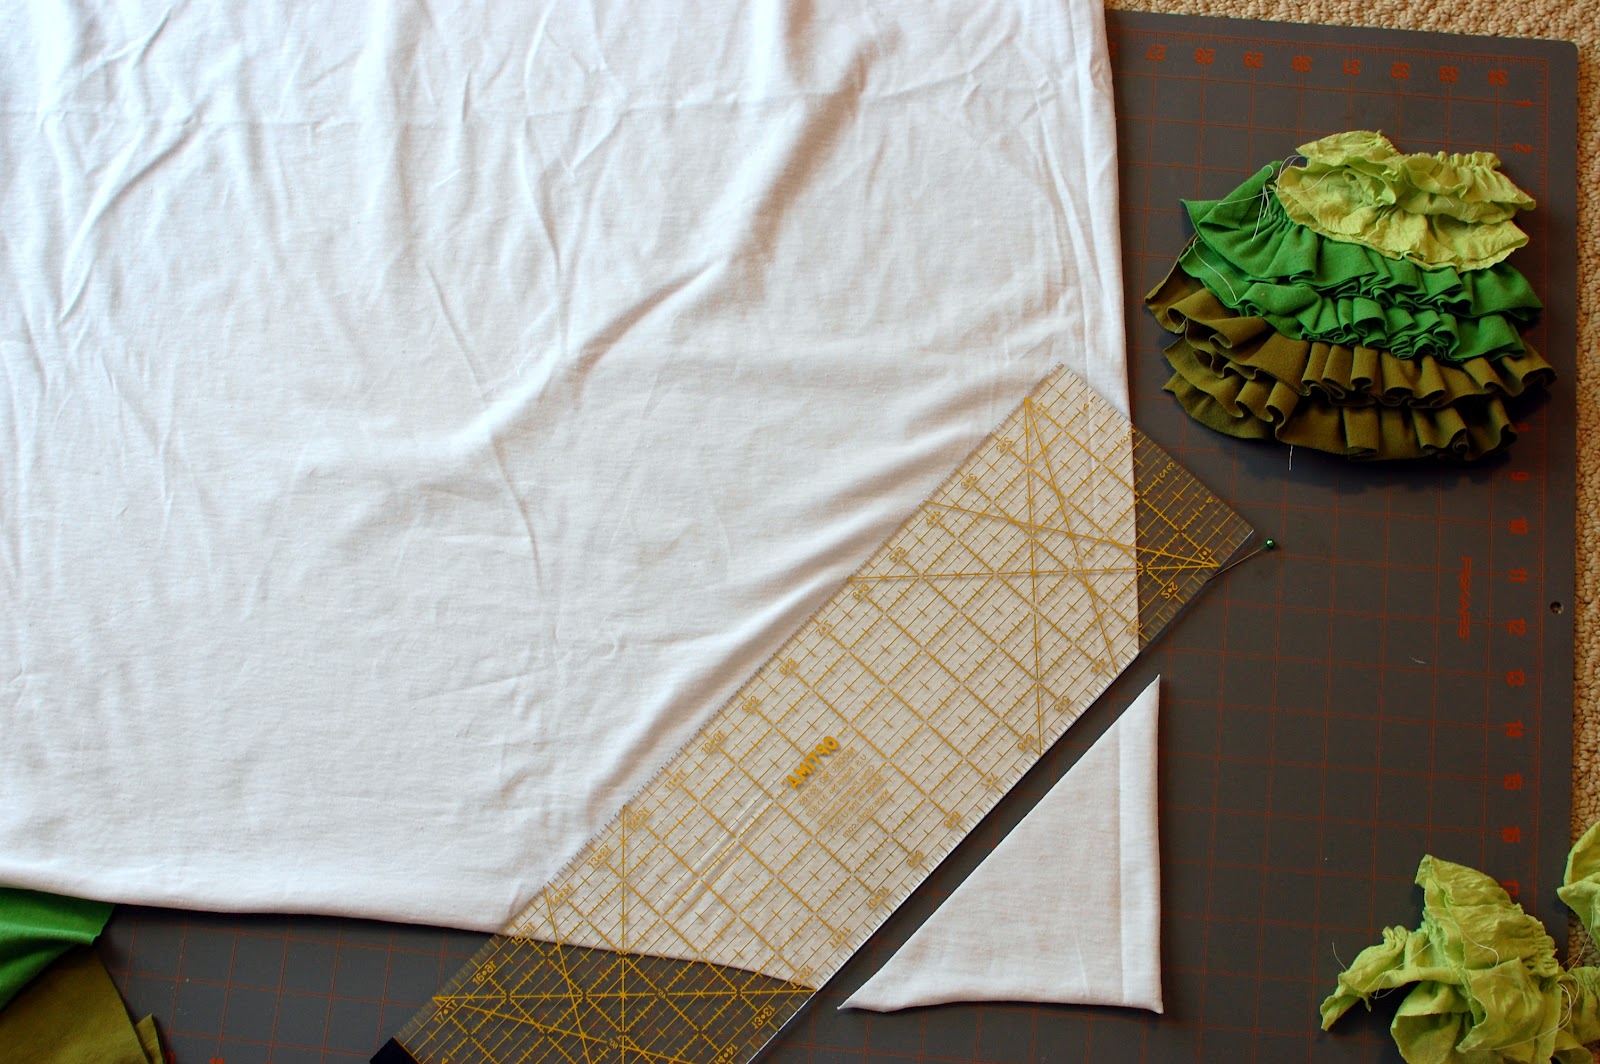
1. I started by draping the yard of fabric around my body, and trying to visualize how it would all come together. I fashioned this with the selvages perpendicular to the ground.

2. I free hand cut away part of the fabric that I didn’t want, because it would be too bunchy at my back. So, the edge of the right of this picture is the selvage. That is the part that would be parallel to the front of my body. On the left side of this picture is the fold, and that will be at the back of me.
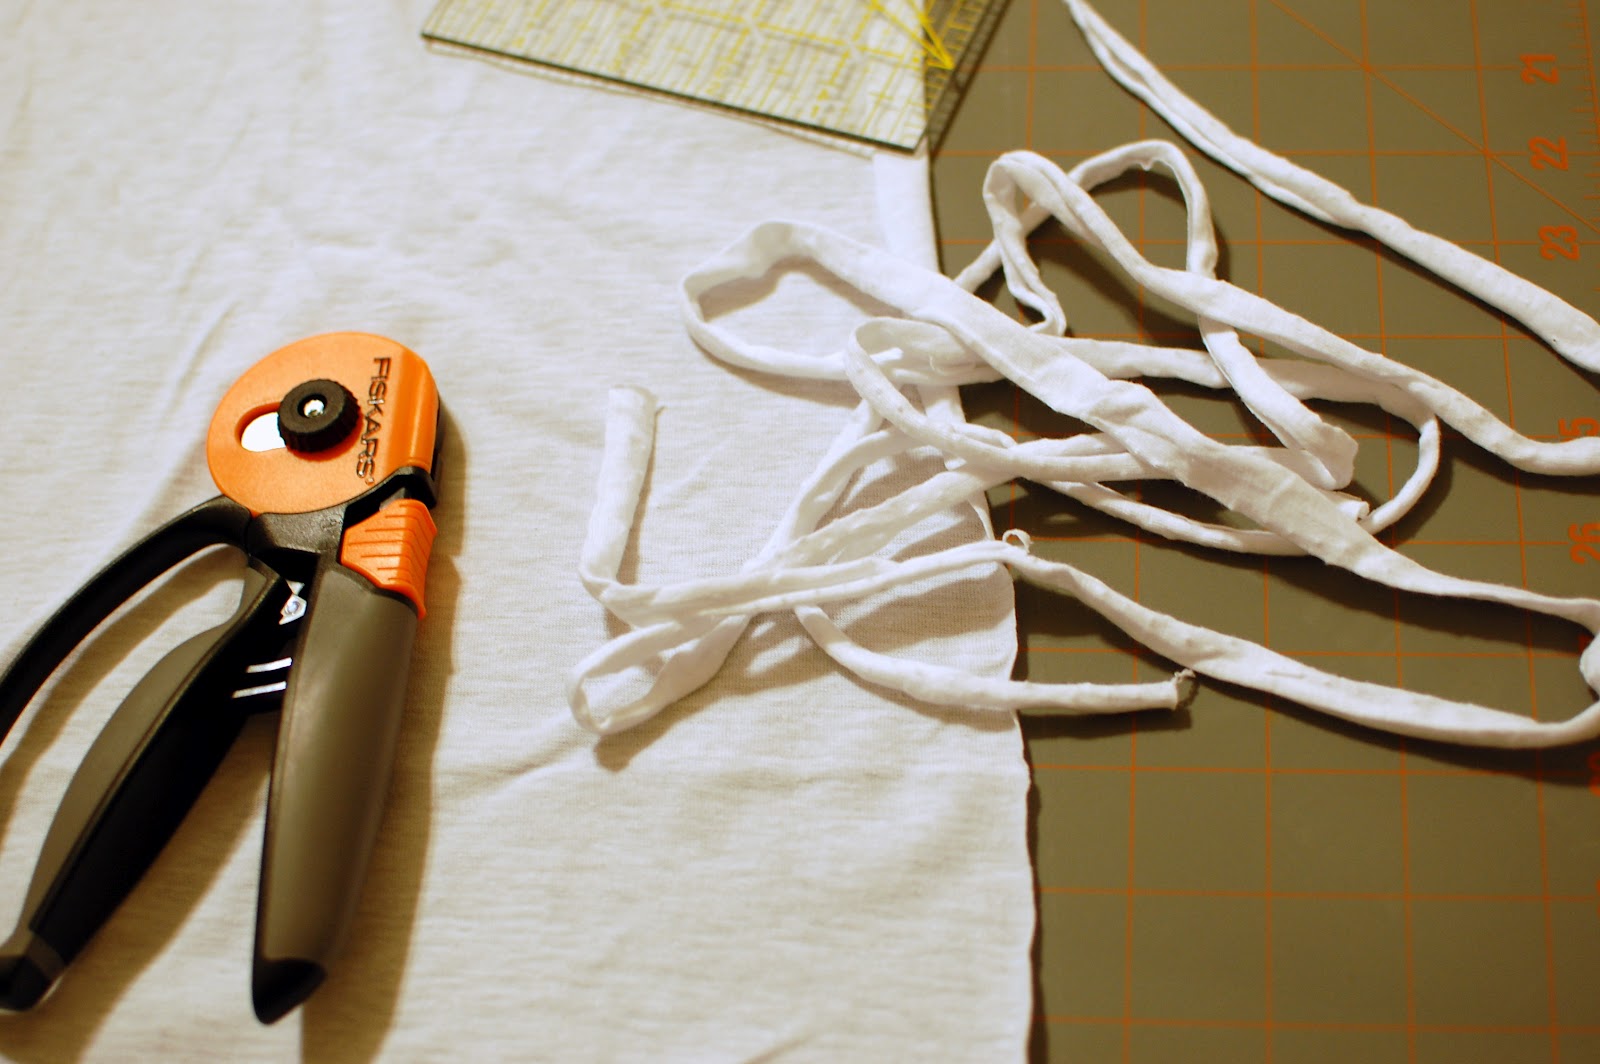
3. Trim off your selvages.
4. You don’t have to hem knits, because they don’t fray. But I did anyway, because I like the look. Like I said, I was making this up as I went. Turns out, I didn’t need to hem that little portion on the left. Just hem the curved party where you cut away the fabric.
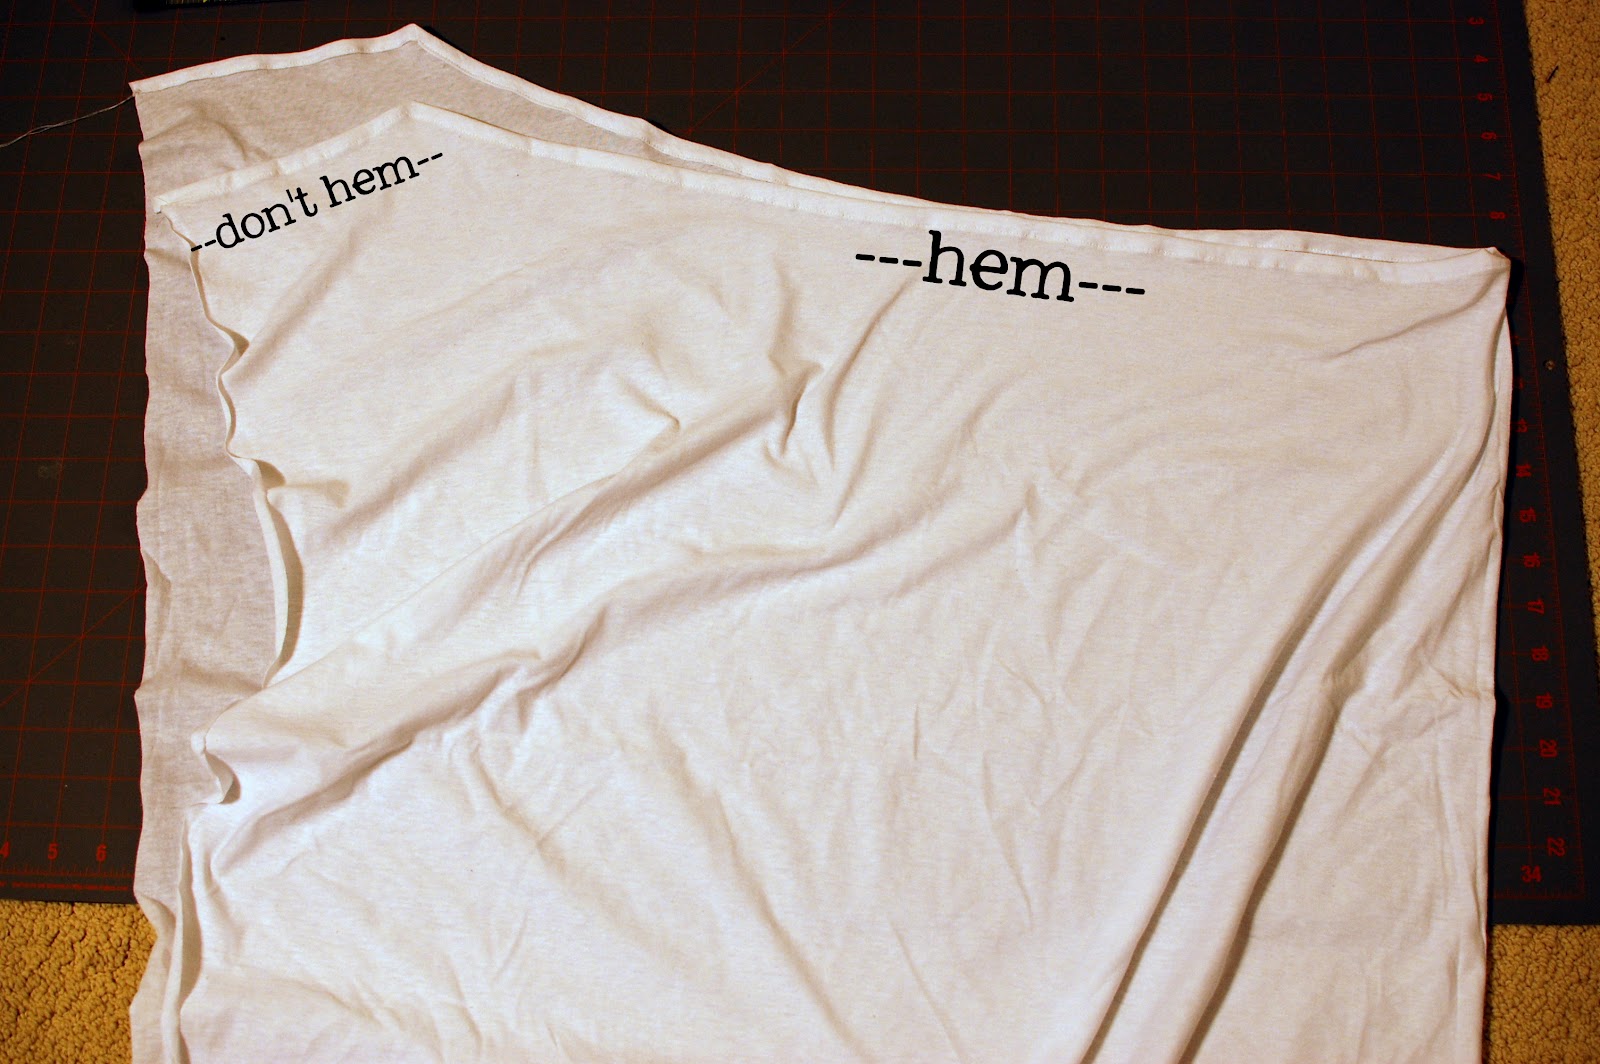
5. Then go ahead and hem where the selvages were. This will be the front of your cover-up, and it will overlap once it’s on.

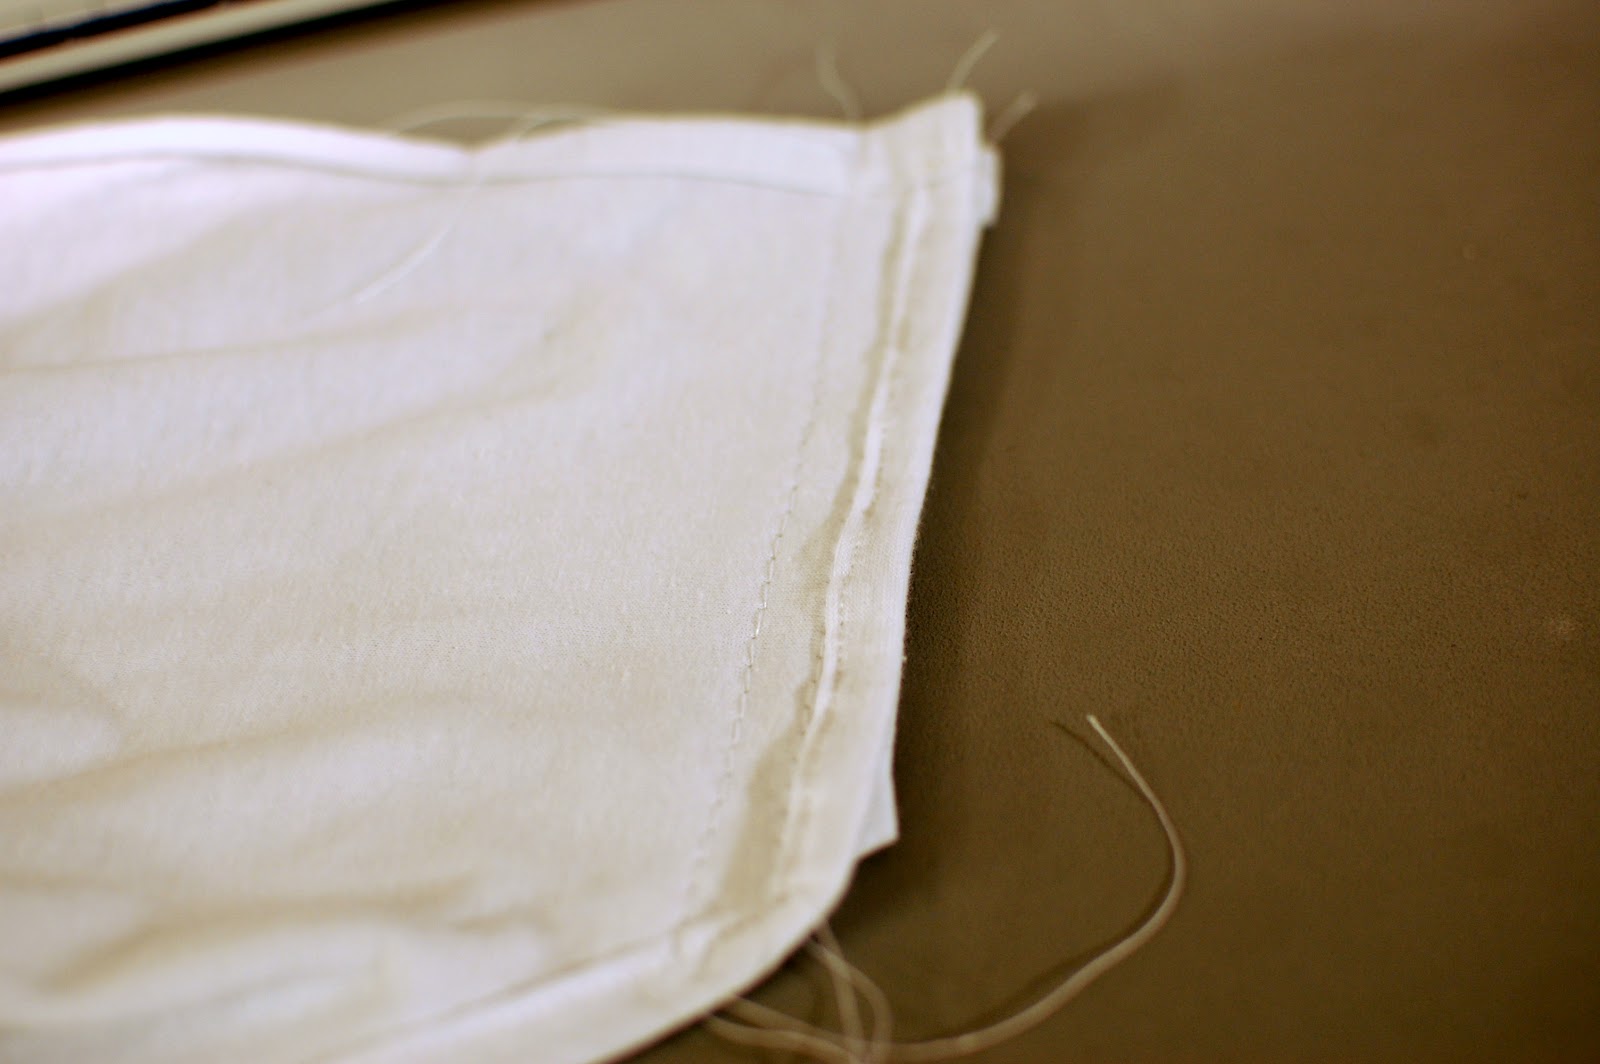
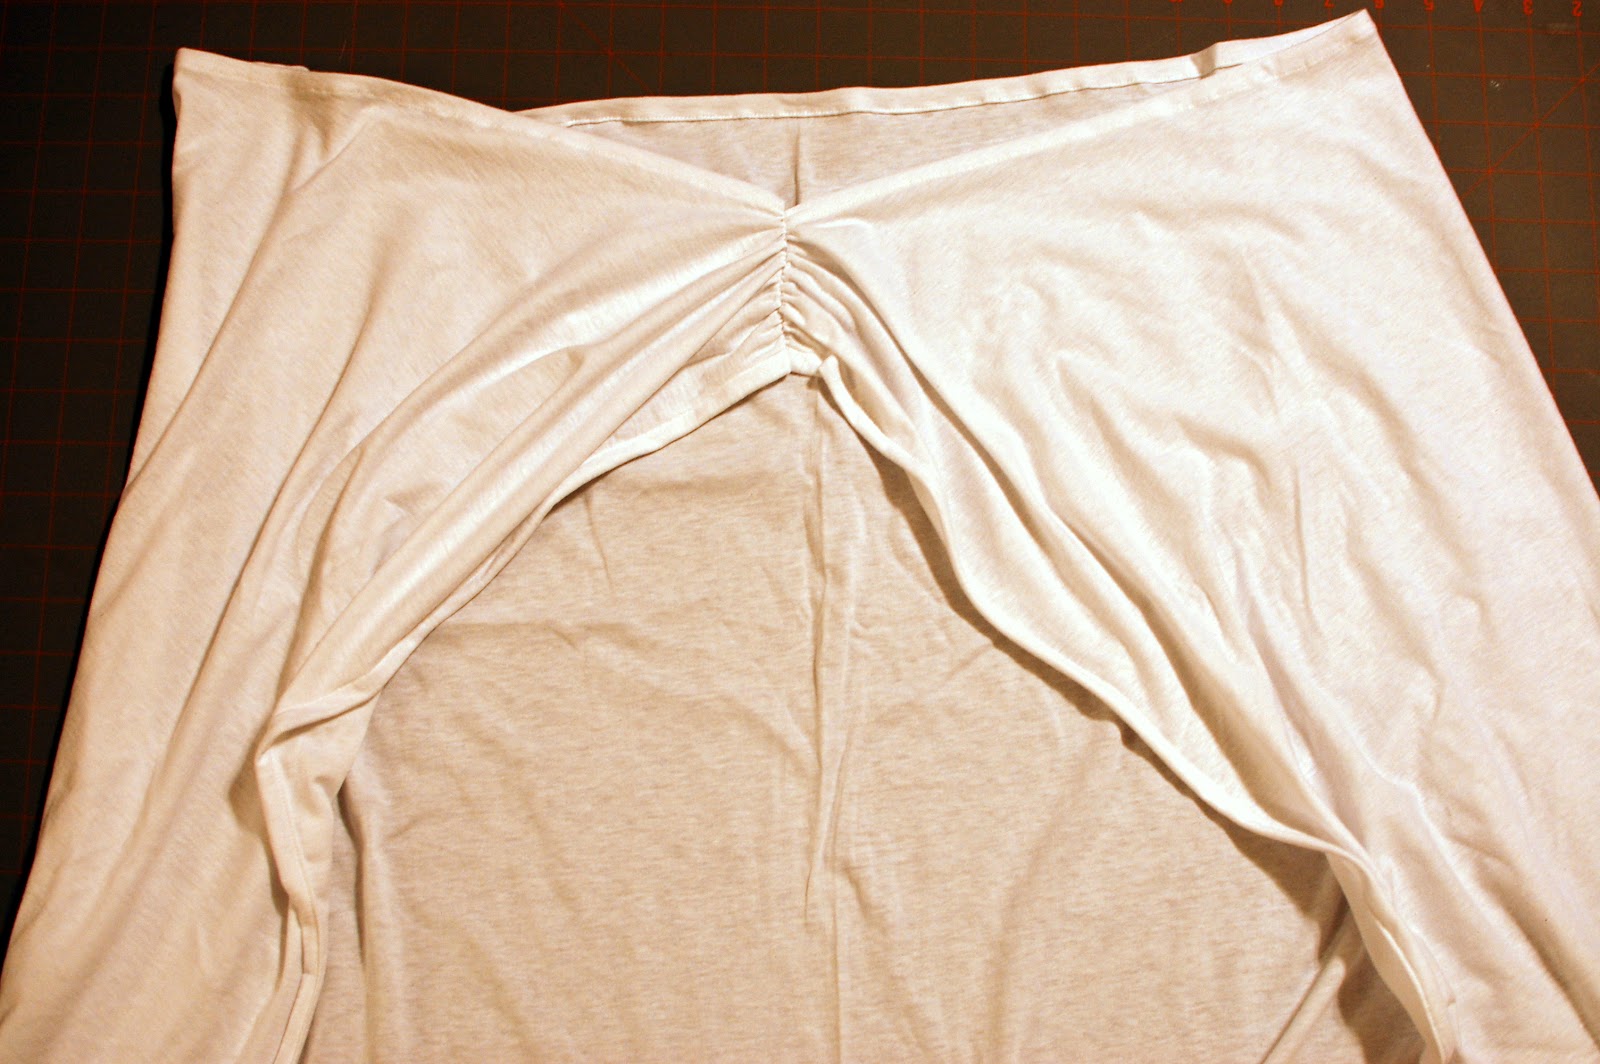
6. Now it’s time to take care of that little straight portion where I told you not to hem. We are going to sew that right sides together, then gather it up. This will be the portion of the cover-up that you twist with your hand and place over your head.
a. Place right sides together, and sew 2 rows of basting stitches (set your stitch length at the highest number). Don’t backstitch.
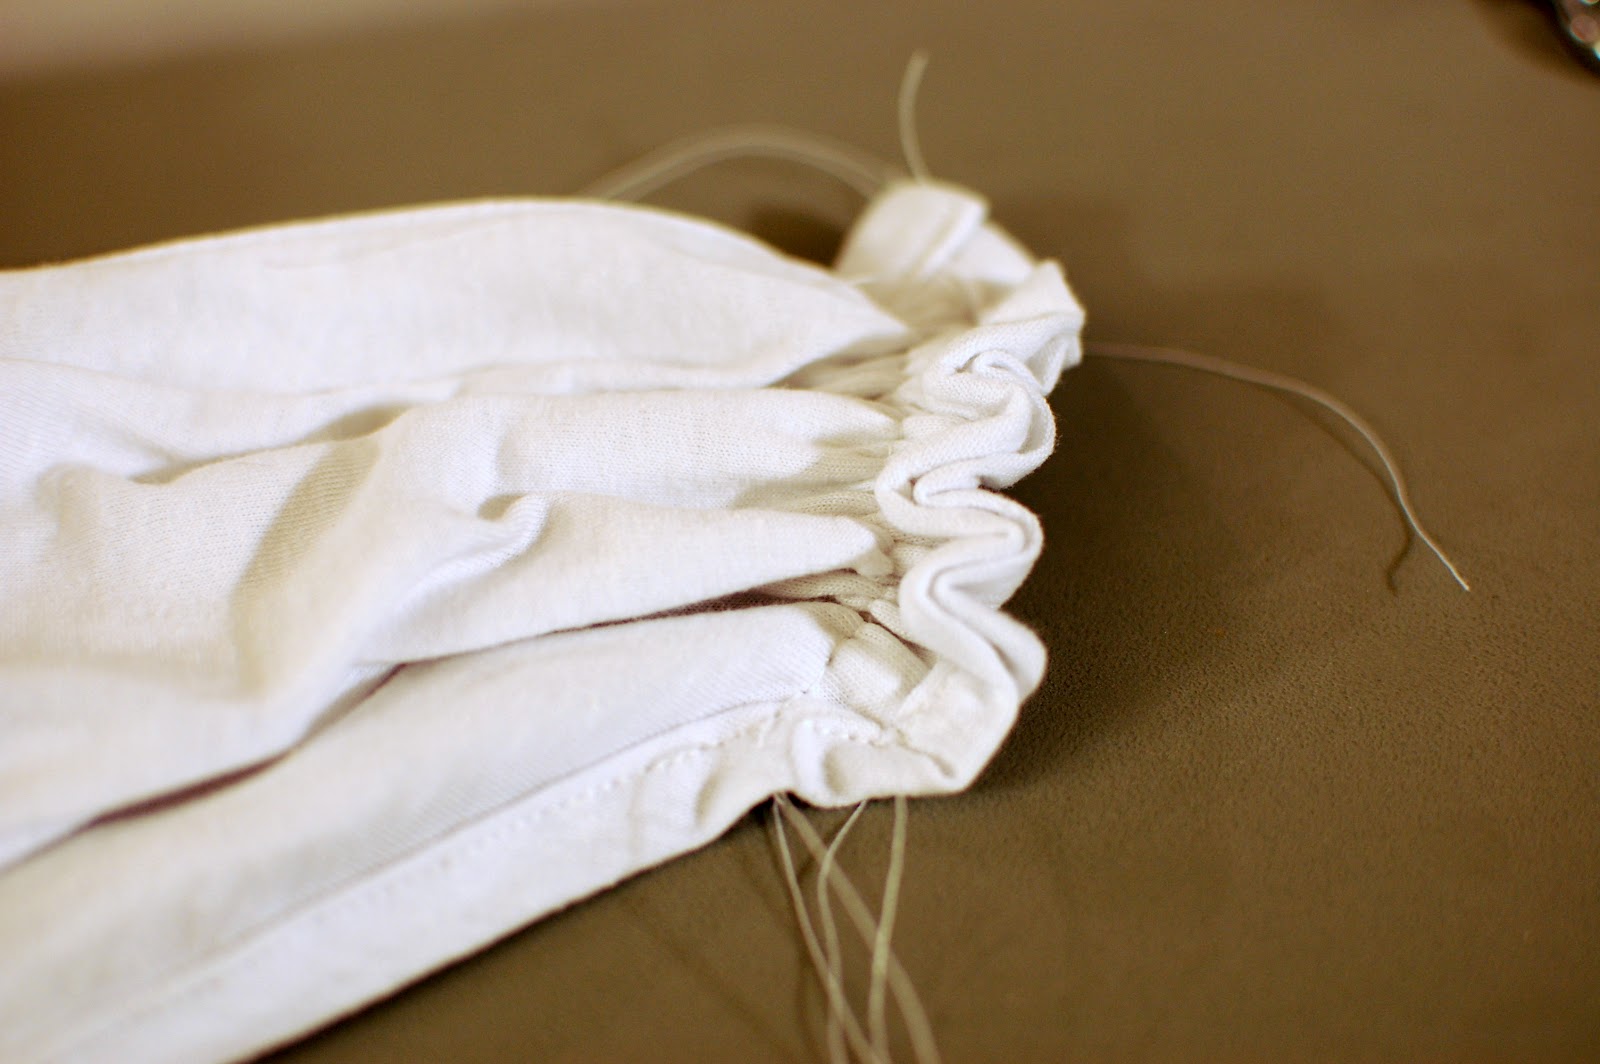
b. Find the bottom threads on each end of the seam, and pull to bunch up the fabric.
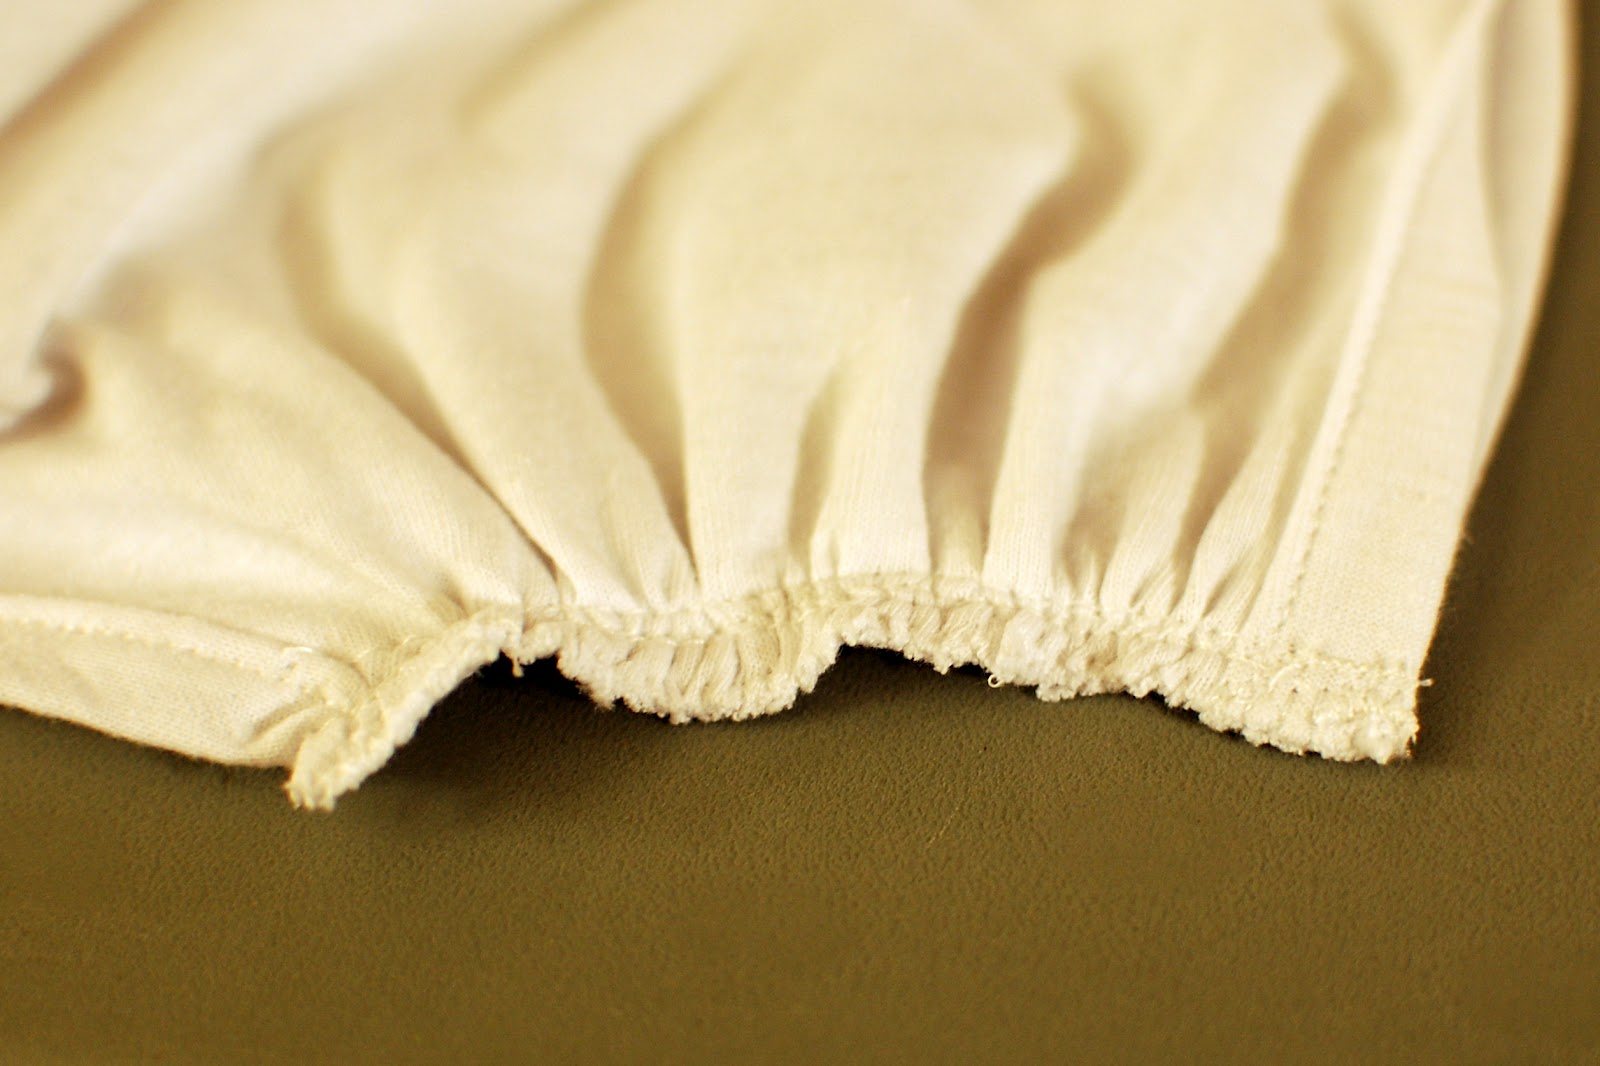
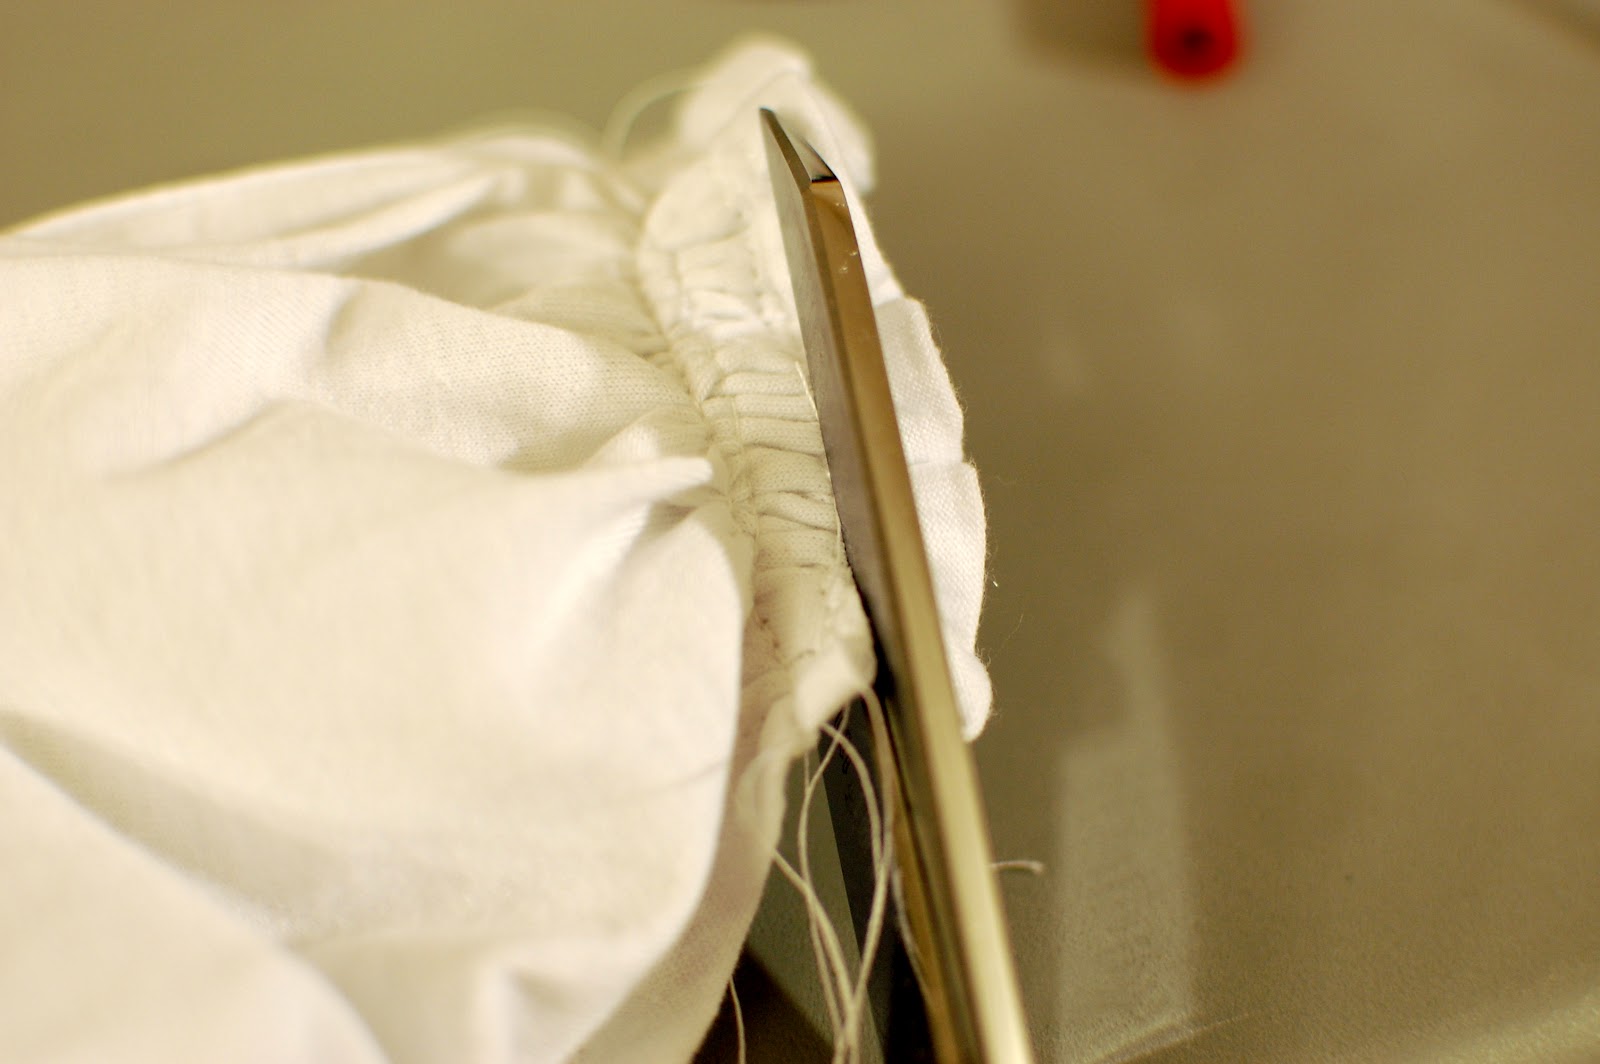
c. Now sew a normal straight line over your gathers, backstitching. You can do that twice to reinforce everything. Yours should look something like this now. I had to trim off the extra fabric where I did the unnecessary hem at the beginning of this tutorial.
d. Turn right sides out, and this is how it should look now.

7. Here is a look at our progress.
Here’s another look. At this point, if you didn’t want to add any other embellishments, you could almost be done. You would just need to hem up the bottom. How easy was that!?!?
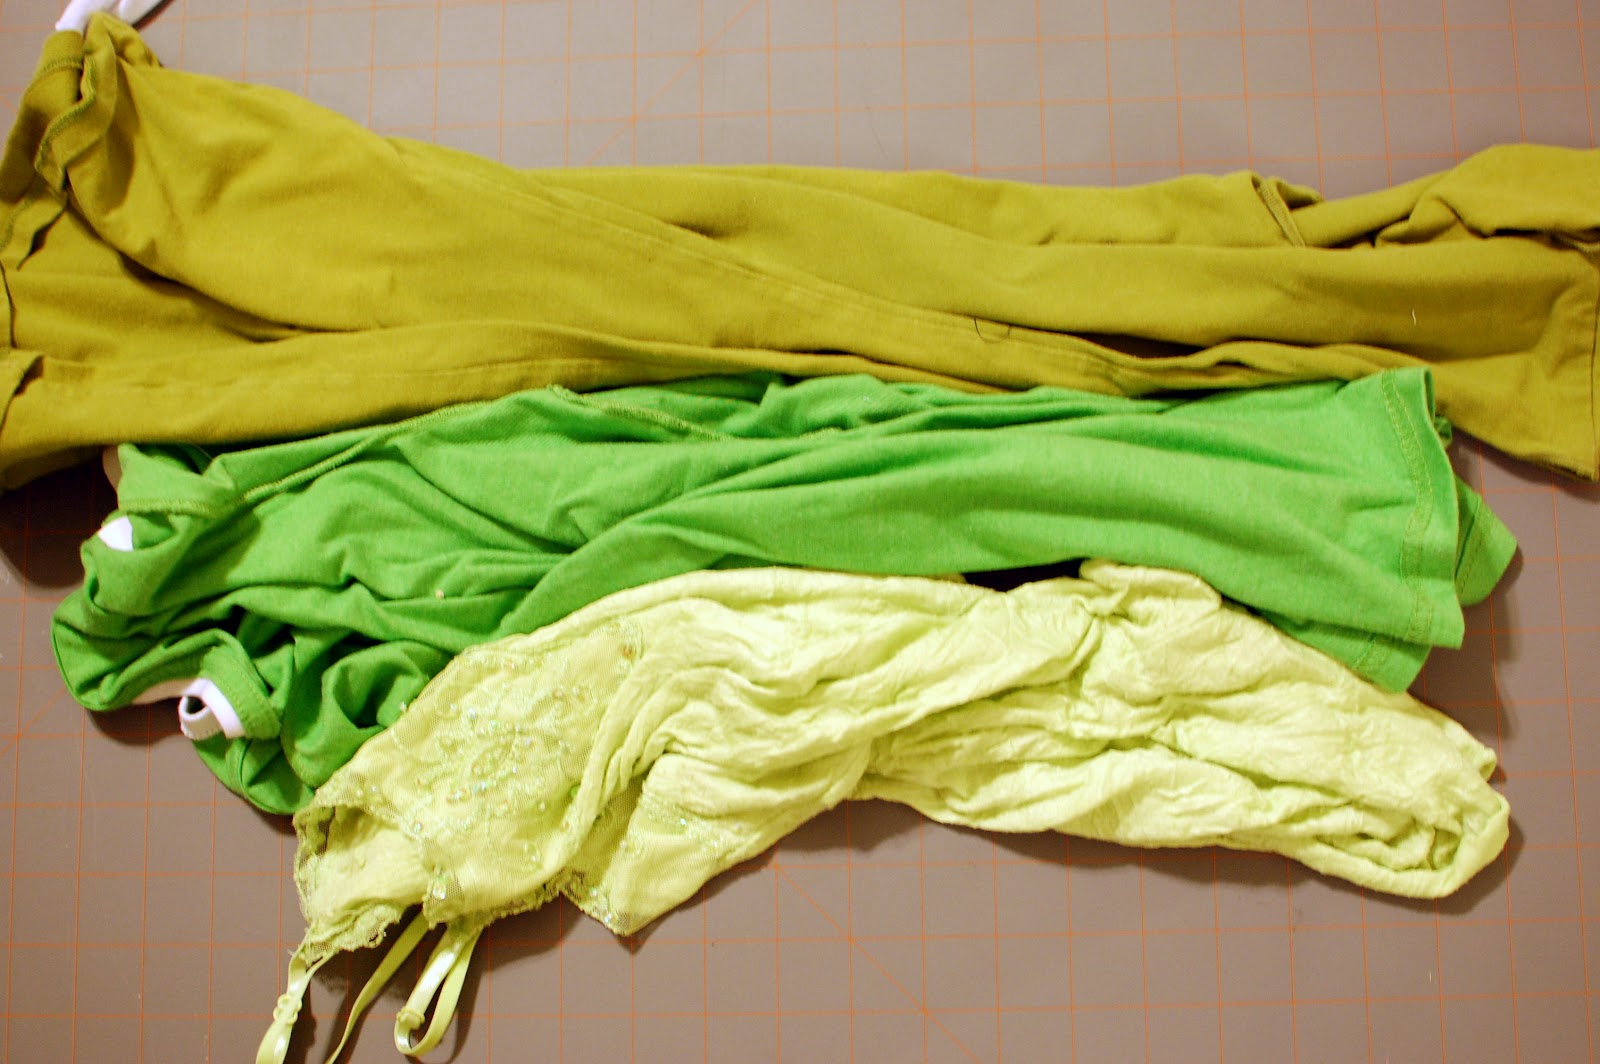
8. If you want to add the ruffles, here’s how I did it.
Using 3 t-shirts that don’t fit me anymore, I cut 7 strips 2 inches wide.
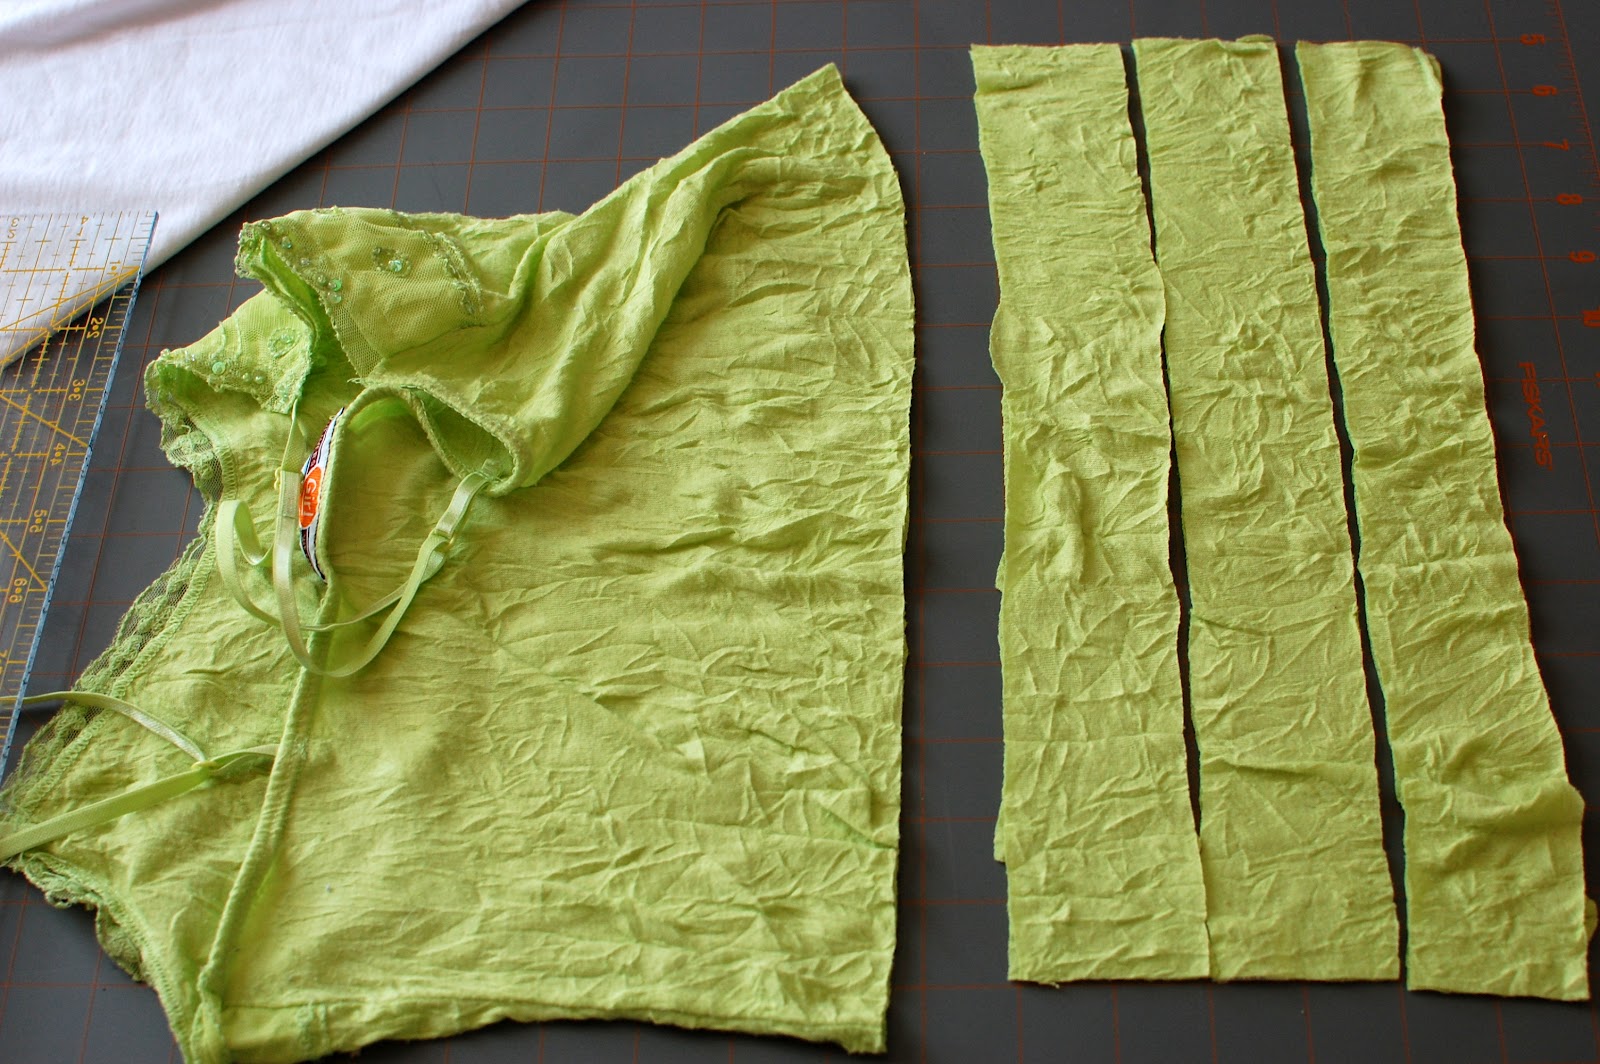
Then using my ruffle foot, I ruffled them at every stitch. (You can watch videos on youtube if you don’t know how to use a ruffle foot. This was my first time using it, and I LOVED it)!

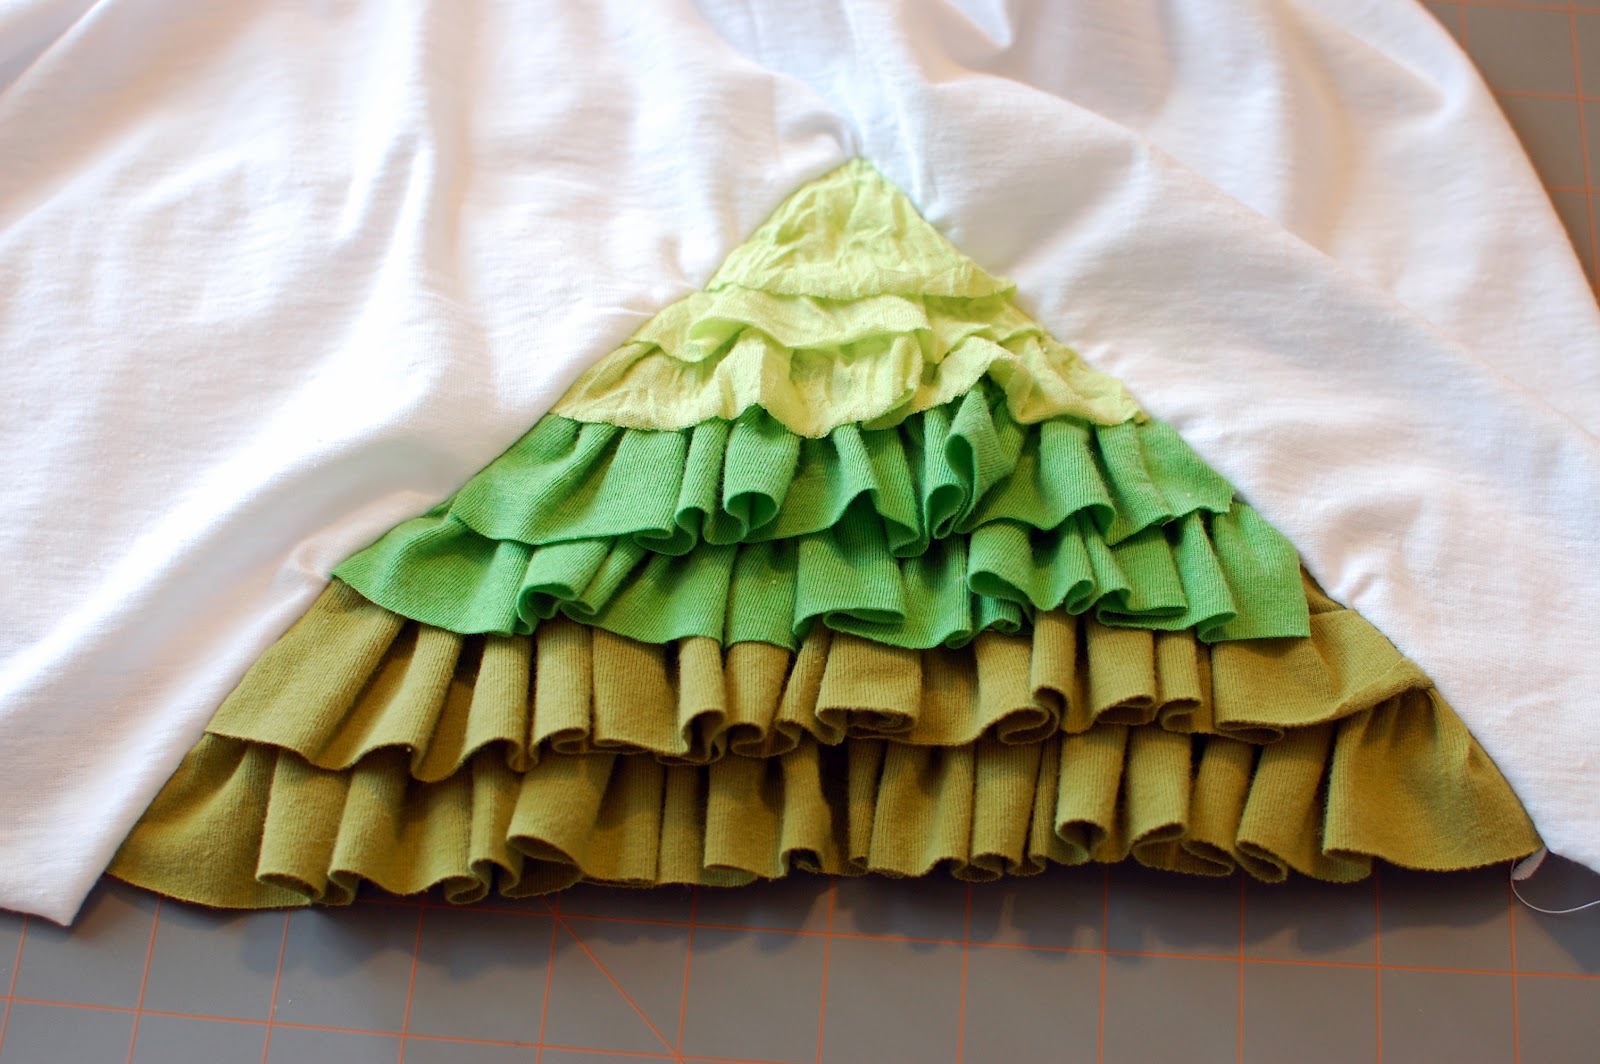
Here’s all my ruffles.

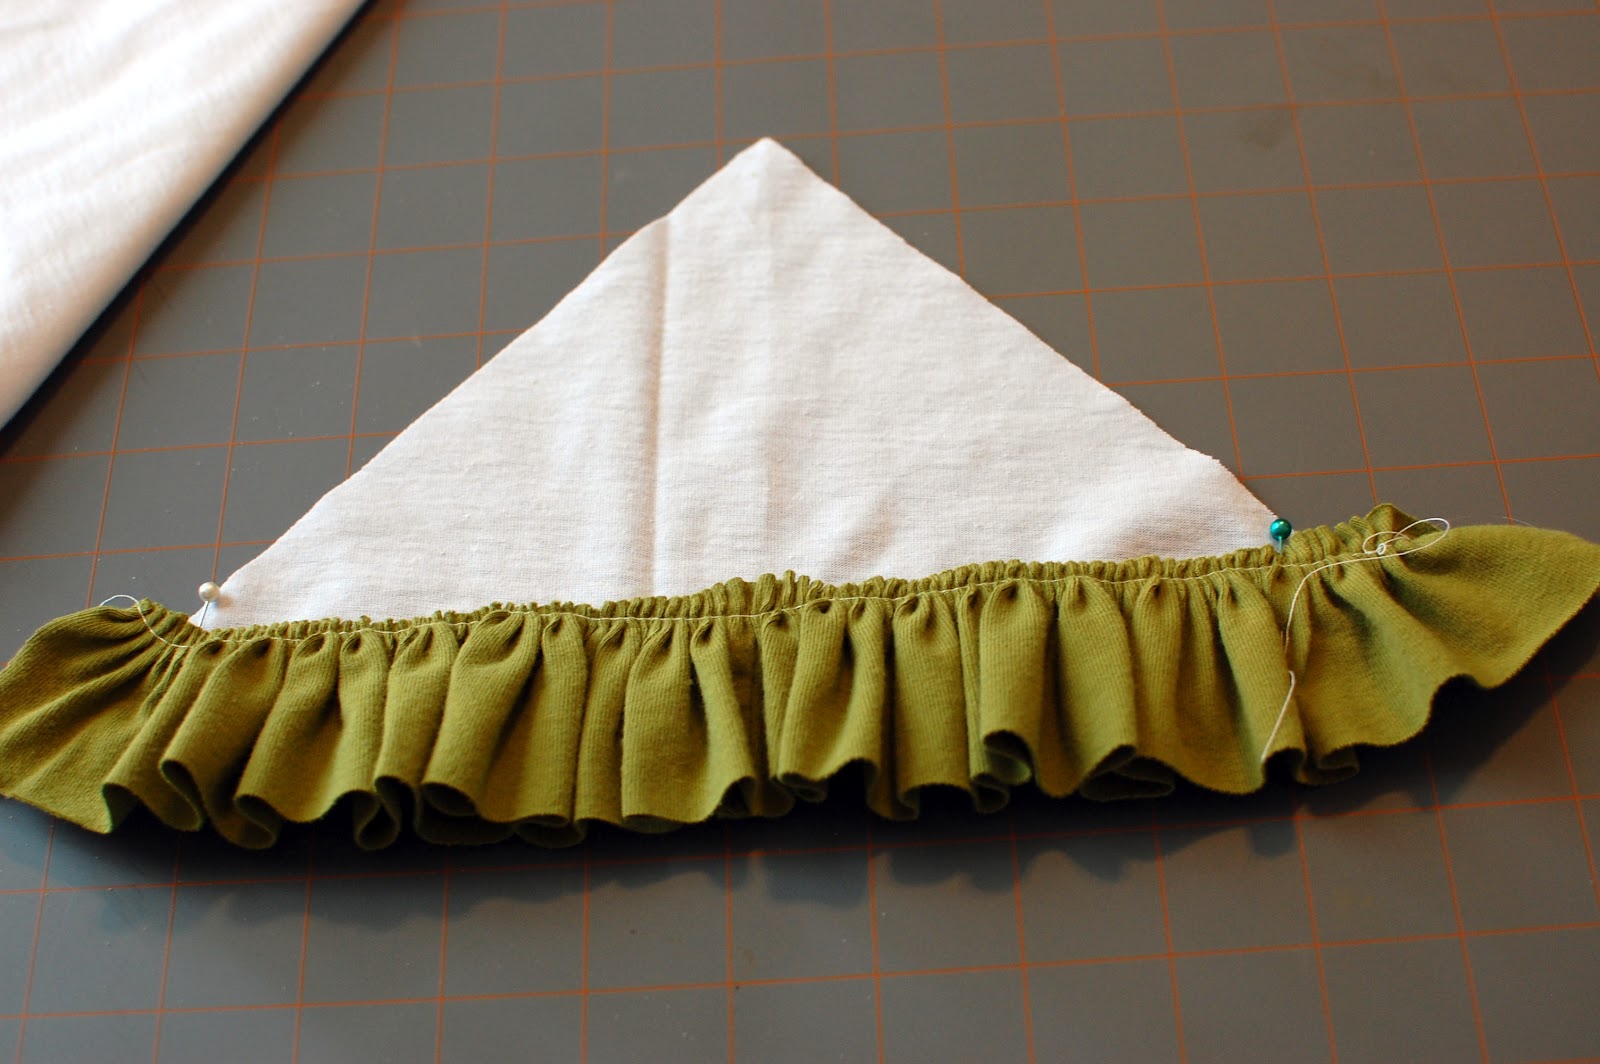
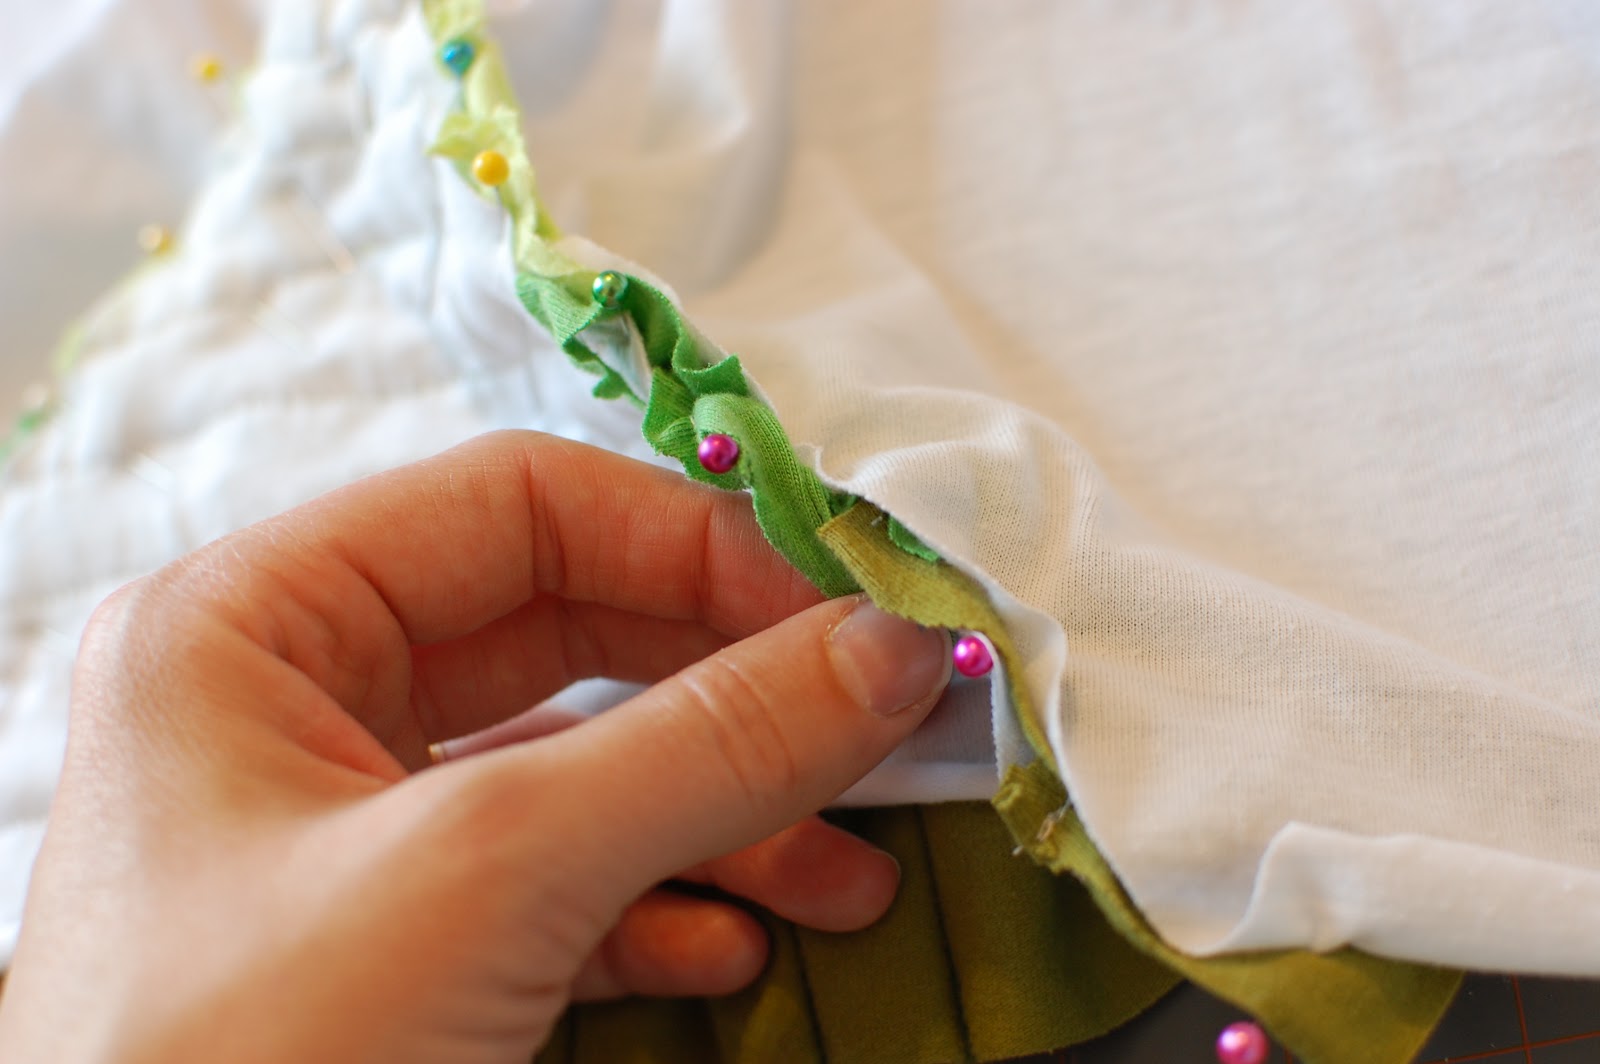
9. I measured approximately 10 inches in the back, centered it, and pinned it.

I calculated how long my ruffle pieces were before cutting on my white fabric. You don’t want to cut off too much and be stuck without enough ruffles. This triangle was cut on the fold, so it was twice as big when I unfolded it.
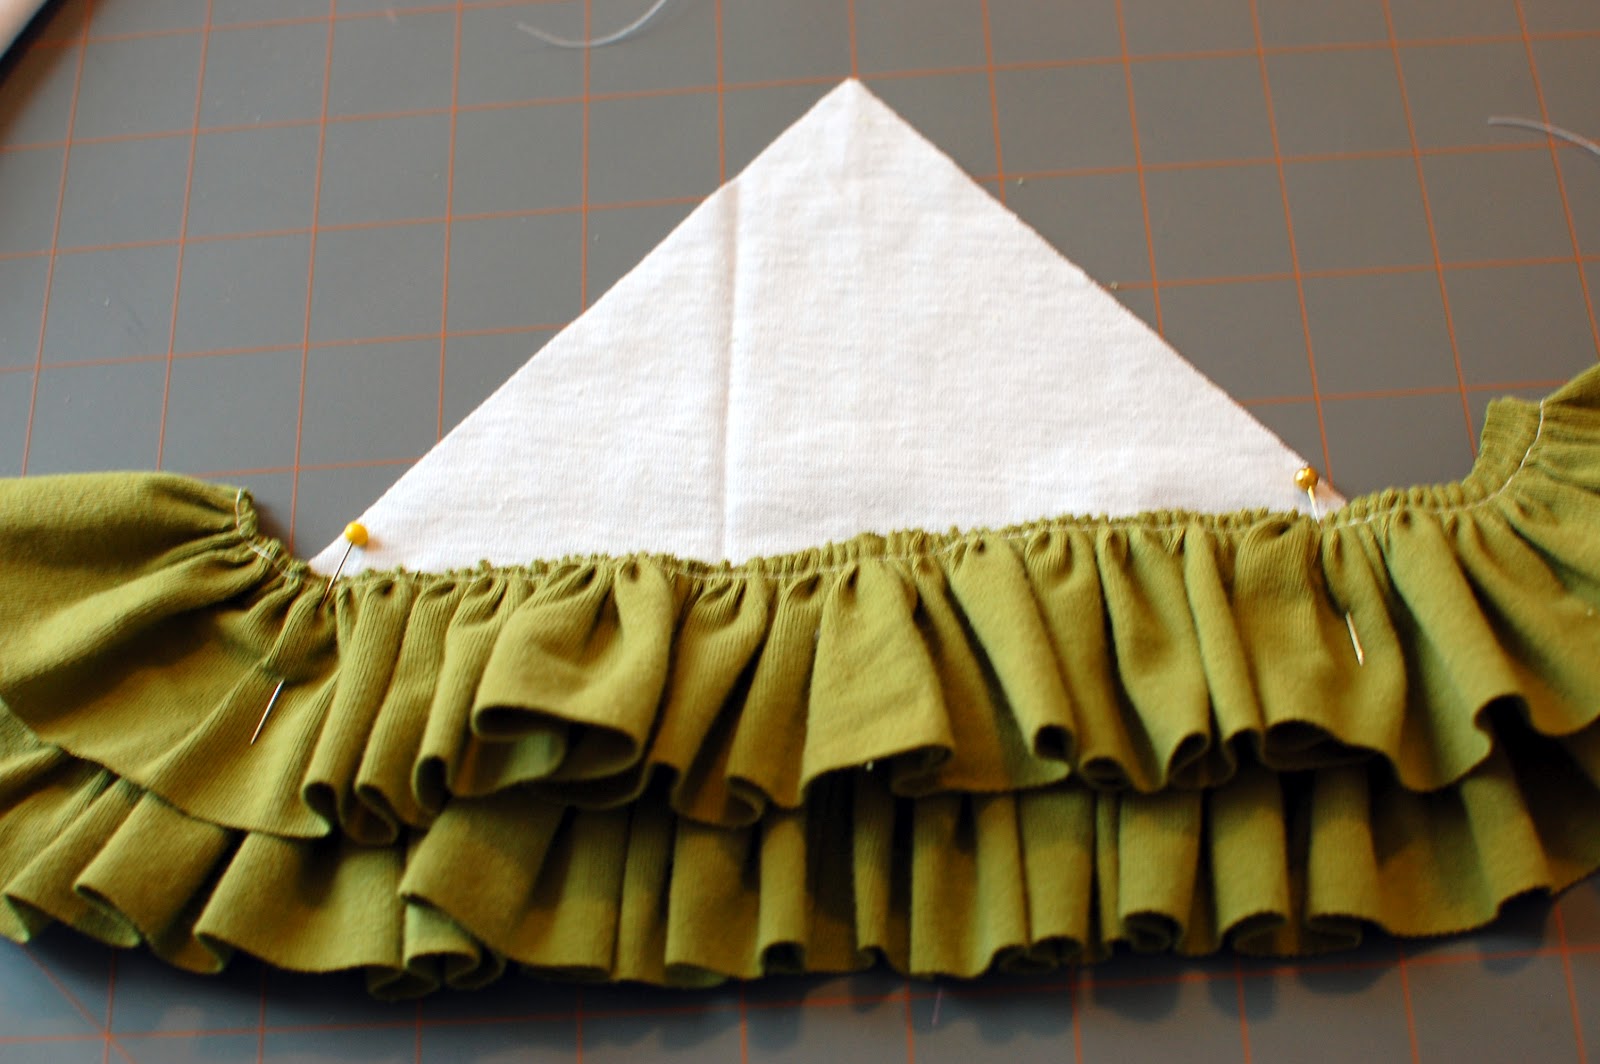
10. Now you can start sewing your ruffles on to your backing piece. I just layed them down straight, pinned, and sewed. This was very un-technical!
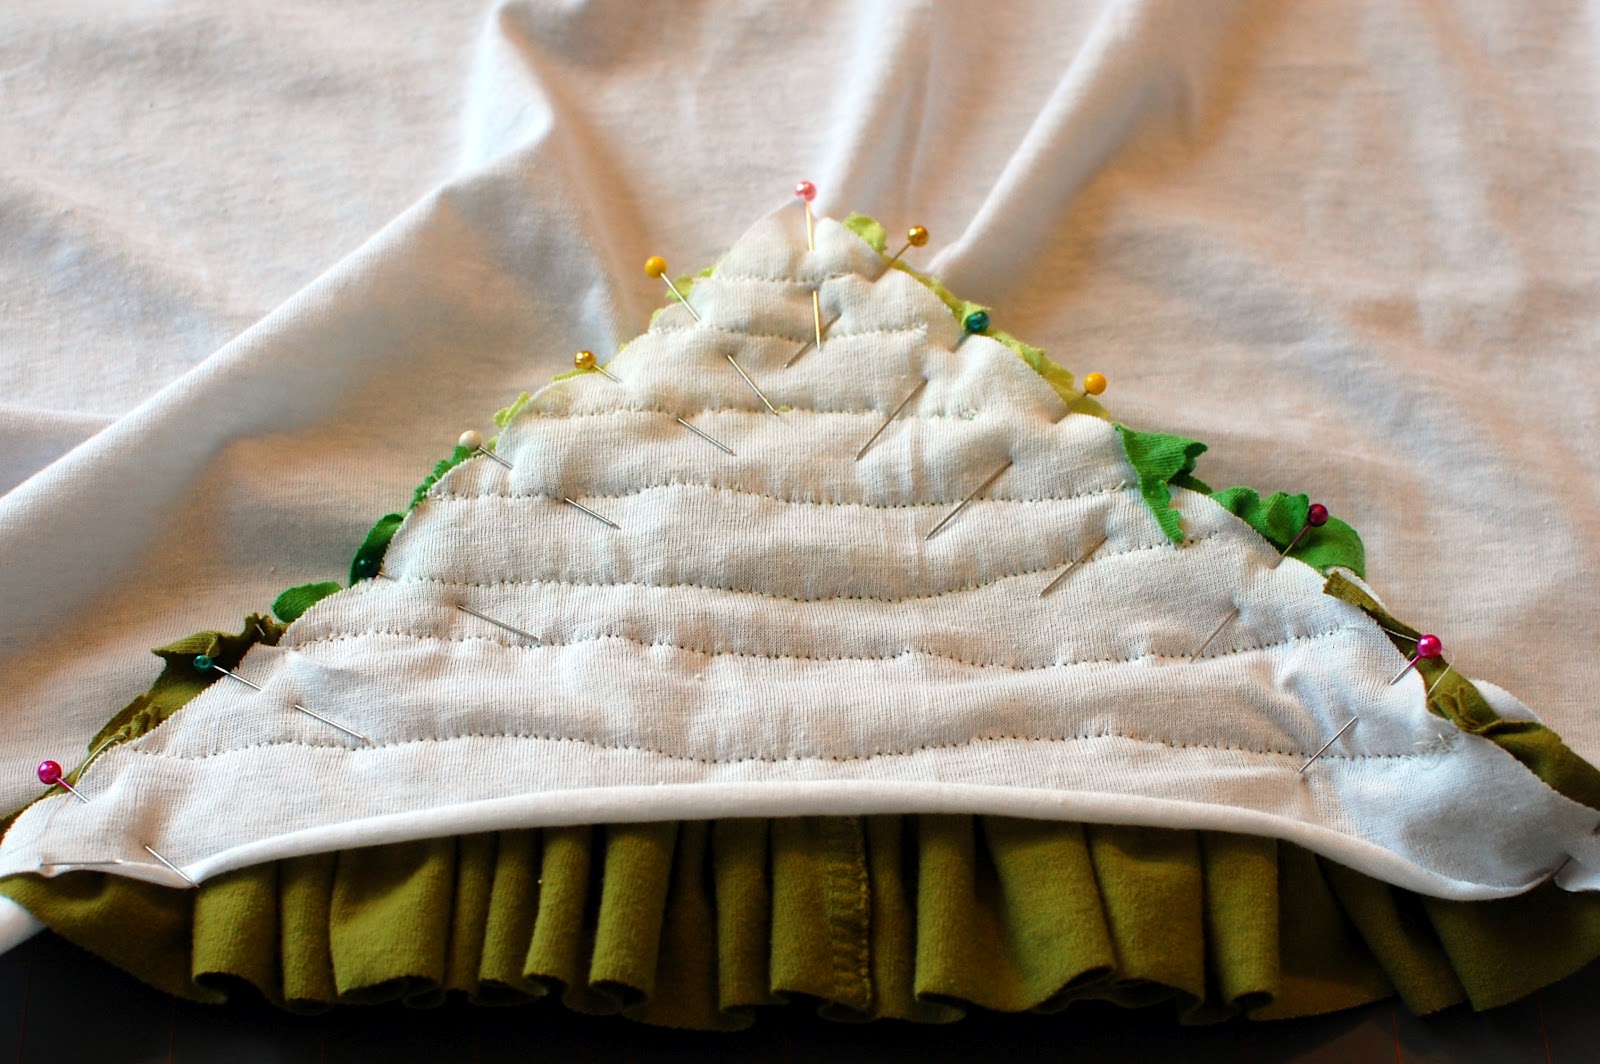
Layer your second row of ruffles so the seam from the first one isn’t showing. Sew and repeat til all ruffles are sewn.
11. Trim off excess fabric.

12. Pin right sides of the cover-up and ruffle piece together, and sew!
13. I forgot to take a picture, but here’s where you would hem the rest of the bottom edge. I just rolled over twice and sewed at the edge of my presser foot.
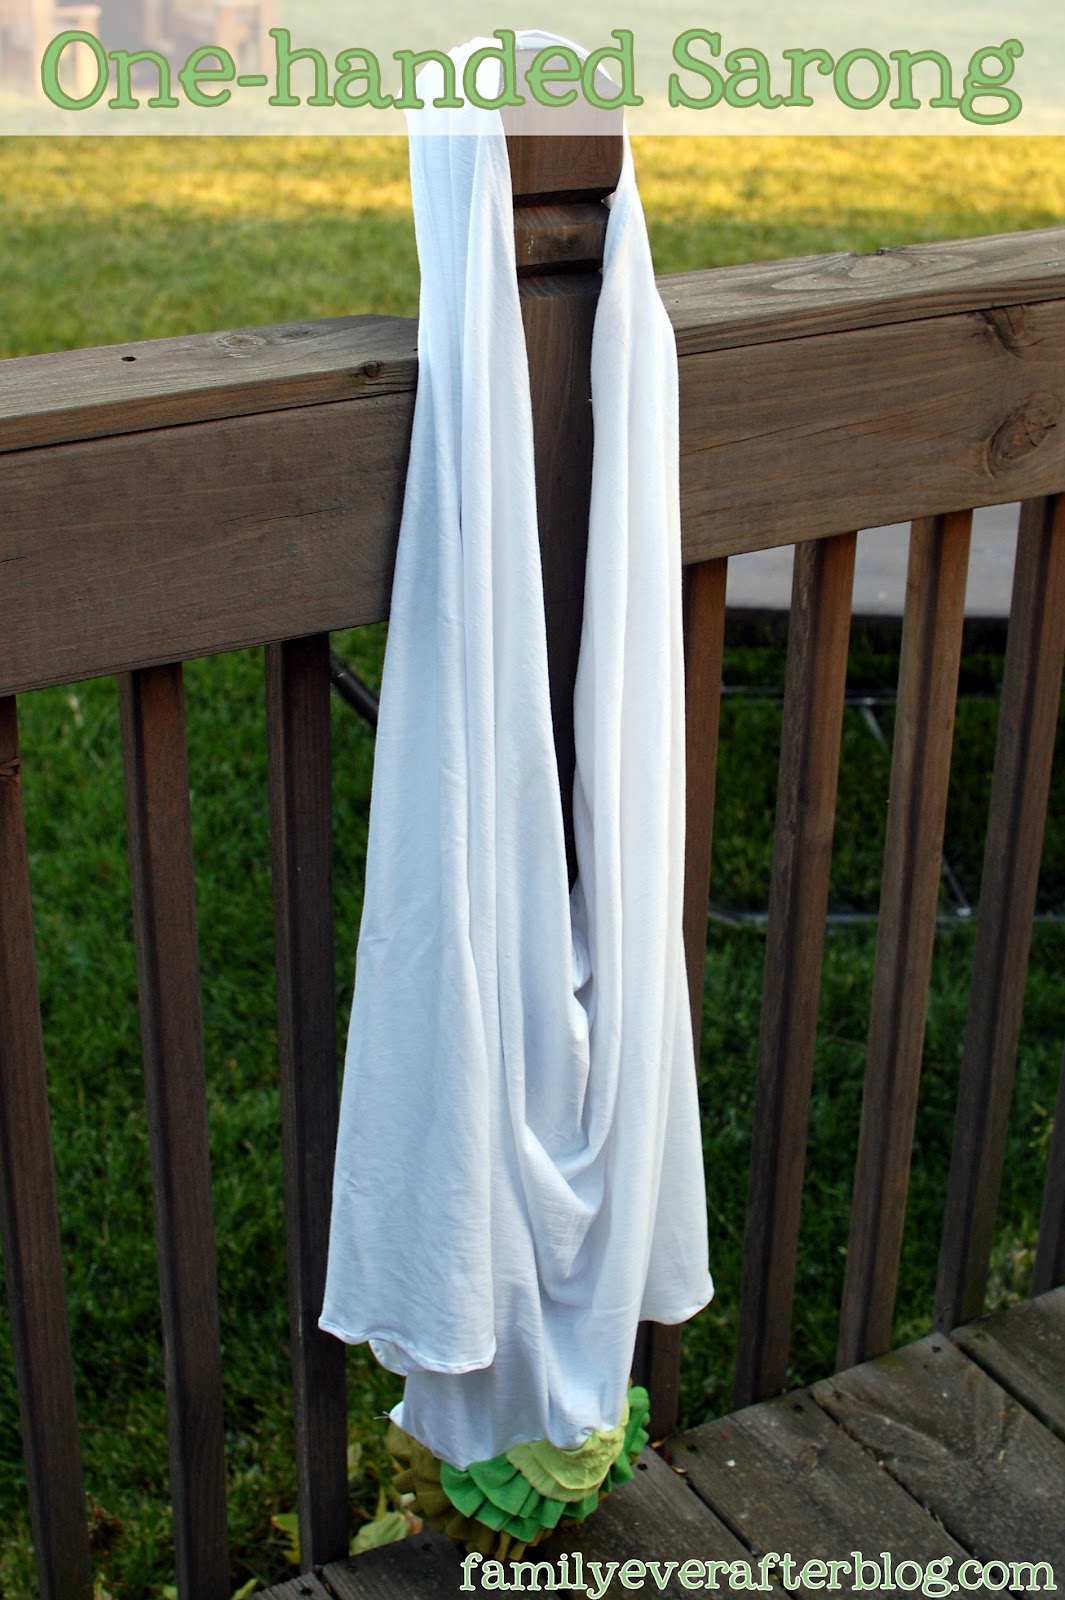
Ta-da!
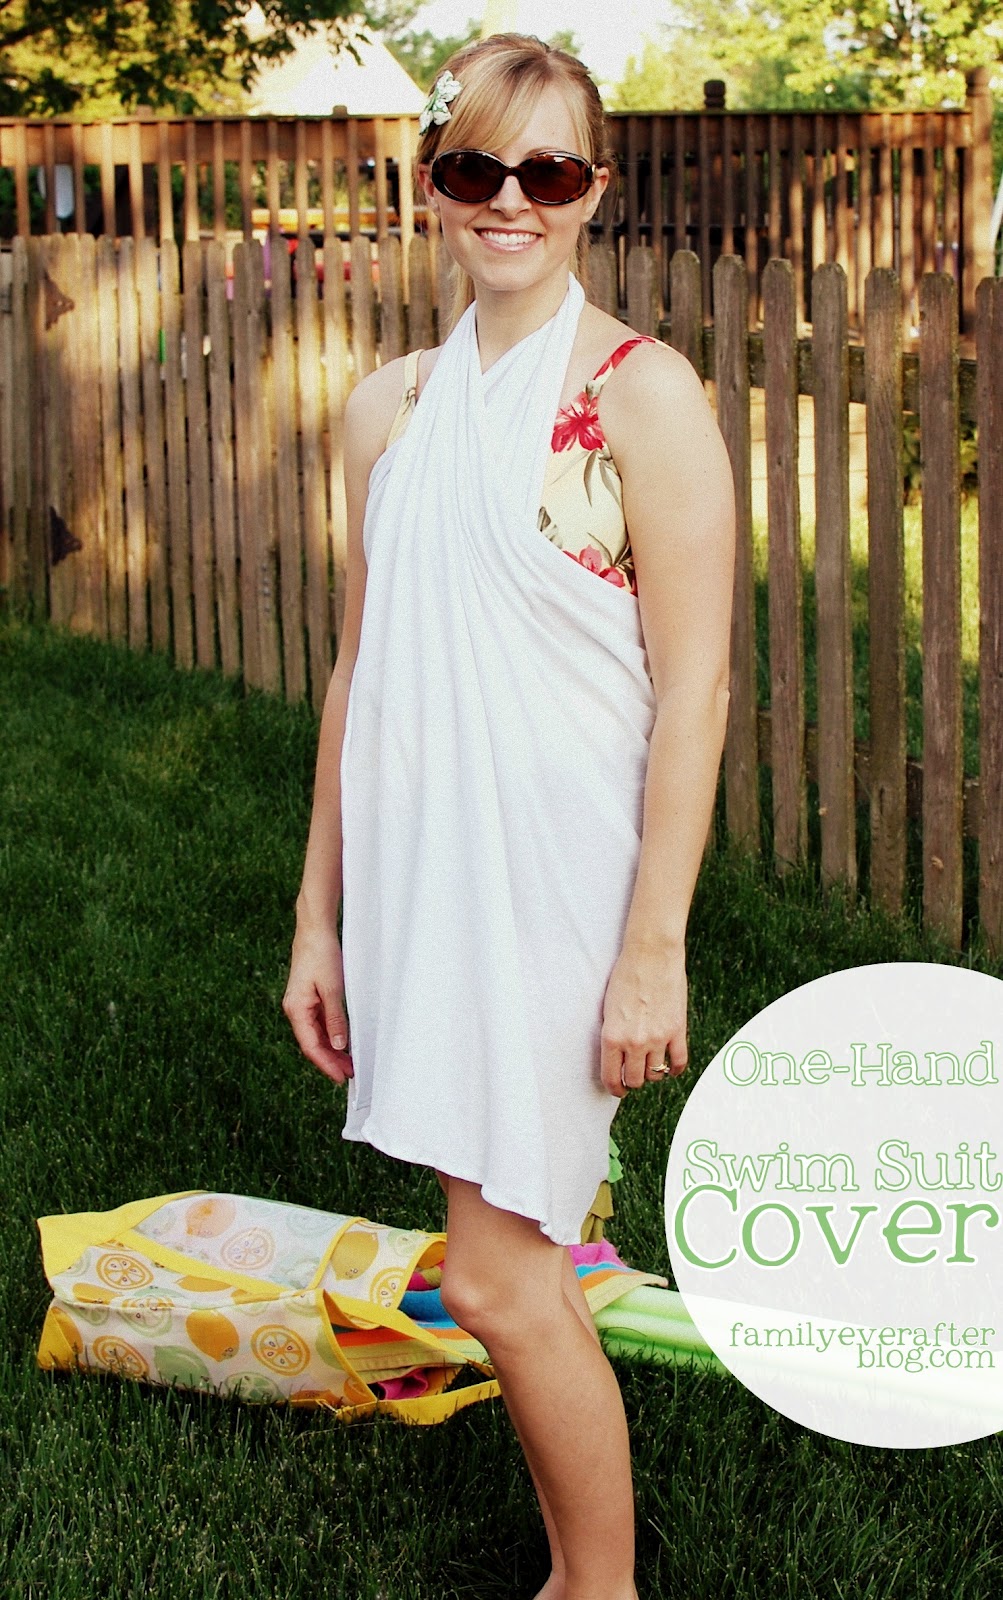
Here’s how the finished product looks.
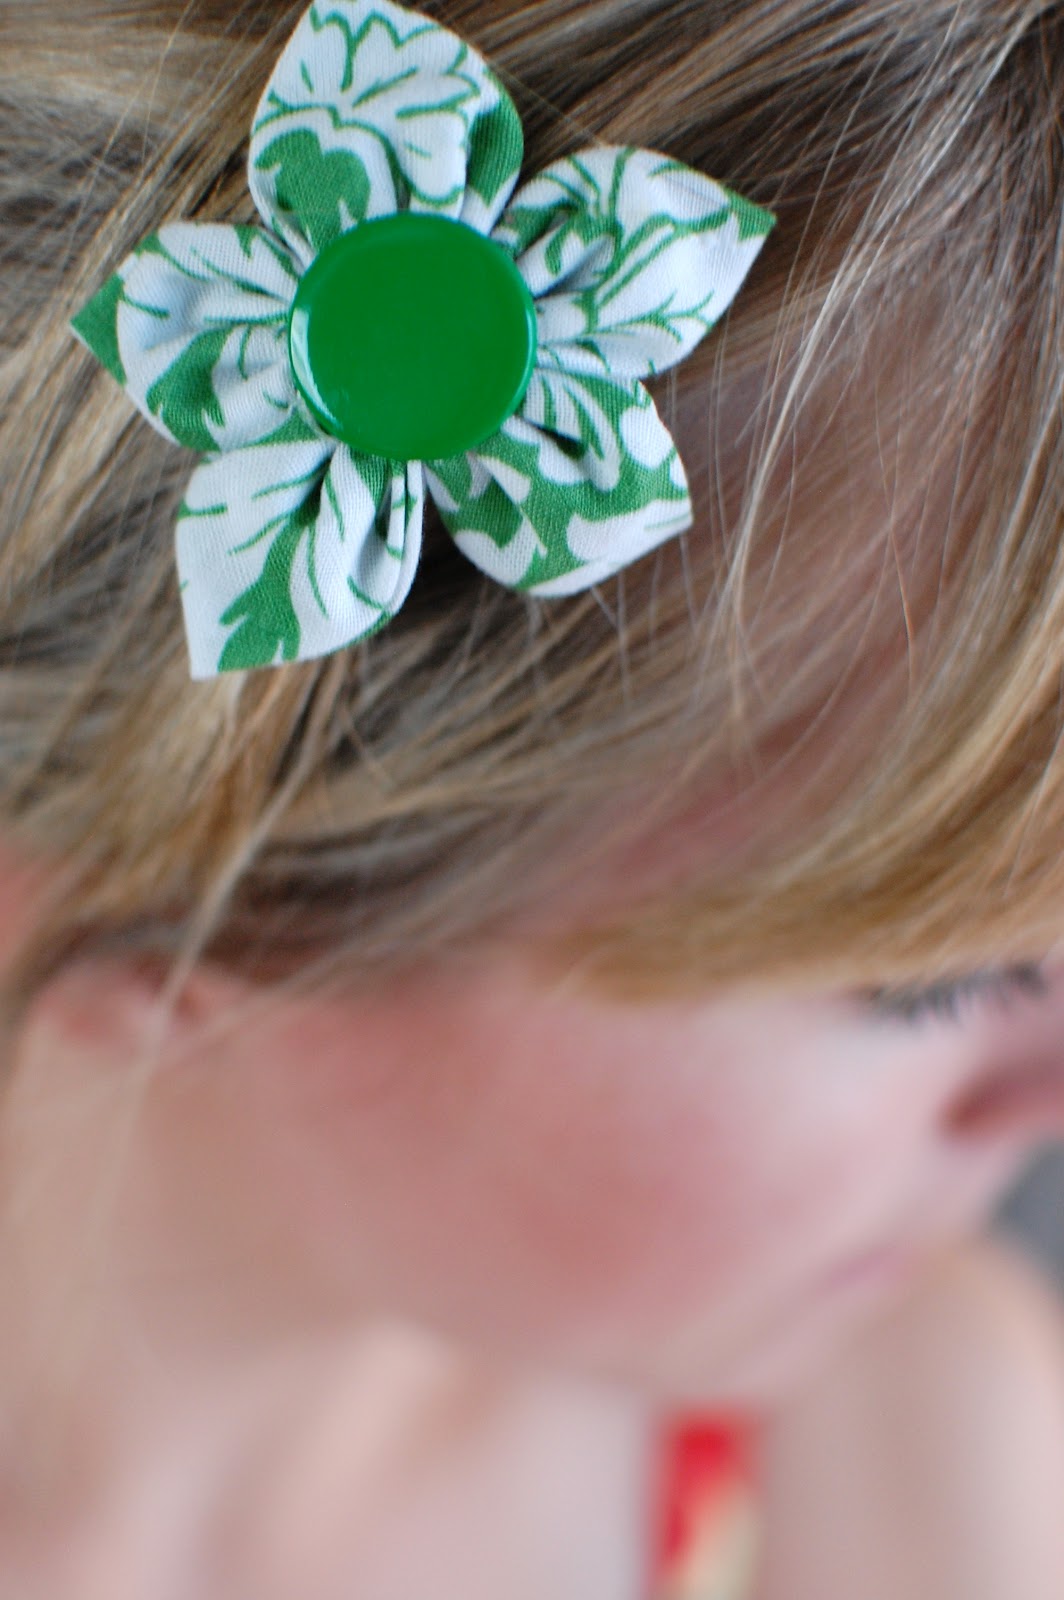
To add one more element of green, I made this simple fabric flower.
Directions:
1. Cut 5 circles from fabric, about3 inches in diameter.

2. Fold in half once for the rounded petal look (shown below), or fold in half twice for the poined petal look (shown above).
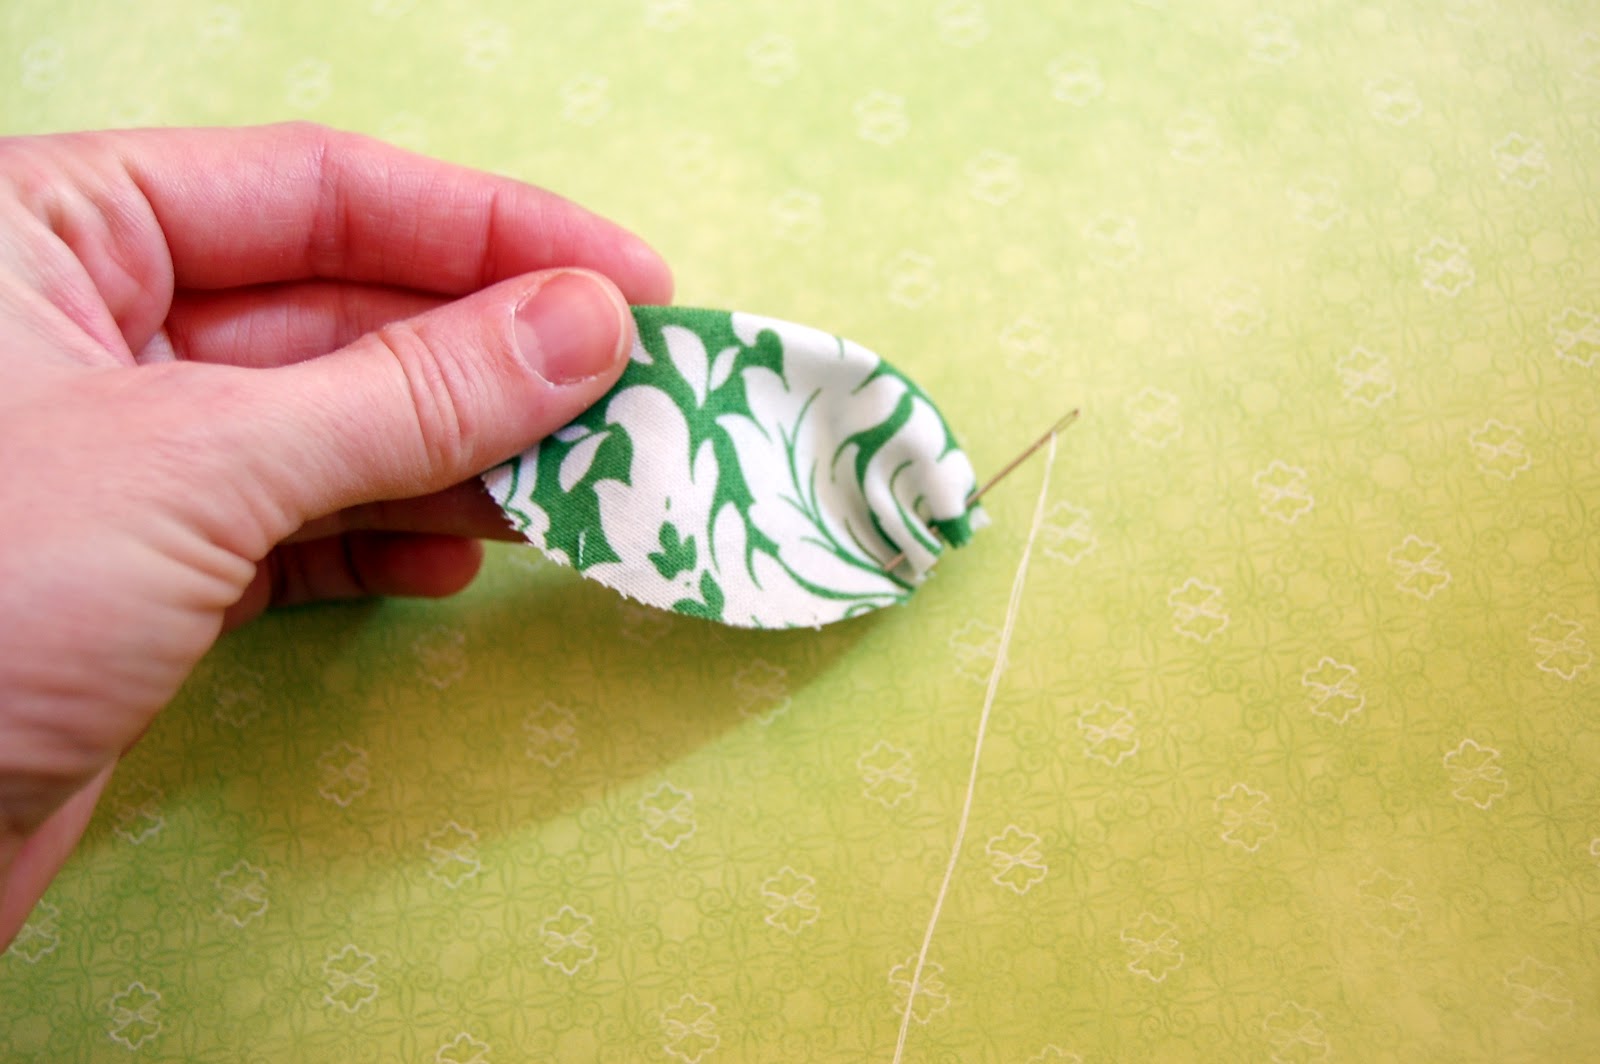
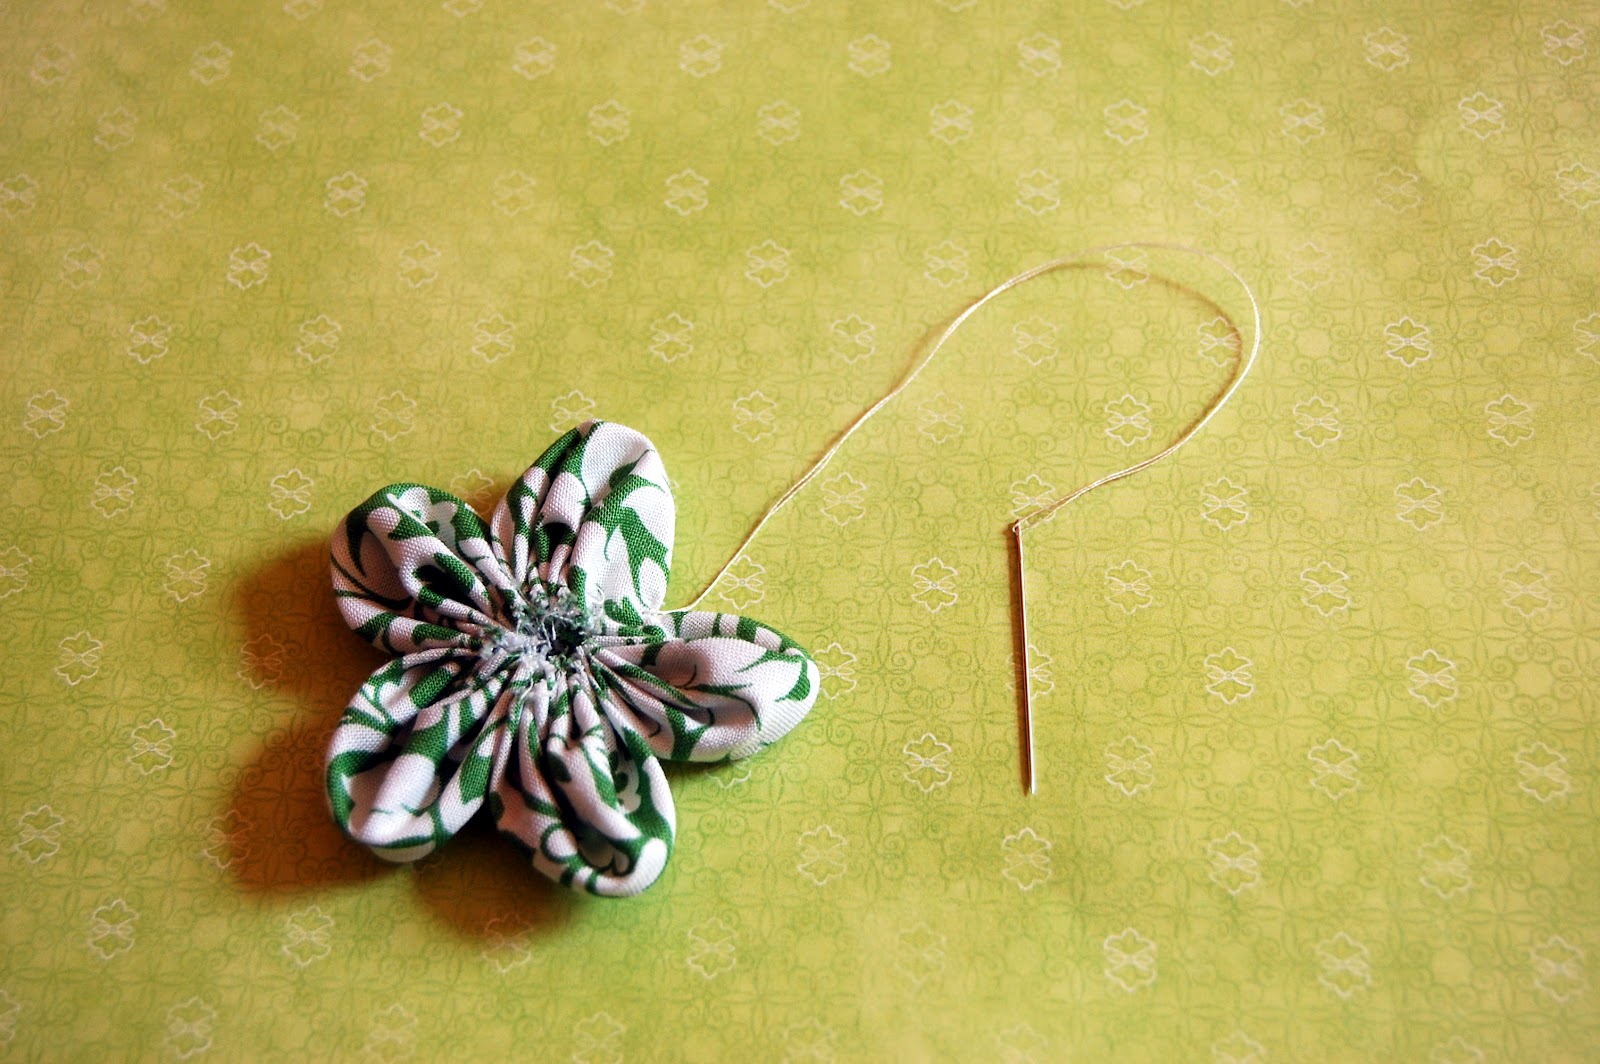
3. With a hand-sewing needble, do a running stitch on the bottom of each petal, connecting each petal onto the thread as you go.

4. Once all the petals are strung, embellish with a bead large enough to cover the raw edges. Glue your barrette to the back, and… done!
I hope this tutorial comes in handy for you beach and pool bums this summer! Stop by Family Ever After any time! xoxo, Rachel
See?? If you weren’t already Rach’s biggest fan, you are now, aren’t you?
 And be sure to head over to Delia’s for more green prettiness today!
I nominated you for the One Lovely Blog Award. Thanks for all your fabulous posts!
Thanks lindsey! Made my day!
Yay! I am so happy you put this tutorial together for us Rach! Love the little ruffles in the back. So cute!
Thanks Kirstin and Delia for inviting me to be a part of my favorite summer series. Such an honor to be here!