
the oasis dress- a tutorial
As an Amazon Associate I earn from qualifying purchases.


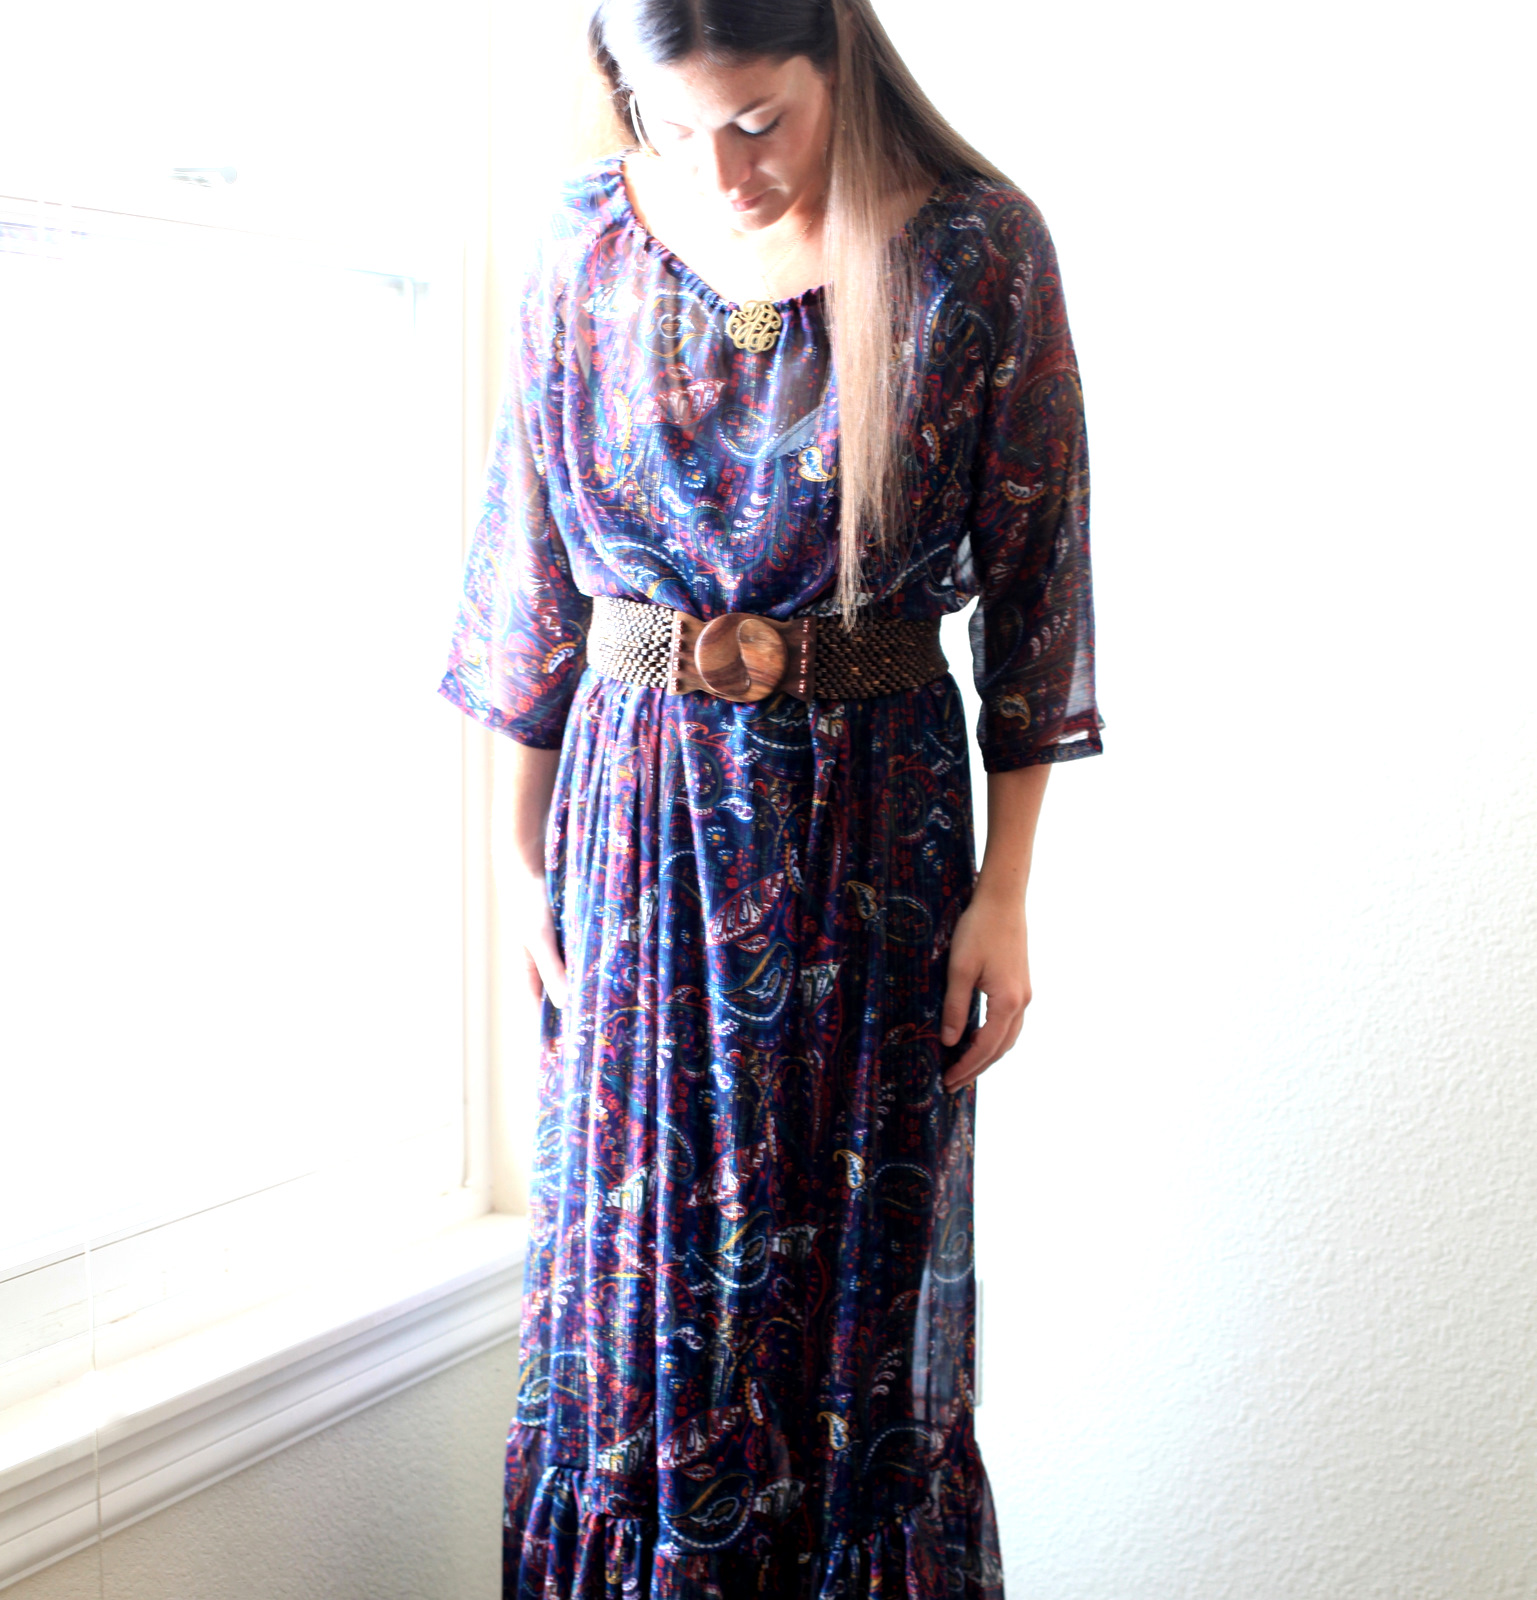
Hey friends! As we wrap up Sewing for ME!, I thought I’d share the Oasis Dress tutorial over here as well (it was on Kelly’s blog a couple weeks ago). I made this dress for Jordan, but looking through the pictures makes me want to whip one up for myself as well…
When we saw this dress at Anthropologie, it was love on many levels. First, it’s just pretty, isn’t it? And second, it fit all of the middleeast-dress-requirements for Jordan. One of the trickiest things for her is finding flow-y dresses that cover her elbows, ankles and collar bone (they live in a smaller, more conservative town where these things are all cultural norms). Anyhow, of course, we decided to make our own version!
To assemble the skirt:

Cut three rectangles of fabric- rectangle 1: 62″ wide x 28″ tall, rectangles 2 and 3: 64″ x 18″. Sew basting stitches along the top edge of each rectangle.

Sew into a tube, stitching along 28″ edge. Make sure you don’t sew over your basting stitch at the top of your tube. This is Tube 1. Sew Rectangles 2 and 3 together along two of the 18″ edges. This will become one lo-ong rectangle (128″ x 18″). Sew into a tube. Make sure all of your sewing is with the right sides facing each other so that the seams are both on the same side. This is now Tube 2.

Gather Tube 1 (made from Rectangle1) down to appoximately your waist measurement. You’ll be adding elastic at the waist, that’s why it’s just approximate. Gather Tube 2 (made from Rectangle 2) down to 62″ total (since it’s a tube, it’ll be 31″ doubled over) inches (to match the bottom of Tube 1).

If your fabric has a ‘right side’ (mine doesn’t), turn the Tube 2 inside out and slide on the outside of Tube 1 and pin in place. Then sew together.

Finish off the bottom hem. To do so, iron and pin the bottom edge in place, then sew. You could also finish the edge with a serger then sew in place.

Add a casing along the top edge (just fold or iron the top edge down and sew in place). Leave space to thread elastic through. The elastic should match the waist measurement. Thread the elastic through the casing, sew the elastic to itself (make sure the elastic is flat, not flipped or wonky anywhere). Then sew the opening shut.
To assemble the top:

Follow this blouse tutorial at Things of Cloth. A few things to modify (if you want yours to match mine).
First, the measurement from the shoulder to the waist should be a measurement from the shoulder to the natural waist PLUS one inch.
Second, to make the sleeves longer and more flow-y, my sleeve rectangle was 55 cm tall by 40 cm wide total (folded in half, 55cm x 20cm).
I followed the rest of the directions exactly.
Once both pieces are assembled:

Slide the top, right side in into the flipped inside out (and upside down) skirt. Continue sliding down until the bottom edge of the top matches up to the elastic top of the skirt. Pin the two together, ensuring that the side seams match. Sew in place (use an overcasting stitch if you have an overcasting foot).

Sew on the inside of the elastic so it won’t be visible from the outside, but will draw the waist in.
")
")
")
Turn right side in, pair with a stretchy belt and you’re DONE. Gorgeous and flow-y and oasis-y (whether you live in Denver or the Middleeast).


Beautiful…I think I have some fabric to try this dress with- one question, since it is sheer what did you find looks best to wear underneath? I was thinking a cami on top…but what about the bottom? Thanks for the tutorial-can’t wait to try it!
LOVE it!! Great job!
I just LOVE this! And those pics of you in the snow! Thanks again for having me yesterday, and for the sweet things you said in the intro 🙂
I’m an English teacher in Saudi Arabia and it’s not easy to find a flattering maxi dress with sleeves that is flattering and doesn’t drown all 5’2″ of me. This one looks promising. Thank you very much. Now, all I need is the right slip. I’m thinking of something lightweight and absorbent, like a lingerie weight cotton jersey. The temperature here was 109 degrees yesterday!
Anita- if you make one send a pic over! And I think Jordan is using something similar as a slip (she wore it to a wedding a couple weeks ago). In the pics, I have black leggings and a black tank top on- but I’d definitely recommend a slip. 🙂
My aunt would love this, she is a teacher in the Middle East and struggles with finding clothes that are suitable, can survive the heat and still manage to look nice!
Zoe, my sister feels her pain. 🙂 This dress is the perfect one for them! 🙂
I’m new at sewing. I’ve done a few things here and there. How many yards will I need for this dress? What material?
Hey Heather- I think I bought three yards of sheer fabric for the dress (the skirt gathering takes quite a chunk of fabric). There is a whole section of special occasion fabrics at our Joann’s that are sheer and almost any of those would work. You want something light and flowy, nothing that holds a shape or stands up on its own. Hope that helps!
I love the dress. I wish I could have found this for my oldest daughter for her prom dress last year. She’s exceptionally modest and would have loved this dress. I might make it for her … knee length. Thank you so much for sharing.
Debra, this is one of those dresses that looks great on everyone! I bet your daughter will look gorgeous! And I love the idea of making it more formal with different fabric. 🙂