
kojotutorial: wooden name sign
As an Amazon Associate I earn from qualifying purchases.
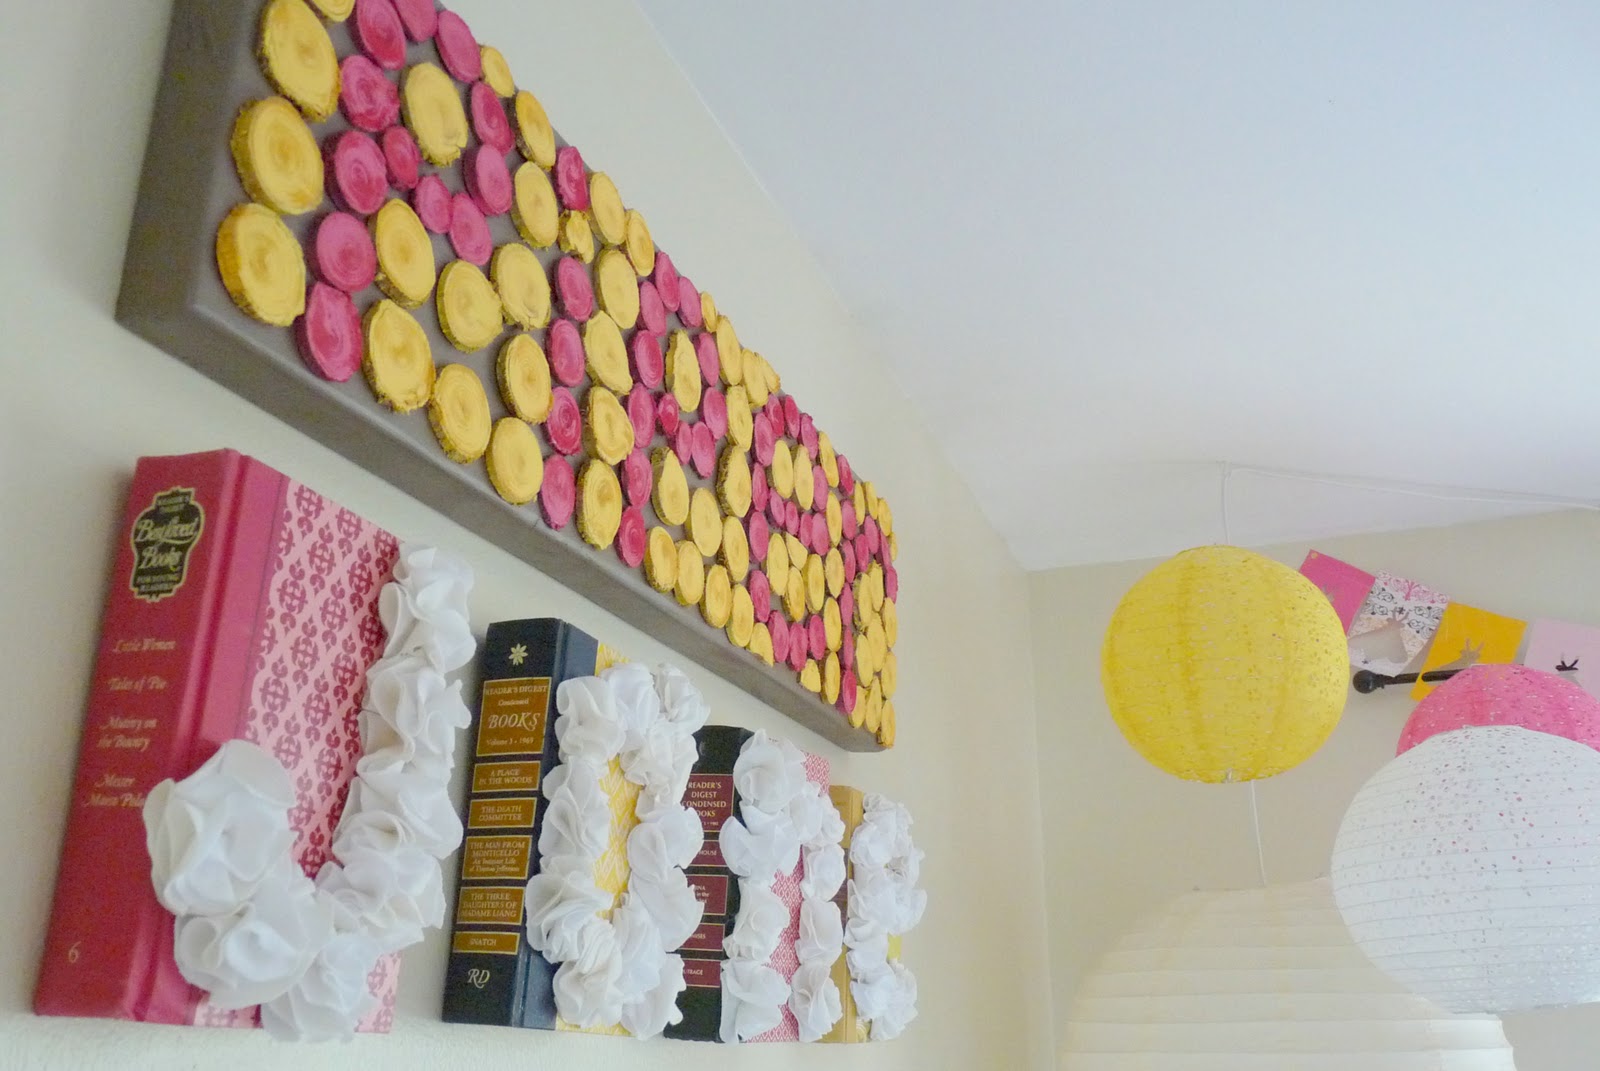
When I was making Piper Jane’s name sign, I was going for a mix of sweet and sassy. The ruffled books add the sweet factor and the wooden Piper sign adds a bit of sass.
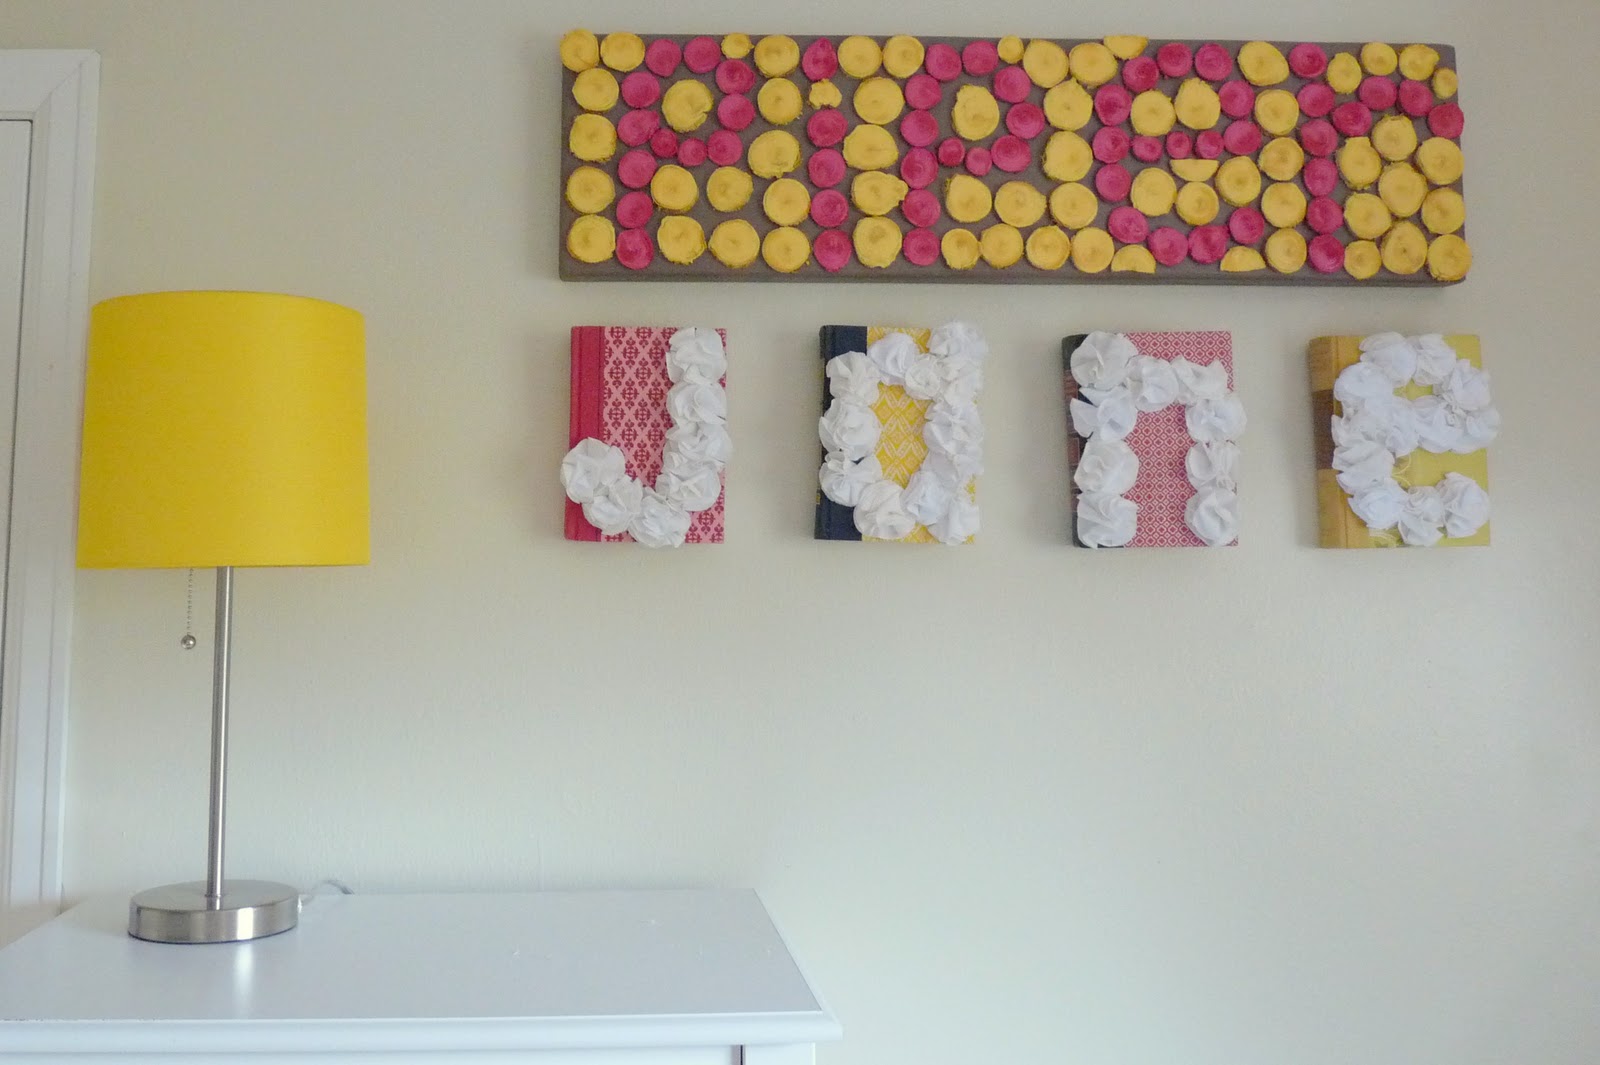

It’s pink and yellow, rustic-meets-modern, and nearly free- perfect for a nursery (or living room!) near you.
To make one of these lovelies, you’ll need:
-a piece of scrap wood (mine was a leftover piece of a 2’x12′)
-a few thick branches
-a saw (we used a miter saw, but many different kinds of saw would get the job done)
-spray paint
-wood glue

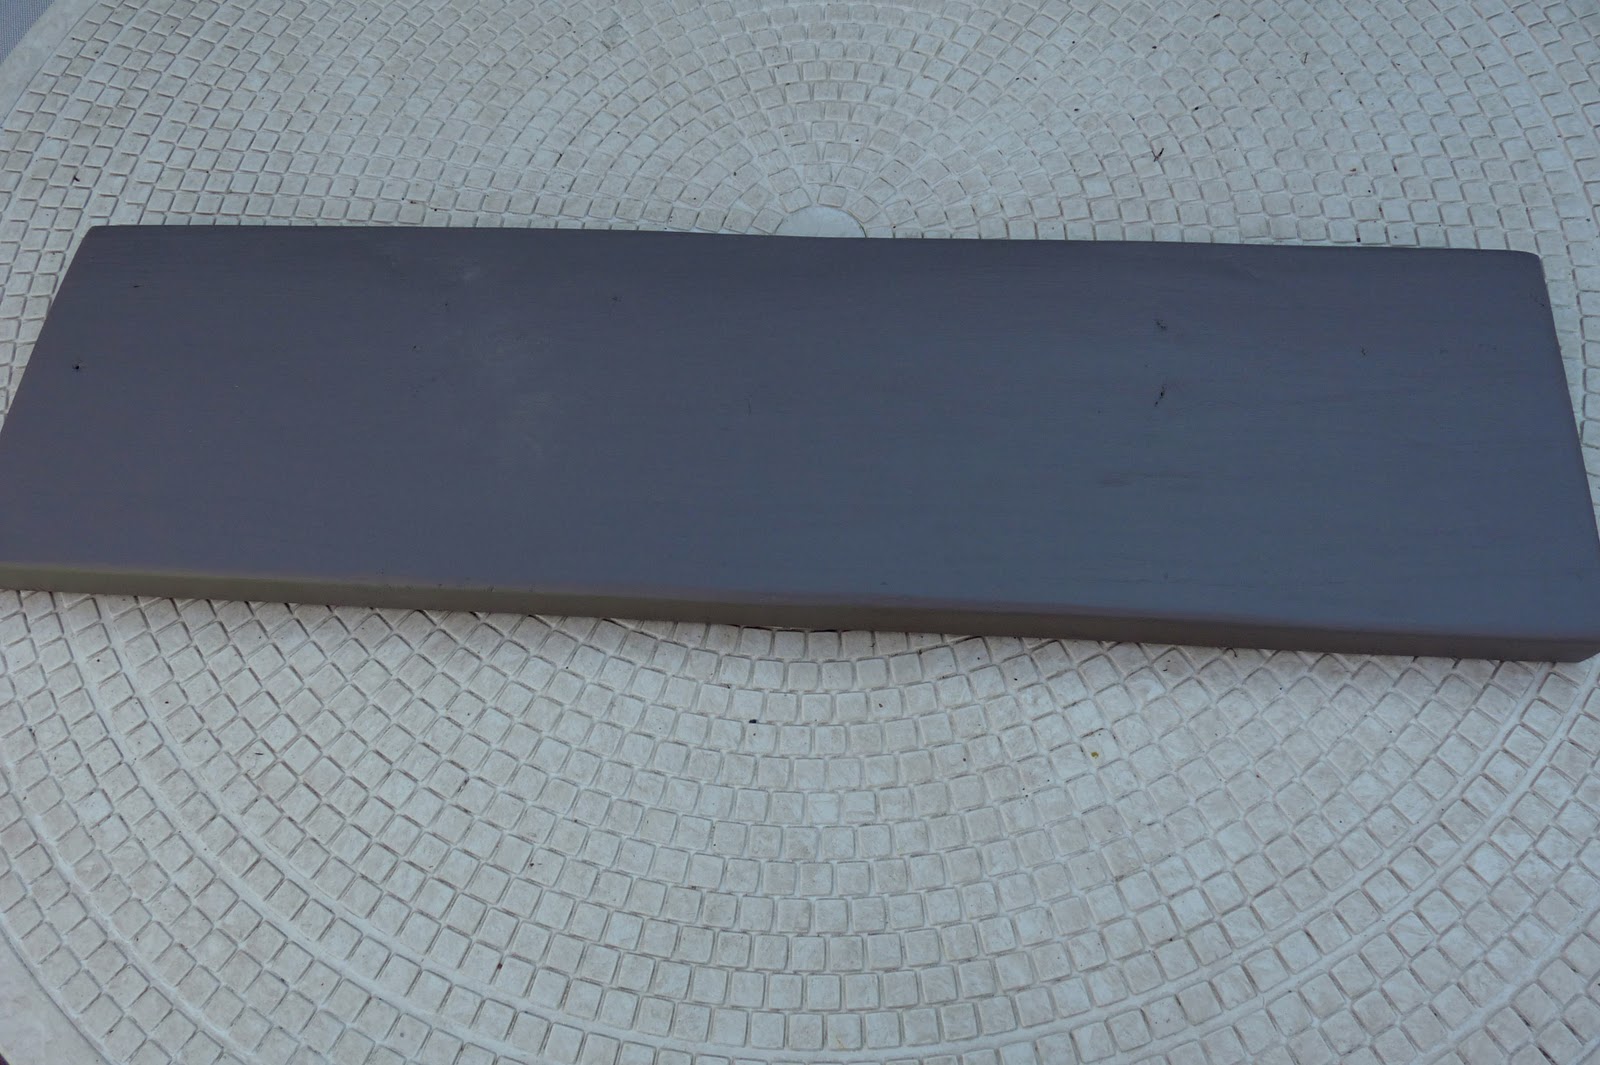
1. Sand and paint your wood backdrop with a color in your palette. Pay careful attention to the edges (sand them well, almost to the point of rounding the front edges). Let dry.
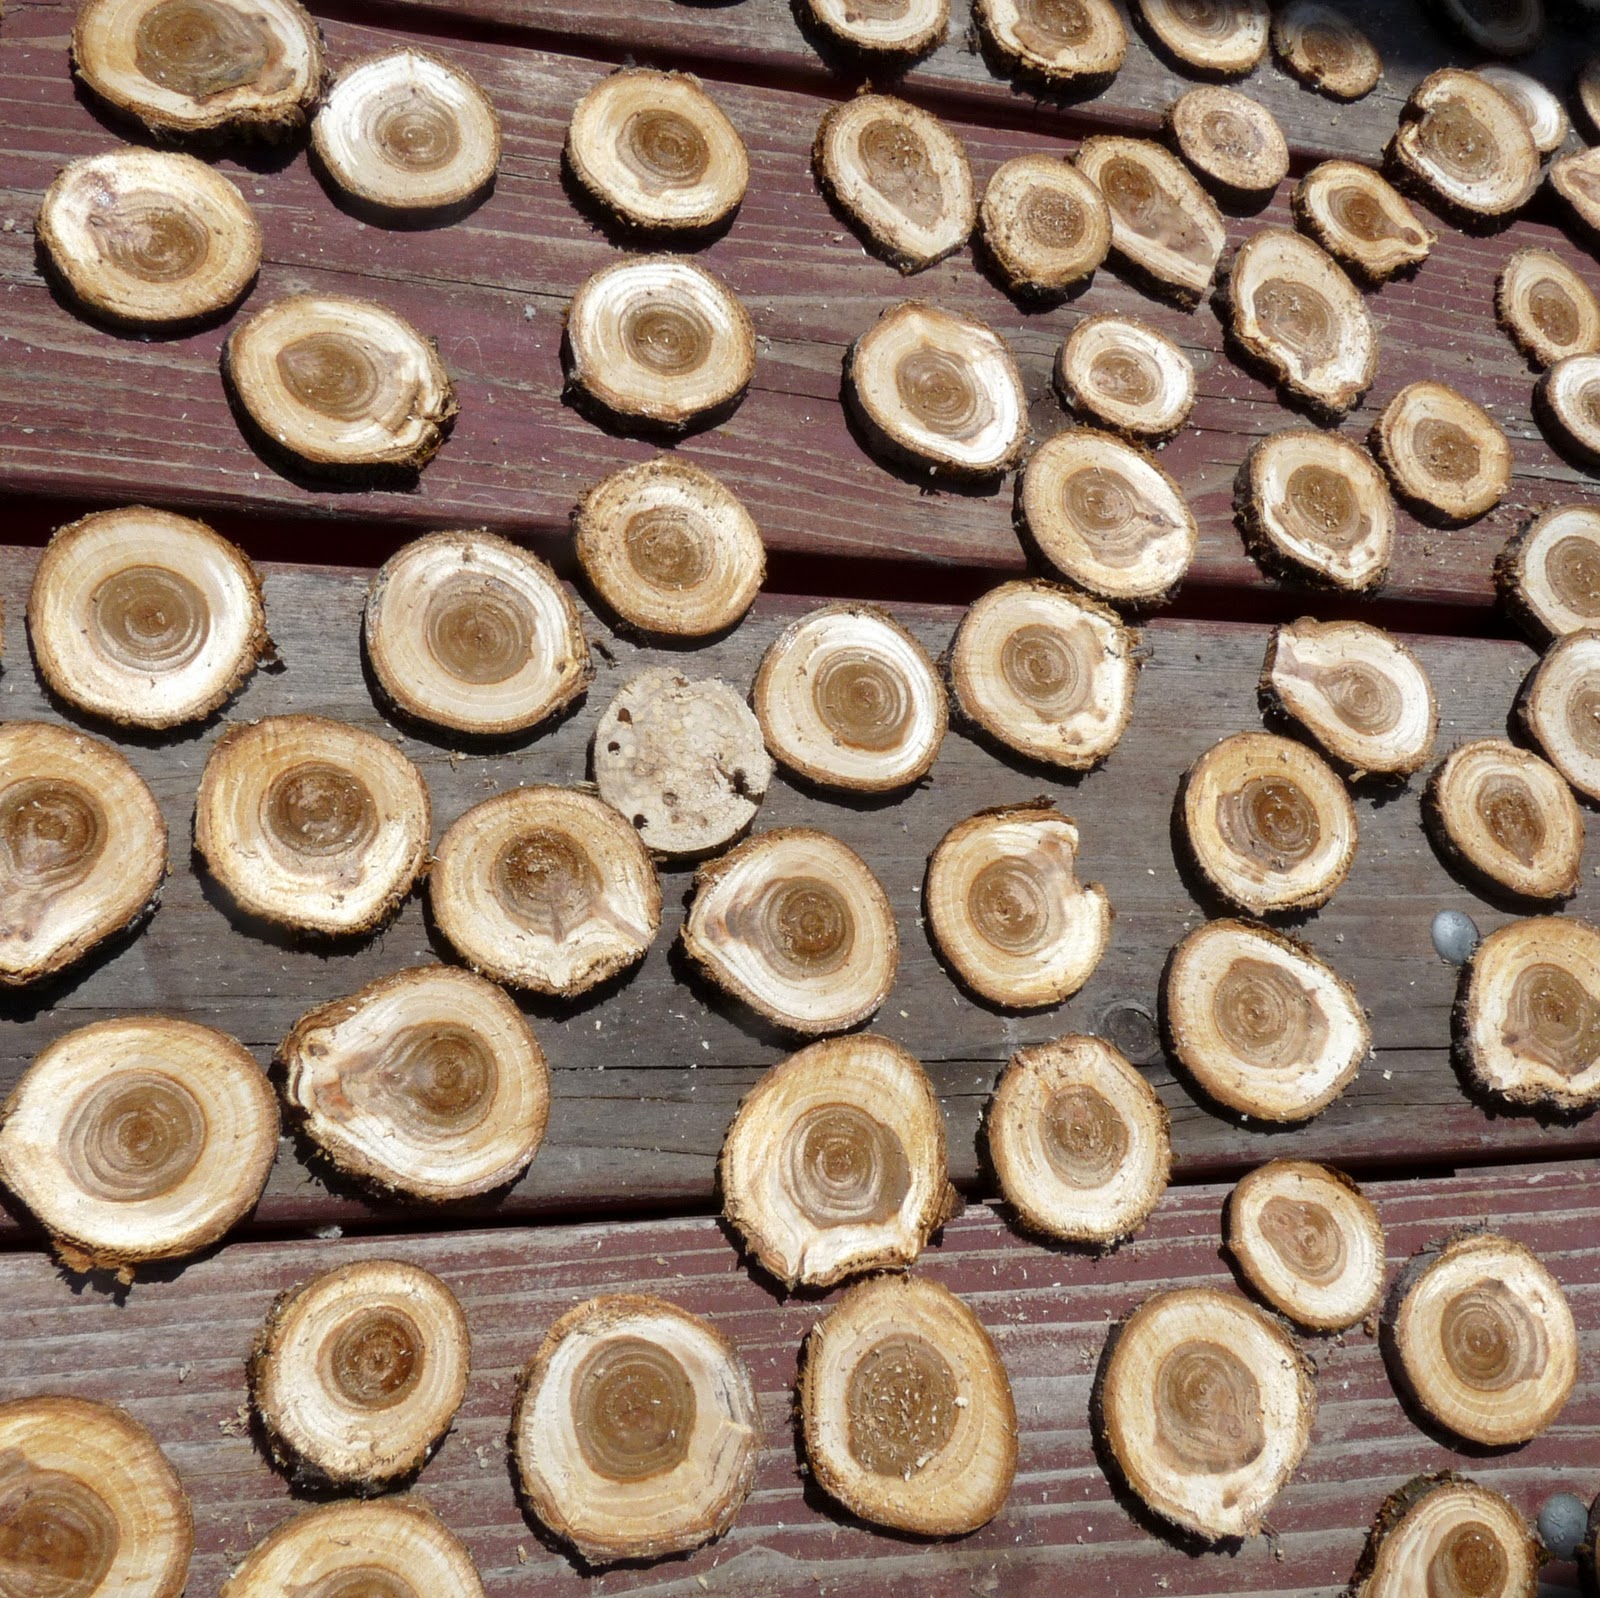
2. Cut your branch every 1/2″ or so until you have a whole pile of round, flat wood pieces.
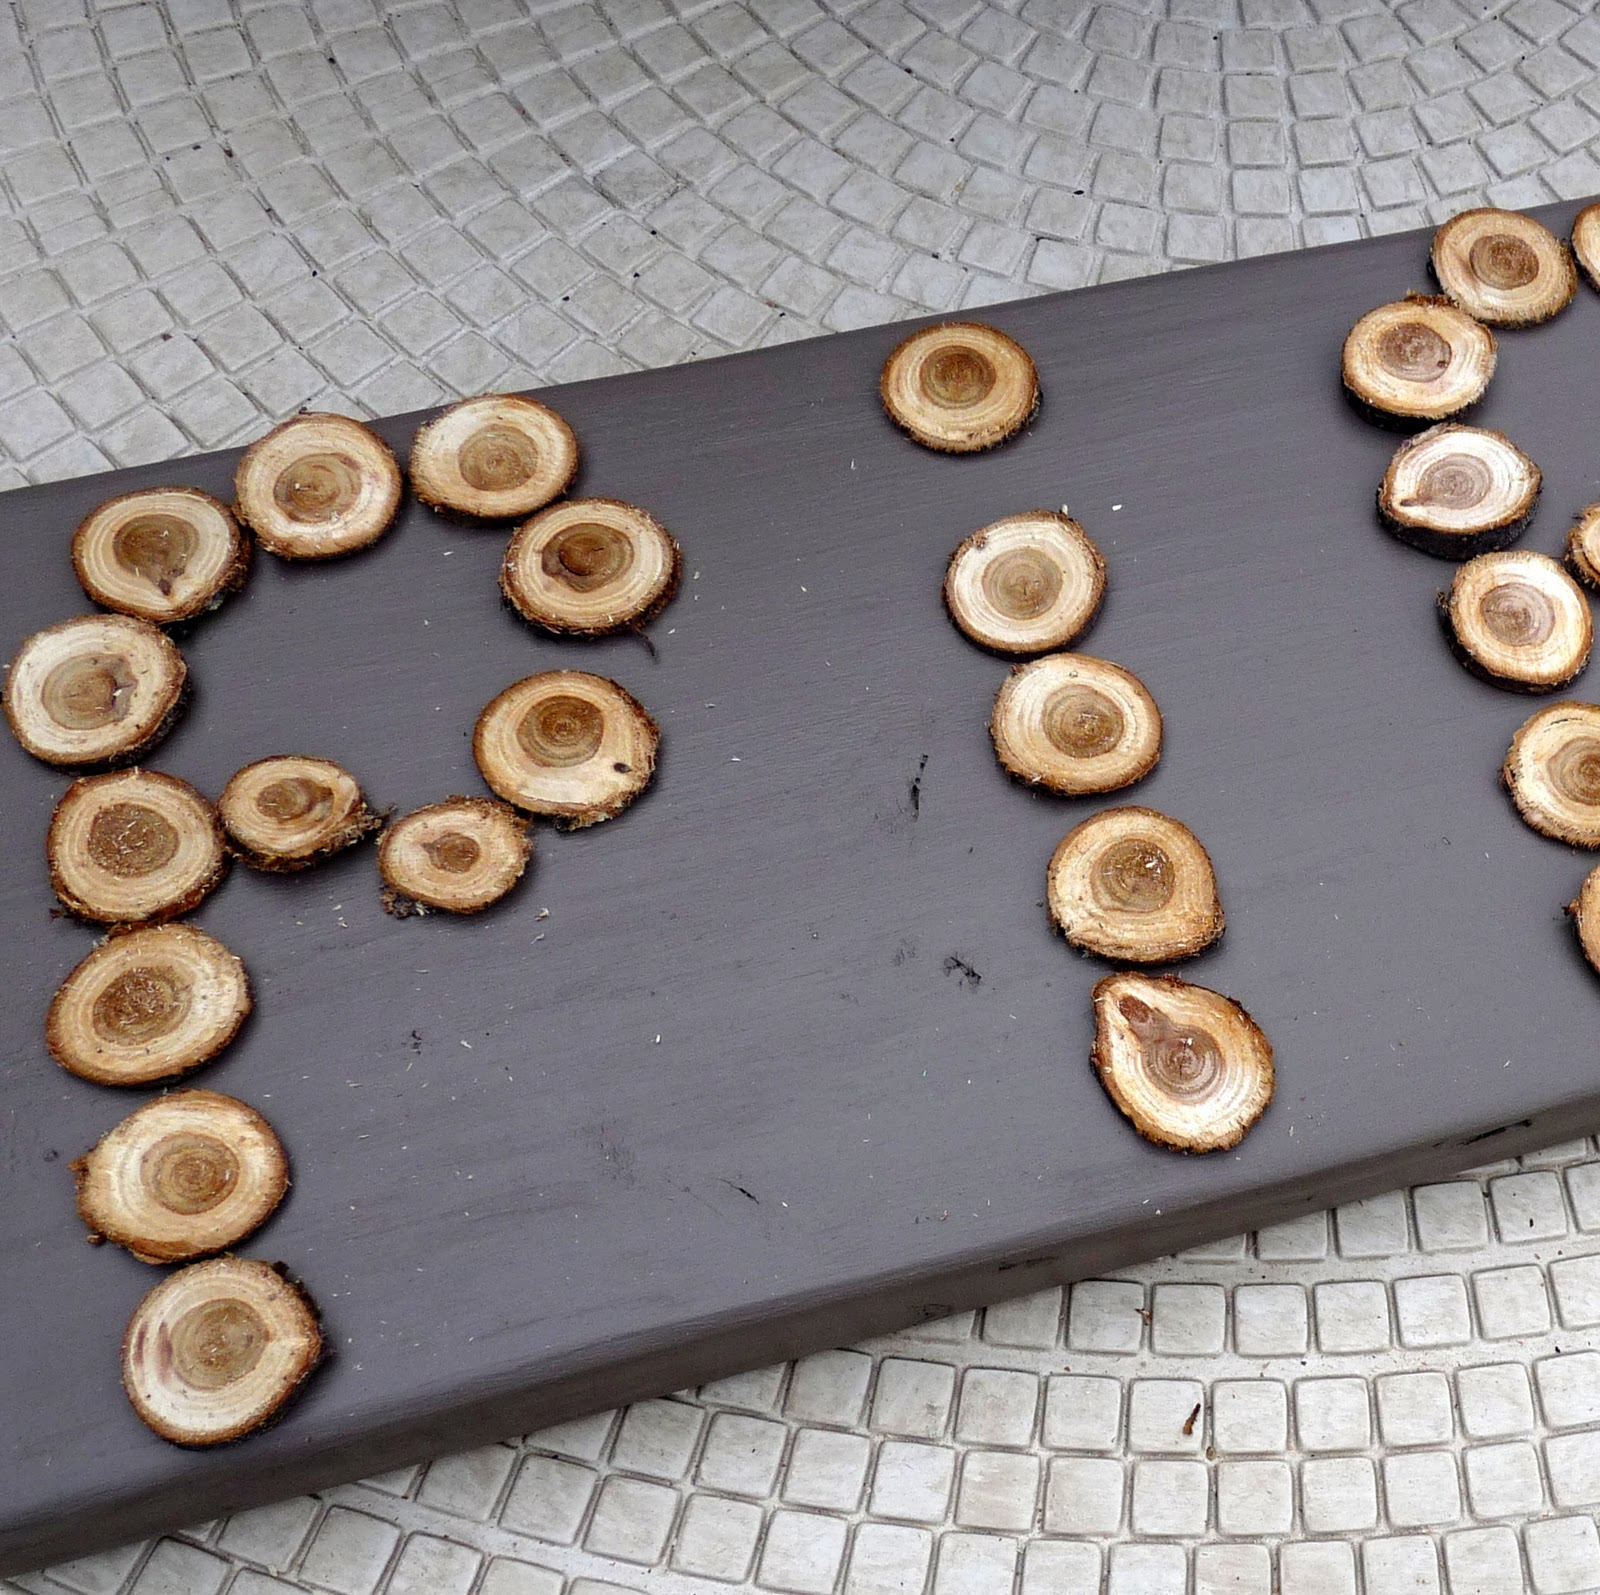
3. Arrange your circular wood pieces into letters spelling your name (or word). Mess with the various sizes until your letters look right. Set these aside.
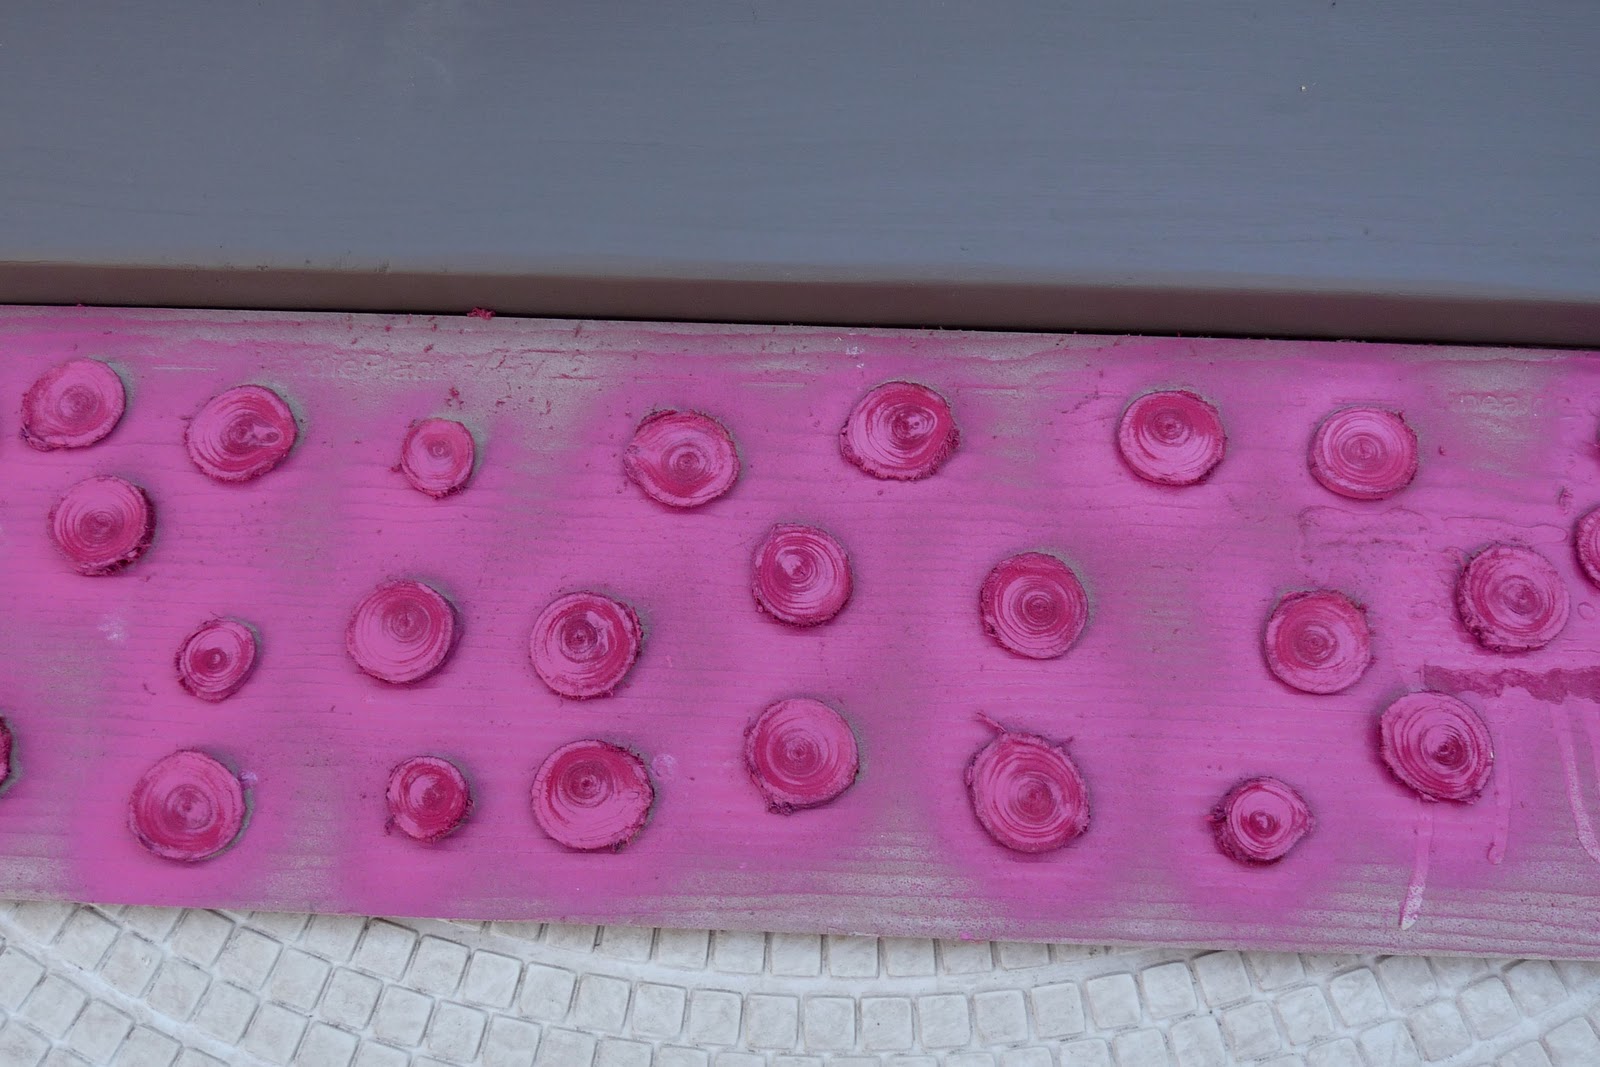
4. Using spray paint, paint the wood circles you’ve set aside. Let dry.

5. Lay out the word again. Fill in the gaps with more (unpainted) wood circles, covering the entire wood backdrop (this helps you determine how many wood circles you’ll need to paint). Spray paint these wood circles in a contrasting color and let dry.

6. Leaving your word in place, begin to adhere the word to the sign. Pick up one wood circle at a time, apply wood glue and put back in place.
7. Follow the same process with your contrasting ‘back ground’ colored wood circles- lay them out (rearrange until you’re pleased with their placement), pick up one at a time, apply wood glue and adhere to the backdrop.
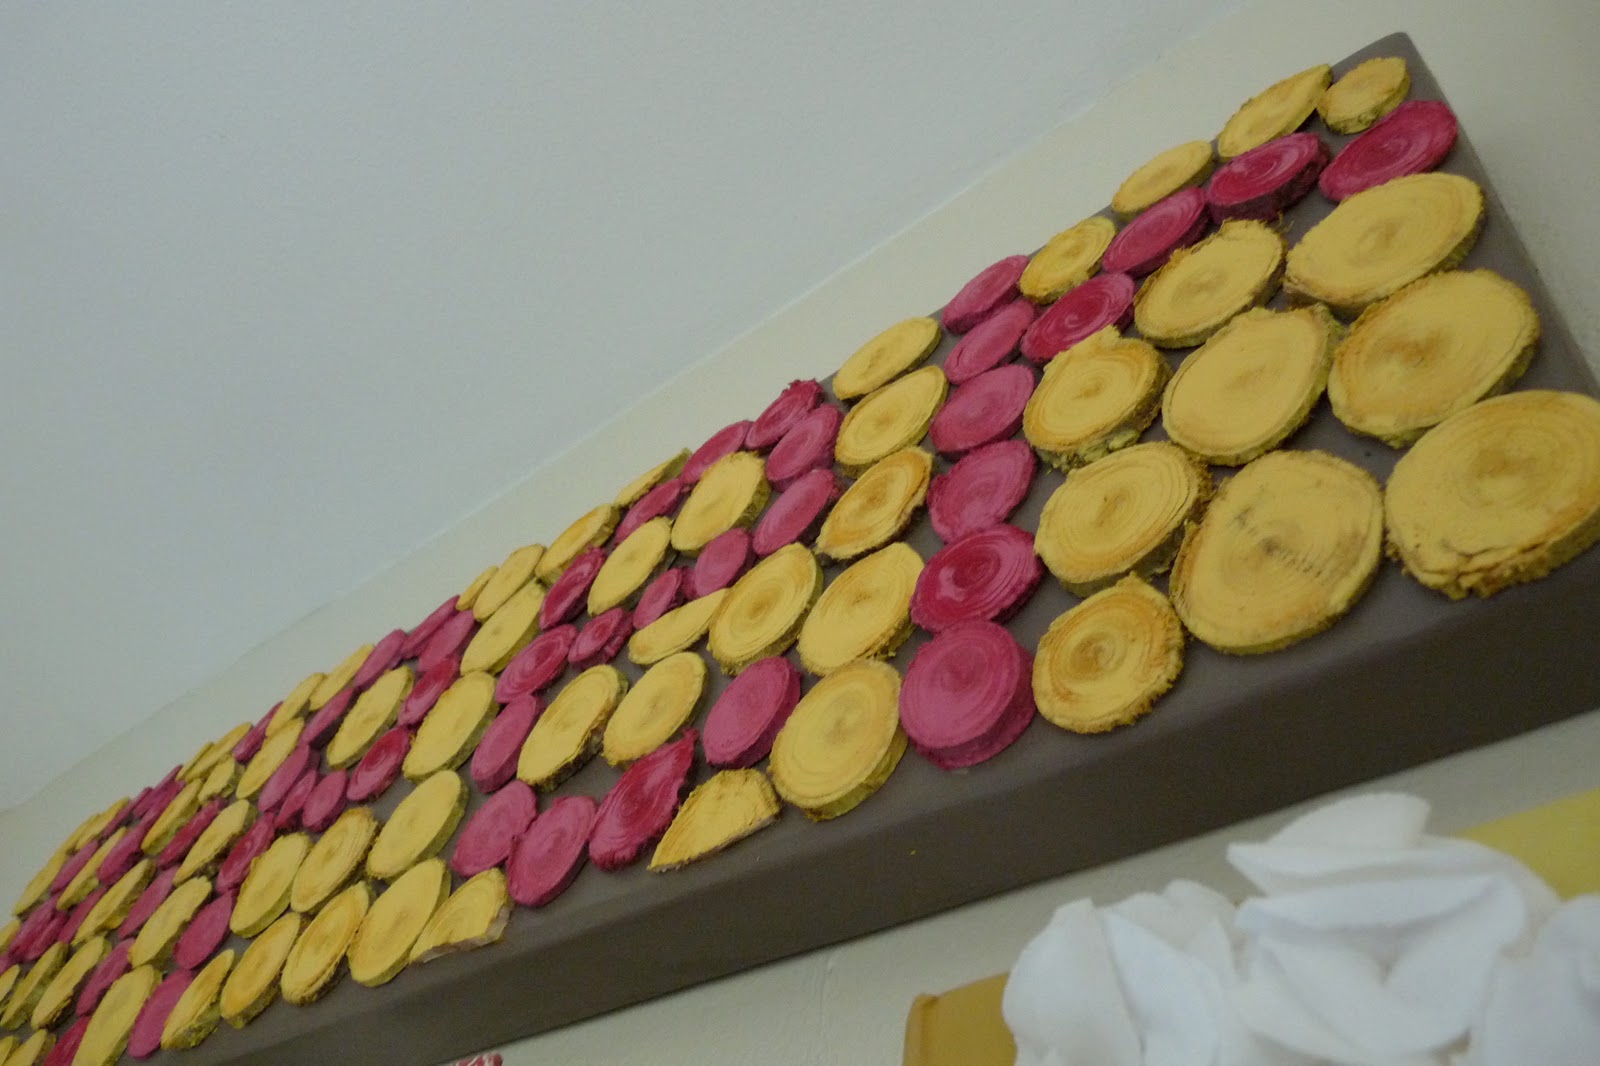
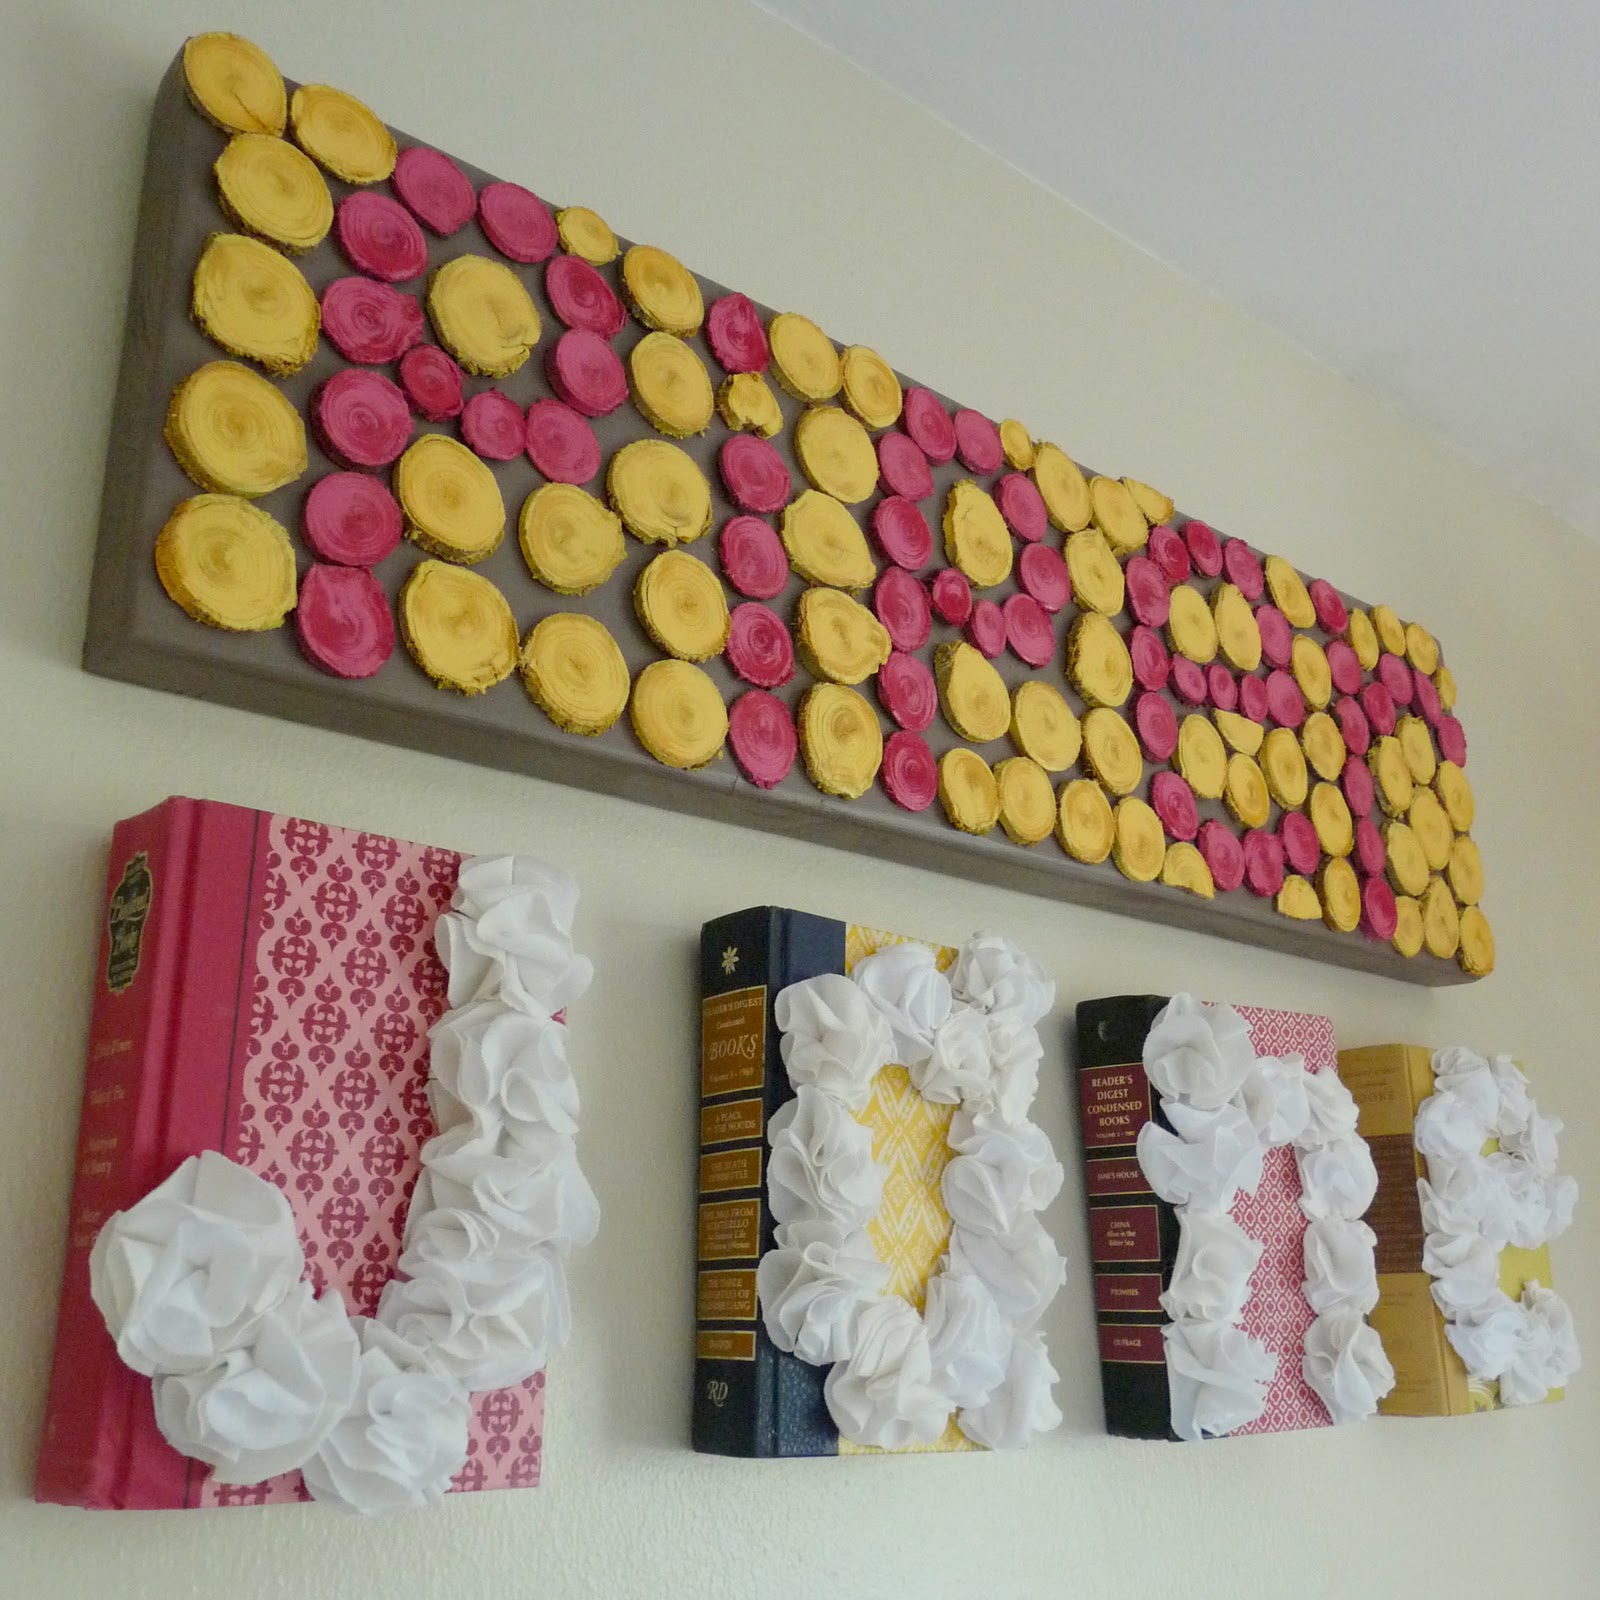
8. Hang and admire! A perfectly tailored sign for nearly free? Yes please!
ps- This tutorial was first seen on Tatertots and Jello.
Love this great gift idea