
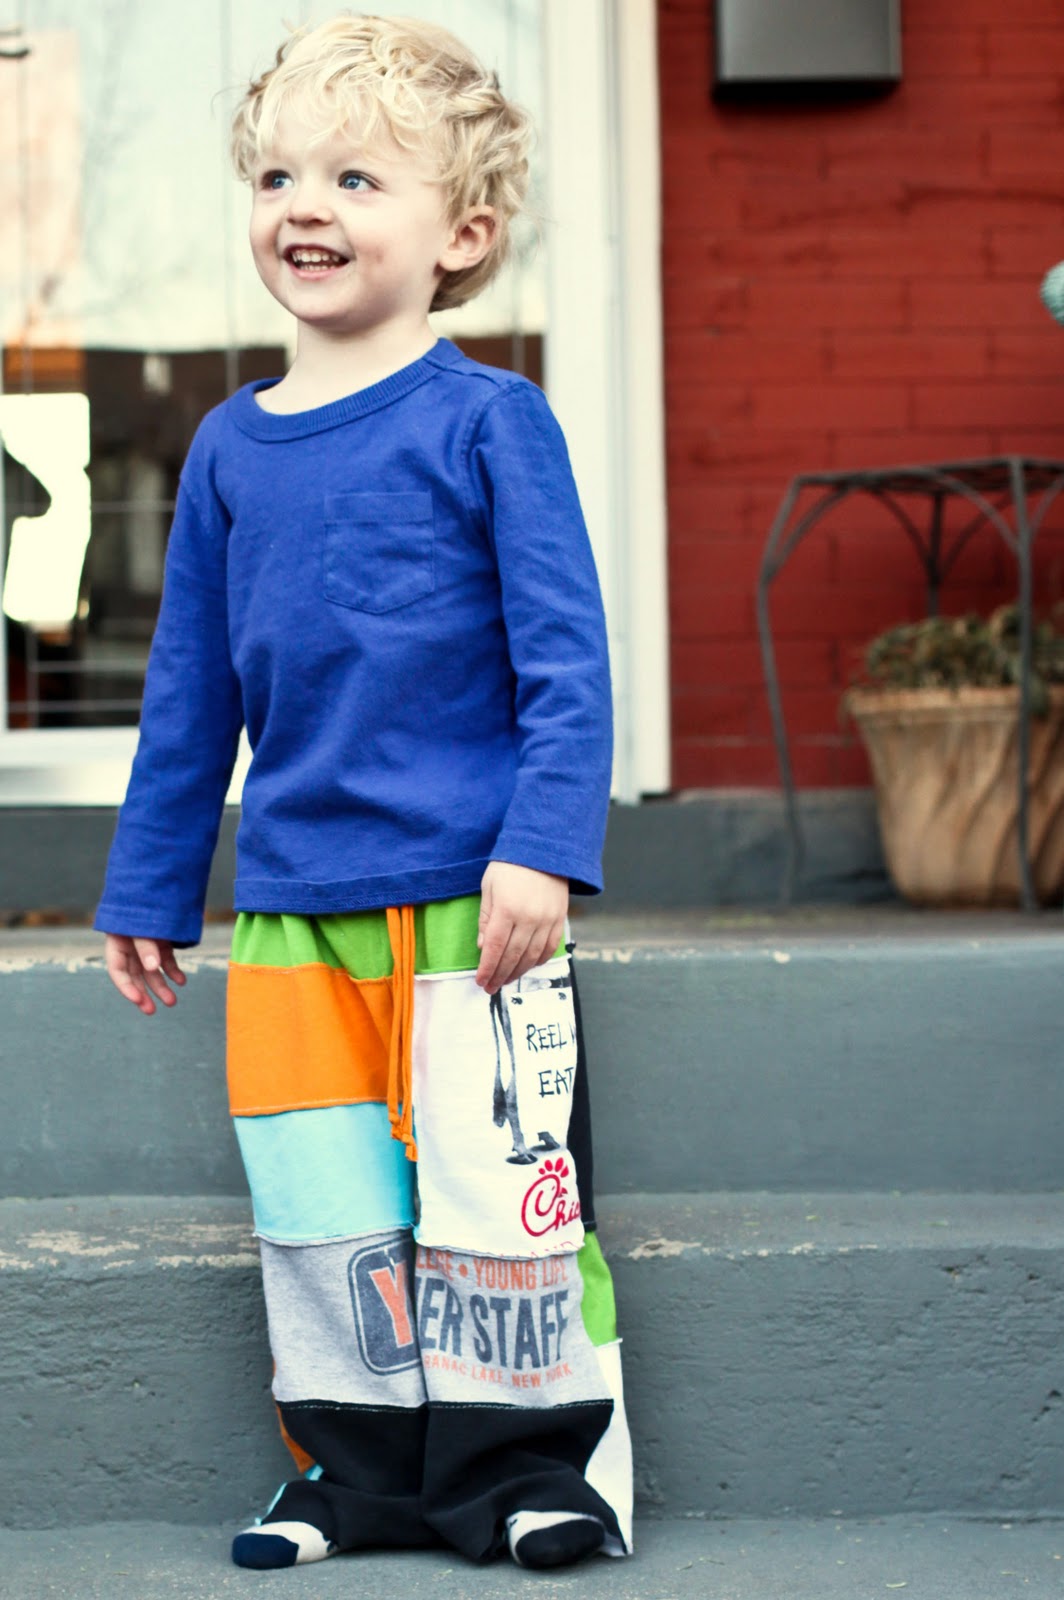
DIY pieced jersey pants
As an Amazon Associate I earn from qualifying purchases.

It’s that time of year, y’all… time to Celebrate the Boy! Can I tell you a secret? I think this is my favorite series in blogland. Dana and Rae are geniuses!
Since I always kind of saw myself as a ‘girl mom,’ I’m much more comfortable making dresses and accessories and goodies for GIRLS (just ask my sister/sister-in-law who receive way. too. many. dresses for my nieces). Celebrate the Boy is the perfect catalyst for branching out from my natural tendencies to make things for boys instead! How fun!
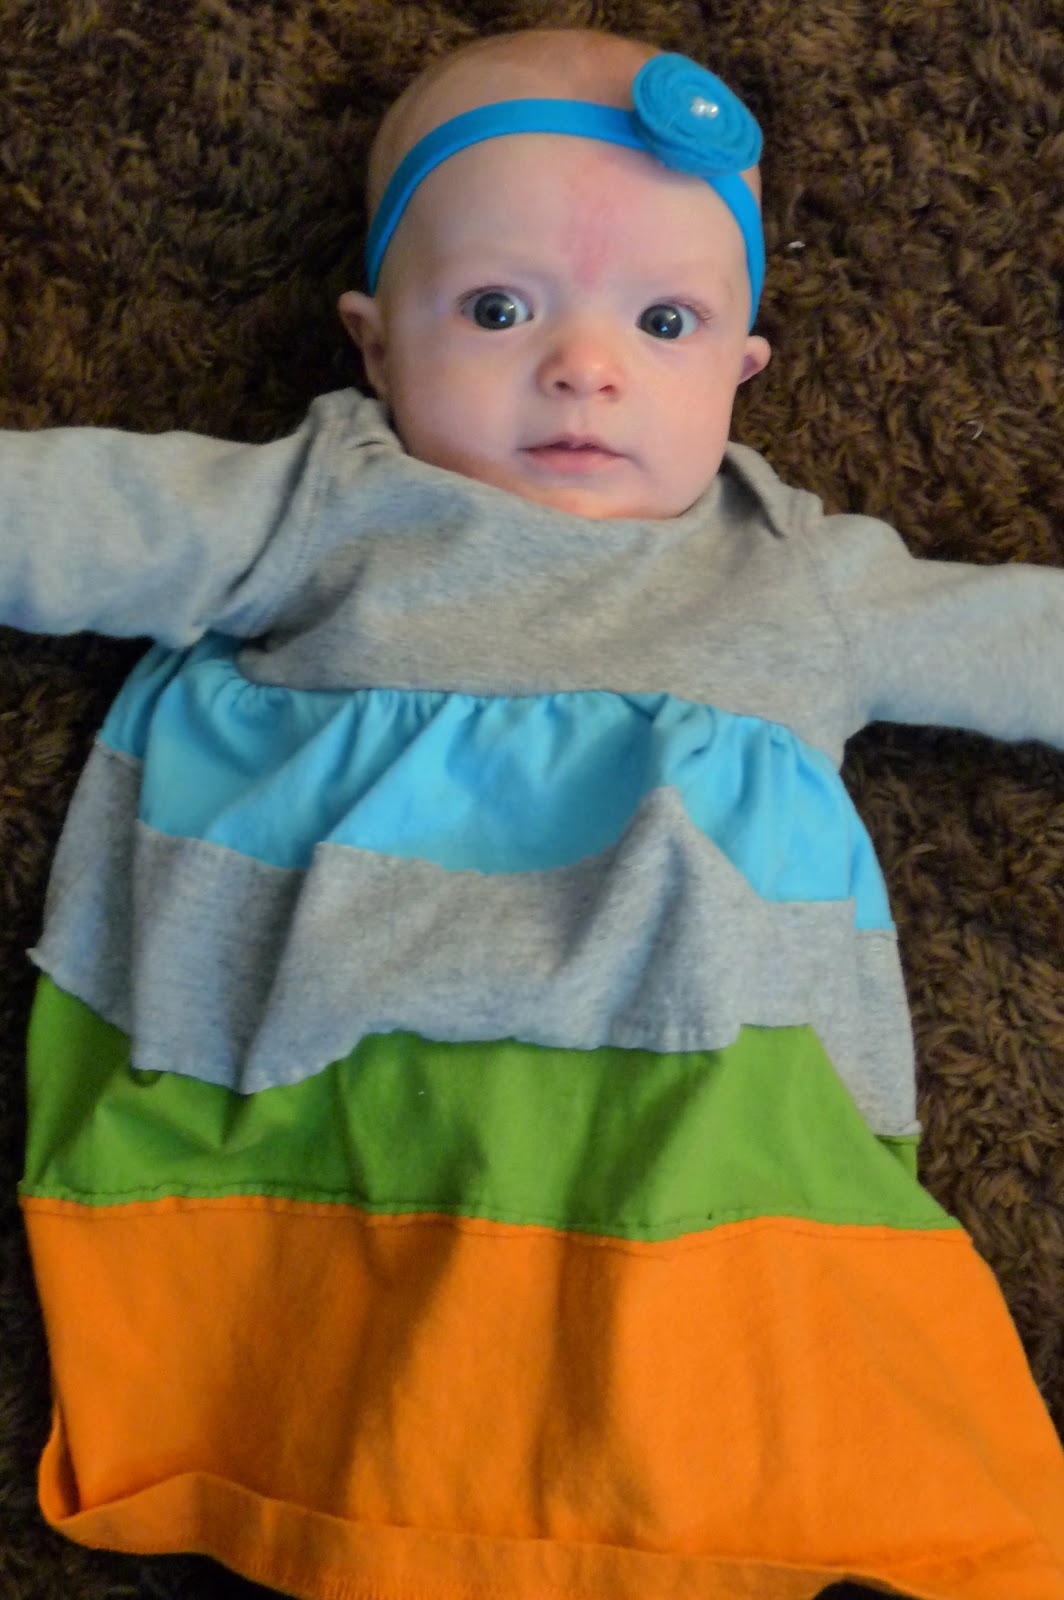
Which brings us to today’s tutorial! Recently, I was making a little pieced jersey dress for Piper Jane (surprise, surprise). When I looked at the pieced jersey patchwork, I decided to put together some pieced jersey pants for Burke as well.
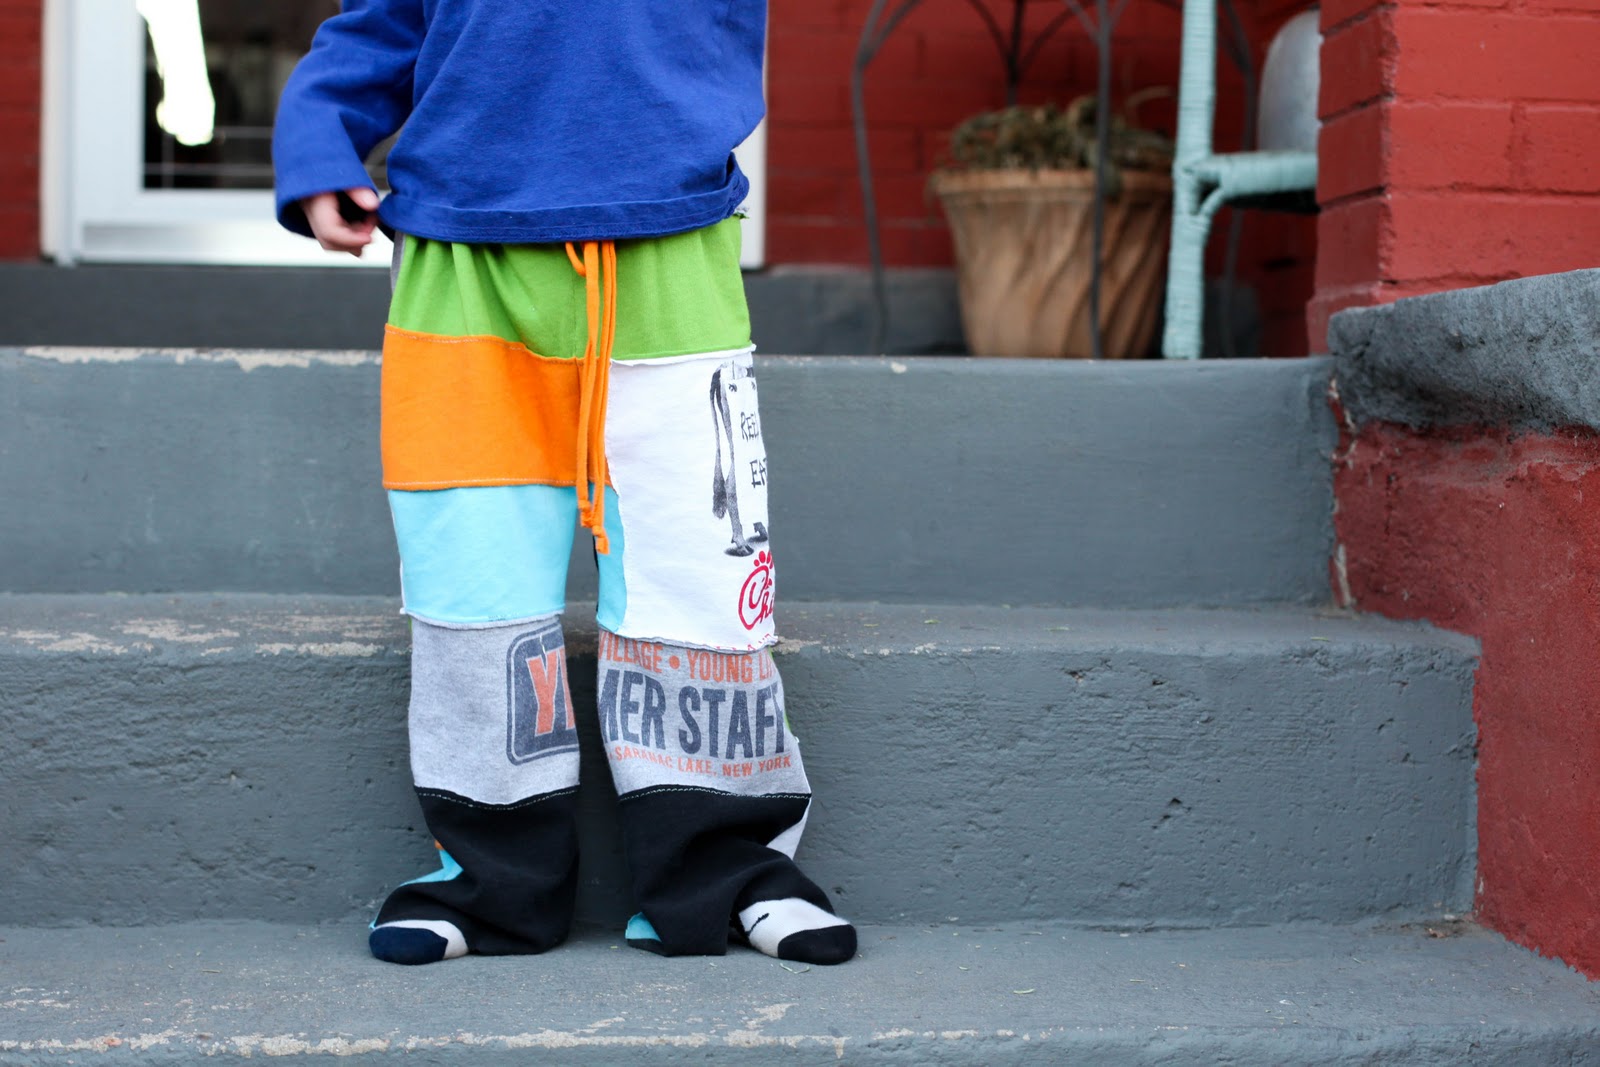
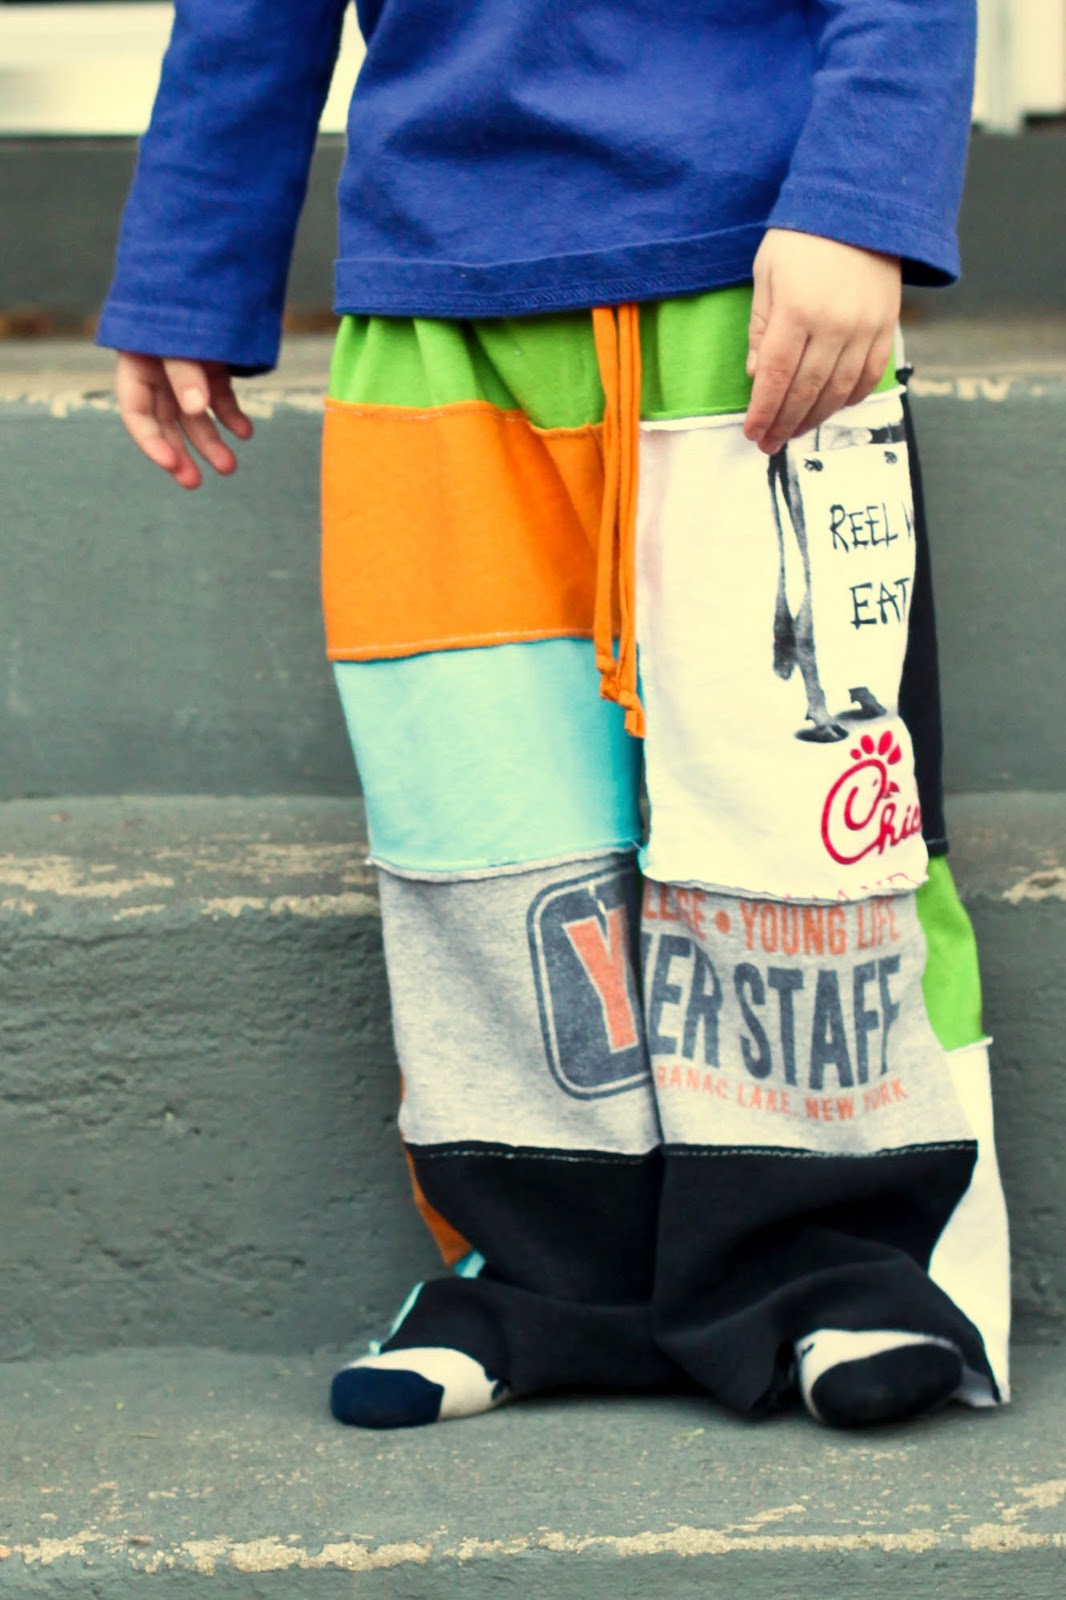
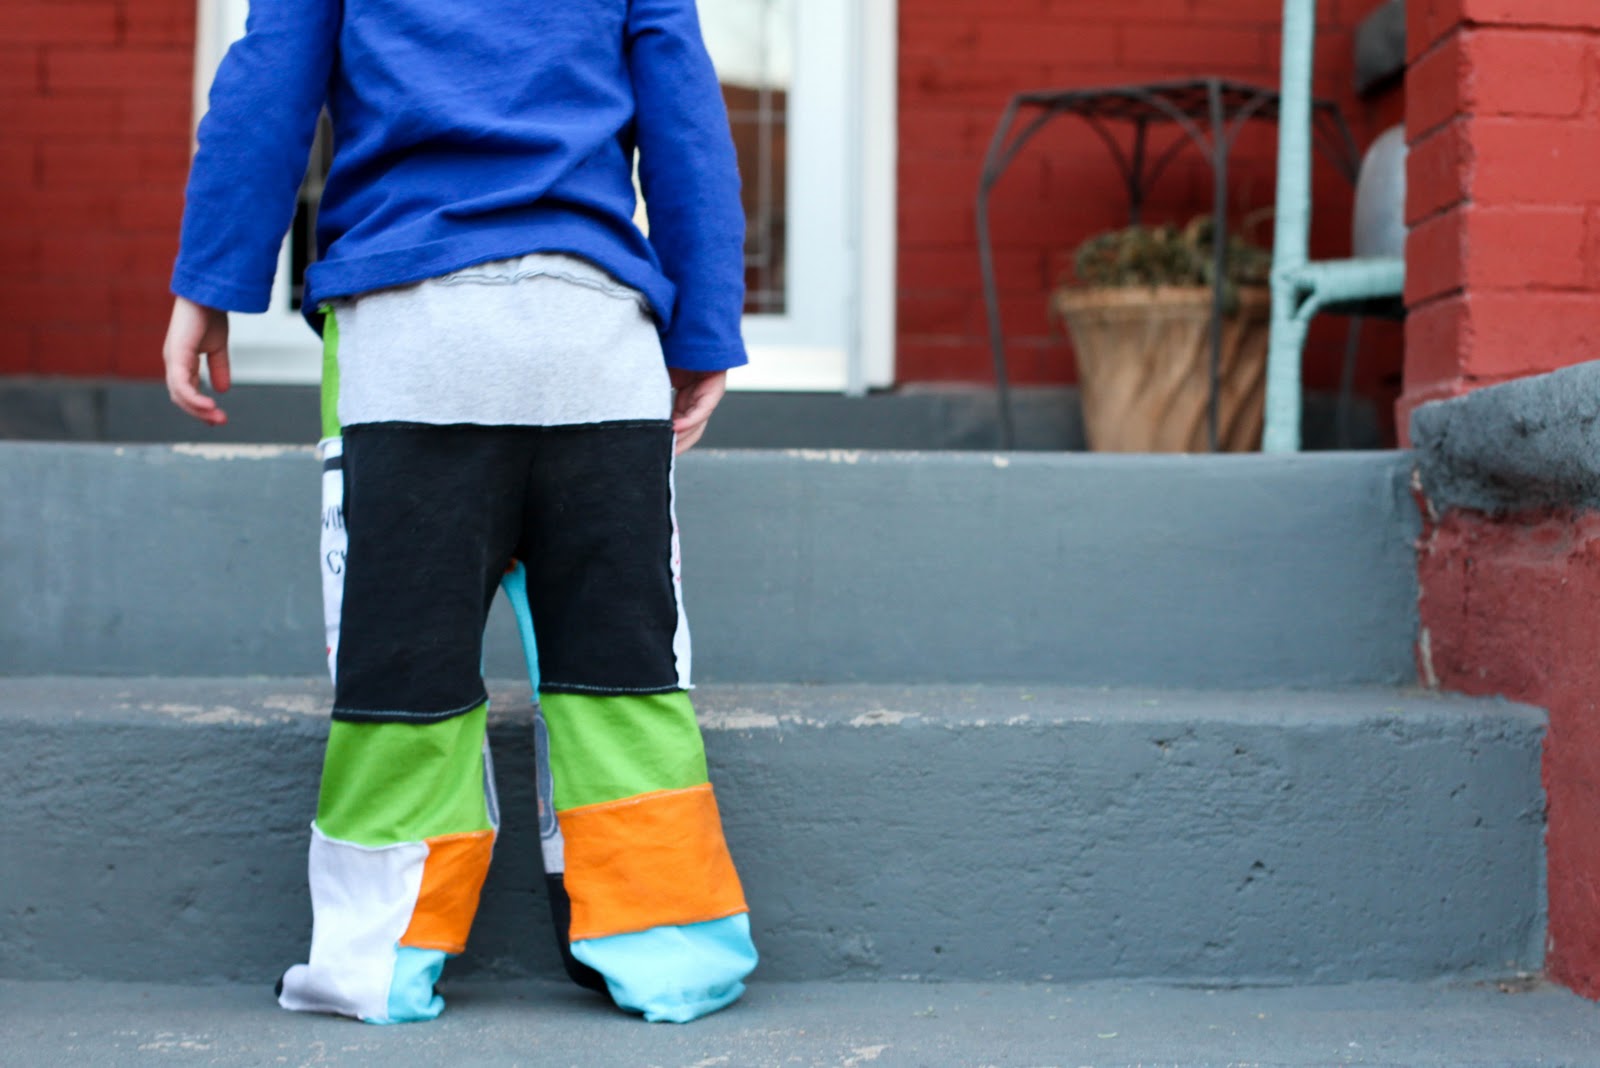
And I love the way they turned out! The soft jersey from the t-shirts makes them extra cozy, the drawstring makes them cinch-able on Burke’s little skinny waist, the exposed seams and color make them bright and modern. Plus he loves them- always a huge bonus!

To make a pair of pieced pants for a little man in your life, you’ll need:
-a pile of thriftstore bound t-shirts (when they’re pieced together, the rectangle they make is just short of a yard)
-fabric pen
-sewing machine and sewing supplies
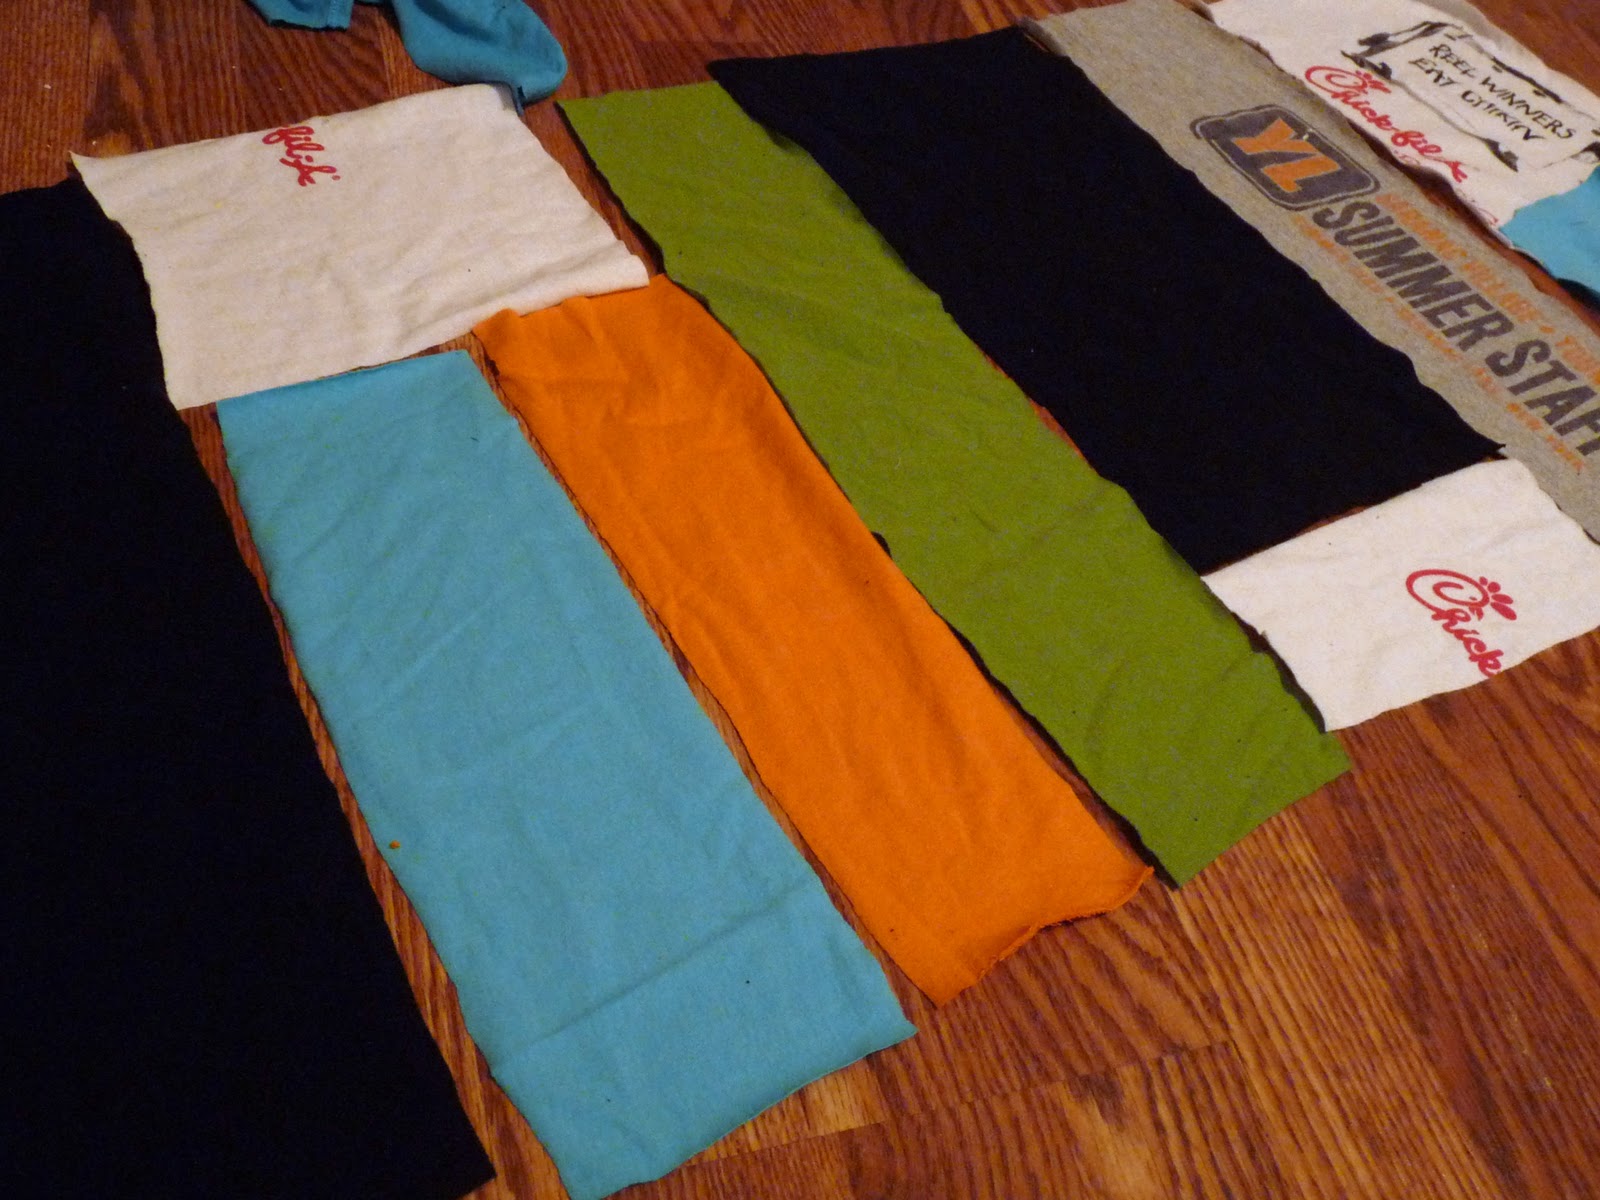
1. Cut out rectangles/squares of jersey. Lay them out, matching up the pieces so that when they’re pieced, they make a rectangle. Pin in place. Note- to make the seams show, pin together with the wrong sides facing each other.
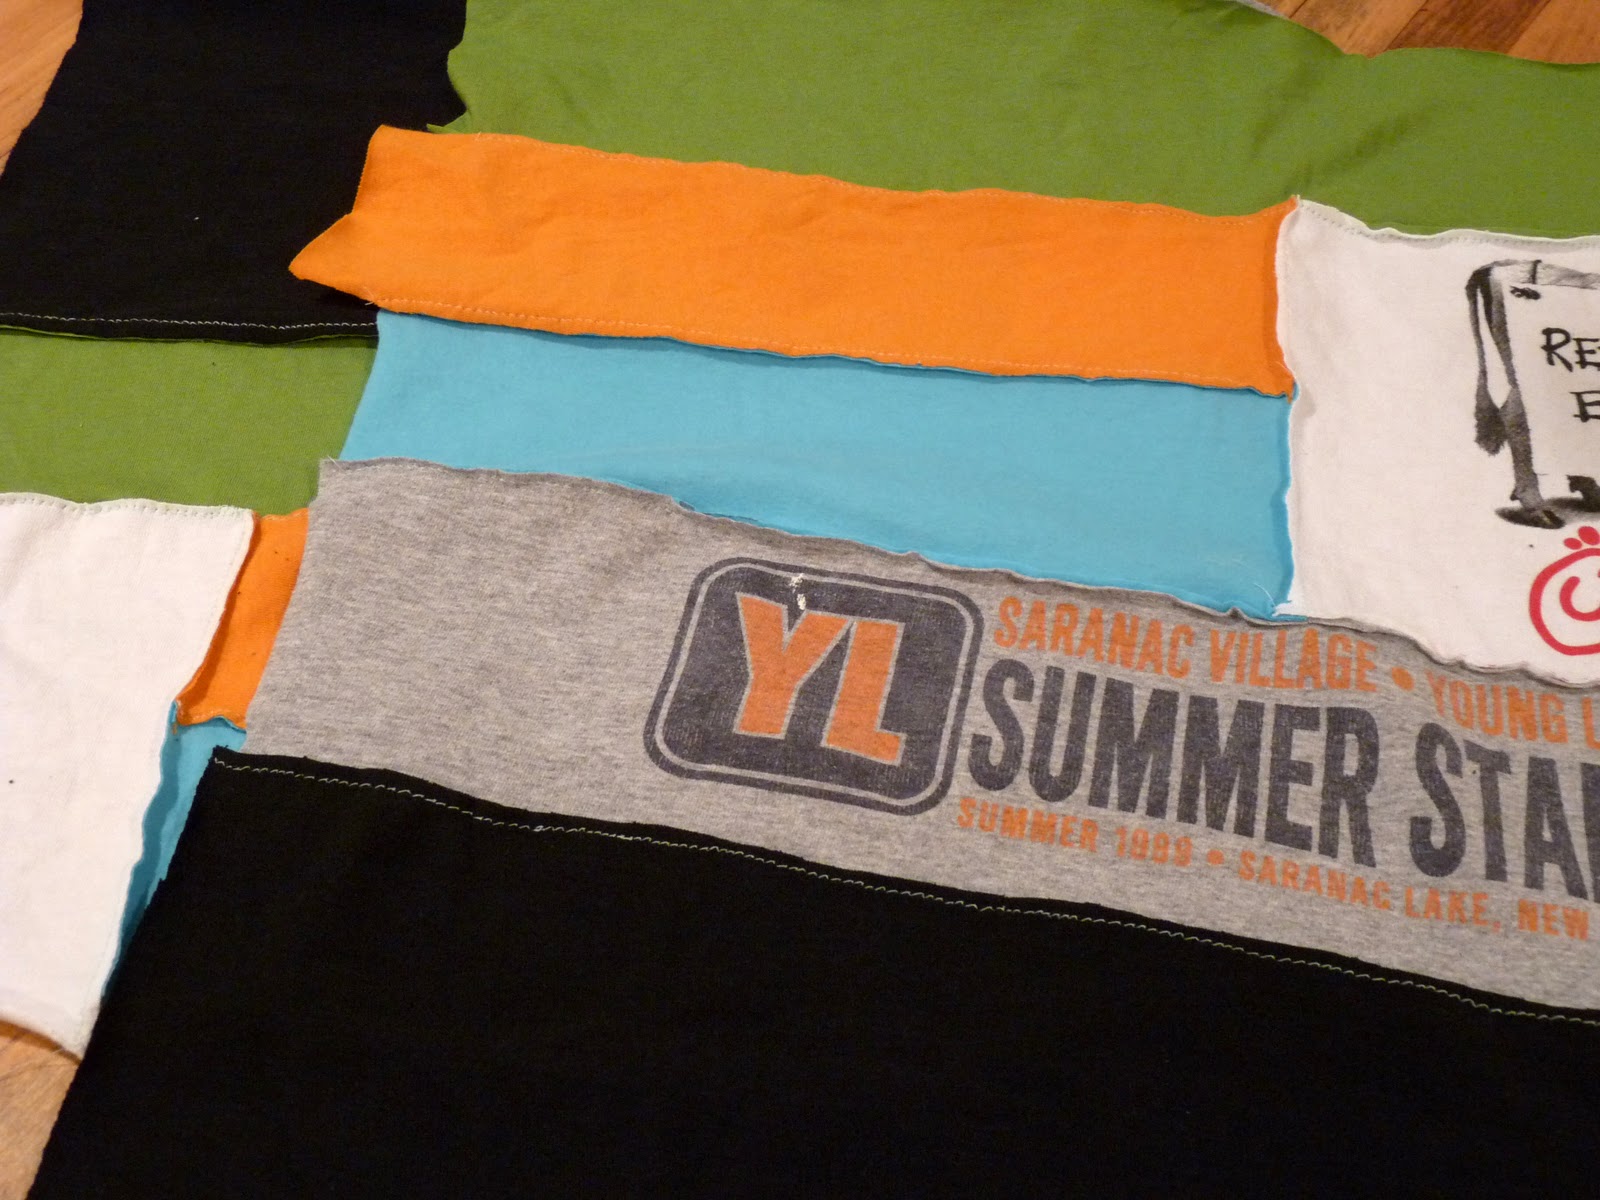
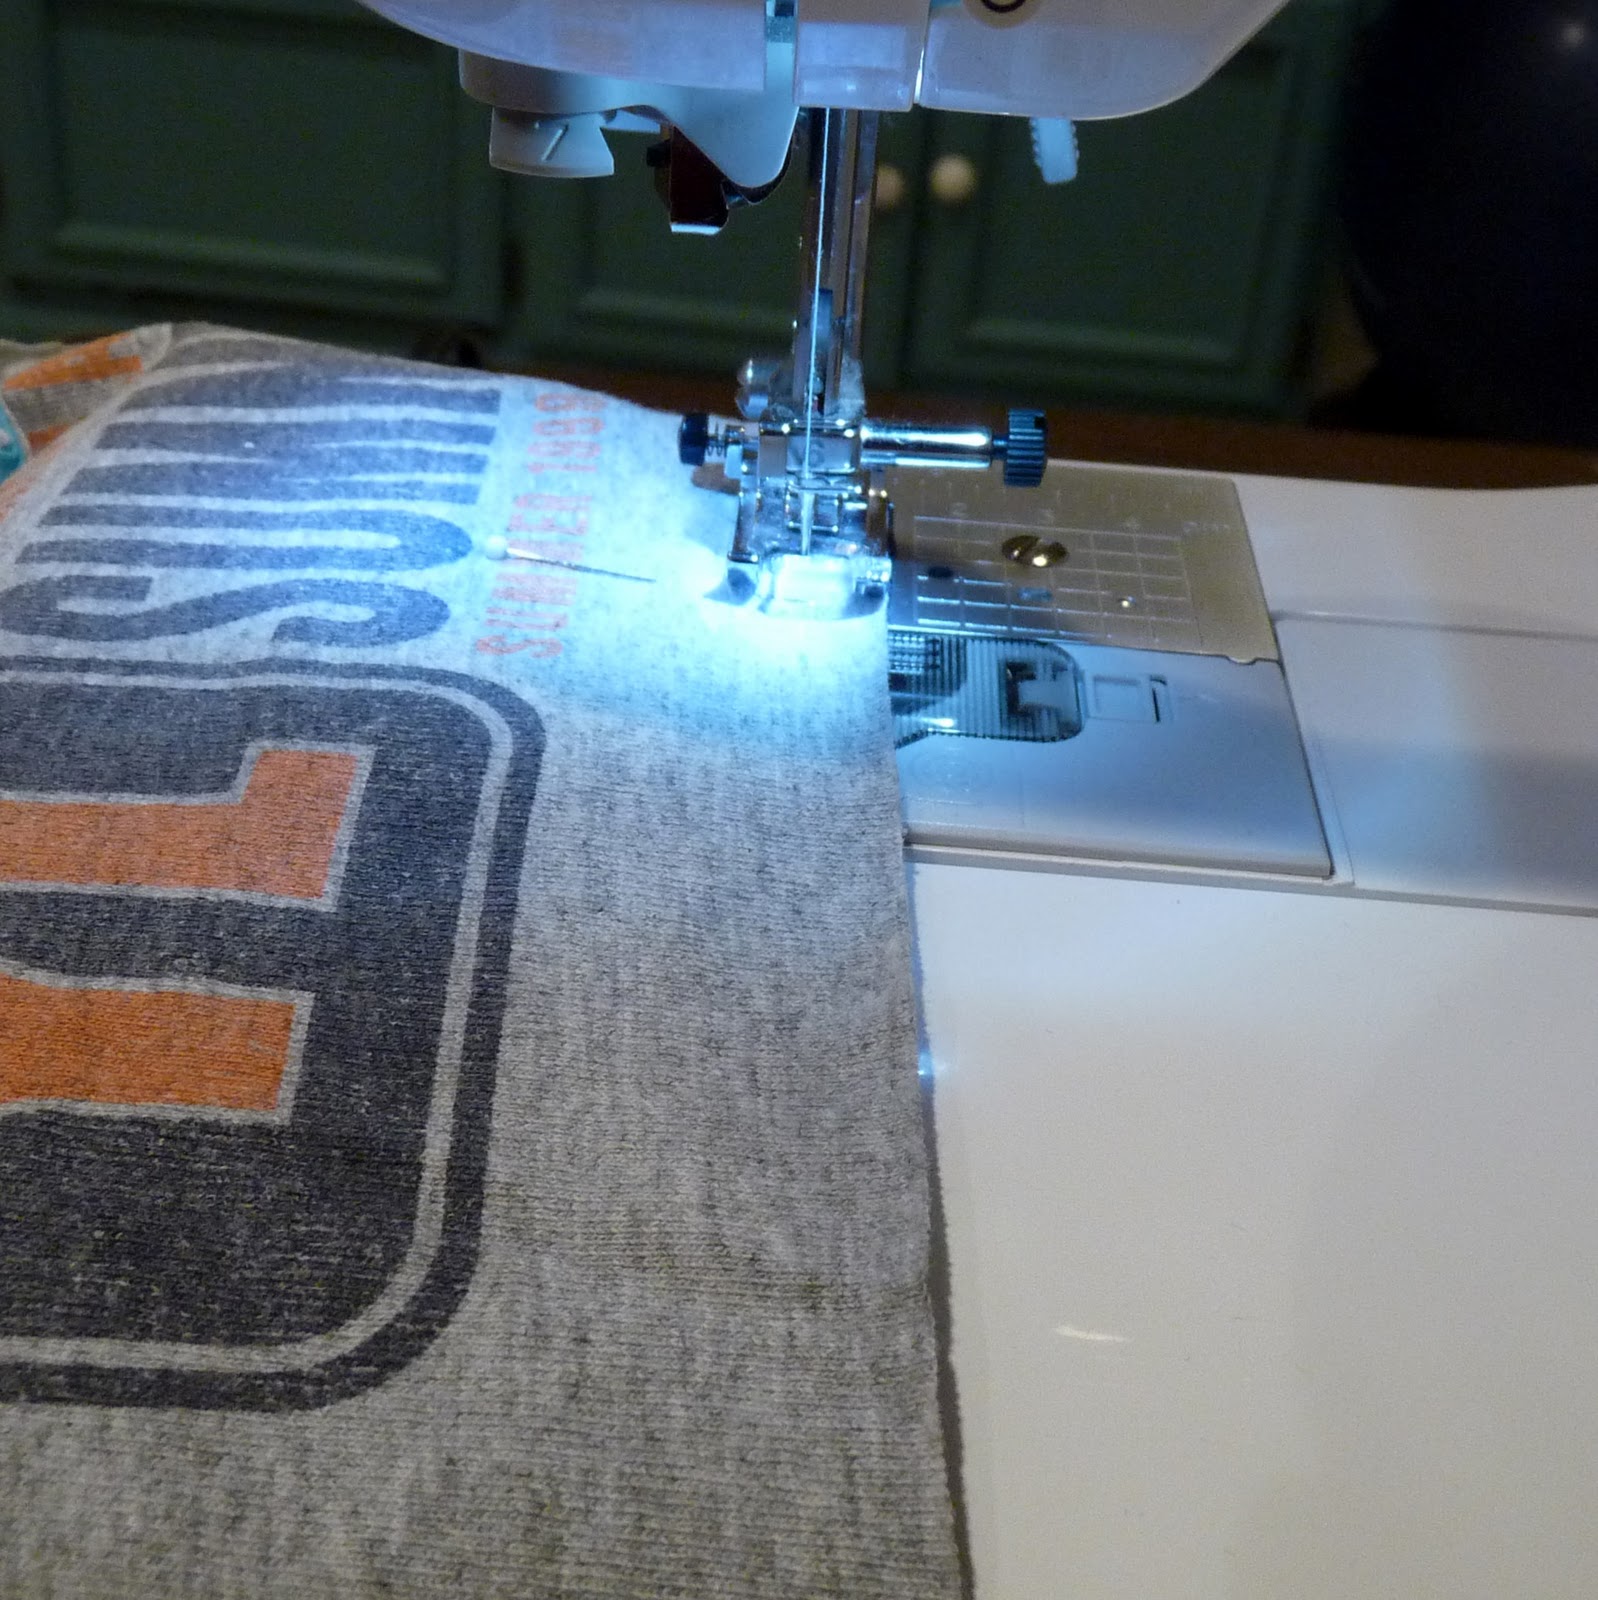
2. Sew into pieced patchwork rectangle. A good thing reminder to ensure exposed seams is that you’ll be sewing onto the fronts of the t-shirts.
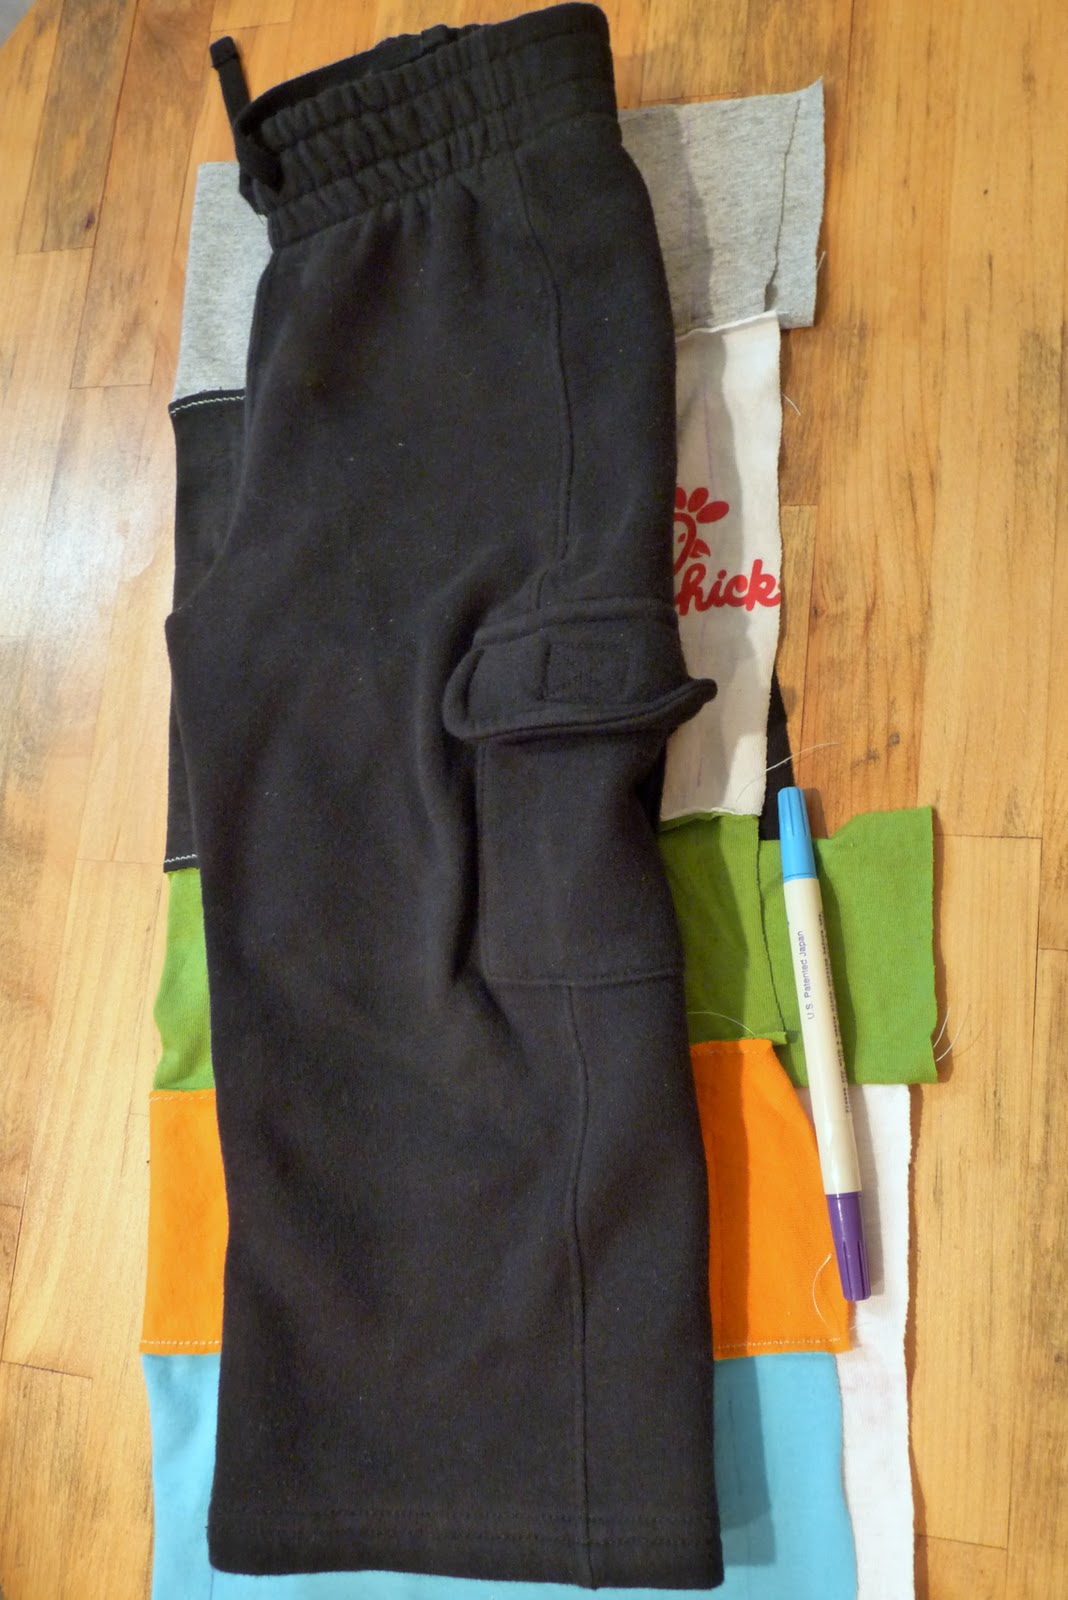
3. Fold the pieced rectangle in half. Lay a folded-in-half pair of pants that fit your little guy on your doubled over rectangle. Trace around the perimeter of the pants. Now flip the pants over and do this again (so you’ll have two pairs of pieces when you cut everything out). When you’re tracing the top of the pants, stretch out the elastic and trace. Add at least an inch to the top of your tracing and the bottom of your tracing.

4. Cut out the pieces you traced. They’ll be exactly the same at this point (we’ll make the front a little lower when we sew the drawstring casing).
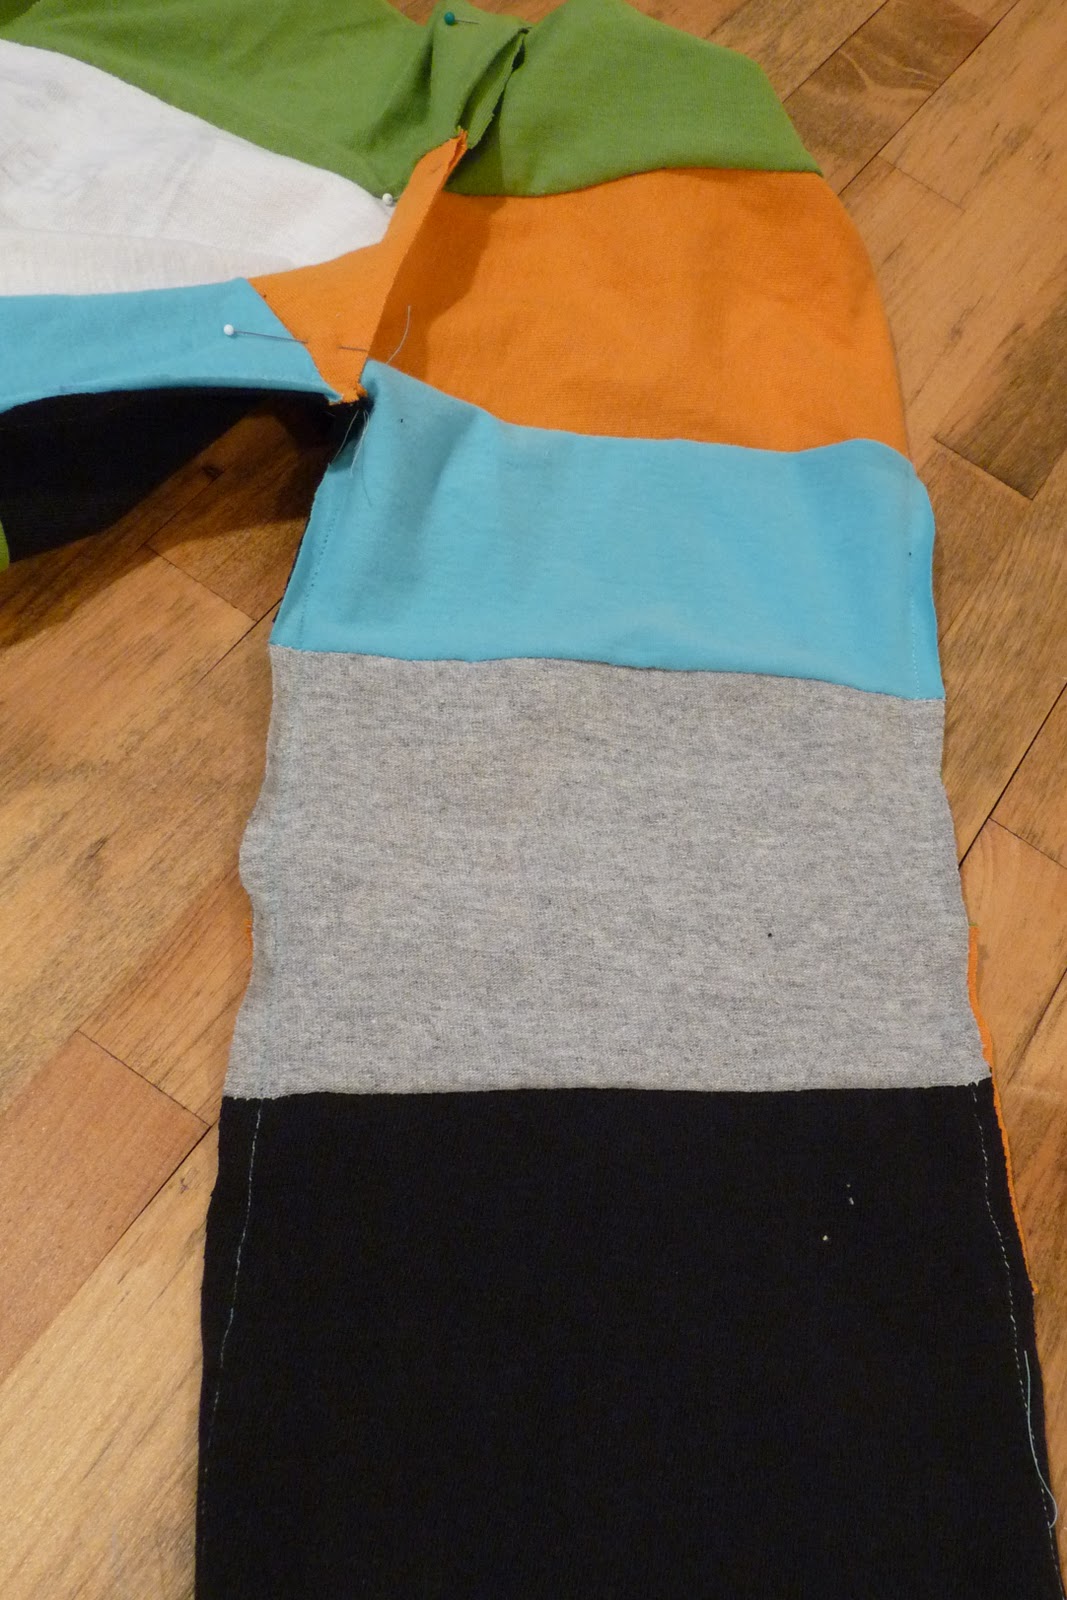

6. Once the outer and inner seams are sewn, pin the crotch pieces together (again, right sides facing in). Stitch down the curved seam where the crotch meets up in the front and then in the back.


7. With the pants still inside out, roll over the top seam. Pull the front seam down a little lower than the back seam and pin in place (so the finished pants dip a bit in the front). Sew this drawstring casing in place. Trim the excess jersey off, close to the line of stitching

8. Make two little teeny slits in the front of the casing (since the fabric is jersey, these don’t have to be finished). Cut a long, thin strip of jersey to act as your drawstring. Attach a pin to one end of the drawstring and pull it through the casing. You might want to try them on your little one at this point and either hem the bottoms (this will make them last longer because you can let out the hem later) or trim to the appropriate length.

9. Done! A new pair of cozy, comfy, bright, modern pants for your little man!
While you’re here, want to check out a few other fabulous boy projects?
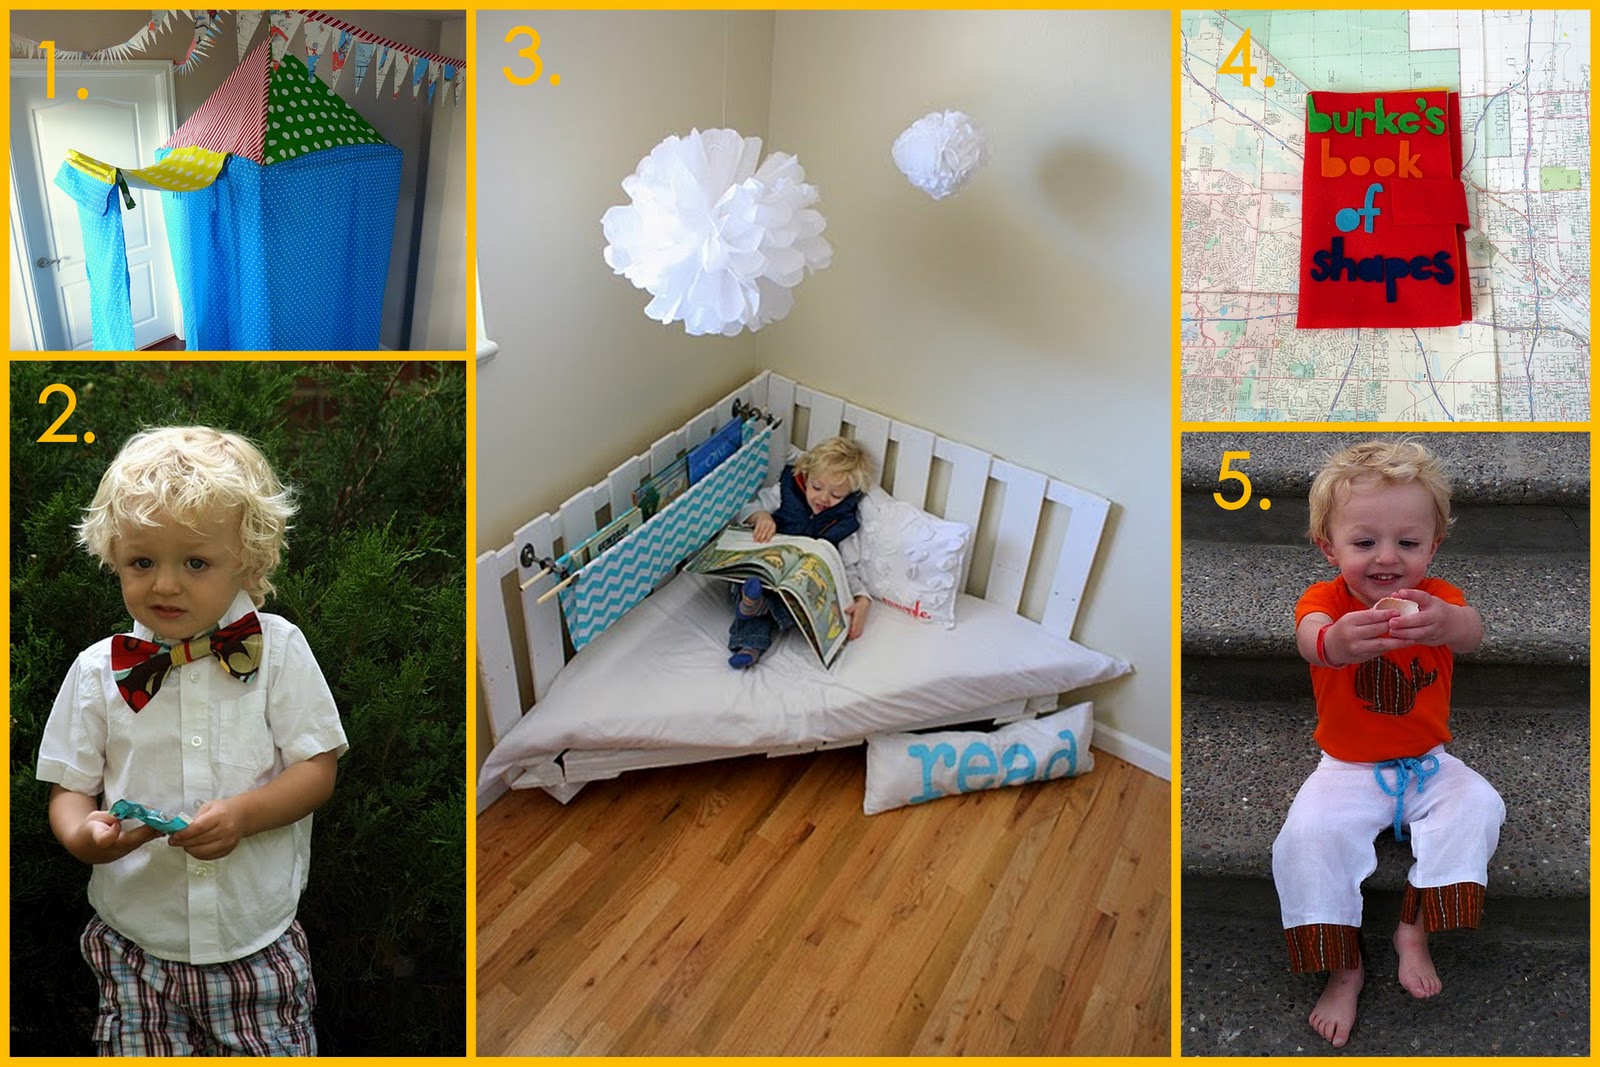
1- Burke and his friends LOVE his hanging tent!
2- Bow tie for little guys.
3- Reading nook made from palettes– the perfect spot for cuddling up with a good book.
4- This felt book has been more helpful on airplane rides and car trips than I can tell you. Every time Burke has a new ‘love’ (walruses, Elmo, gorillas, etc.), I make one for his felt book.
5- Upcycled linen beach pants.
Cheers, friends!
These are great! Now I am wondering if I can convince my 14 and 11 year old that they are cool (our eldest is definitely out of the question… ha ha!). The middle one might go for it as we have a stack of his old t-shirts that he doesn't want to part with but don't fit him…. (I'll send you pictures if we do end up making them.)
Thanks for the great idea!!
So cool and great use of old t-shirts!
these are absolutely adorable!!! love love love them!!!! thank you so much for sharing!
Ladies, those are ADORABLE!! You know I don't have boys, but I might just need to have one to make these pants – LOL. I guess I could tweak them for a girl. But, seriously – SO cute!!
Lindsay
I love these! My poor little man doesn't get nearly as many handmade items as his baby sister. He just outgrew a few of his favorite t-shirts. Now I know how I want to reprupose them!
Thanks for the inspiration!
These pants are adorable! I actually want to make a pair for myself out of all my old tees.
These are SOOO cute!! And all that knit looks sooo comfy! I linked to your tutorial on Craft Gossip Sewing:
http://sewing.craftgossip.com/tutorial-patchwork-jersey-knit-pants/2011/02/18/
–Anne
LOVE, LOVE, LOVE these pants. I will have to gather all my knits now.
Just Another Day in Paradise
Those are adorable! Need to try this out! thanks
http://www.momsofalltrades@blogspot.com
Love this. But I want a pair for me:)
These pants are adorable! I have to confess, I came for the boy, but I think I am leaving with an idea for me! How comfy, great for when we're out walking! Thanks!
On Step 3, won't you need to fold the rectangle into fourths and not in half? Seems like the rest of the instructions are assuming you cut out 4 pieces, not just 2. Thanks! Can't wait to whip up a pair of these!
oh my word! these are the cutest things! I have so many shirts for my daughter's dresses that I was secretly dreading making another.dress. Now I have an excuse to whip them out! Thanks for the idea!
Aaaaah! So cute! I love them, Kirst. Maybe my favorite of your boy projects. AND I might pull a bunch of t-shirts out of my goodwill pile to make some for my own kids, even though they're girls. Is that allowed? Mr. B is so stinkin' cute…
these pants are fabulous! thanks for sharing!!
LOVE those pants!! Definitely going to make them for my little man when he arrives! Thanks for the tutorial!
Fun! I also don't have any little boys to sew for but a girl version would be awesome. 🙂
very creative!!!
LOVE these pants! I have a feeling that all 3 of my boys will want a pair…thanks!
absolutely adorable! these are definitely going to be made soon! especially now that my little one is just a tad too big to make pants out of just one t-shirt… perfect solution!
Are you kidding? These are awesome. I want some for myself! 🙂
Absolutely in love with this idea! I'm in with the other commenters, I'm making a pair for myself with some old t-shirts I've saved from childhood! I'll let you know how it goes. Thanks for sharing the idea.
Genius!! Fantabulous!
Ruthie:)
i have all boys (2) and a new one coming.
You're genius for coming up with this creative idea. Definitely gonna make it!
Good gracious, these are so goshdarn cute. Can't wait to get started!
oh these are SO GREAT!!! You guys are awesome (also you get the prize for nice incorporation of our lego images into your post…very nice, nice!).
🙂
Just a quick note to let you know that a link to this post will be placed on CraftCrave today [24 Feb 12:00am GMT]. Thanks, Maria
I absolutely love these pants! I cannot wait to make a pair for my boys and just maybe a pair for myself. They look extremely comfy! Great idea!
What fun it was to dig through our old t-shirts and make these pants for our boys! Thanks!
http://somethingwilde.blogspot.com/2011/03/coolest-pants-ever.html
Thank you so much for this tutorial!
I made the pants for my son and he loves them.
http://www.coles-corner-and-creations.com/2011/04/im-so-busy-so-heres-old-creation.html
I just made these for my son tonight and I LOVE them!Even making the patchwork fabric and having to tear out a seam, they were done in under 2 hours (less time that I would have spent a store buying something not nearly as cool). Thanks! I’ll post pictures later:)
Can’t wait to see them (definitely send pictures over). I need to make Burke another (bigger) pair of these- thanks for the reminder. 🙂
Hi there! I made a pair of these for my lil man and they turned out great. The only thing is that I’m scratching my head on one part. It looks like under step six there is an added part where you are sewing on a continuous waistband which is then folded over. Is that right? I didn’t get that the first time and it still worked out. Anyway, here’s a link to my guy’s pants! http://metrohippymom.blogspot.com/2012/03/upcycled-tee-pants.html
Hey Crystal. Love your pants. The waistband casing is made by folding over the extra fabric that you added on to the top of the pants earlier on (just fold down and sew the casing in place). There isn’t any added waistband. 🙂
Again, love yours!
kirstin
Thanks for the great idea! I made one pair for my 3 yr old and then my 7 yr old insisted on a pair too. I can’t wait to get to make my pair!
Here are pics of the boy’s:
https://www.facebook.com/media/set/?set=a.10201213733730187.1073741828.1376283726&type=1&l=80ae118df1
I love that Karen! 🙂
This may be a stupid question, but what exactly is “jersey material”? Is it like a normal t-shirt, 100% cotton, or something else? I saw these and would love to make them. Thanks for the help!!
-TayLynn
Yep, t-shirt material! 🙂 Not a stupid question at all!
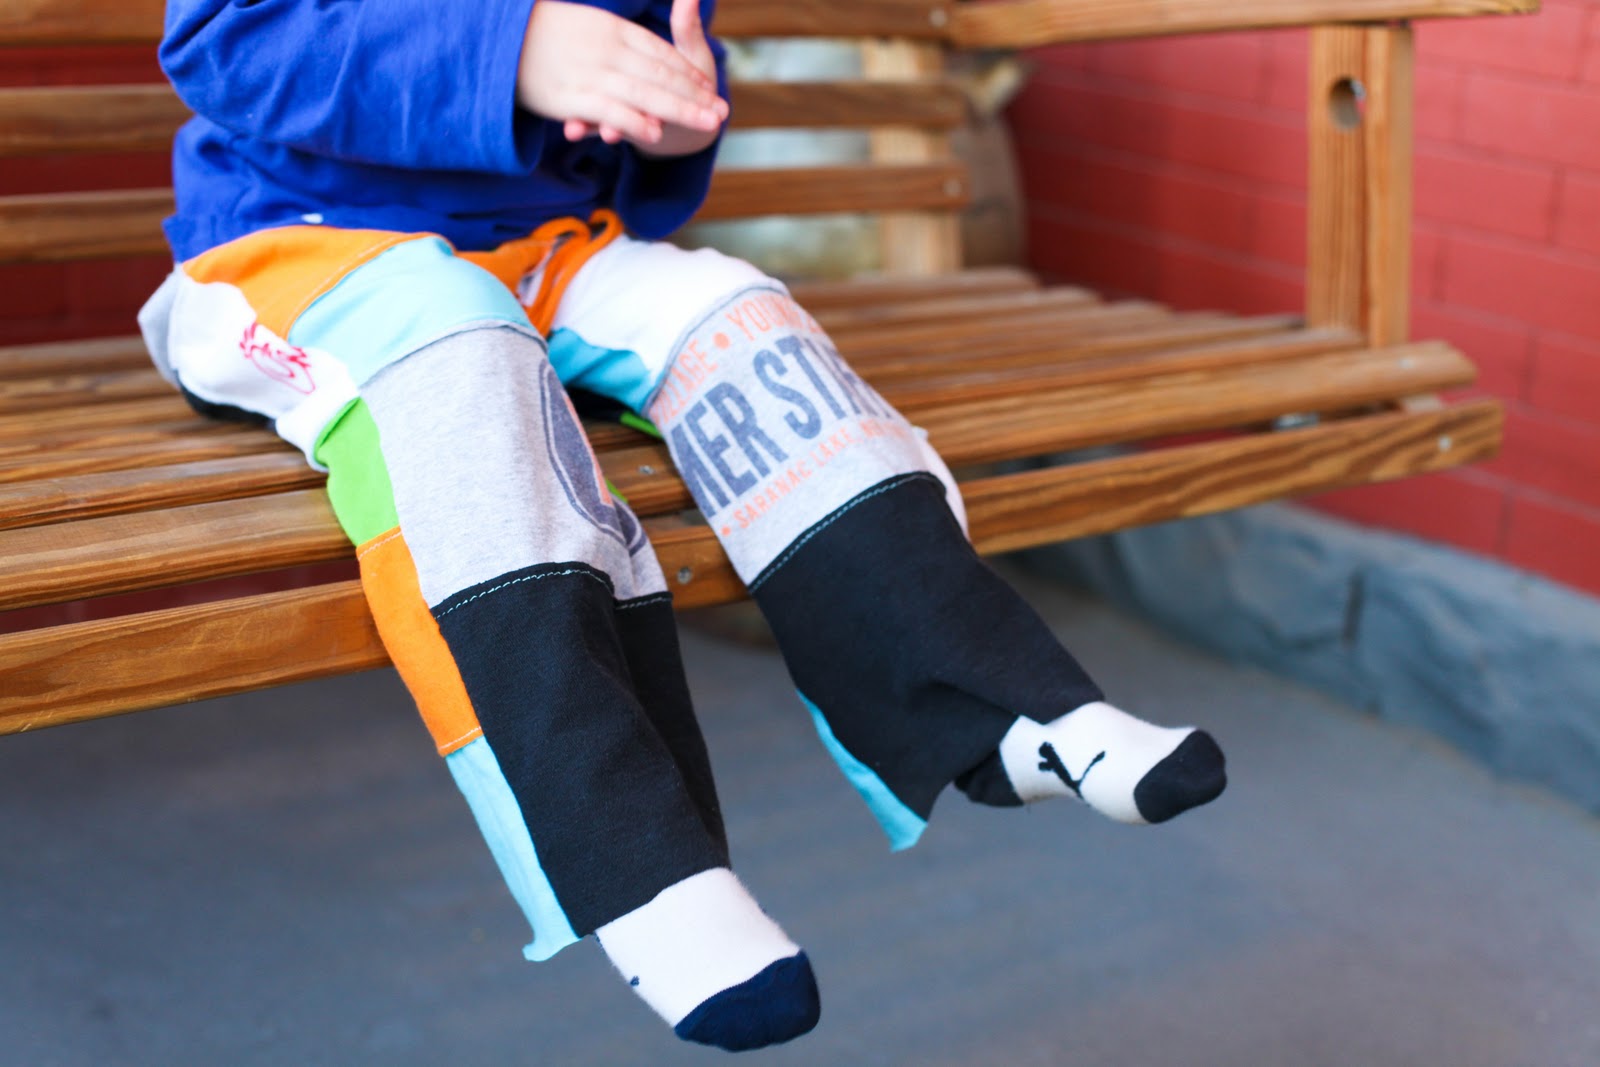
LOVE the young life summer staff shirt!!!
Awwww, me too Jenny! Me too!
Might try to make a pair of these for my son since he is always feeling left out with all the stuff I make for his sister. Plus, I had to check out the project when I saw a YL Summer Staff tshirt … I have the same tshirt!
Melissa, I love this! And that shirt is old school- where were you on summer staff???