
gifts for guys guest tutorial- stampled keychain by from an igloo
As an Amazon Associate I earn from qualifying purchases.

I can’t believe we’re already introducing our last Gifts for Guys guest! To finish things off for us today, Christine at from an igloo is joining us. We love her blog- from the fabulous igloo-y styling (she’s from Canada) to the fantastic dress tutorials to her recent Dolly Week (she not only built a doll bed for her daughter for Christmas, but completed it with all the trimmings!). And today, she’s here with us sharing a Gifts for Guys tutorial!

Hi kojodesigns readers! 🙂 I have to admit that when Kirstin and Jordan asked if I would guest post on their Gifts For Guys Series, I was reluctant. The truth is I don’t really make things for guys that often, especially grown up guys. I had no idea at first what I would share, but I agreed (I am LOVING all of the tutoirals that have been posted so far).
Then, it hit me! I’ve made stamped jewelry for the girls and women in my life, so why not Dad too?
Stamped jewelry is really big right now and you can buy really beautiful pieces. I don’t think many people realize just how easy it is and how inexpensive it can be! Let me show you! You absolutely do not need a bunch of specific jewelry supplies or expensive gadgets.
What you will need for a keychain:

I live in the middle of nowhere so I bought all of my supplies on Etsy. If you are not making mass amounts of jewelry an inexpensive metal stamp set will work just fine (I bought mine for under $10 and have used it a lot). You can use whatever metal you like best. I chose inexpensive brass (or maybe they were copper) discs. I just think they look more manly (and I was able to buy 5 for about $3).
You will also need:
– Hammer
– Black permanent marker
– Little piece of steel wool
– Drill and a small drill bit (don’t be scared)

This is what your stamp set willl look like. There are letters or numbers at one end.

I’m showing this on a white background for visual purposes but you need to stamp your disc on a very hard surface. DO NOT use your table, you will damage it. I do this on a cement floor. You can buy special bricks to do this on but you don’t need to. A cement floor works excellent.
Decide where you want your letter and hold the stamp at the bottom firmly so it doesn’t jump. Hit the end hard with a hammer. I usually do this about 3 times per letter.
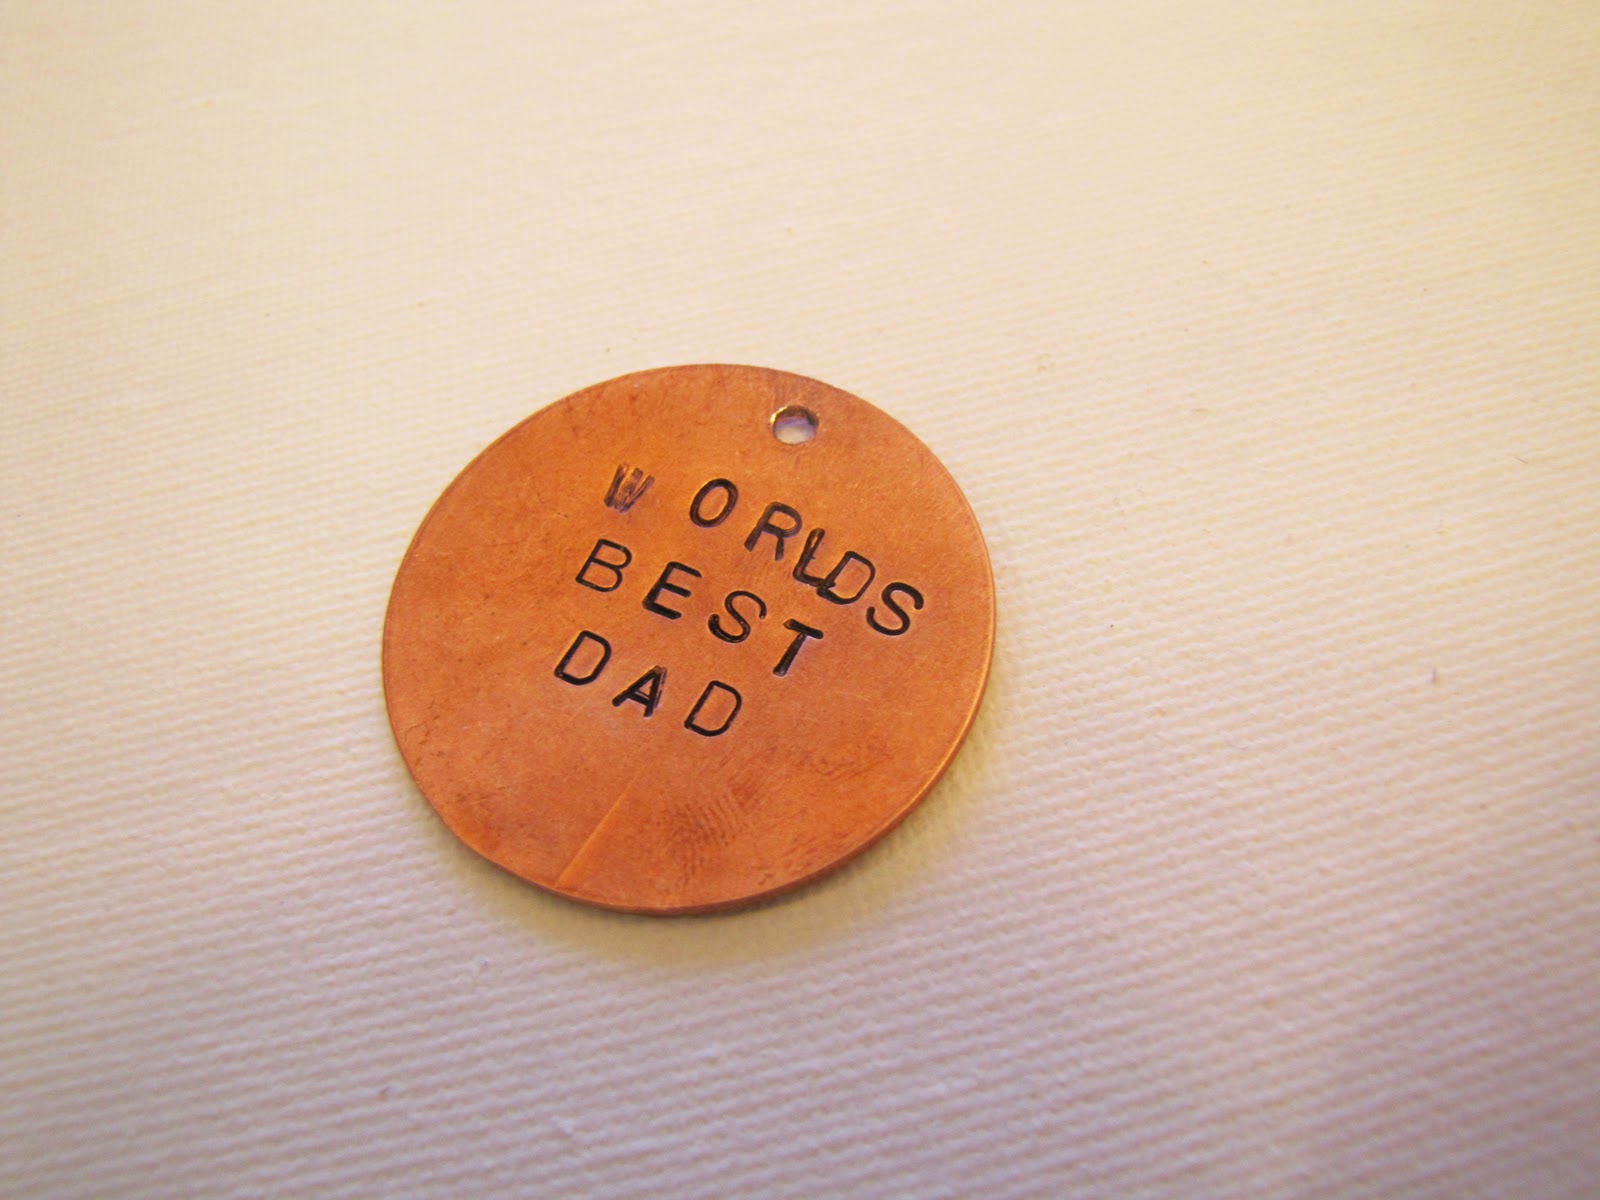
I suggest using inexpensive supplies and practice before doing the real deal. See, this one isn’t too pretty. I’ve stamped several things and still make mistakes on spacing. This happens really easily when you have 3 kids running circles around you! No matter, my 6yr old felt we should write something else.
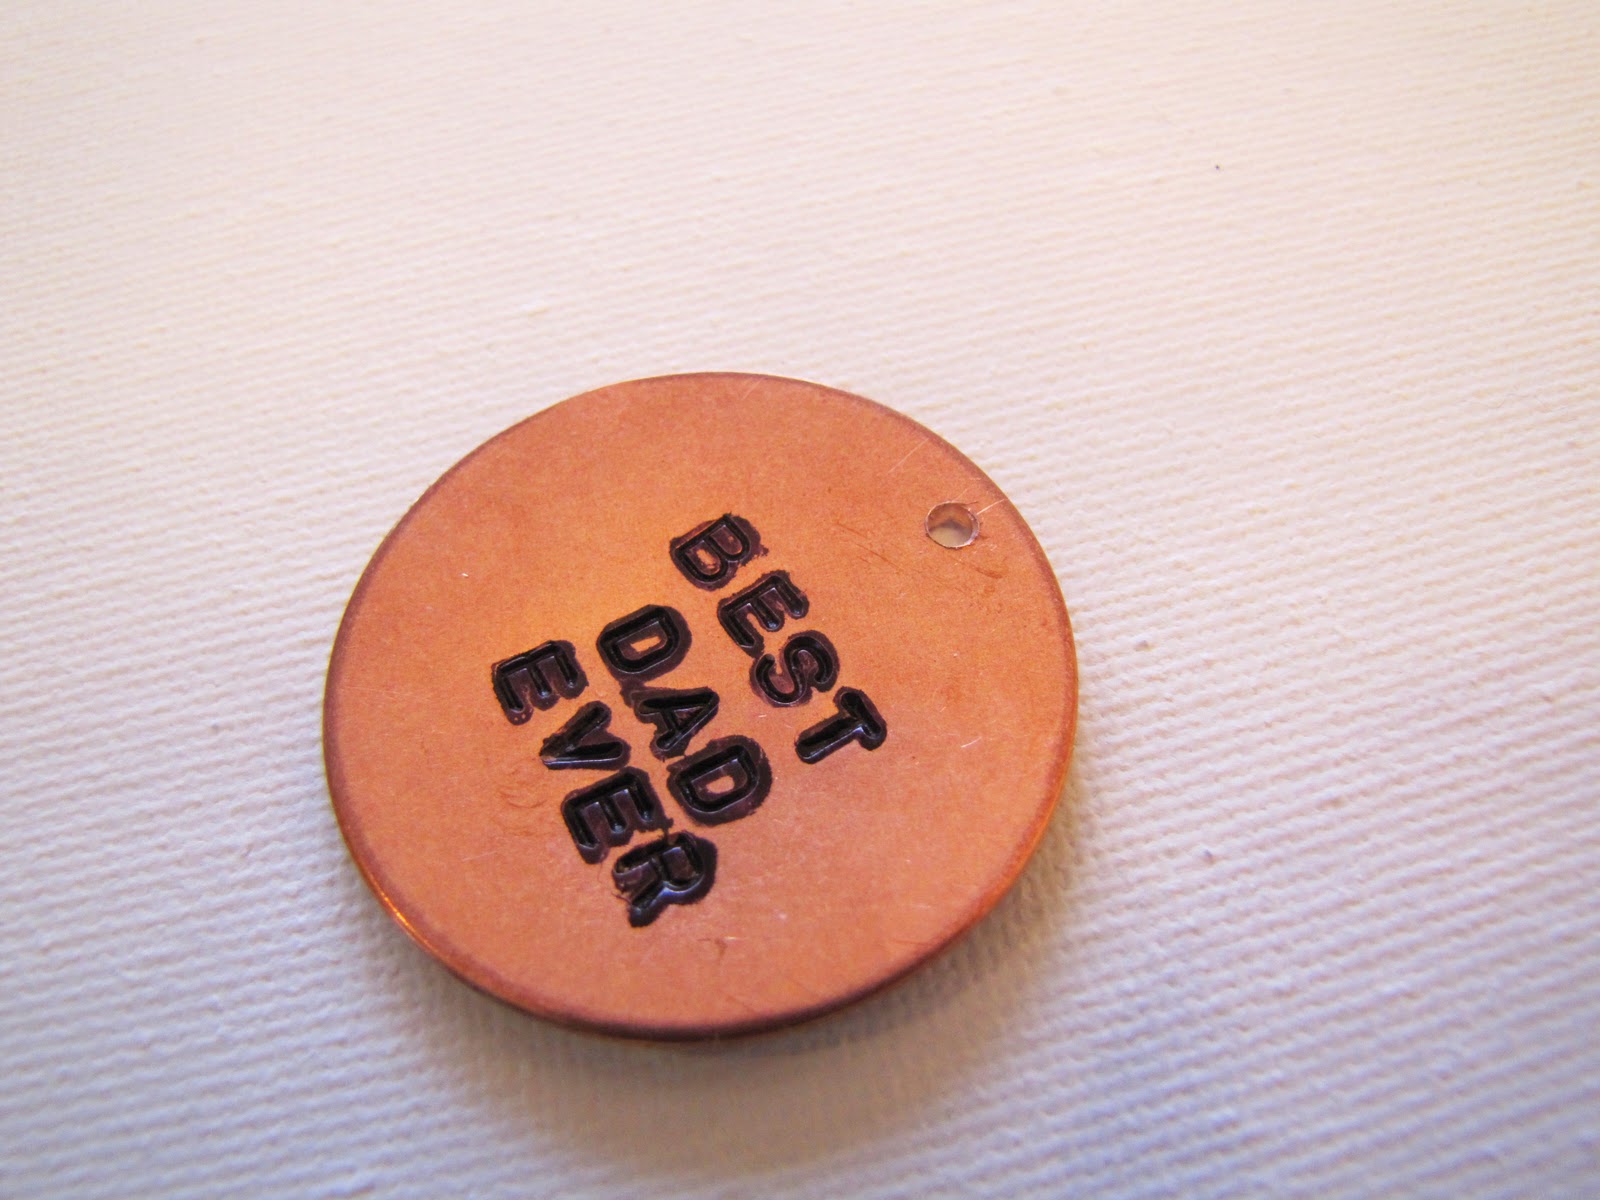
Once you have your message stamped out color over your imprinted letters with a black Sharpie. It looks messy and bad, don’t worry. Really make sure you get into the grooves.
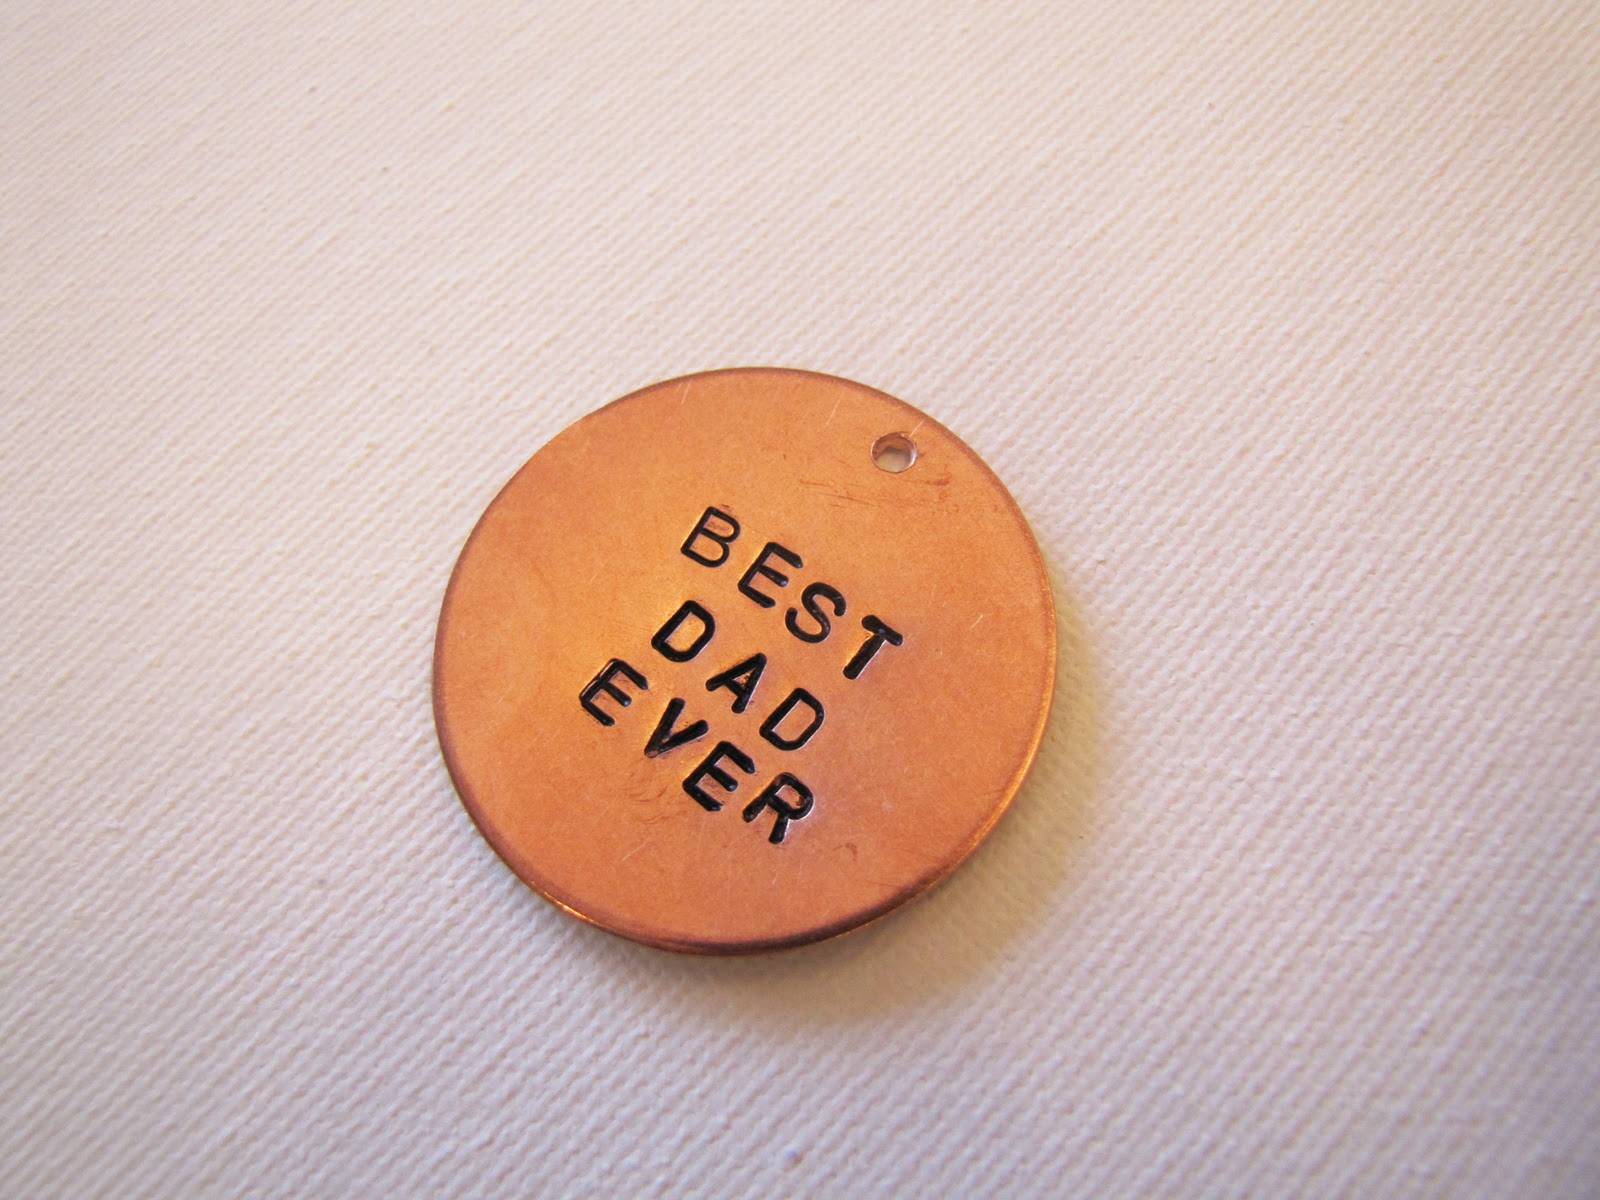
Now, using your steel wool to wipe the front of your disc and this will remove the extra ink not in the imprints.
You’ll notice I also have a hole in my disc. If you buy discs like I did without holes you need to make one!
You don’t need a jewelry punch if you are careful. Grab your husband’s drill and use a small drill bit and just drill a hole in the top. If doing this on the cement floor be careful to stop once you are through the disc! You could accidentally break one of your husband’s drill bits and that would be bad.
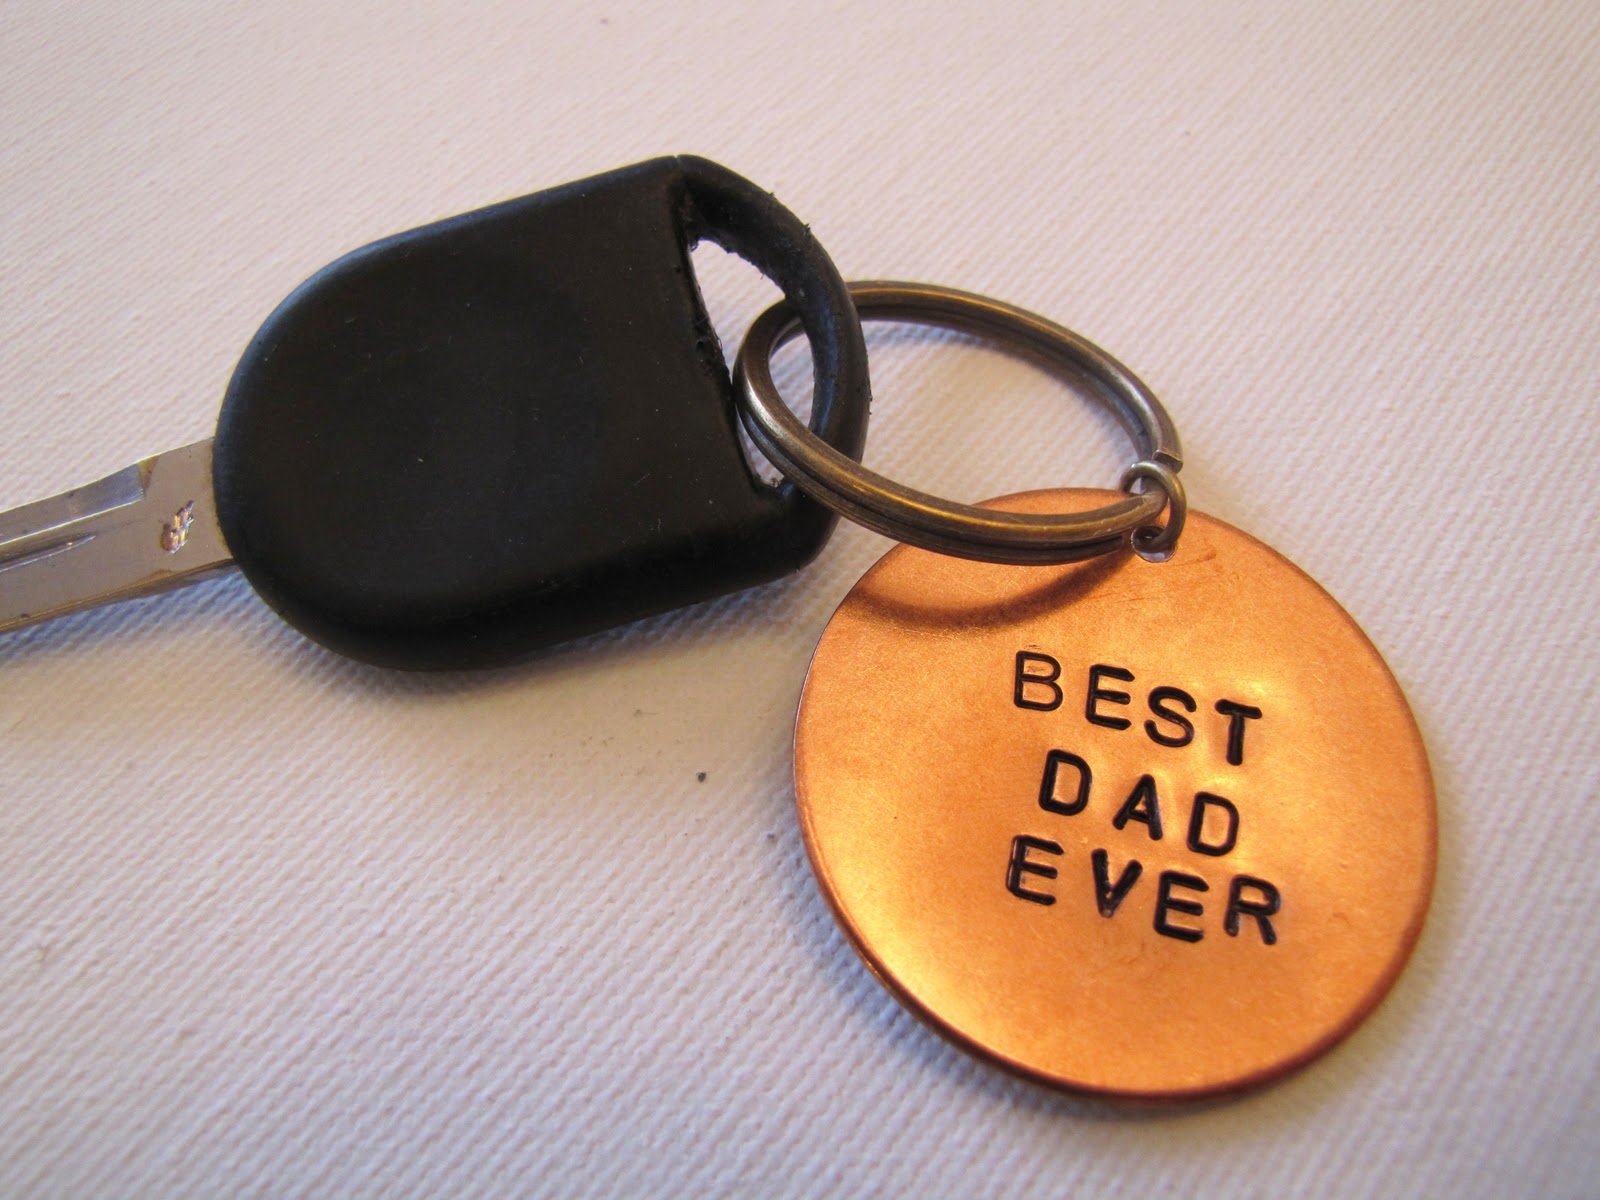
Attach your jump ring, key ring, and you’re done! For the record, you should use a large jump ring. The ones I have are a bit small and I’m going to change it out when I get more.
These are so fun because you can customize and personalize for any man in your life. I am going to add our children’s names around the front, or maybe on the back and they will give this to dad for Christmas.
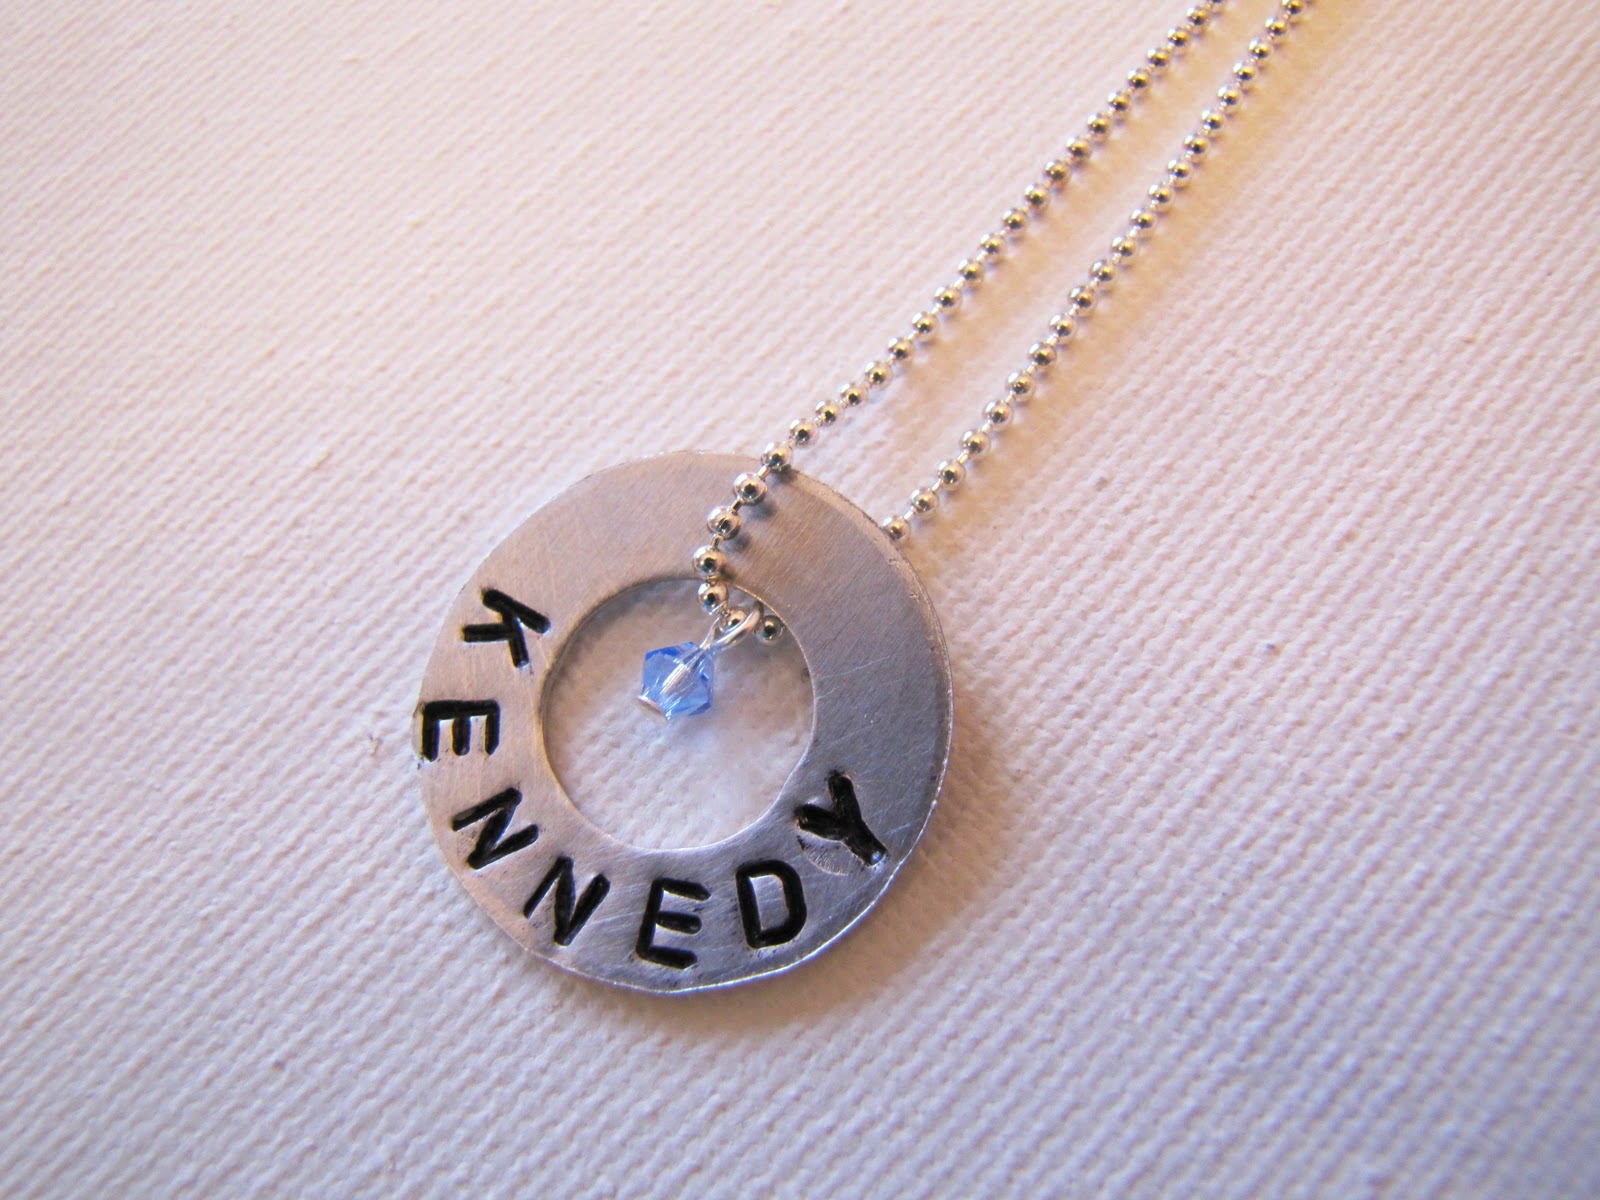
I know this is a post for the males in your life, but inexpensive washers make really cute, easy gifts for the little girls in your life. My teenage niece will be receiving this necklace this Christmas. 🙂
I hope you enjoyed this tutorial and will pop on by From An Igloo to say hello!
Thank you for having me ladies, it was a pleasure to be here! 🙂

We can’t tell you how glad we are that, despite her initial reluctance, Christine joined us for gifts for guys… definitely head on over to from an igloo for all sorts of other fantastic ideas!
Wow, I'm intrigued! I always wondered how the metal stamps work and I love this idea for the guys in our lives! I'm also thinking if I buy the stamps, I might as well use them for all the gals in our lives too! Fun stuff.
Excellent Tutorial! I have been wanting to buy one of these stamping sets for ages.They aren't quite that cheap here, Ive seen them for about $30 for a cheap set.I still want to get it!thanks for posting!
Excellent Tutorial! I have been wanting to buy one of these stamping sets for ages.They aren't quite that cheap here, Ive seen them for about $30 for a cheap set.I still want to get it!thanks for posting!
Thanks so much for sharing this tutorial Christine! I have looked for those metal stamping kits at craft stores and had no luck. You can find everything on etsy these days, can't you? LOVE it!!
Lindsay
You know, I think the plain non fancy ones (like the one I have) can actually maybe be purchased at automotive type stores?
After I purchased this one for $10 from Etsy, my husband told me that at their shop at work they have one. I asked him why (clueless) and he told me they are for stamping…..something…. I *think* it had to do with something car related….. lol
Thanks for the great tutorial. This is such a neat idea.
Just a quick note to let you know that a link to this post will be placed on CraftCrave today [01 Dec 01:00am GMT]. Thanks, Maria
Just a quick note to let you know that a link to this post will be placed on CraftCrave today [02 Dec 01:00am GMT]. Thanks, Maria
Just a quick note to let you know that a link to this post will be placed on CraftCrave today [07 Dec 01:00am GMT]. Thanks, Maria
These are awesome. And I love that you show it took you a few times. Sometimes it takes me forever to get something right and I feel like I'll never get there. This is something I want to try.