
kojotutorial: fabric labels
As an Amazon Associate I earn from qualifying purchases.

I know I’ve been talking about making fabric labels for my sewing projects forever, but I finally did it! And I love them! In fact, it’s a little like my shirring infatuation earlier this summer- I can’t stop, y’all. Diaper bags and teacher totes and teeny skirts and changing stations… they are all just crying out for labels!
I loved this idea to use fabric pens at lady harvatine, but since I don’t quilt (and thus my labels have to have finished edges), I had to modify their directions a bit. Here’s what I’ve been doing to make these little gems:
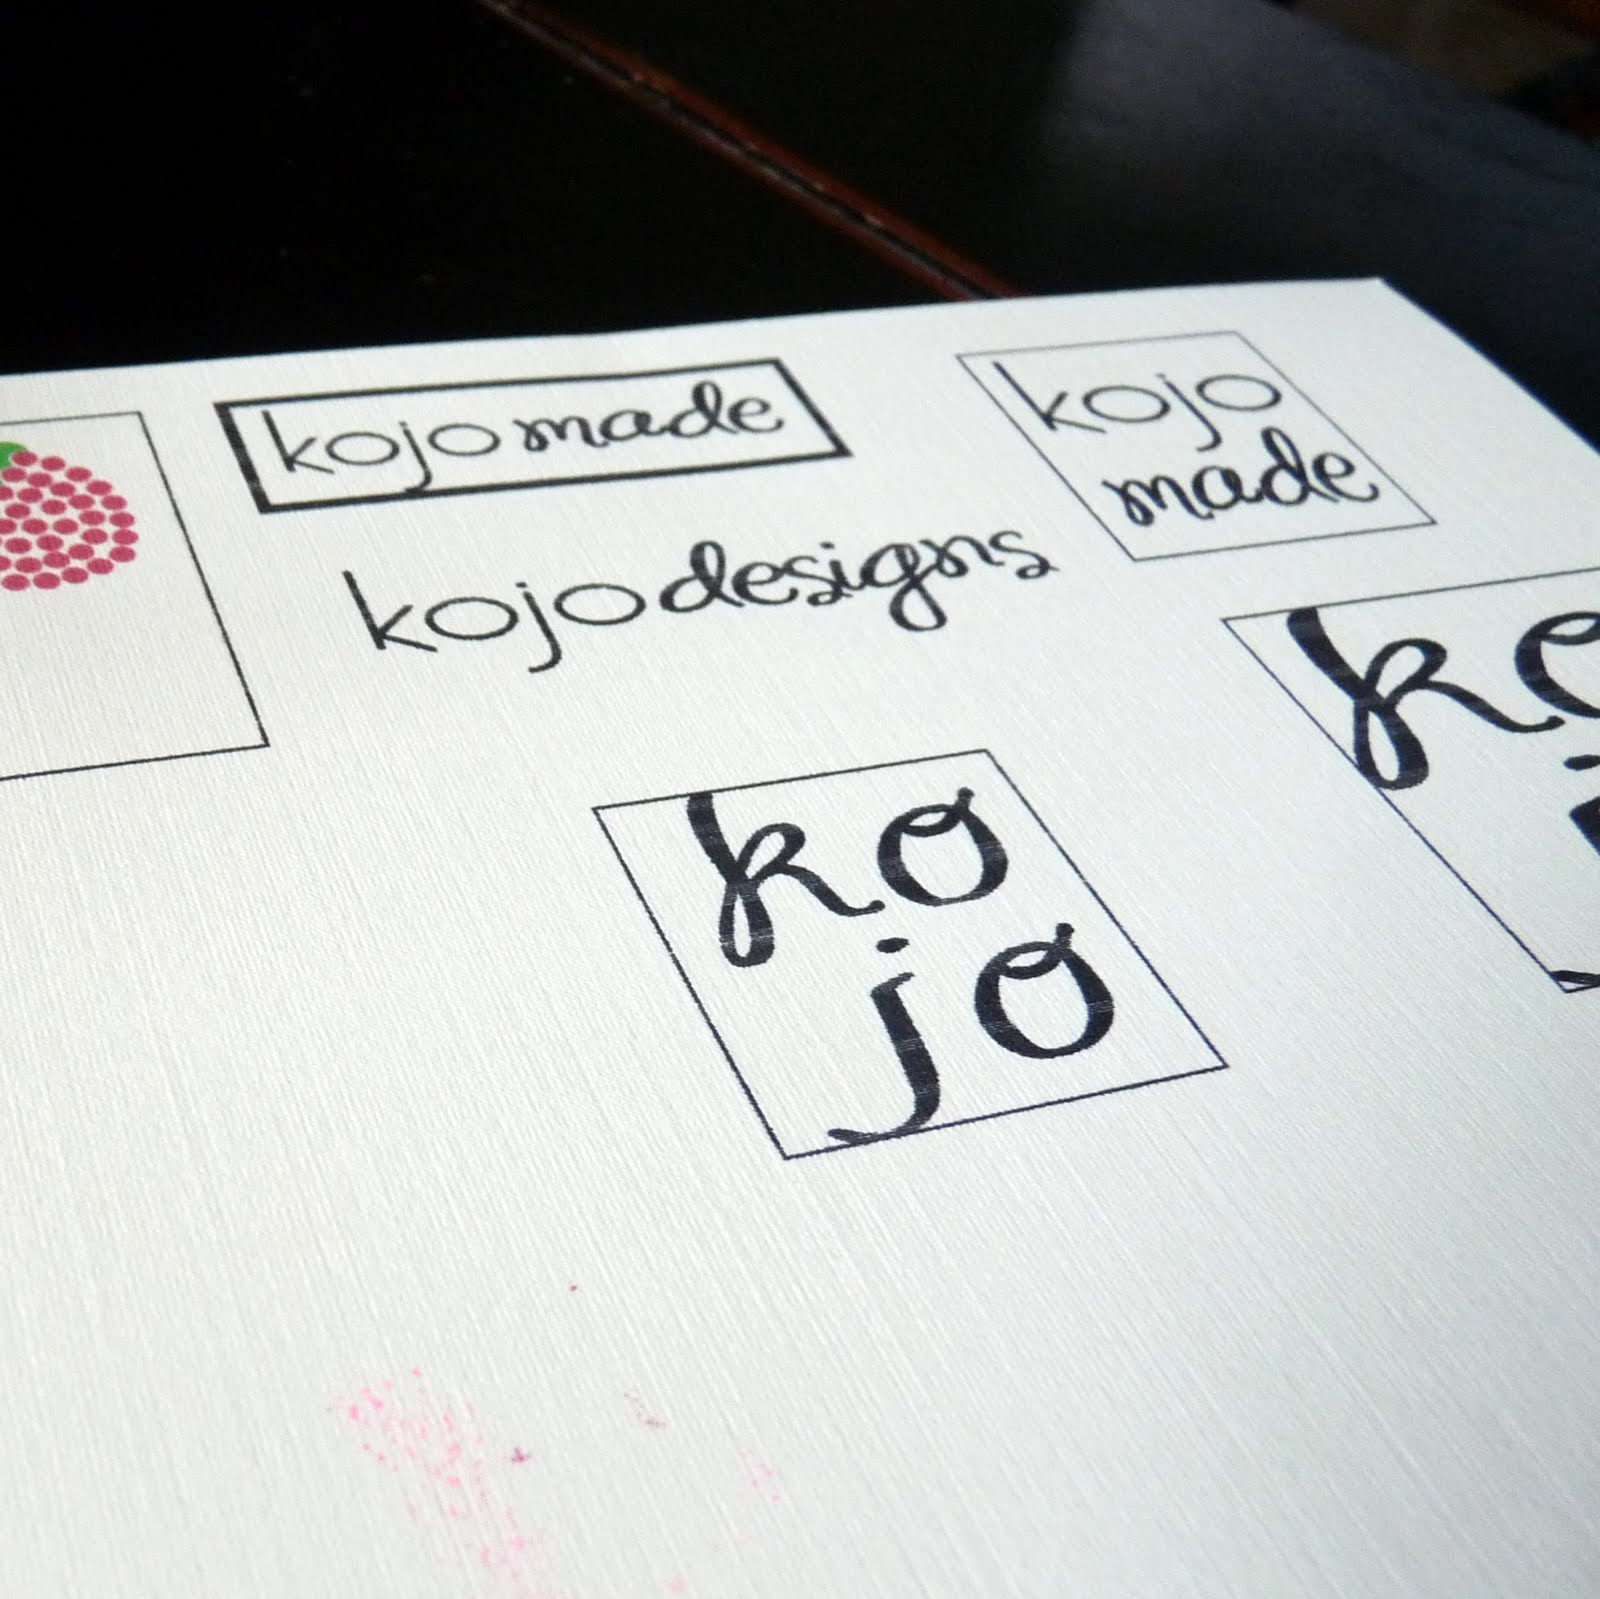
1. Print out label templates or models (you’ll trace these, so make them dark/bold).

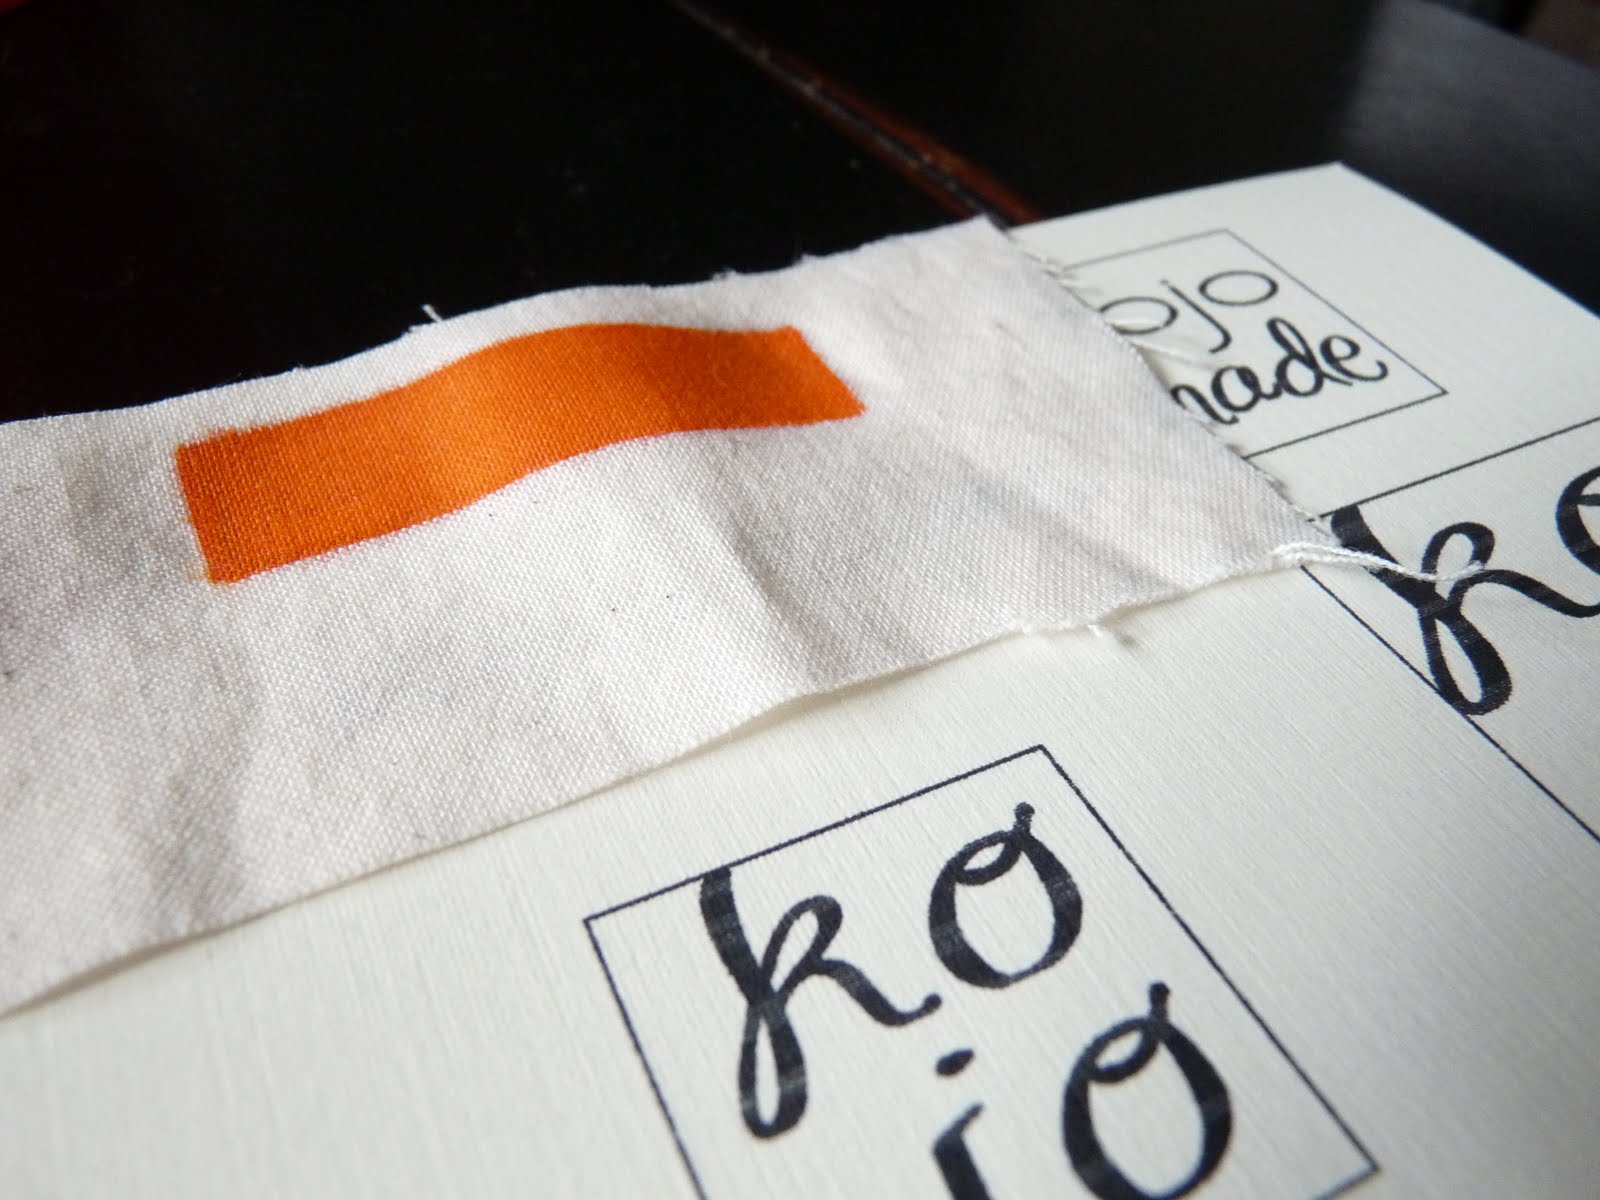

2. Using a fabric pen, trace your template onto muslin (or some other fairly sheer) fabric. If you want a block of color in the background, trace your square or rectangle first and color it in, then (after the ink is dry), trace the words on top of the block.
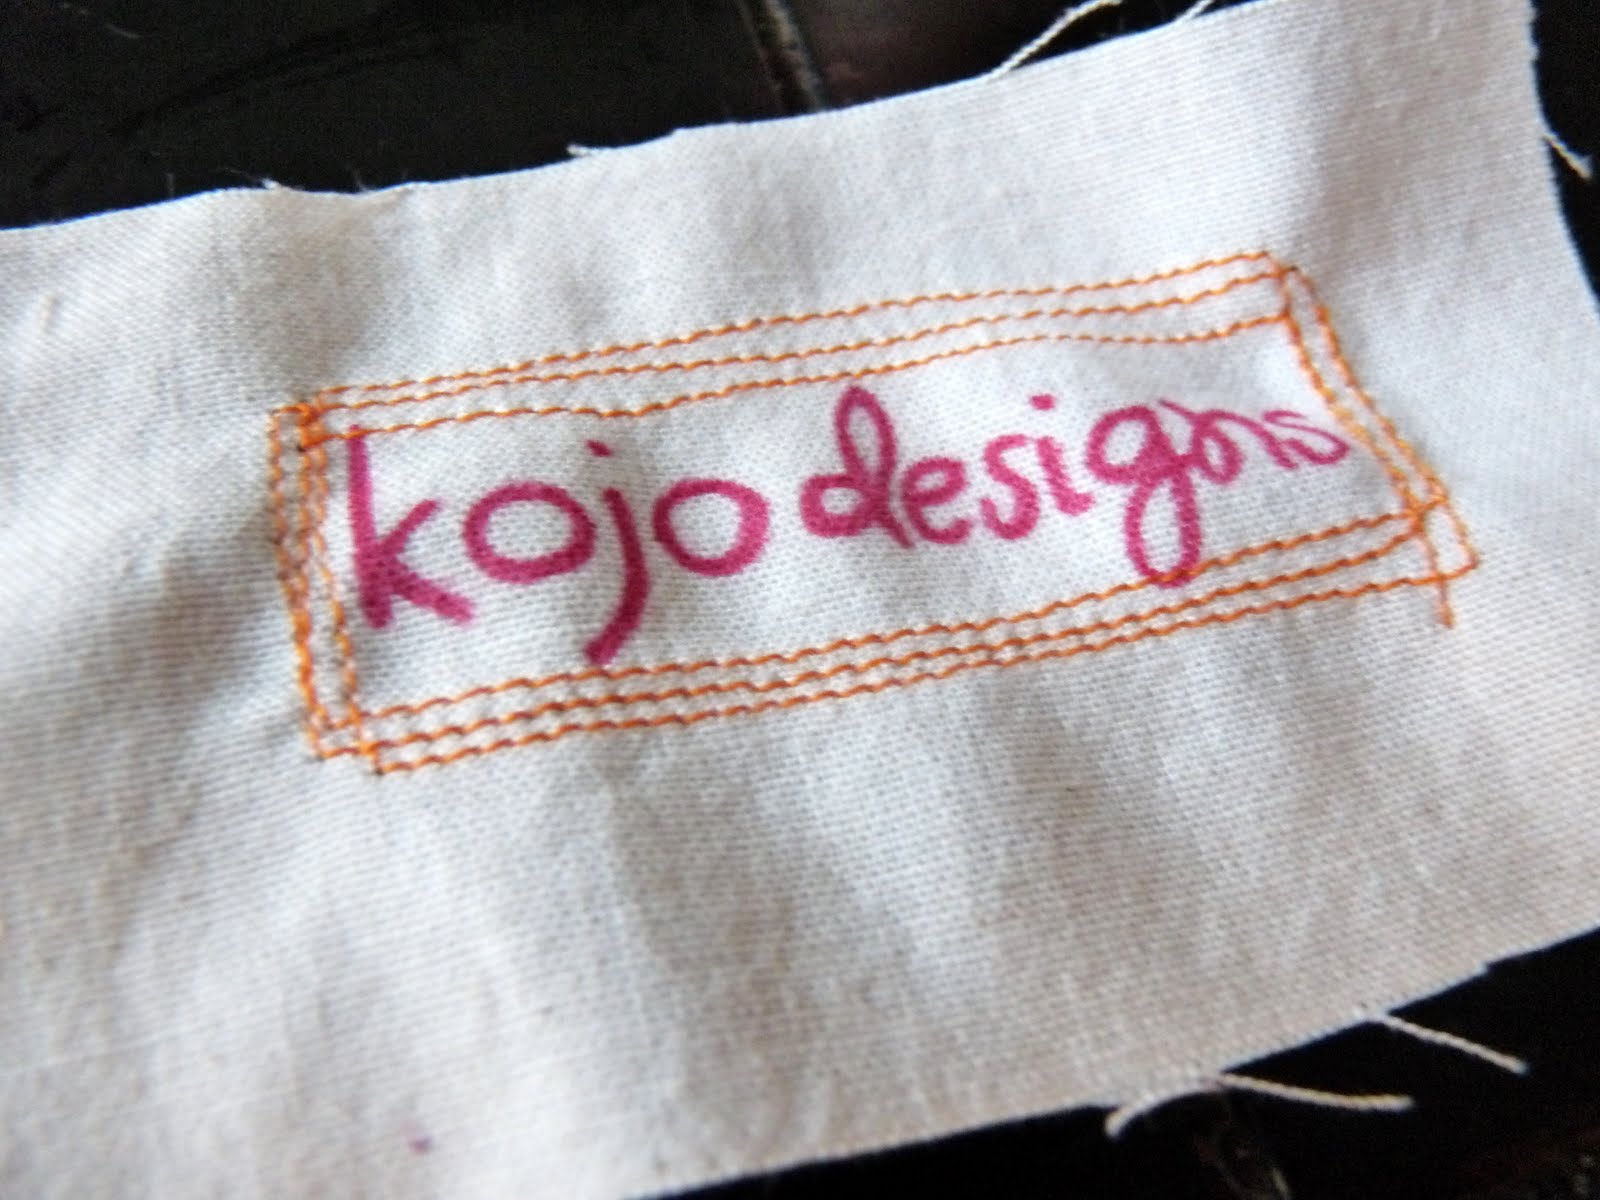
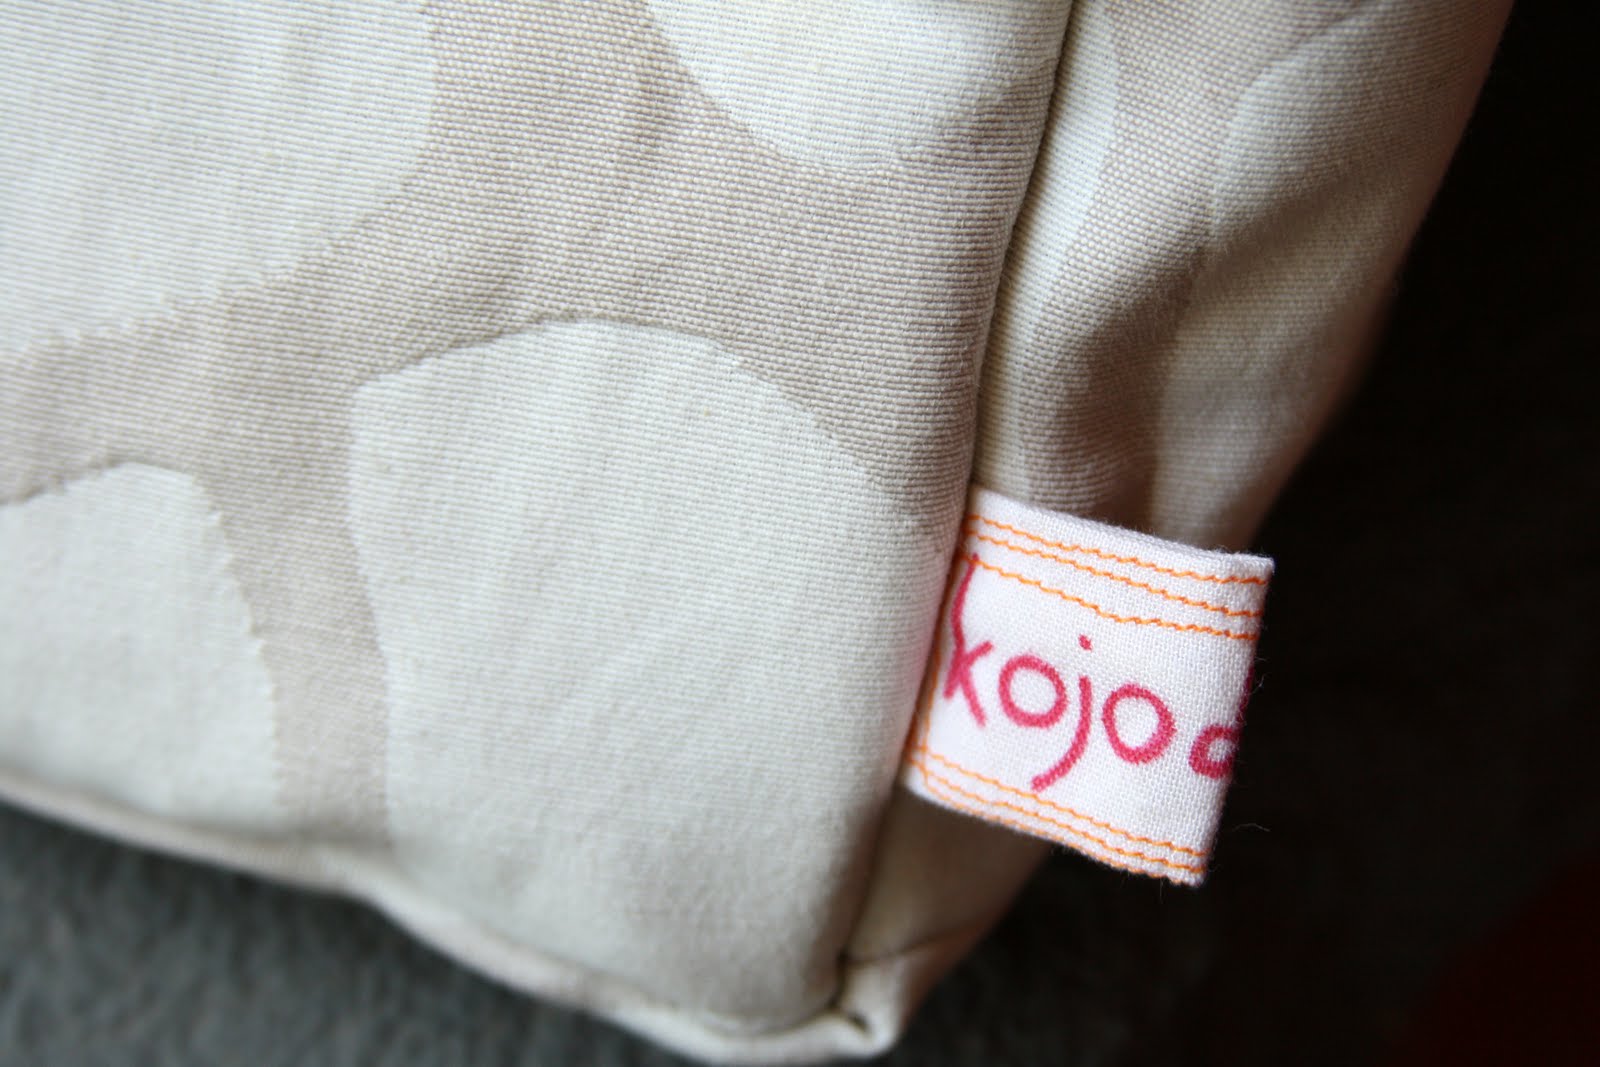
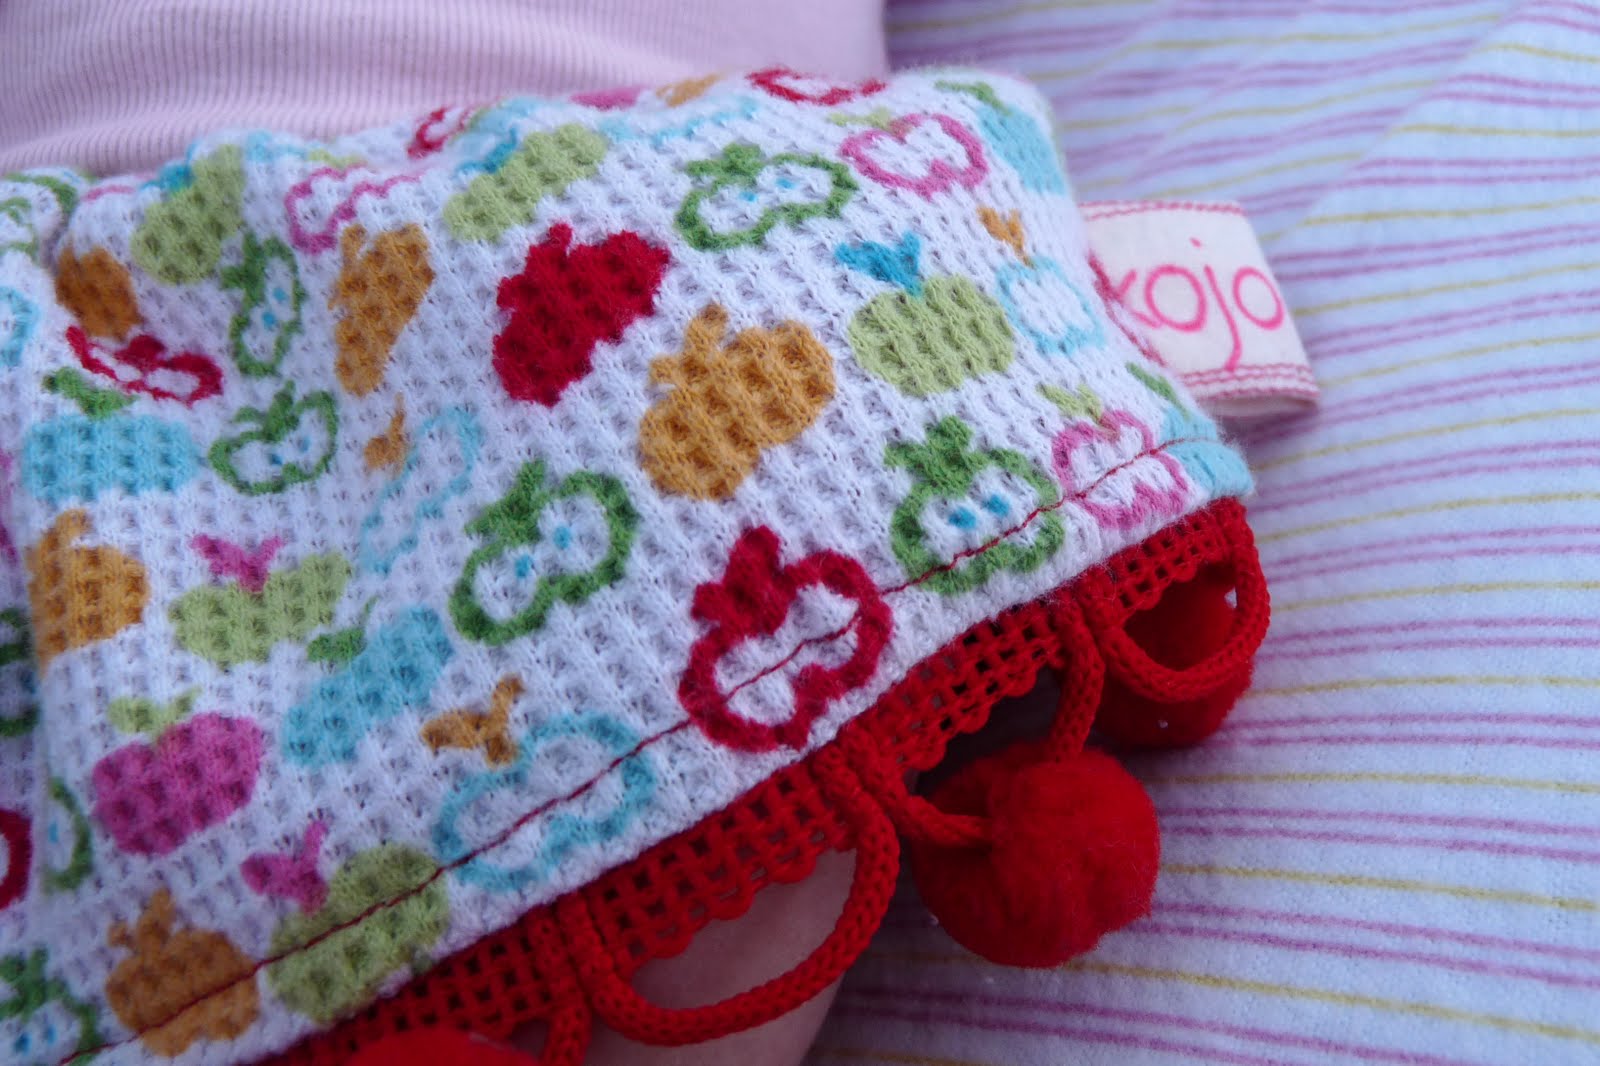
3. Stitch around the edges of your label. This contrasting (or matching) stitching gives your label an extra pop of color as well as some extra texture (which I love).
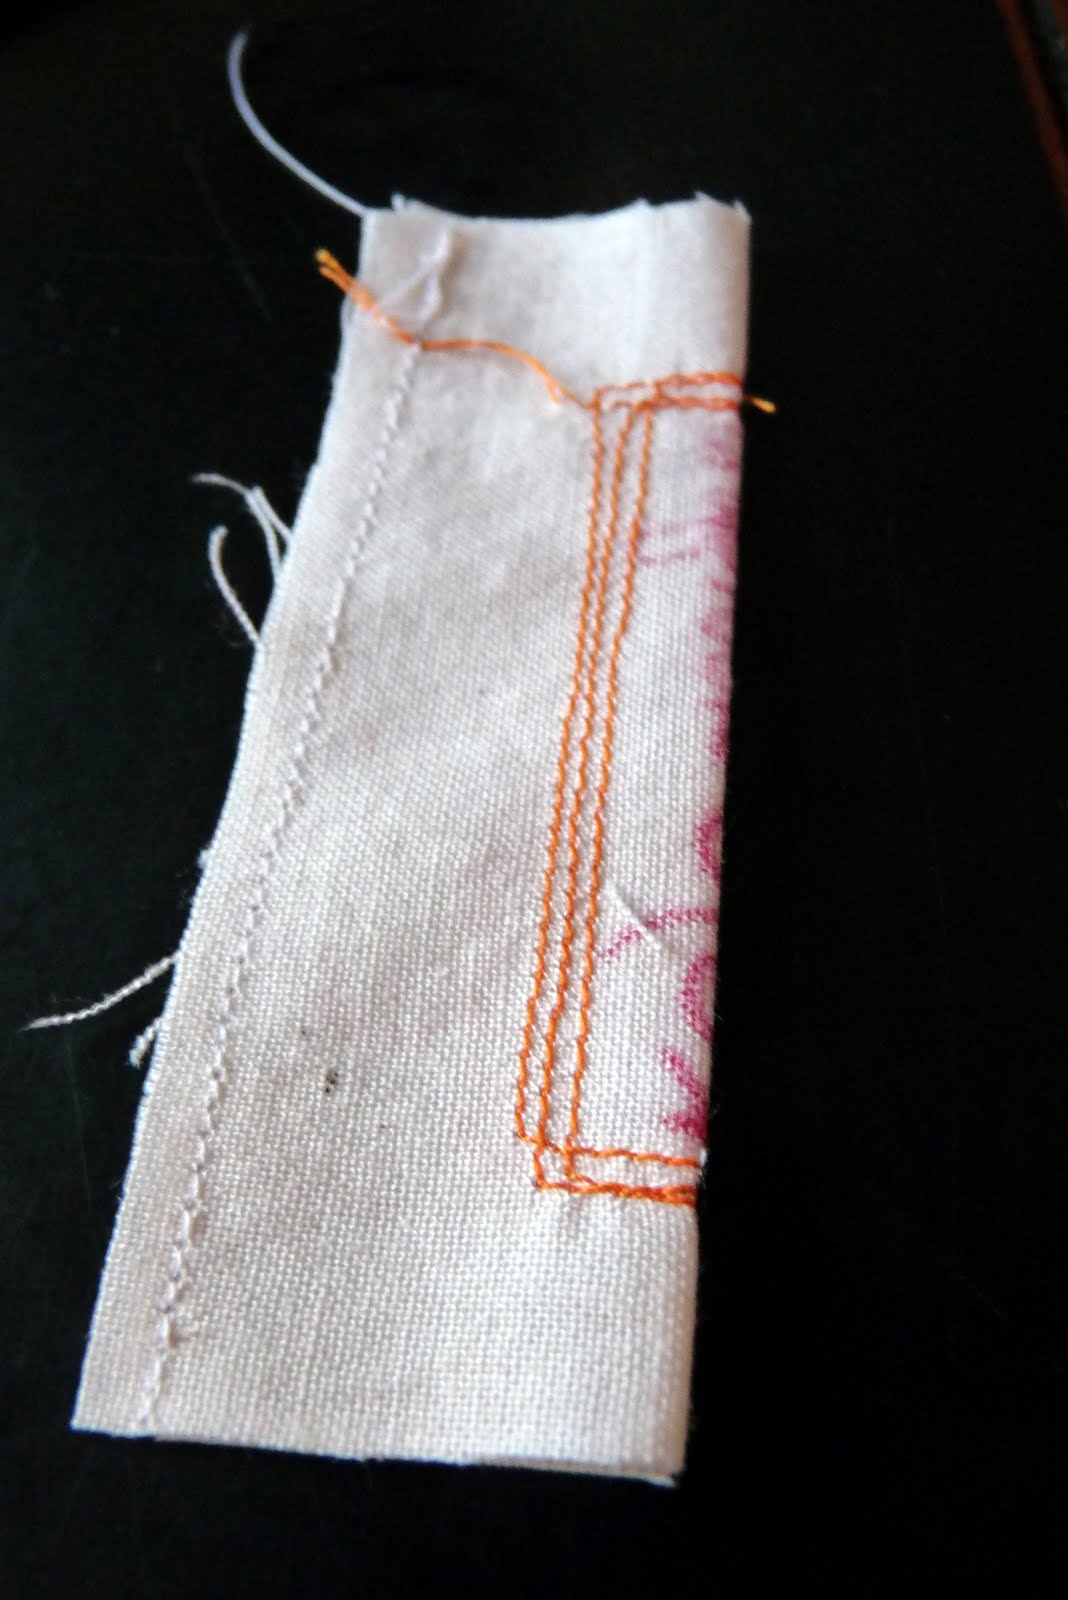
4. Your rectangle of fabric that you use to make your label should be a little more than twice as tall as your logo. Iron this rectangle in half, right sides in. Stitch up the edge, being careful not to overlap your seam with any of your logo or stitching. When you’re finished, turn your tube of fabric right side in and iron flat, showcasing your logo.
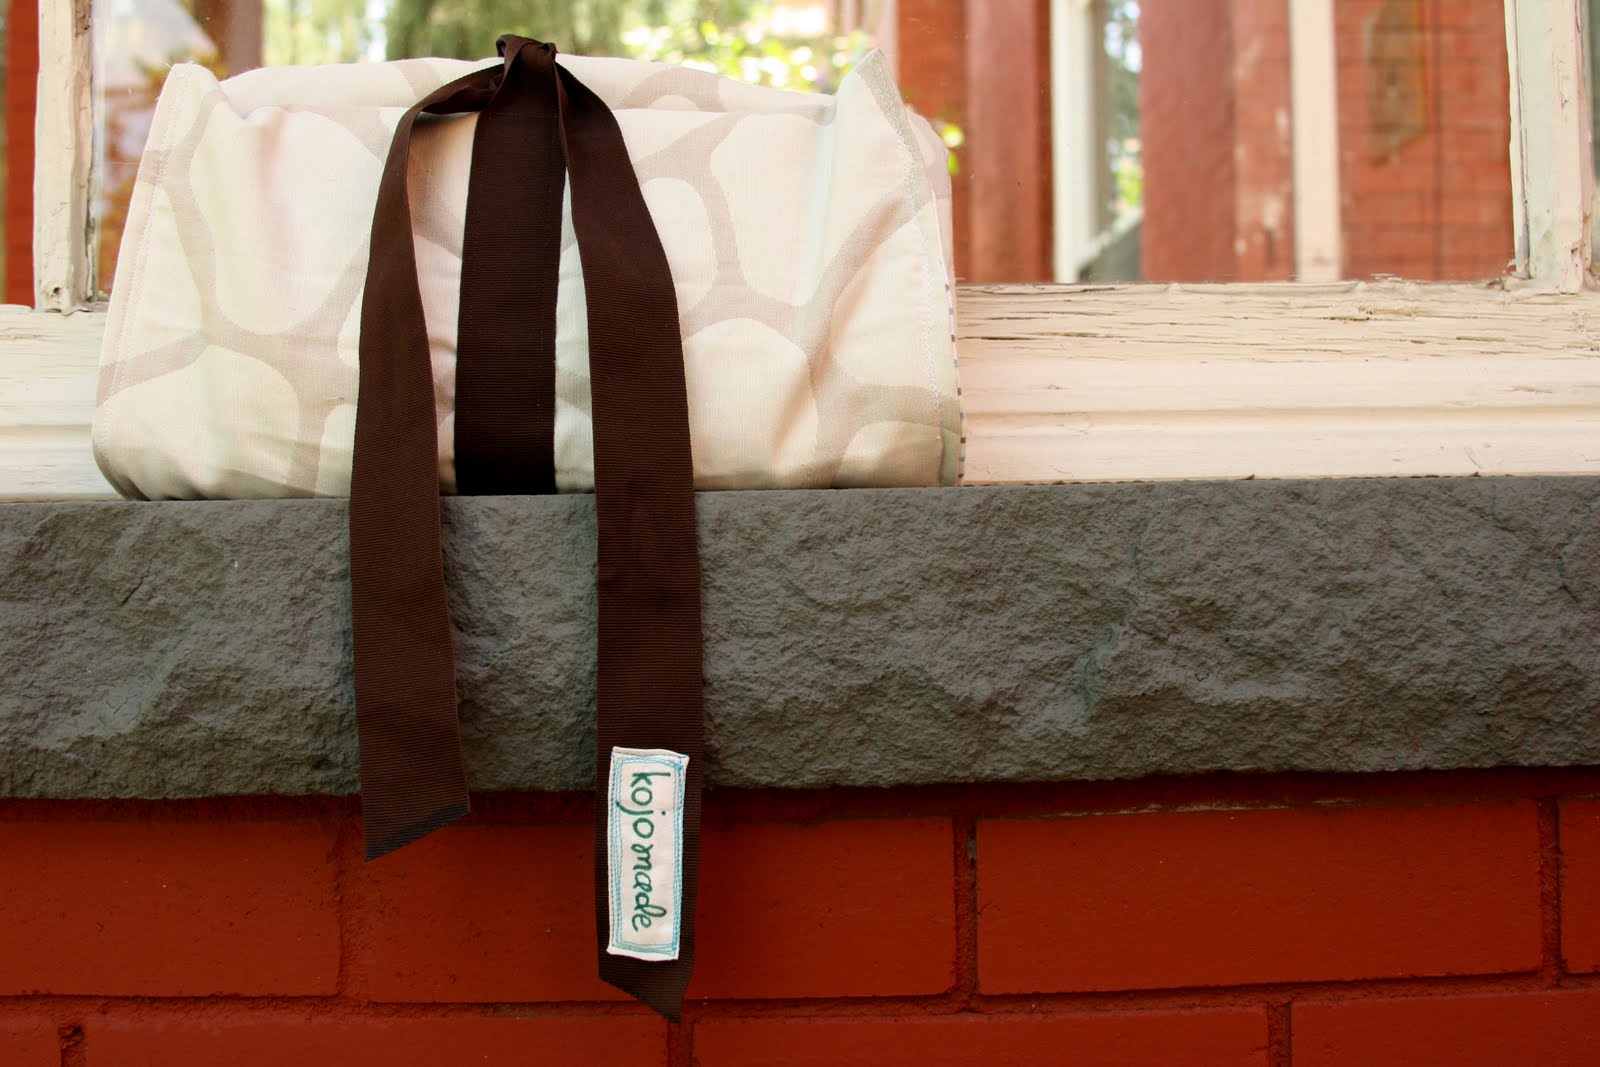
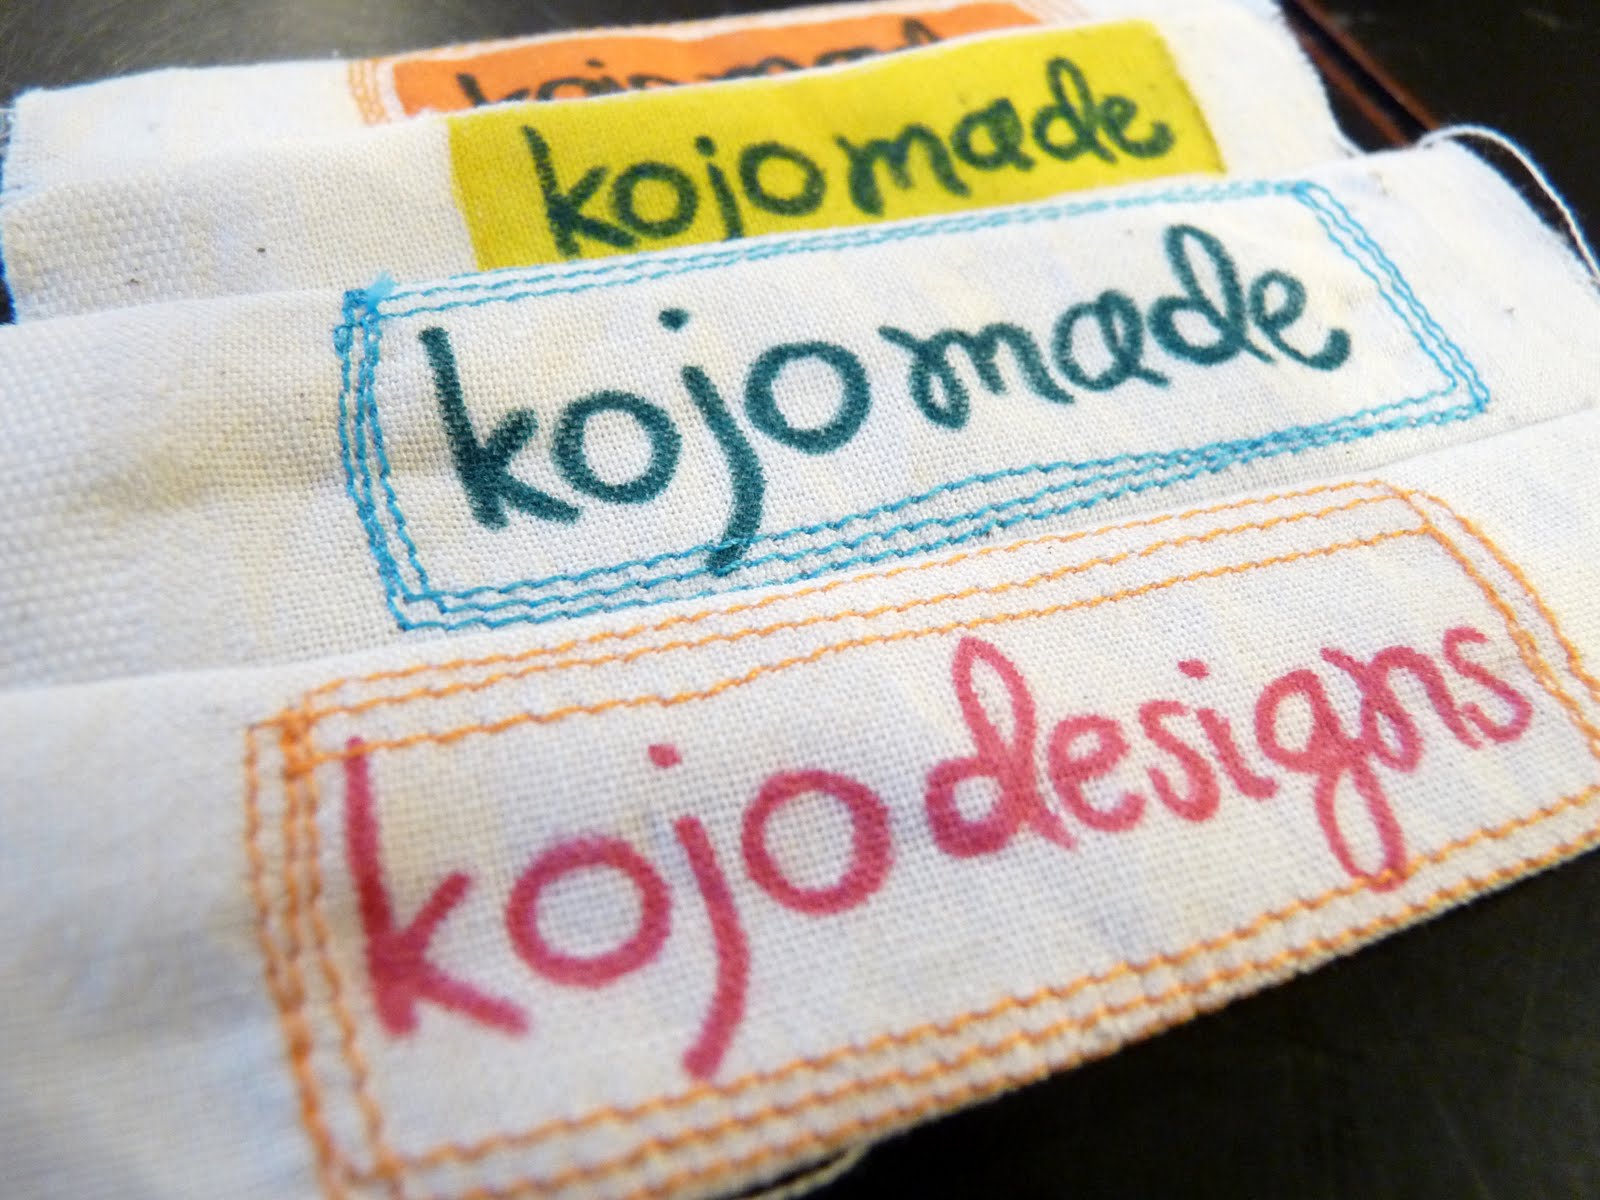
5. Finished! You’re ready to sandwich the raw ends of your label into the inside edges of your next sewing project. Or finish off the raw edges and sew directly onto your project. Admire. Sew some more. Label some more. Brilliant!
I have been wanting to label my projects for a while now, but didn't want to pay to have the labels made. Thanks for this great tutorial! Now I can label and still have money left to buy more fabric!
super cute!!!! great idea i LOVE the stitching around the edges!
~selina
Great looking labels! I need to make some of these. Thanks for the inspiration!
I love this!!
Great tutorial!
i love it! great idea…
thanks!
lora
ps-check out my blog today- i'm having a giveaway!
They look great. Thanks for sharing the information. I'll have to invest in some fabric pens.
Great idea! I'm going to have to try this. I really like the stitching around the edges, it's a nice touch.
You are the best for sharing this! I have been waiting to see how you did it. I have been wanting to get some…but making them is even better. Love them. Thank you!
very cute and it looks super easy. (def. plus!) i'm going to have to try this.
I love this idea. What type of fabric markers do you use?
THANK YOU for this! I've been so interested in having labels for what I sew, and this is perfect!
very cool! I'm going to have to try this.
Cute and I love the stitching. Have you ever tried printable cotton fabric? (roll available at Joann's…don't forget your coupon). Print out all your cute logos if you don't have time to hand letter.
Love these, what a fantastic idea!
Great idea! My sister and I have been researching different ways to do this- I think we found a winner:) Thank you for sharing.
ps LOVE your site; just joined as a follower
Those are the prettiest labels ever! Thanks so much for this, I'll be linking.
What a great idea!! I love the sewing around the edges. Thanks for sharing it.
*Sabine
What a great idea!! I love the sewing around the edges.
Thanks for sharing it.
*Sabine
Hello. Just found you through one pretty thing. Love these labels-thanks for sharing.
I have been wondering how I can make cute (but simple) labels…YAY thanks for the share!
I've wanted to make tags for the little girls so I can tell whose is whose when folding. This is a brilliant idea. And won't take too much time. Thanks.
what a fantastic way of doing it, thanks for sharing
THANK YOU!!!!! I've been wanting to make my own labels for a while, and now I know how thanks to you! I'm so glad I found your blog =)
fantastic!!! i made some disastrous labels this week, this is sooooo much better!!!!
I showed my hubbs your cute tags on your guest spot "At Second Street", and I said to him…I want clothing tags…and LOOK here they are!!!! Im soo happy!! Thank you, thank you, thank you!:)
Thank you for this tutorial! I'm making a backing (in muslin) for a weaving and wanted to put my name on it but wasn't sure what would look good – now, you've solved the problem!!!!!
Twill Tape works good too. Love the edge stitching in orange!
Oh this is very exciting. I have been wanted to have my own personal labels!
Such an interesting and personal tag. Thanks for your great idea. Now the labels are so much cuter than the bought ones.
Thanks Martha!
Great tutorial! I made some tags for my sewing projects! I write about it on my blog http://aztoid.blogspot.com/2013/03/tote-cell-phone-holder-and-zippered.html
Thanks for sharing!
Stacy, I love this! Using the monkey fabric was a great idea! 🙂