
kojotutorial: recovering a crib bumper
As an Amazon Associate I earn from qualifying purchases.
If you haven’t been following Shannon’s Babyhood Bonanza series at luvinthemommyhood, you should pop on over there right now to check it out. She just had a baby, Harper (don’t you love that name?), and is celebrating with all sorts of baby goodness. There are tutorials for crib sheets, baby toys, sweet little clothes, nursery decor… goodness, I tell you. A warning before you go- a quick peruse will make your to-make list a mile long, especially if you’re pregnant like me. Still worth it, though, totally worth it.
And to add to the fun, Shannon’s asked us to be part of this fabulousness! We’ve mentioned before that we were putting together the nursery decor for our littlest sister’s “Vintage Alphabet” nursery- and this babyhood bonanza is the perfect chance to show y’all how to customize an existing crib bumper using the fabric of your choice.
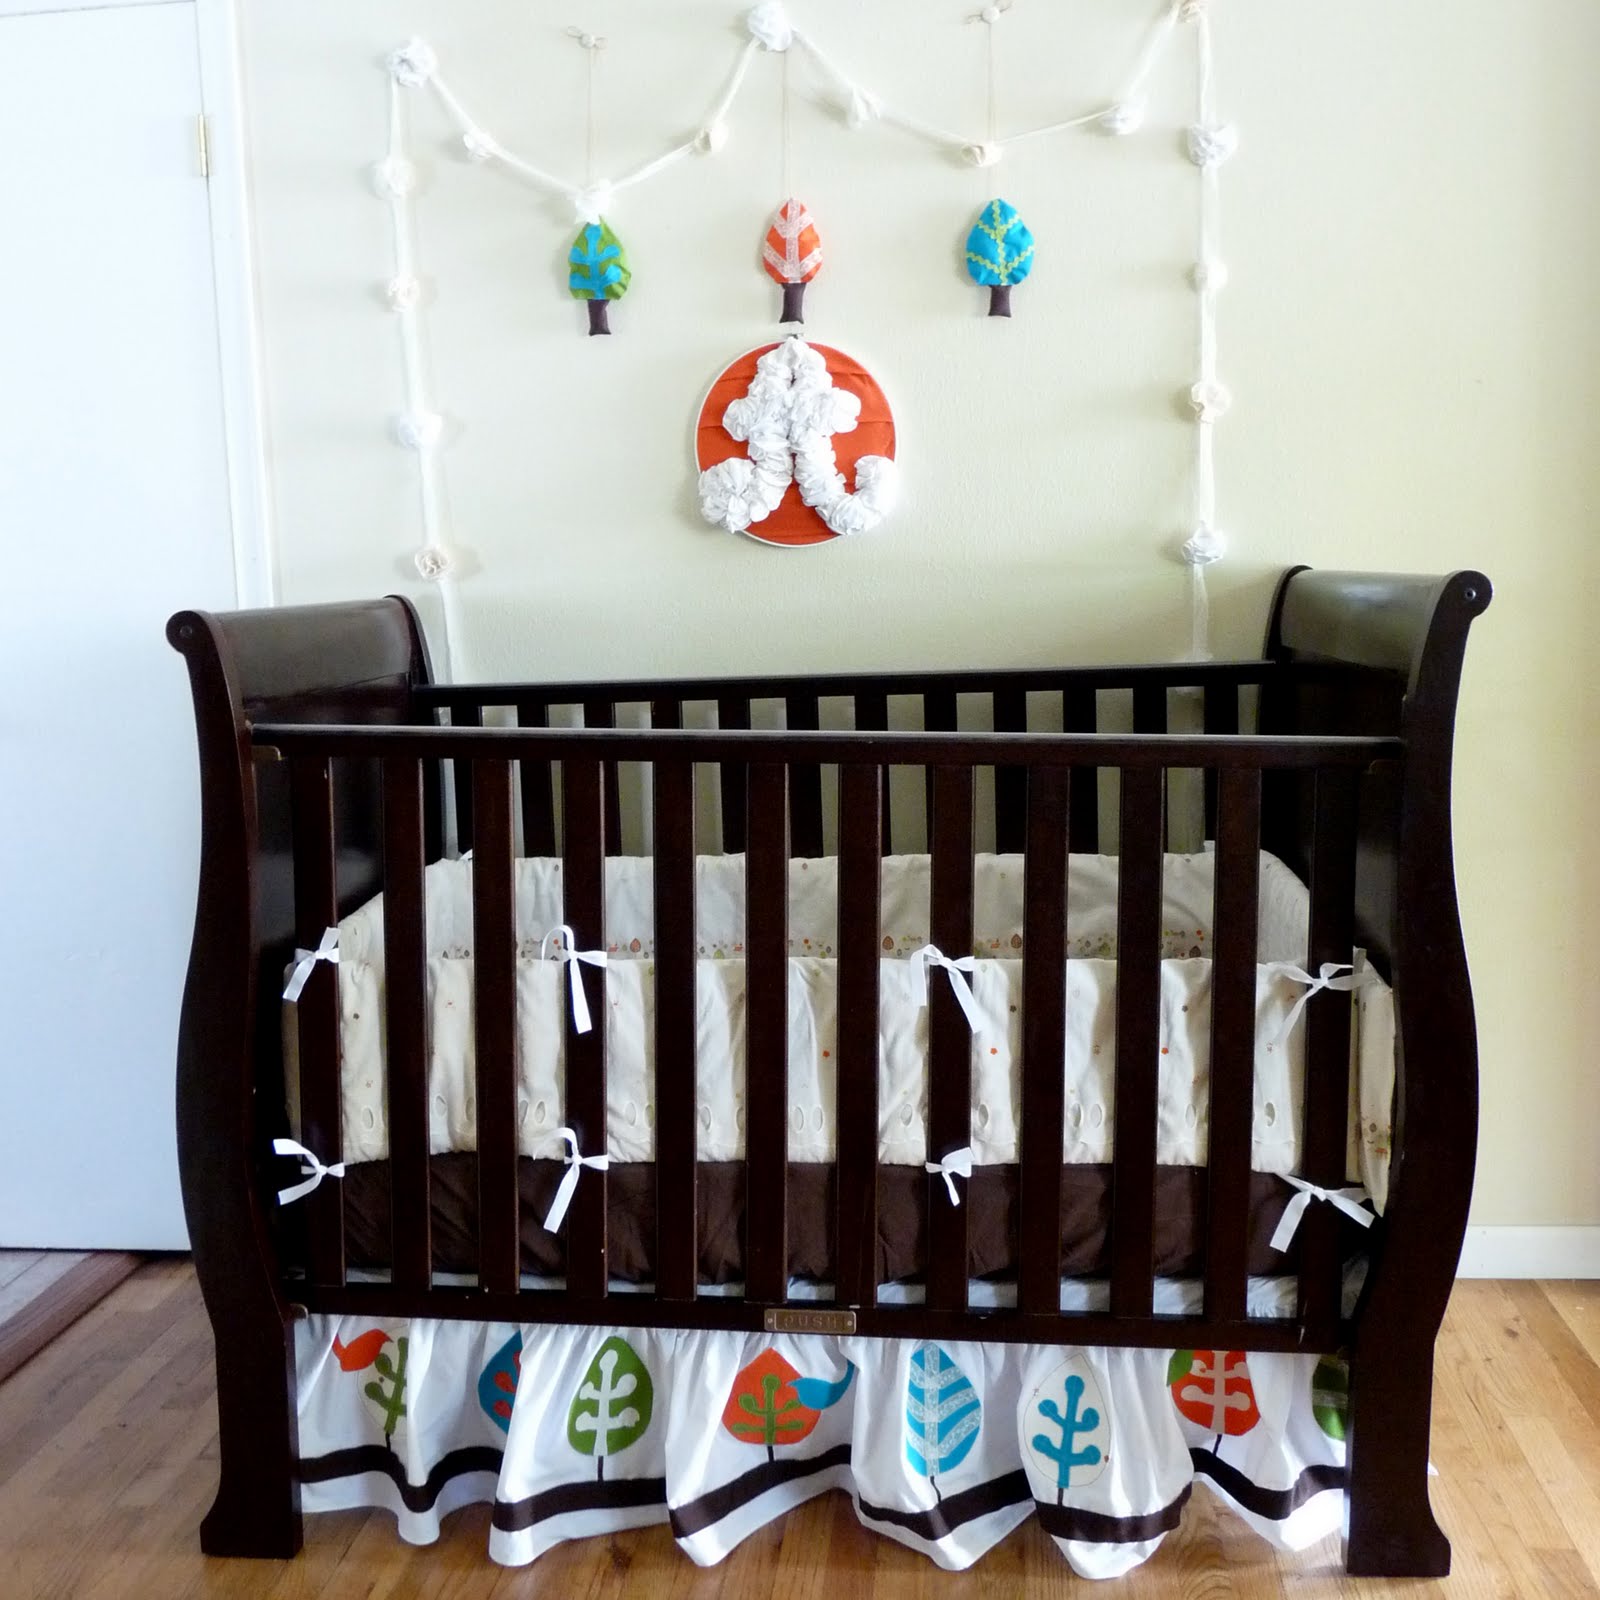


Though we’ve used the Amy Butler Little Stitches for Little Ones nursery patterns before (and with great success), we decided to branch out and try something new this time- recovering an existing crib bumper. Turns out that this project is fairly simple, and we love the result- a crib bumper exactly suited to your nursery!
To refashion a crib bumper of your own, you’ll need:
-an existing crib bumper* (ours was a plain white by Carters, which ended up being a good match for the light colored, sheer fabric we used to recover it). It was 10″ tall… make sure yours is the same height before using the dimensions we’ve given for recovering.
-a long rectangle of the fabric you’re using to recover the bumper (155″ x 24″)
-several yards of coordinating twill tape or ribbon for bumper ties, cut into 15″ segments
-Fray Check or clear nail polish (use this to finish off the ends of each of your ribbon segments before you begin sewing so the ribbon ties don’t fray)
-an erasable fabric pen
-a sewing machine, thread and sewing supplies
*If you are recovering a brightly colored bumper, or if you can see any of the existing pattern through the fabric you’ve chosen to recover your bumper with, I’d recommend using a lining for this entire project.
1. Measure and cut your long rectangle of fabric. Iron the entire rectangle in half, with the right sides of the fabric facing each other. You’ll now how a long, skinnier rectangle of fabric (155″ x 12″).
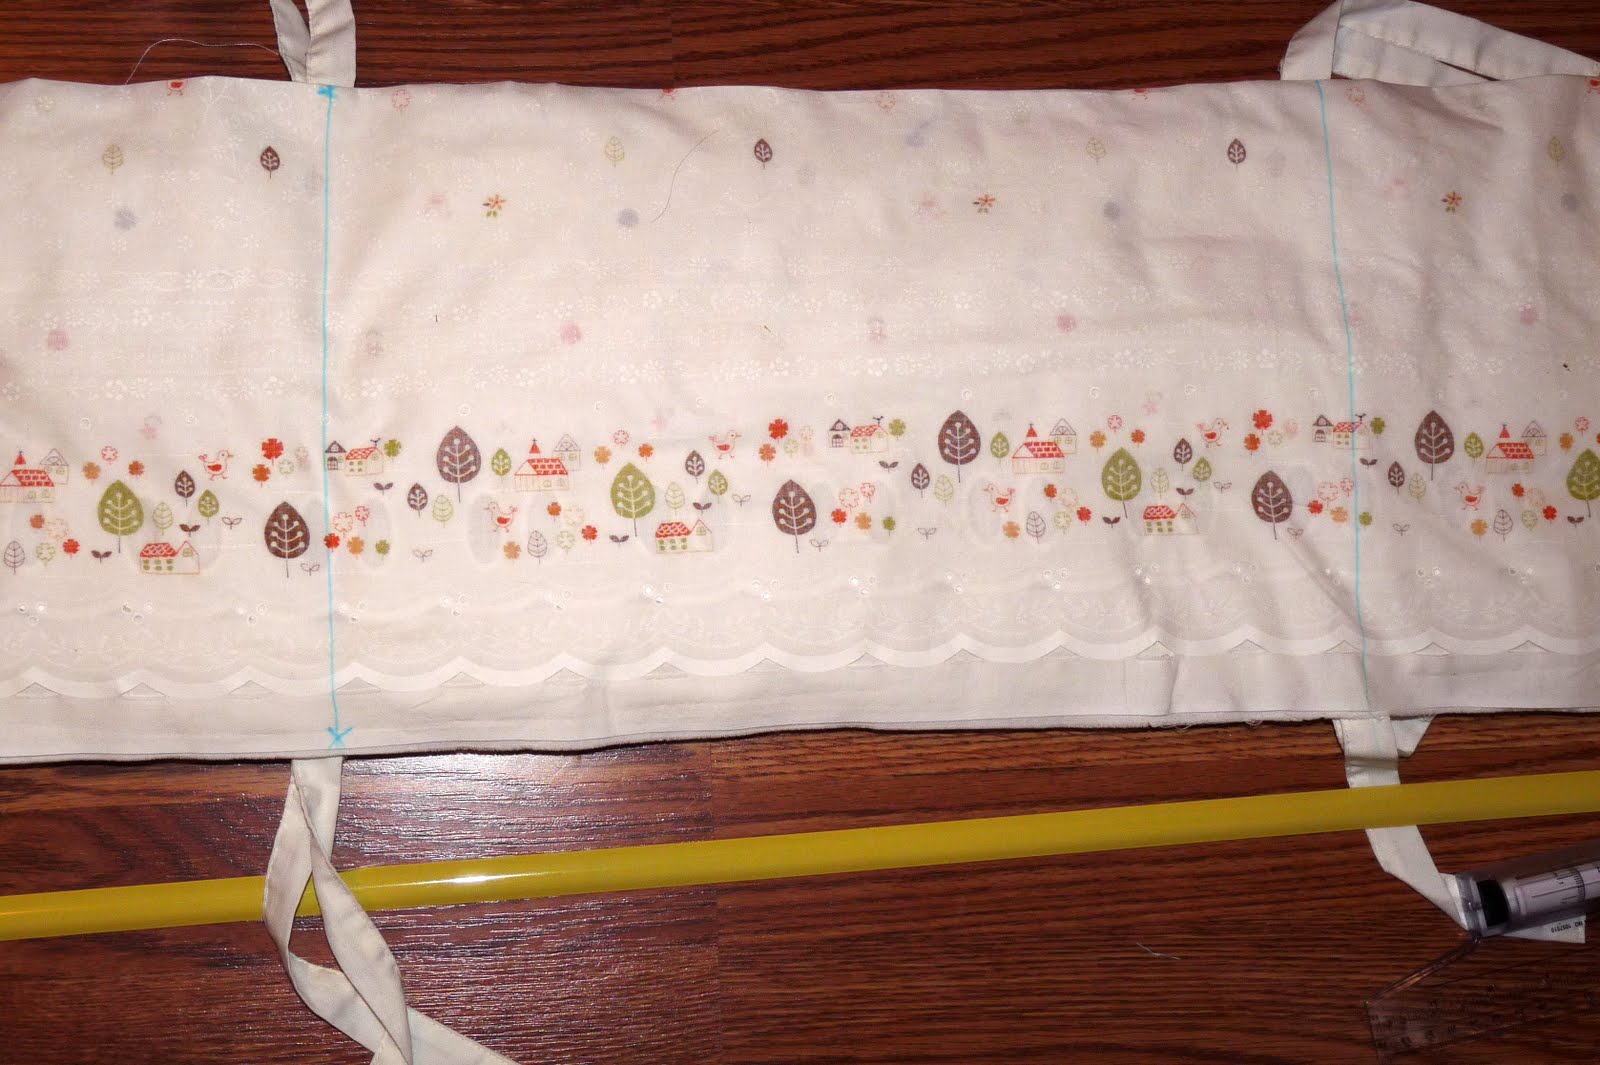
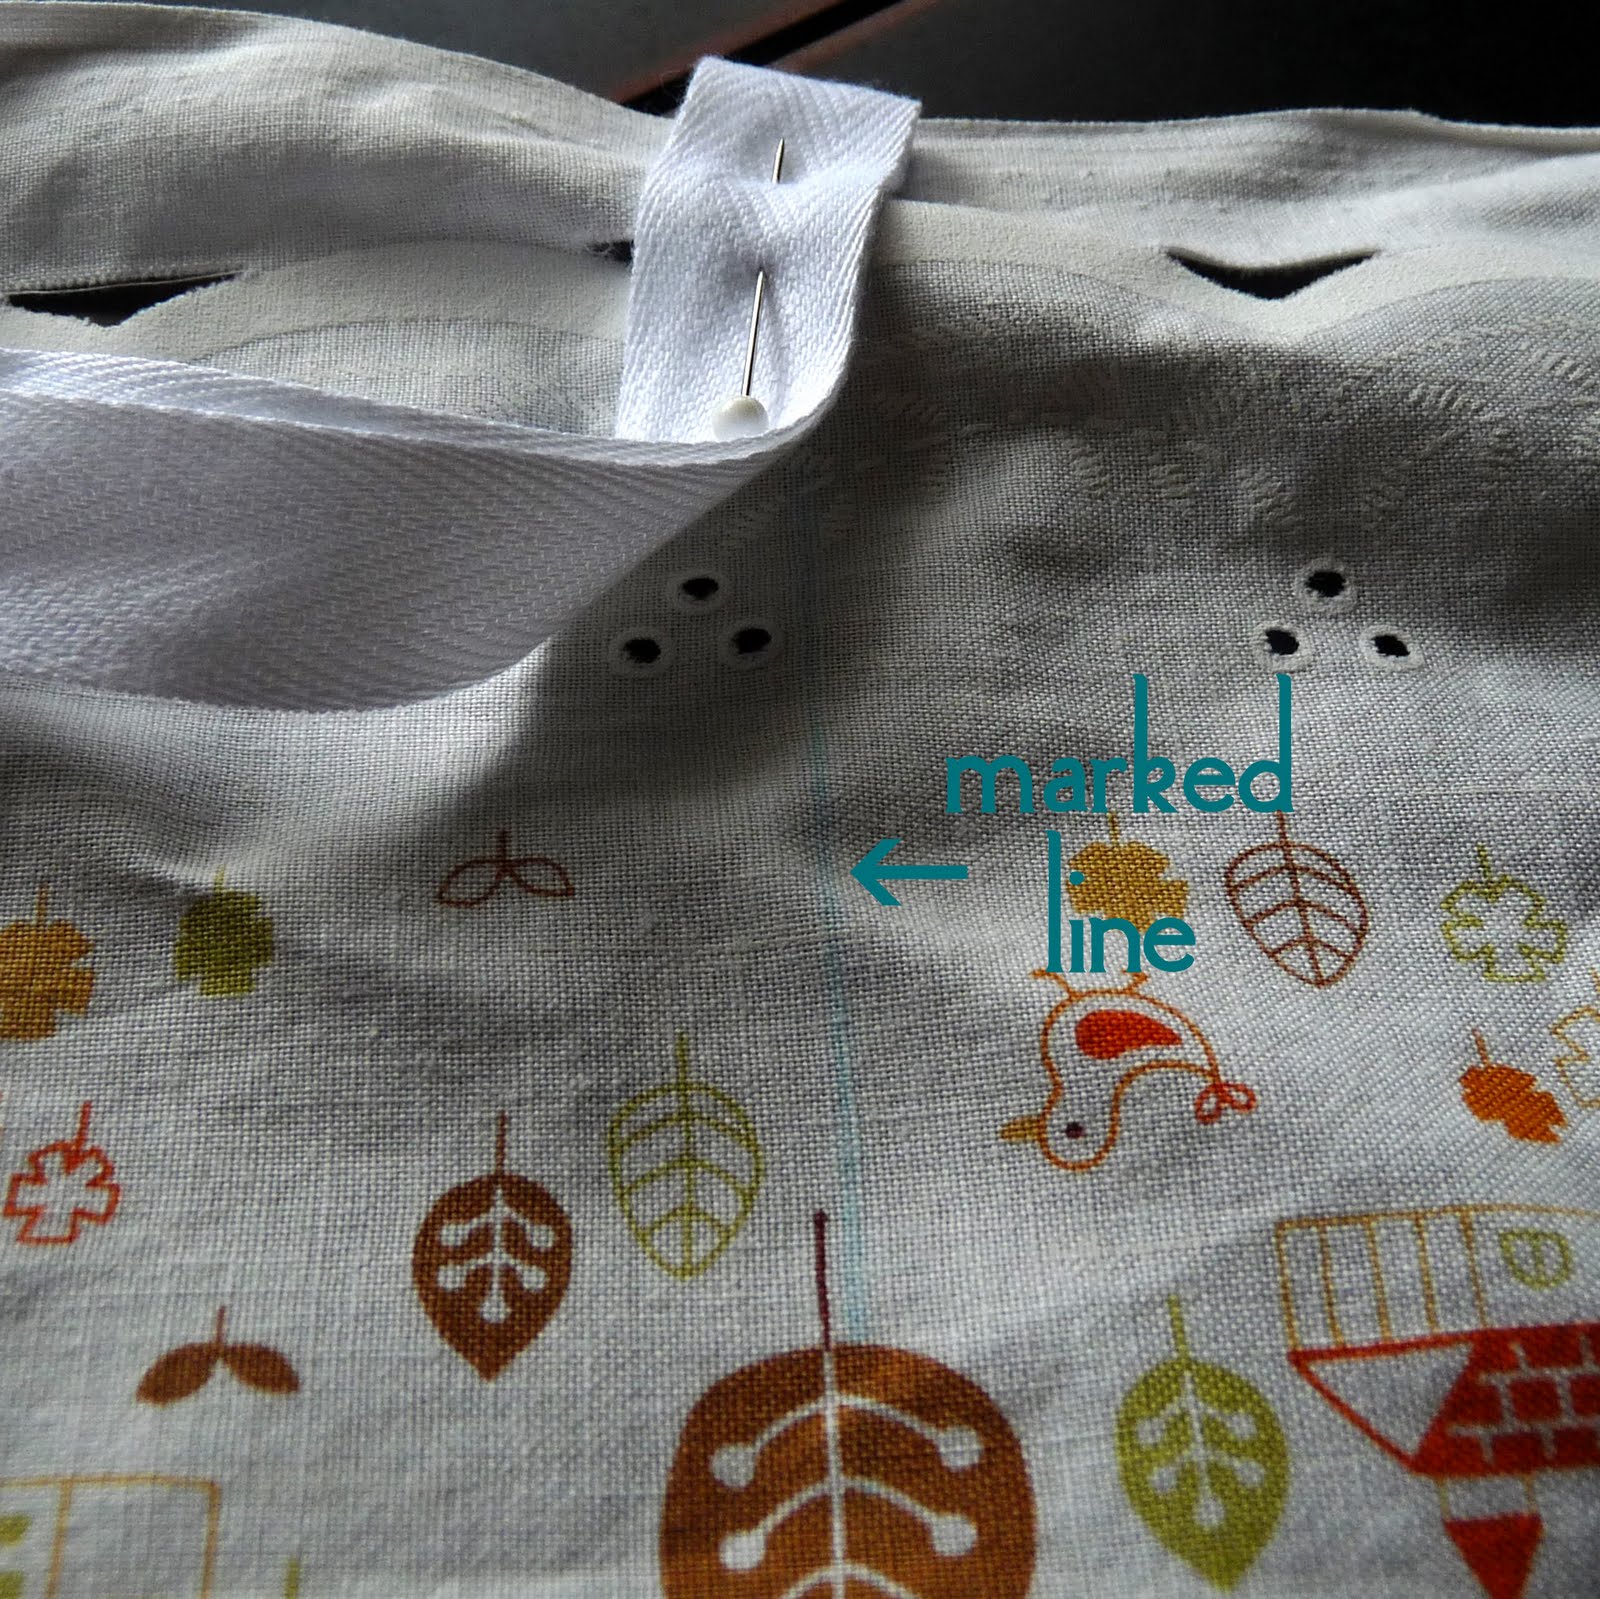
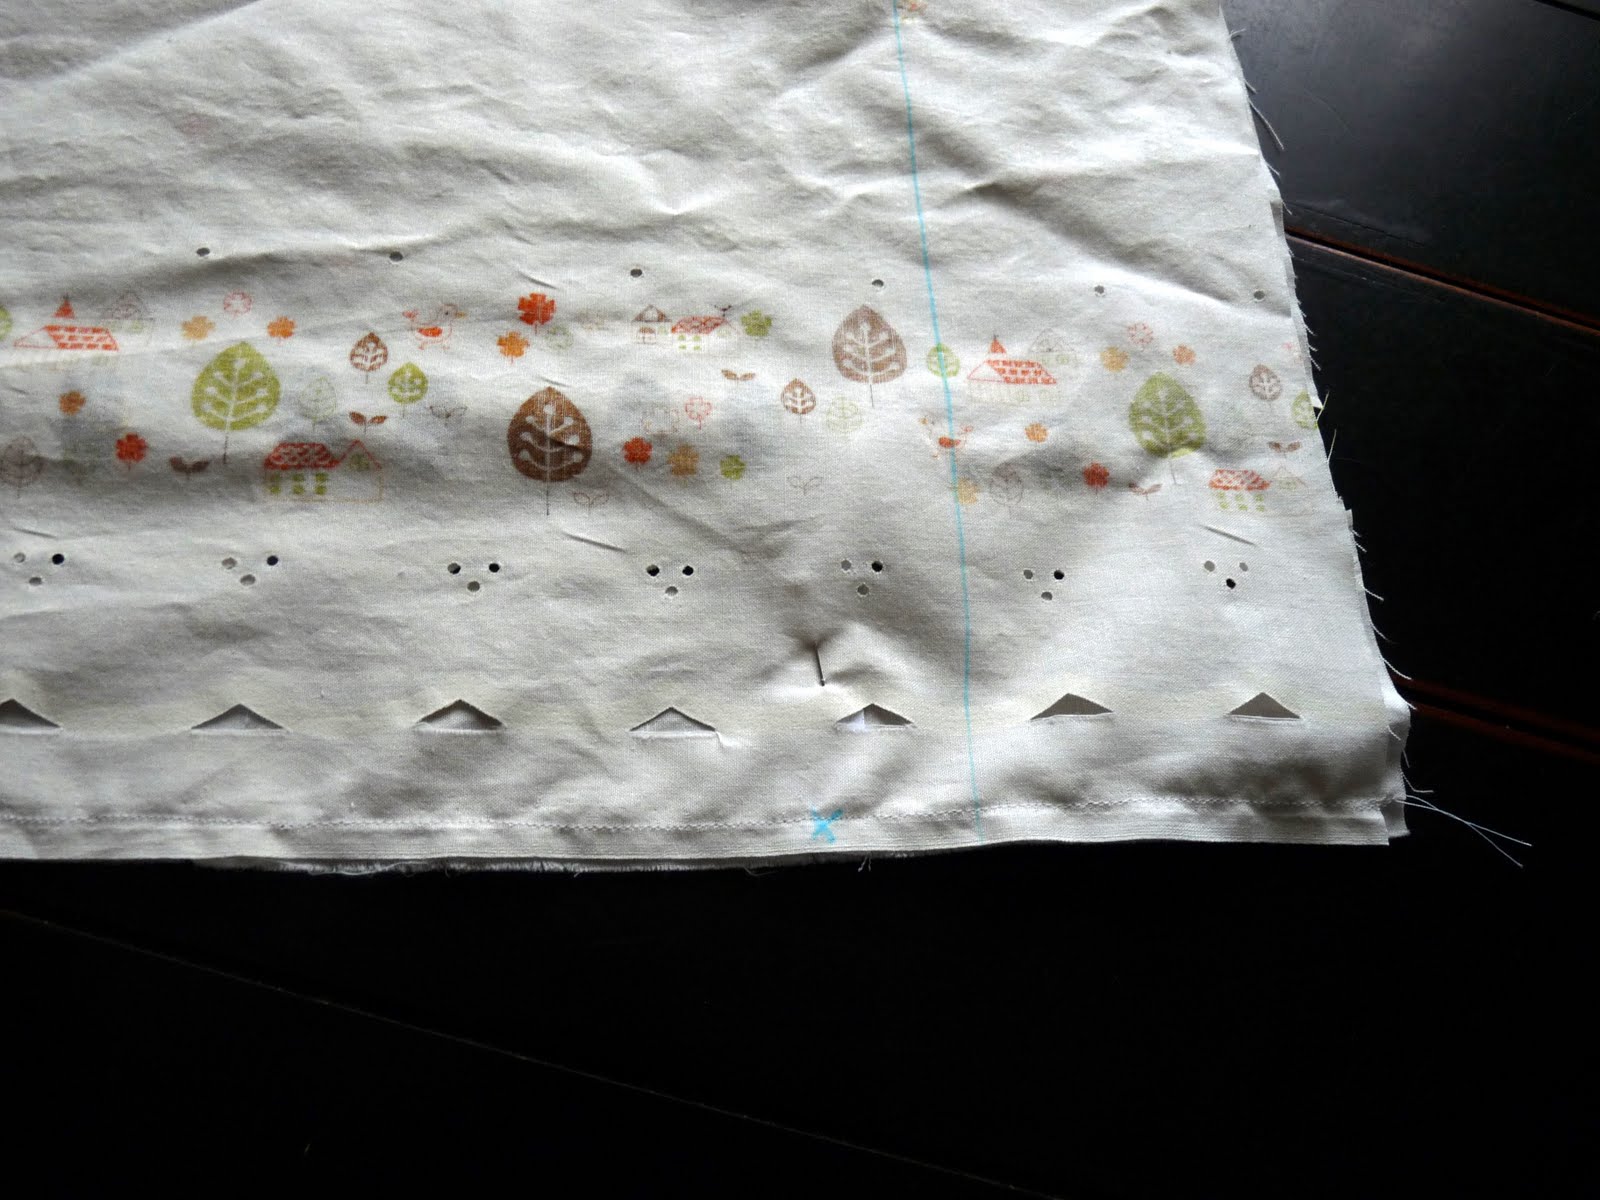
2. Match your ironed-in-half piece of fabric up with your existing bumper, leaving a few of inches of recovering fabric on each end. Using an erasable fabric pen, mark the locations of all of the crib bumper ties. Give yourself an extra 1/4″-1/2″ of fabric each time since you’ll eventually be filling this tube with the bumper and puffing it up (using up some of your fabric along the way).
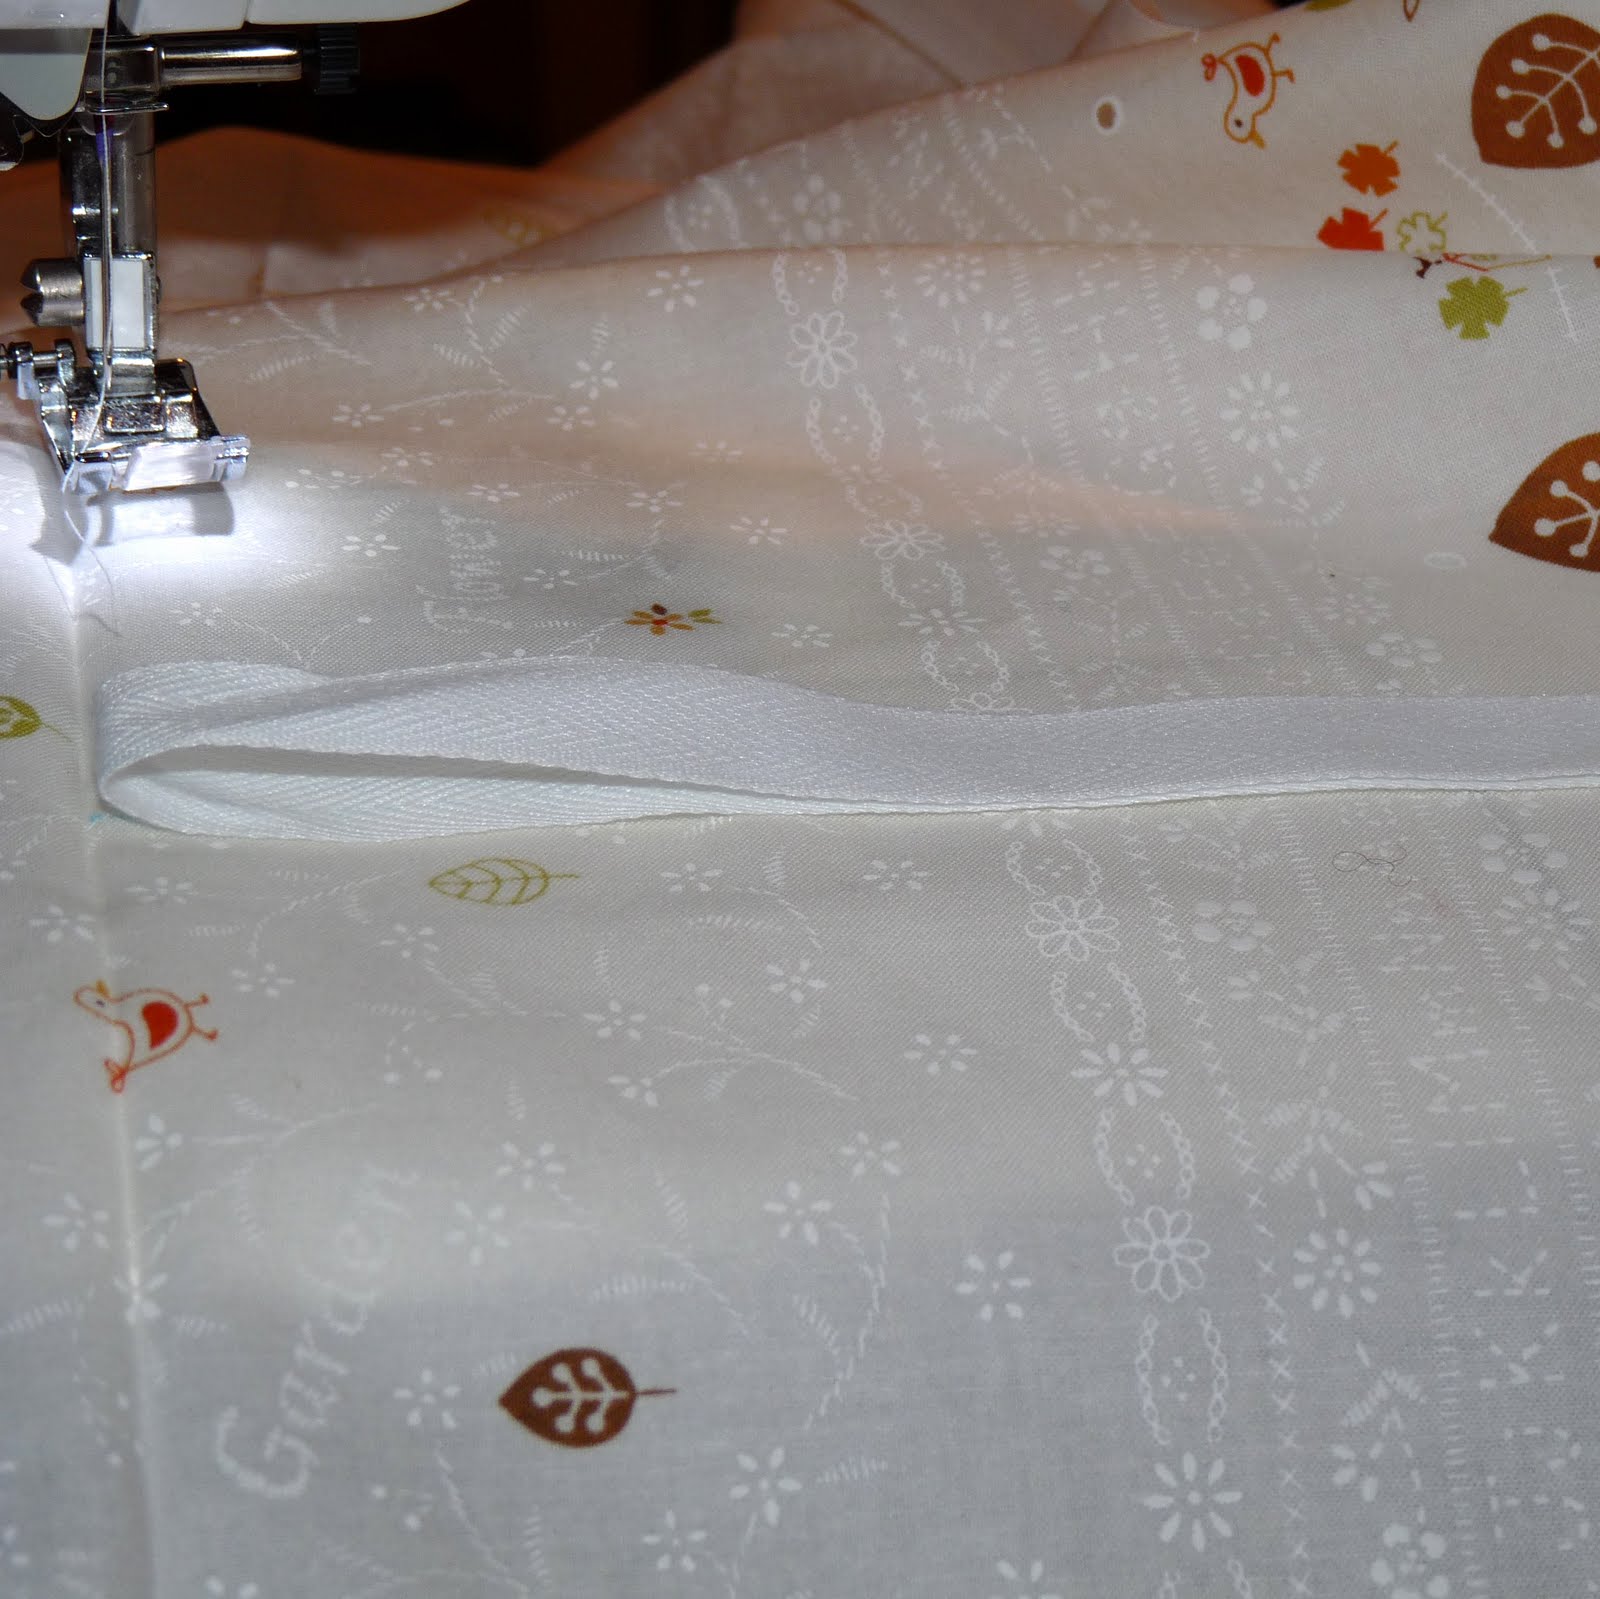
3. Open your rectangle to the right-side-in side. Line up 15″ pieces of ribbon or twill tape on each of your marked lines. Pin the middle of the twill tape so it lines up exactly with the middle of the fabric (since you’ve ironed your piece of fabric in half, the middle should be easy to spot).


4. Sew each length of ribbon in place, along the center line. I reinforced this line of stitching once or twice each time for stability, since these will be the top bumper ties and will receive some wear and pulling over time.
5. Still on the right-side of the fabric, pin the middle of 15″ lengths of ribbon in place at the bottom of each marked line. Flip the ribbon so that it is facing towards the center of the fabric (this will ensure that, as you sew your bumper cover, the ribbon will be on the outside of the cover where it’s usable instead of stuck on the inside of your bumper cover where it isn’t accessible).
6. Fold your rectangle back on itself, right sides facing each other again. You should be looking at the wrong side of the fabric. Along the open edge, stitch up the entire 155″ length of the rectangle, allowing for a 1/2″ seam. Also sew one end of your long ‘tube’ closed.

7. Turn your long ‘bumper cover’ right side in. You should have a long, skinny rectangle with three sides sewn shut and one open end.
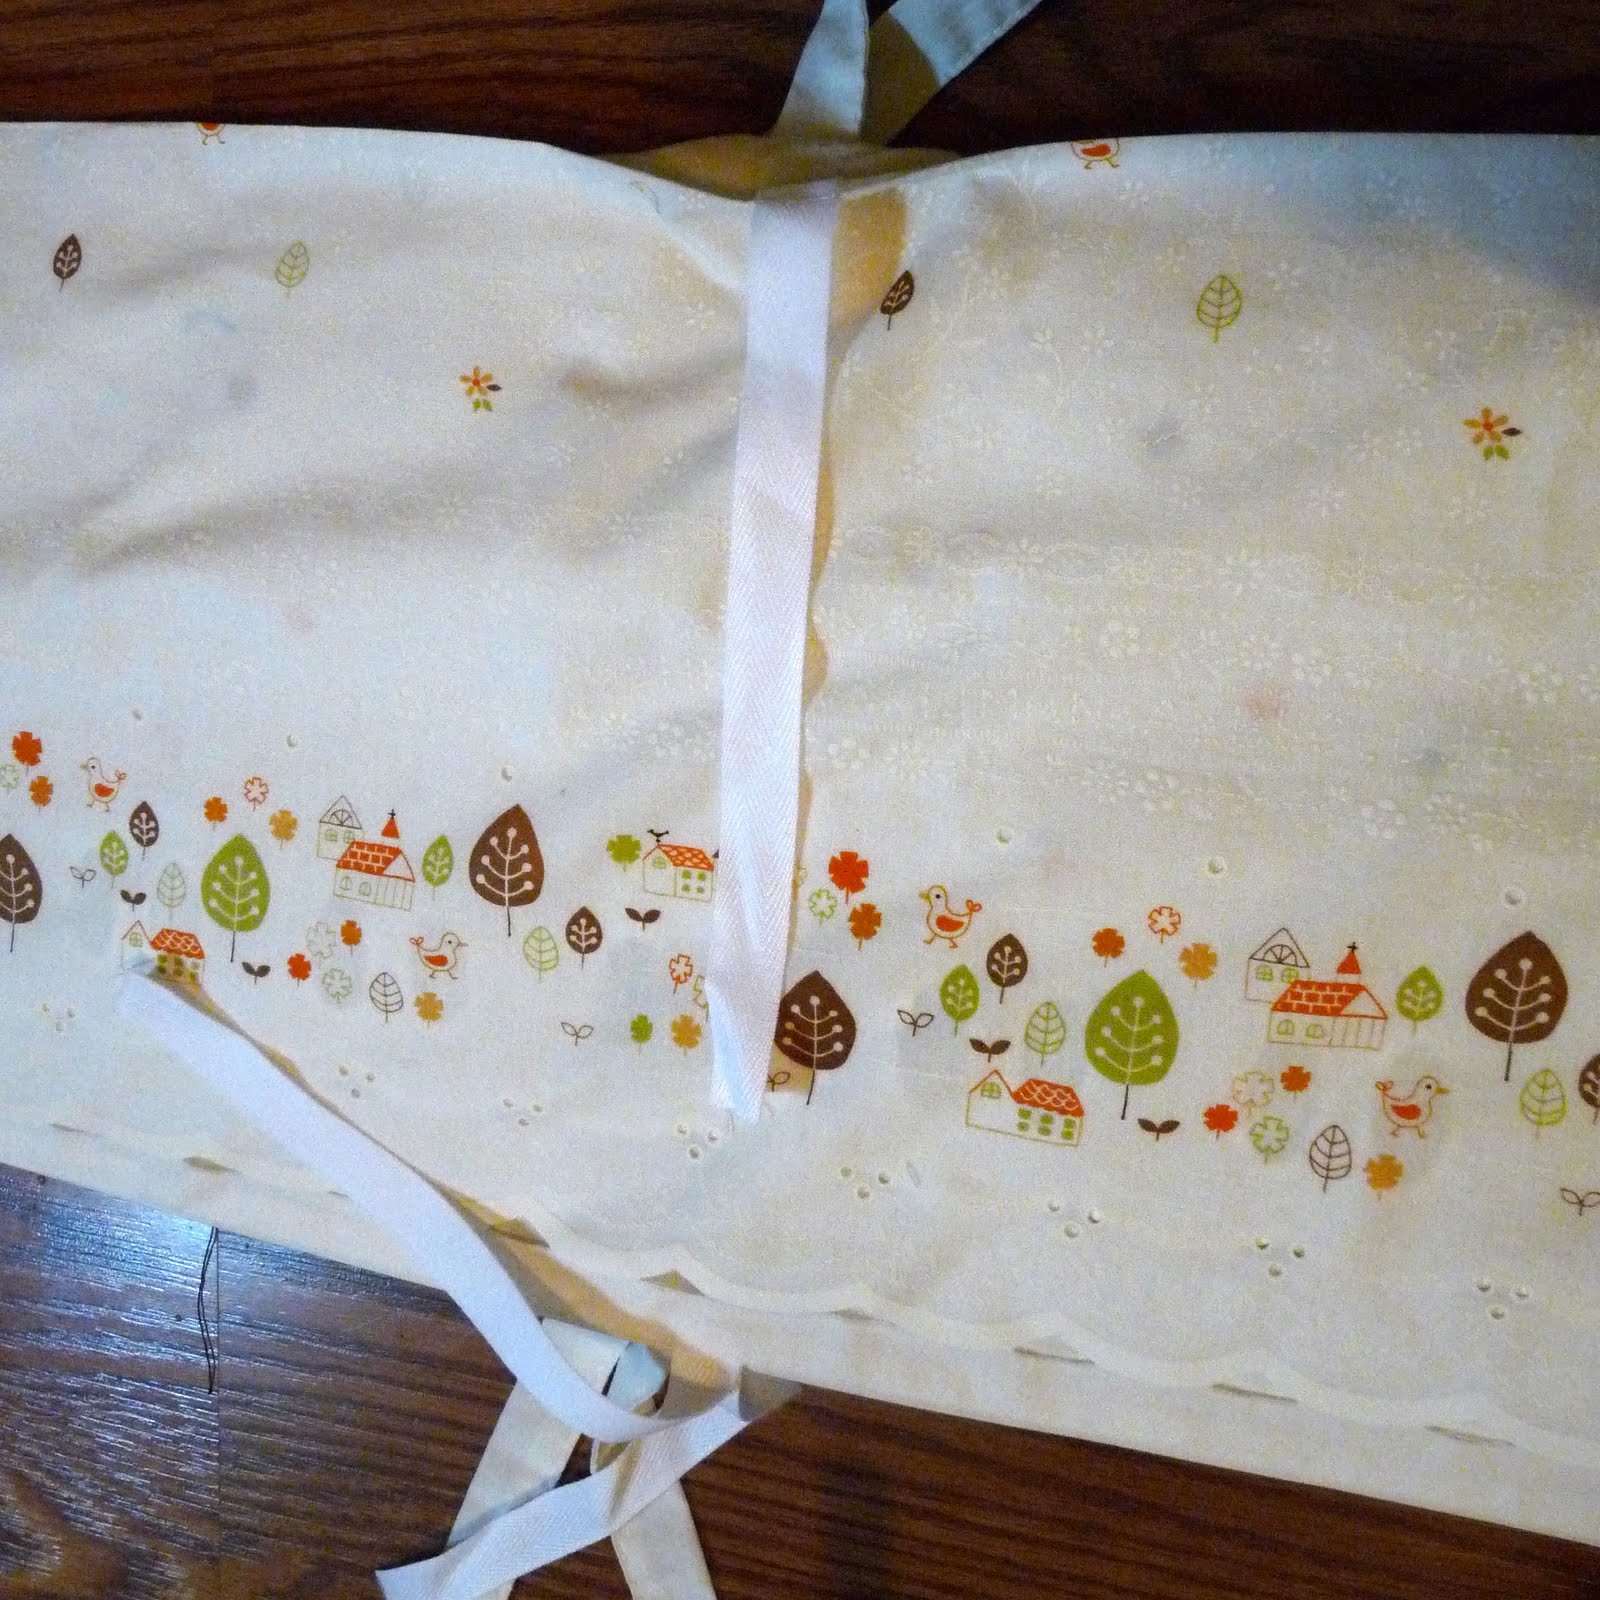
8. Just to be sure, match your sewn cover up with your existing bumper cover. The ties should align, while also allowing for the 1/4″ to 1/2″ leeway (when cumulative over the whole bumper, the last ties on the cover should be an inch or two down from the ties on the existing bumper). At this point, you can snip all of the ties off of the existing bumper (it’ll cut down on bulk).
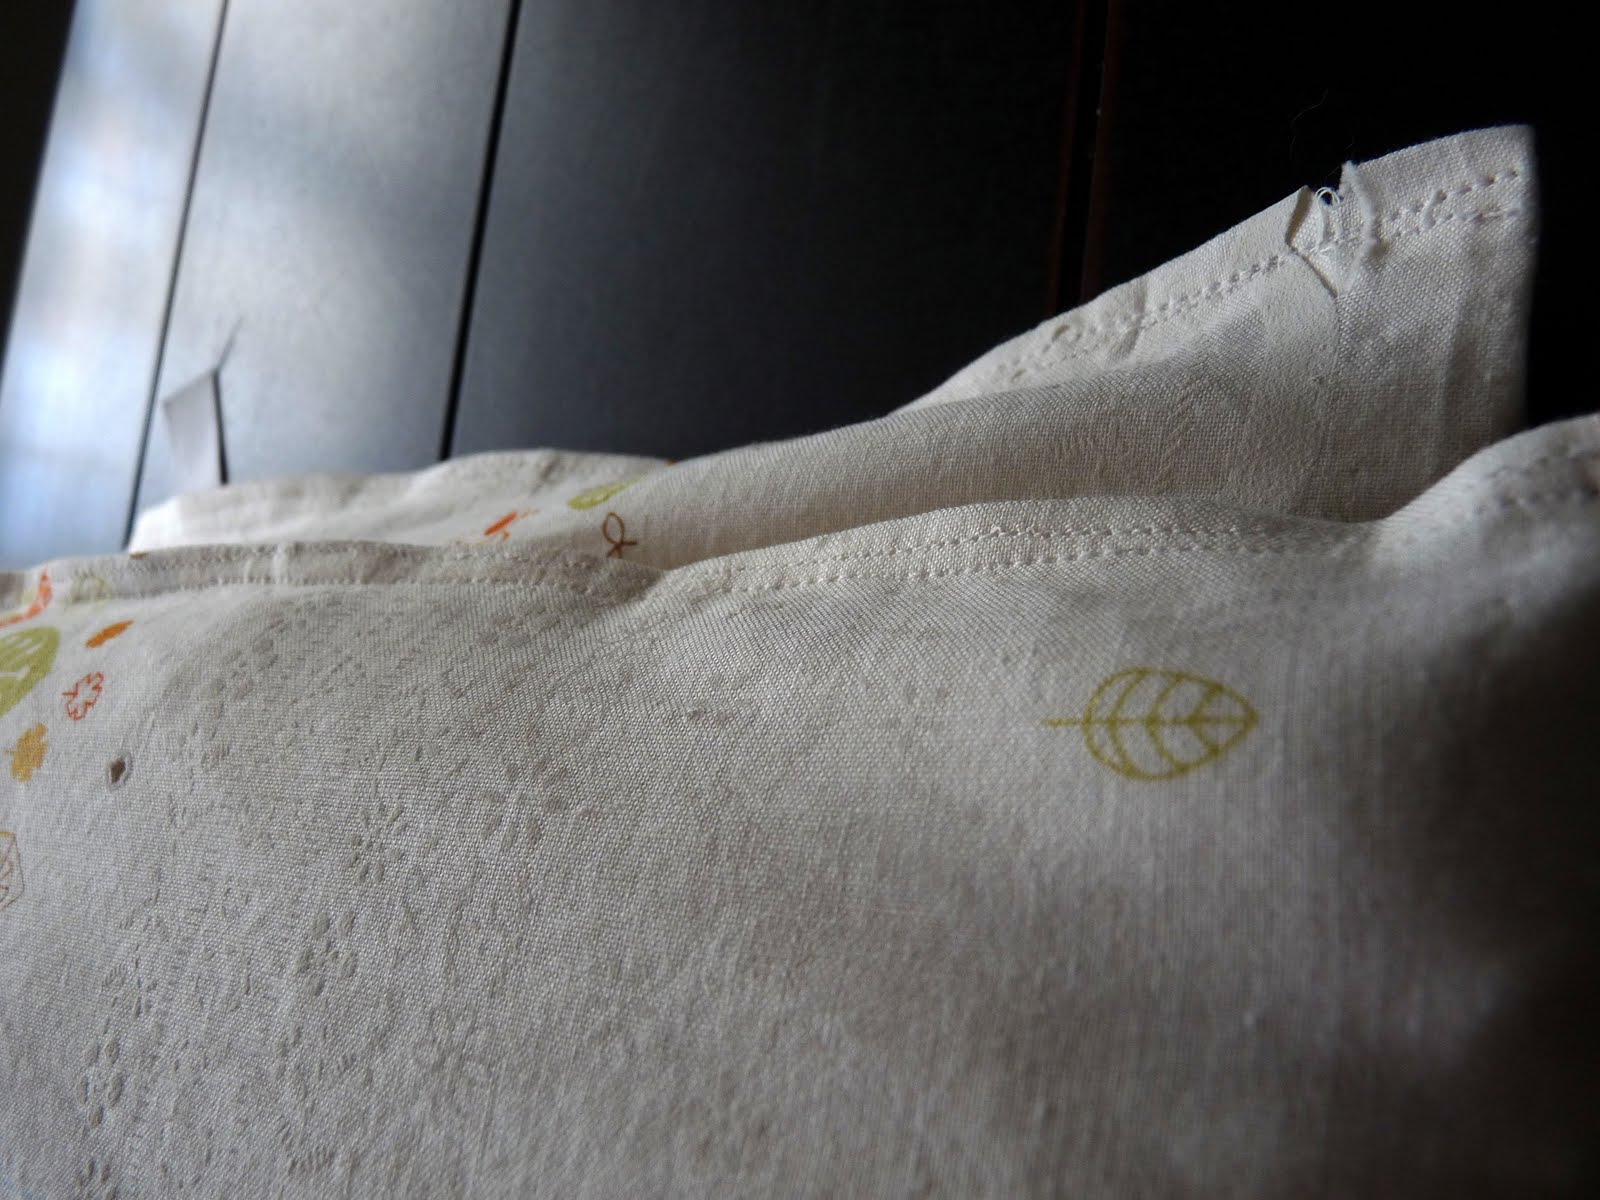
9. Start pushing your existing bumper into its cover, as though you were putting a long, skinny pillow into a pillow case. You should have an inch or so of fabric left as extra on the end. Sew the end shut, then top stitch over your closed edge (I top stitched over the other end at this point as well, so the two would match).
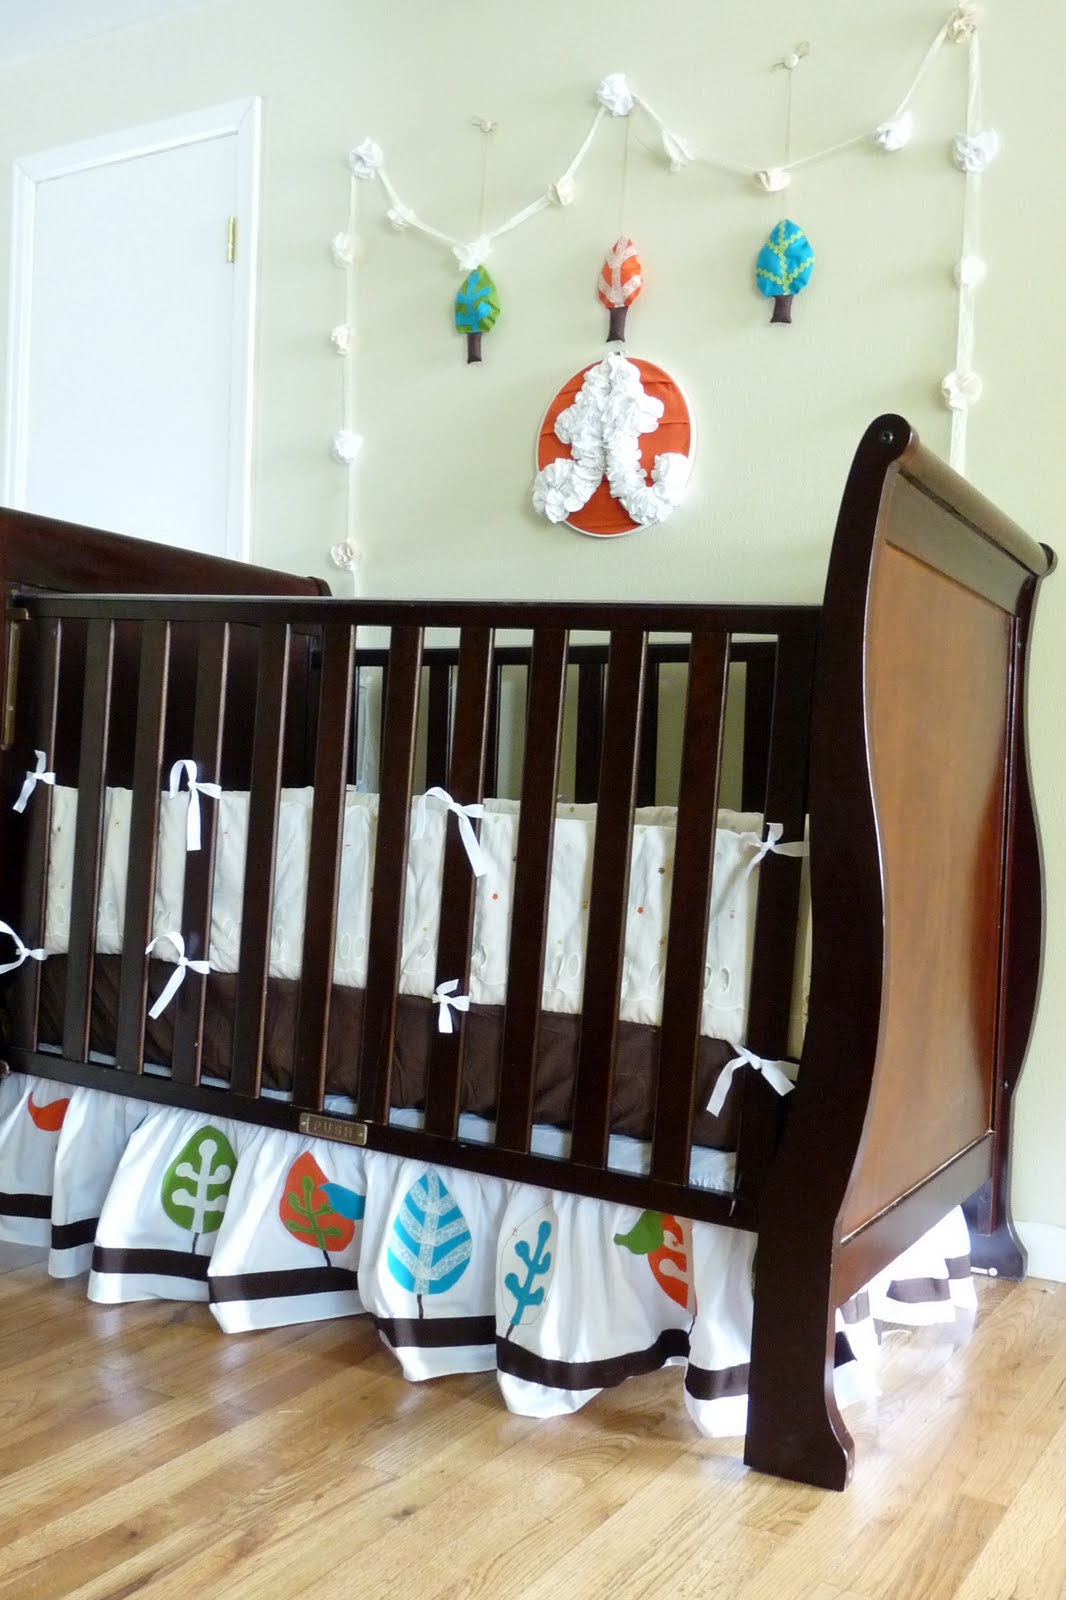

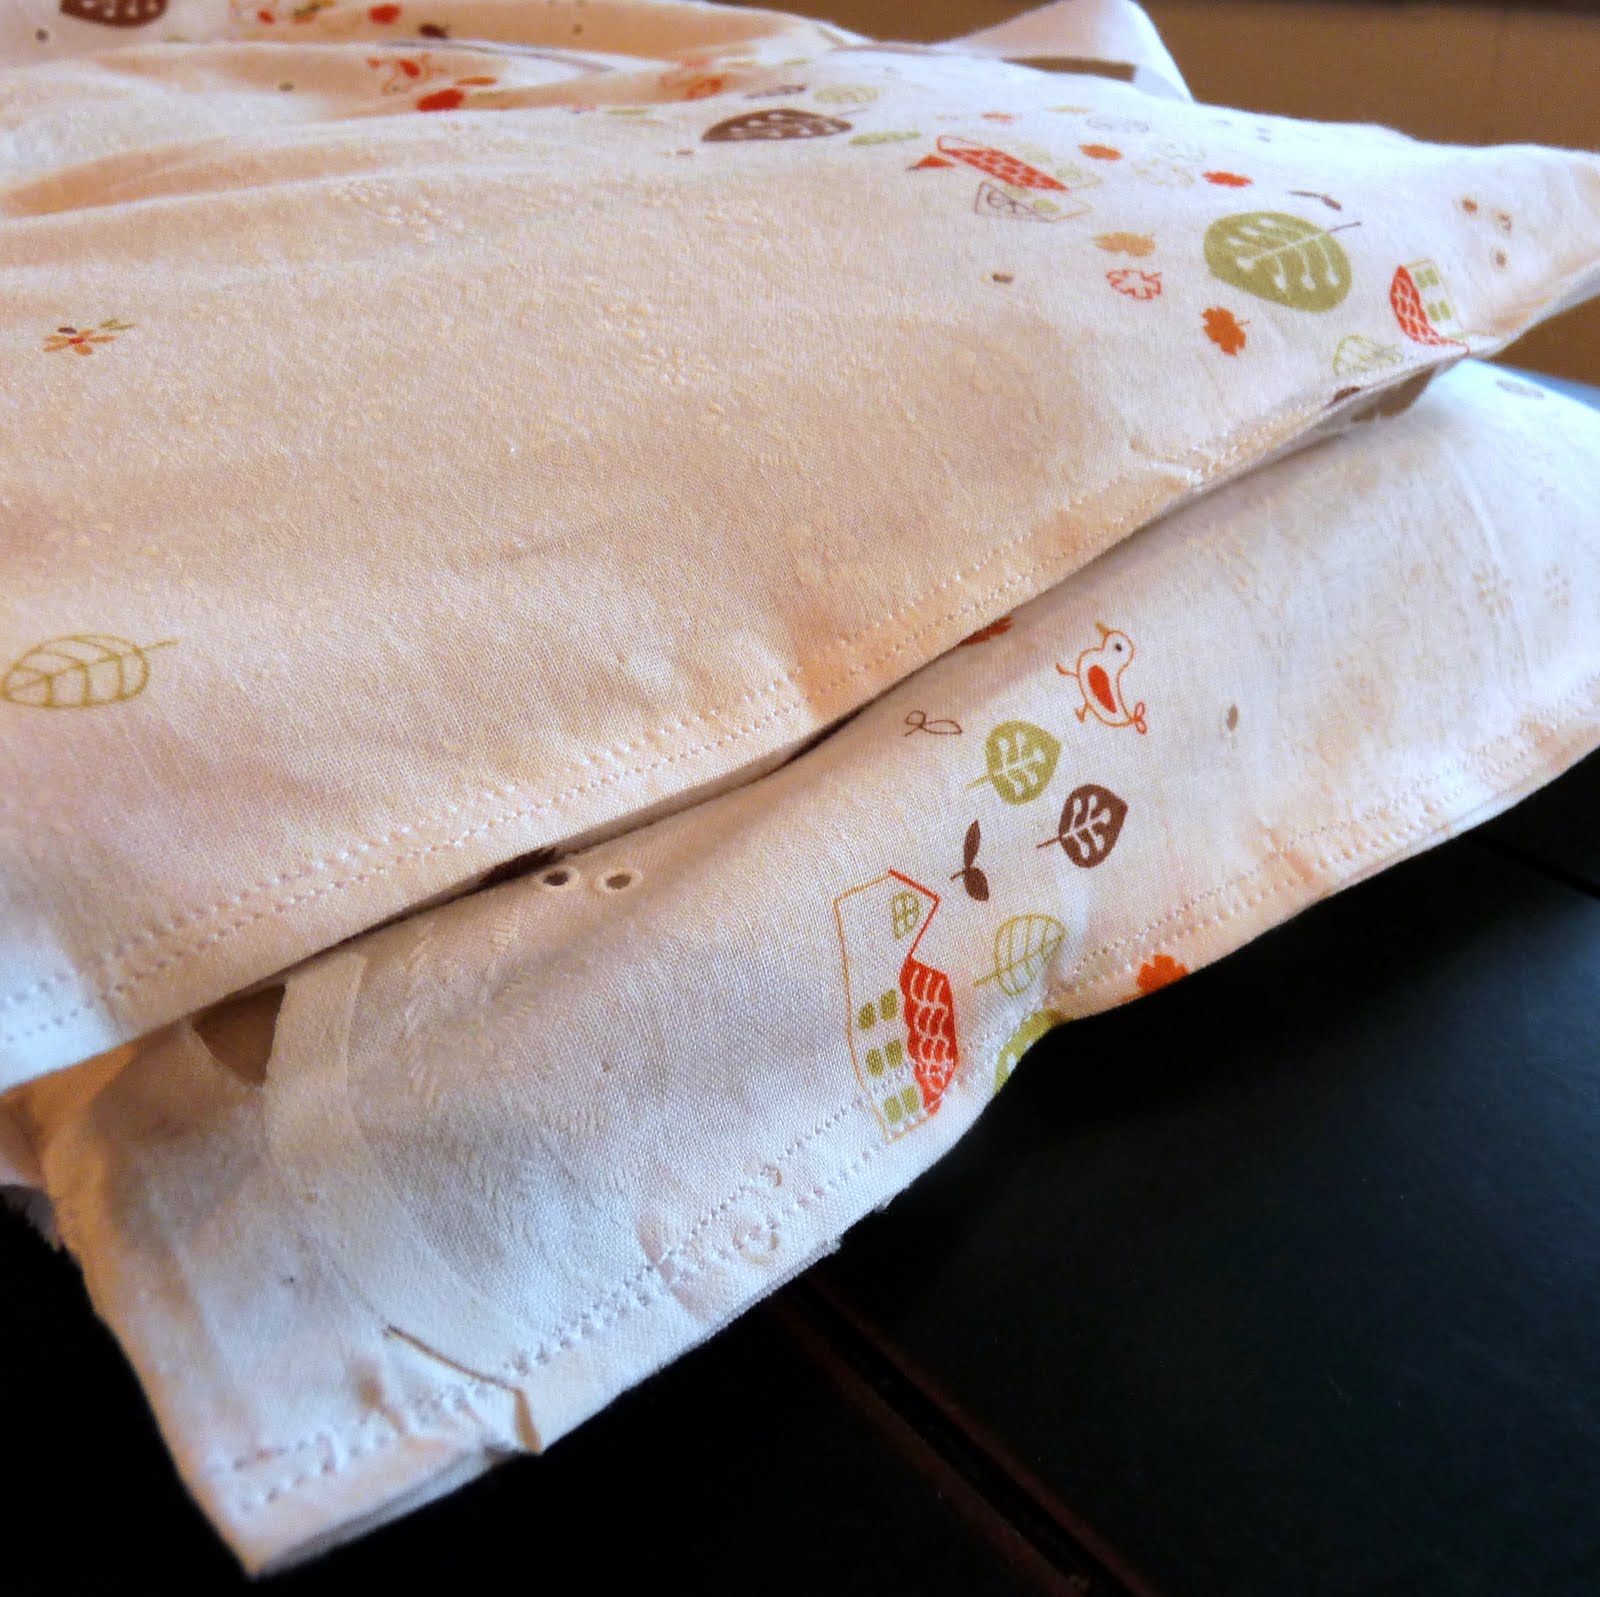
10. Set in your crib (or send off to your little sister for her bambino’s nursery) and admire! Then applique a crib skirt and make some nursery decor with your leftover fabric (tutorials on both of those to come…). Fabulous, custom, and fairly easy- we LOVE these kinds of projects!
If you’re visiting from Craft Schooling Sunday, Making the World Cuter Monday, Metamorphosis Monday, The DIY Project Parade, Market Yourself Monday, Just Something I Whipped Up, Get Your Craft On, Tutorial Tuesday, We Did It! Wednesday, Show and Tell Wednesdays, Look What I Made Day, Get Your Craft On, Strut Your Stuff Thursdays, or Creative Cats, welcome!
That's such a great idea to recover existing bumpers! They're so much cheaper to buy used, usually with some ridiculous dated print, than to buy the batting and materials to start from scratch.
I linked to your tutorial over at Craft Gossip Sewing:
http://sewing.craftgossip.com/tutorial-recover-a-set-of-crib-bumpers/2010/06/28/
-Anne
Just a quick note to let you know that a link to this post will be placed on CraftCrave today [28 Jun 12:00pm GMT]. Thanks, Maria
Thanks for being part of the bonanza ladies! You guys rock! Luv ya 🙂
Just a quick note to let you know that a link to this post will be placed on CraftCrave today [29 Jun 01:06pm GMT]. Thanks, Maria
Just a quick note to let you know that a link to this post will be placed on CraftCrave today [30 Jun 12:00pm GMT]. Thanks, Maria
Just a quick note to let you know that a link to this post will be placed on CraftCrave today [01 Jul 12:00pm GMT]. Thanks, Maria
Just a quick note to let you know that a link to this post will be placed on CraftCrave today [02 Jul 01:12pm GMT]. Thanks, Maria
Just a quick note to let you know that a link to this post will be placed on CraftCrave today [03 Jul 12:00pm GMT]. Thanks, Maria
Just a quick note to let you know that a link to this post will be placed on CraftCrave today [04 Jul 12:00pm GMT]. Thanks, Maria
Just a quick note to let you know that a link to this post will be placed on CraftCrave today [05 Jul 12:00pm GMT]. Thanks, Maria
Cutest nursery ever! And I love the fabric choice. =) Thanks so much, I'll be linking.
Just a quick note to let you know that a link to this post will be placed on CraftCrave today [06 Jul 12:00pm GMT]. Thanks, Maria
Just a quick note to let you know that a link to this post will be placed on CraftCrave today [07 Jul 12:00pm GMT]. Thanks, Maria