
kojotutorial: washable, reusable snack baggies
As an Amazon Associate I earn from qualifying purchases.
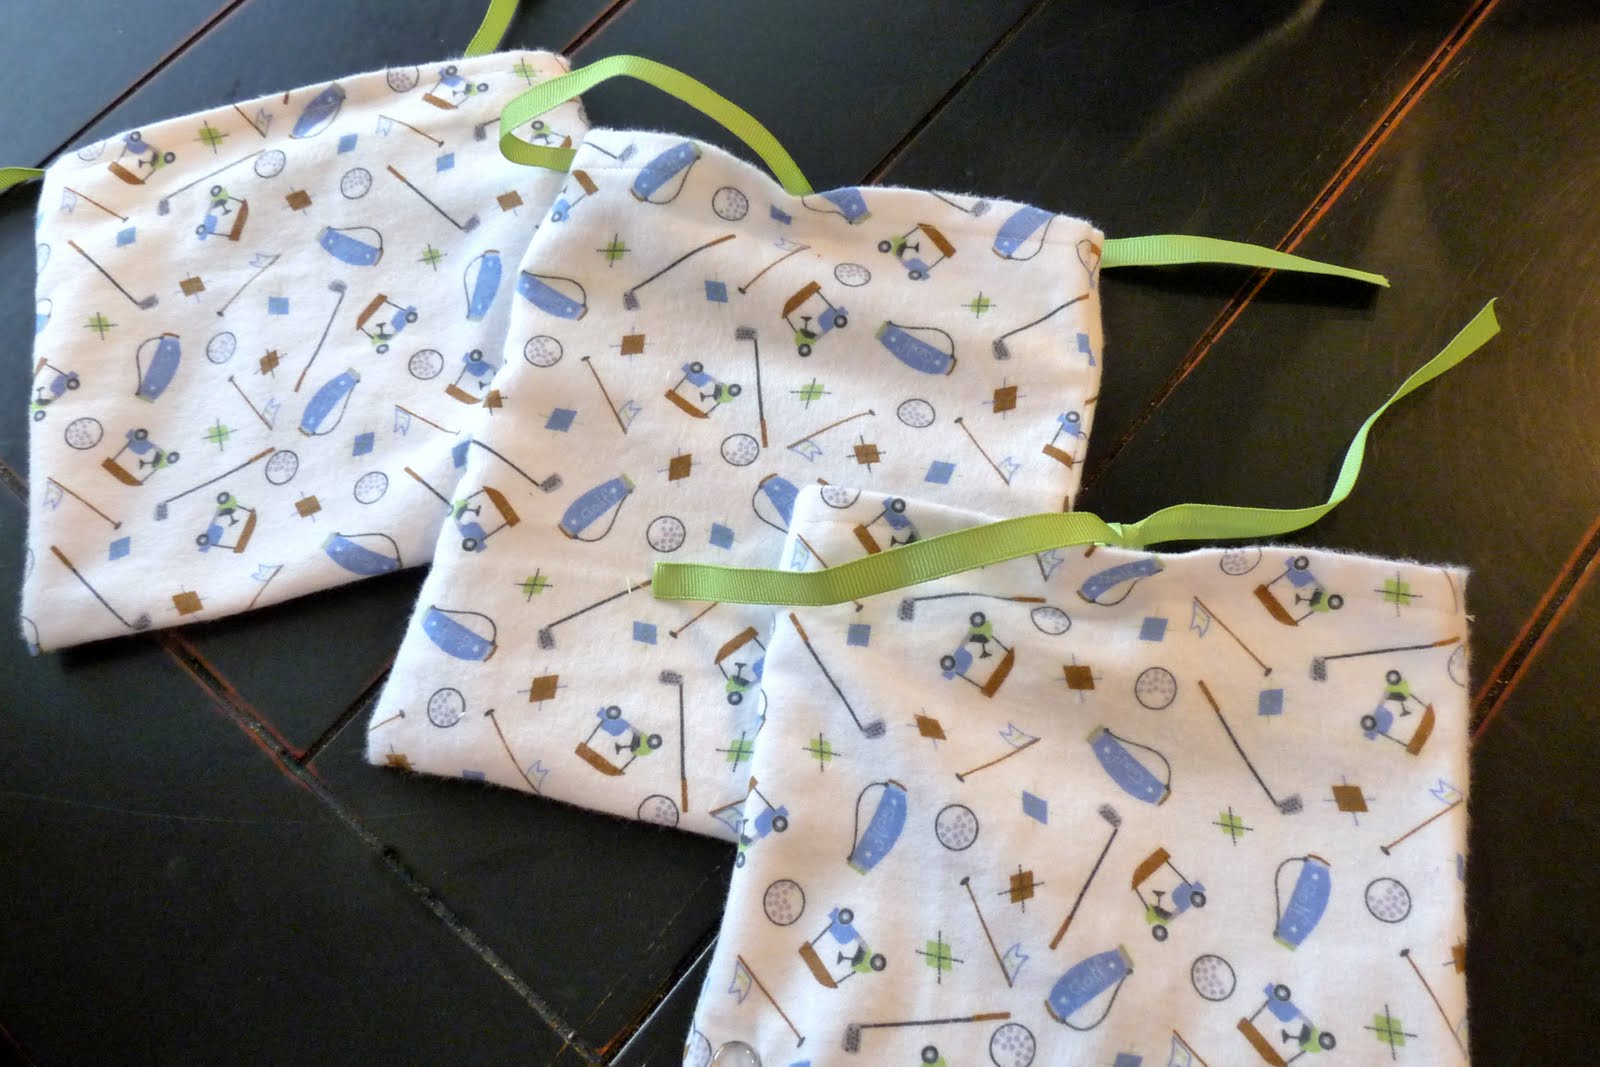
The dad-loves-golf stereotype happens to actually be the case for our family. There’s nothing more that our dad loves than pairing the notoriously sunny-and-gorgeous Colorado weather with a polo shirt and 18 holes of golf. So for Father’s Day, we made him little reusable snack bags, cleverly covered in golf motifs, to accompany him on his Saturday (or Wednesday afternoon, or Thursday evening) outings.
To make reusable snack bags for your dad, you’ll need:
-a rectangle of fabric for each bag (we found golf themed flannel in the remnant section)
-a length of ribbon (about a foot, cut into two 6″ segments)
-a pearl snap (and snap setter)
-a sandwich sized plastic bag (and snacks!)
-sewing machine

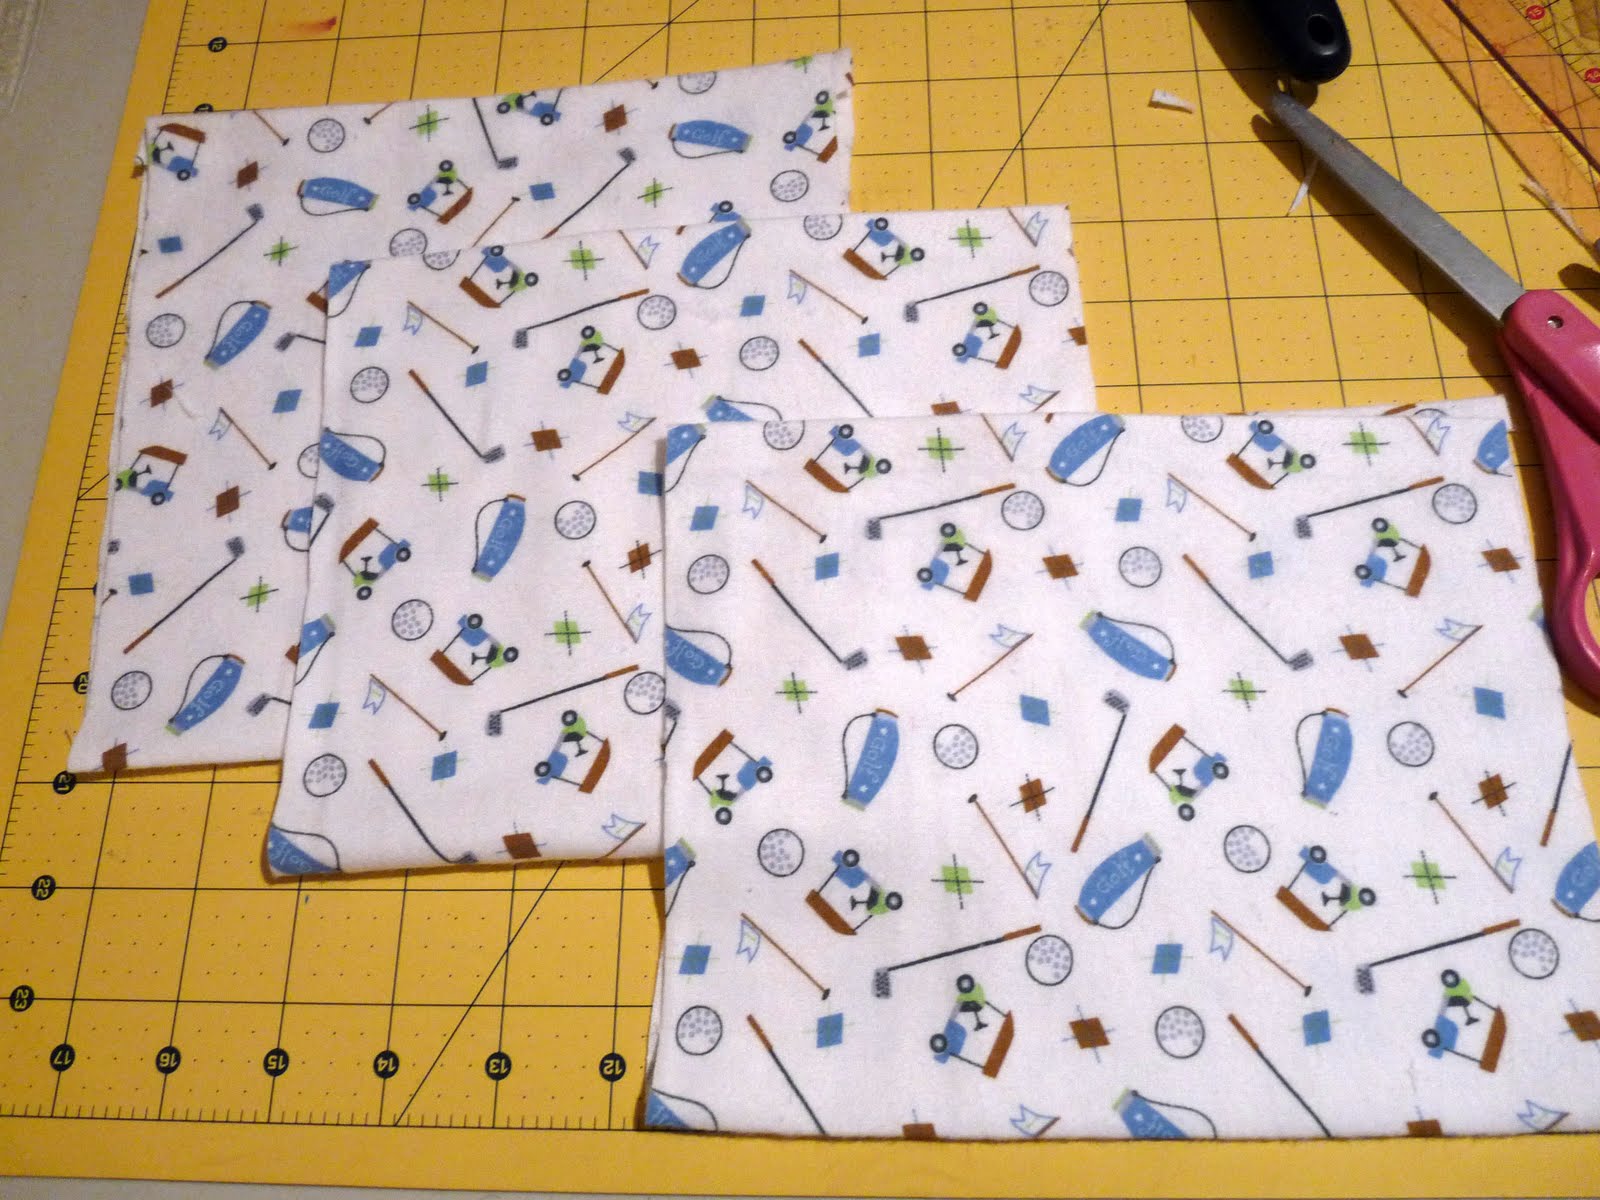
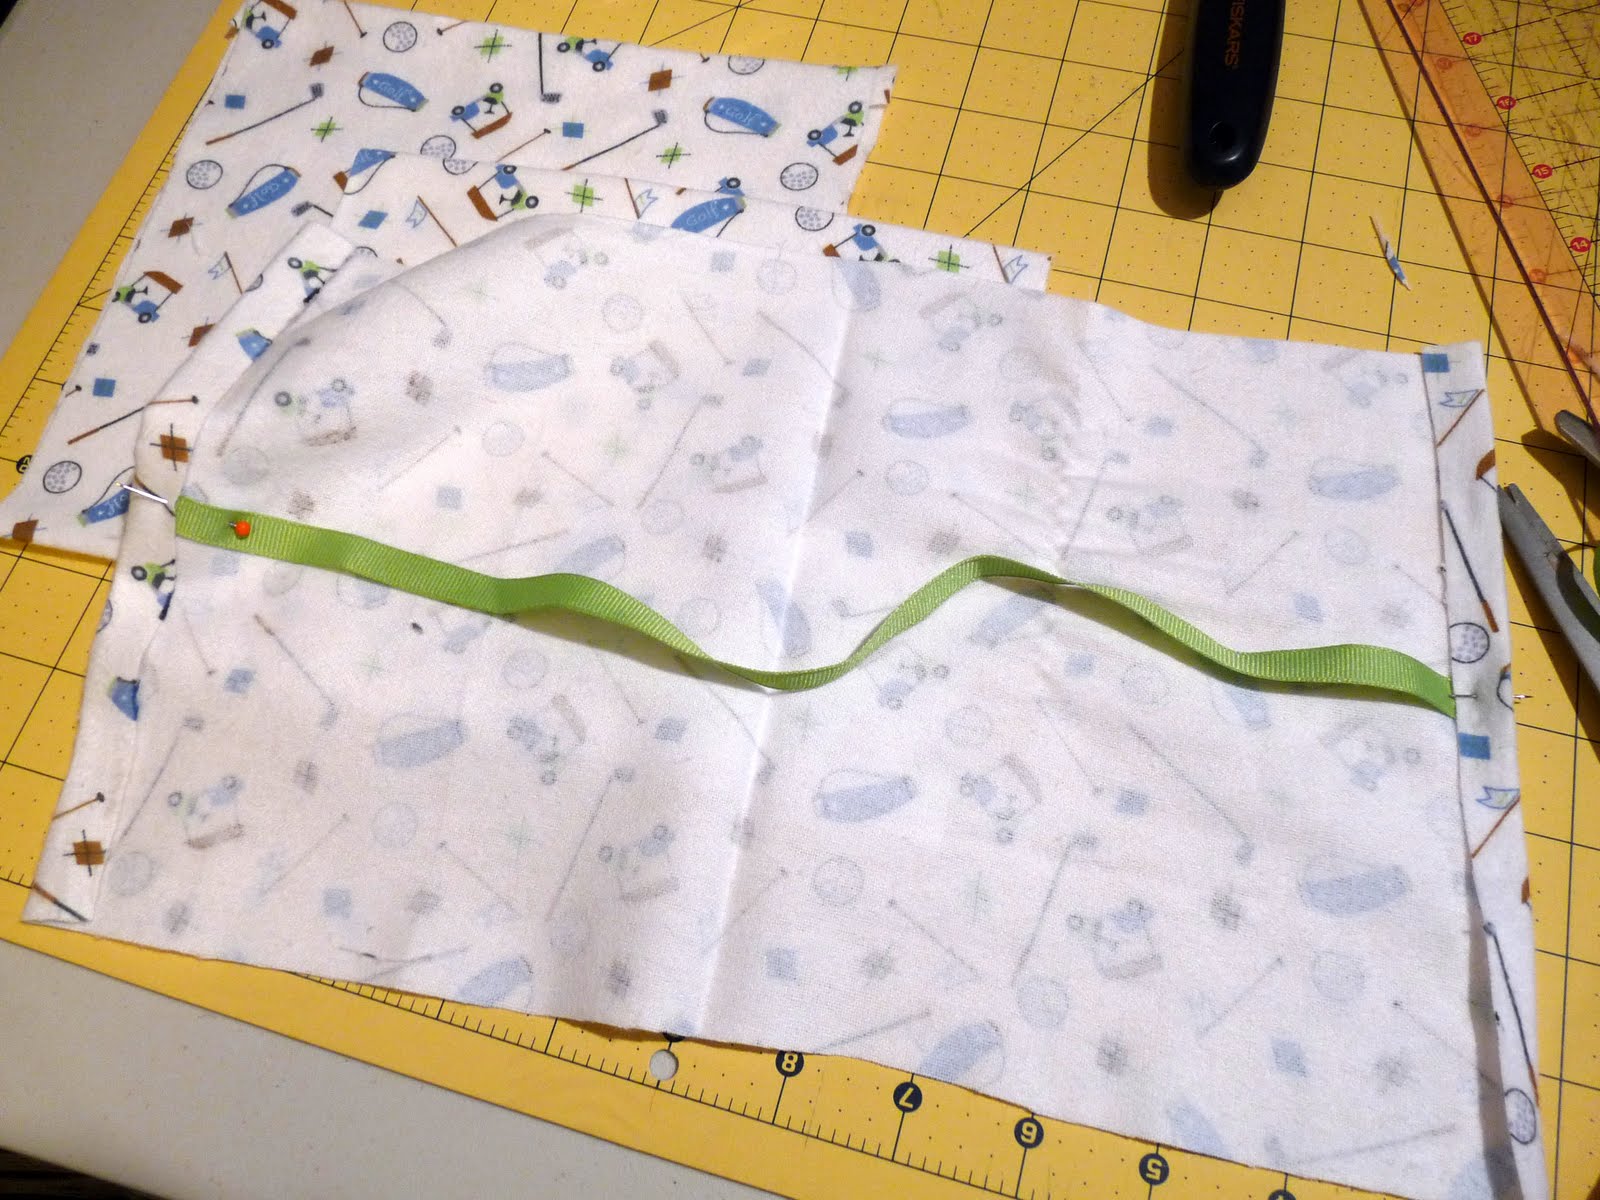
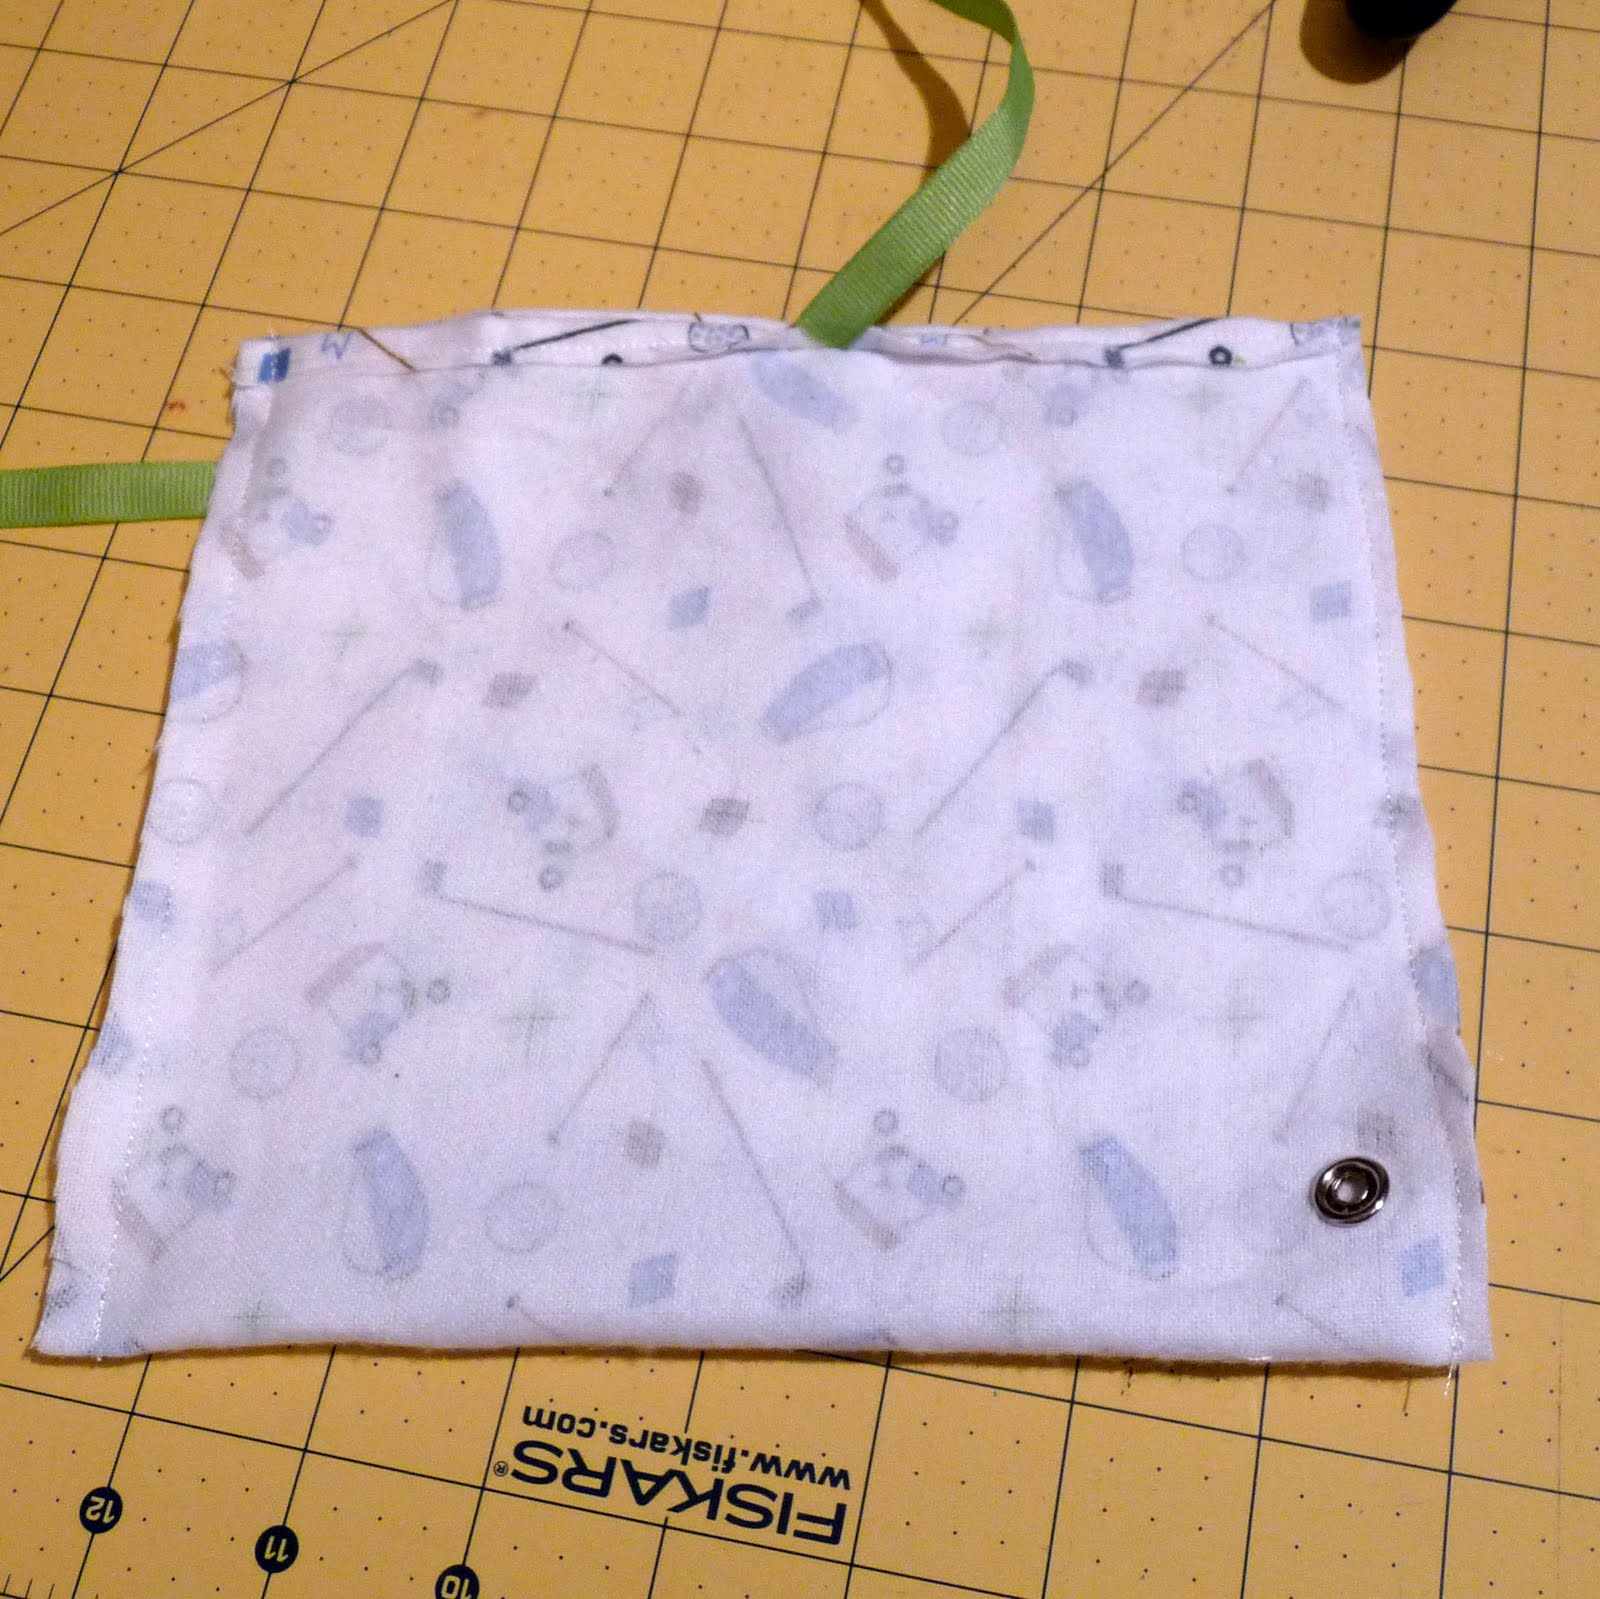
1. ‘Measure’ your fabric rectangle to be a little wider and twice as tall as a standard snack sized plastic bag. Iron over and stitch down the top and bottom edges of your soon-to-be snack bag. Tuck your 12″ ribbon segment into the middle of each edge and stitch into the seam (the ribbon will be cut in half and used to close the fabric part of your baggie later).
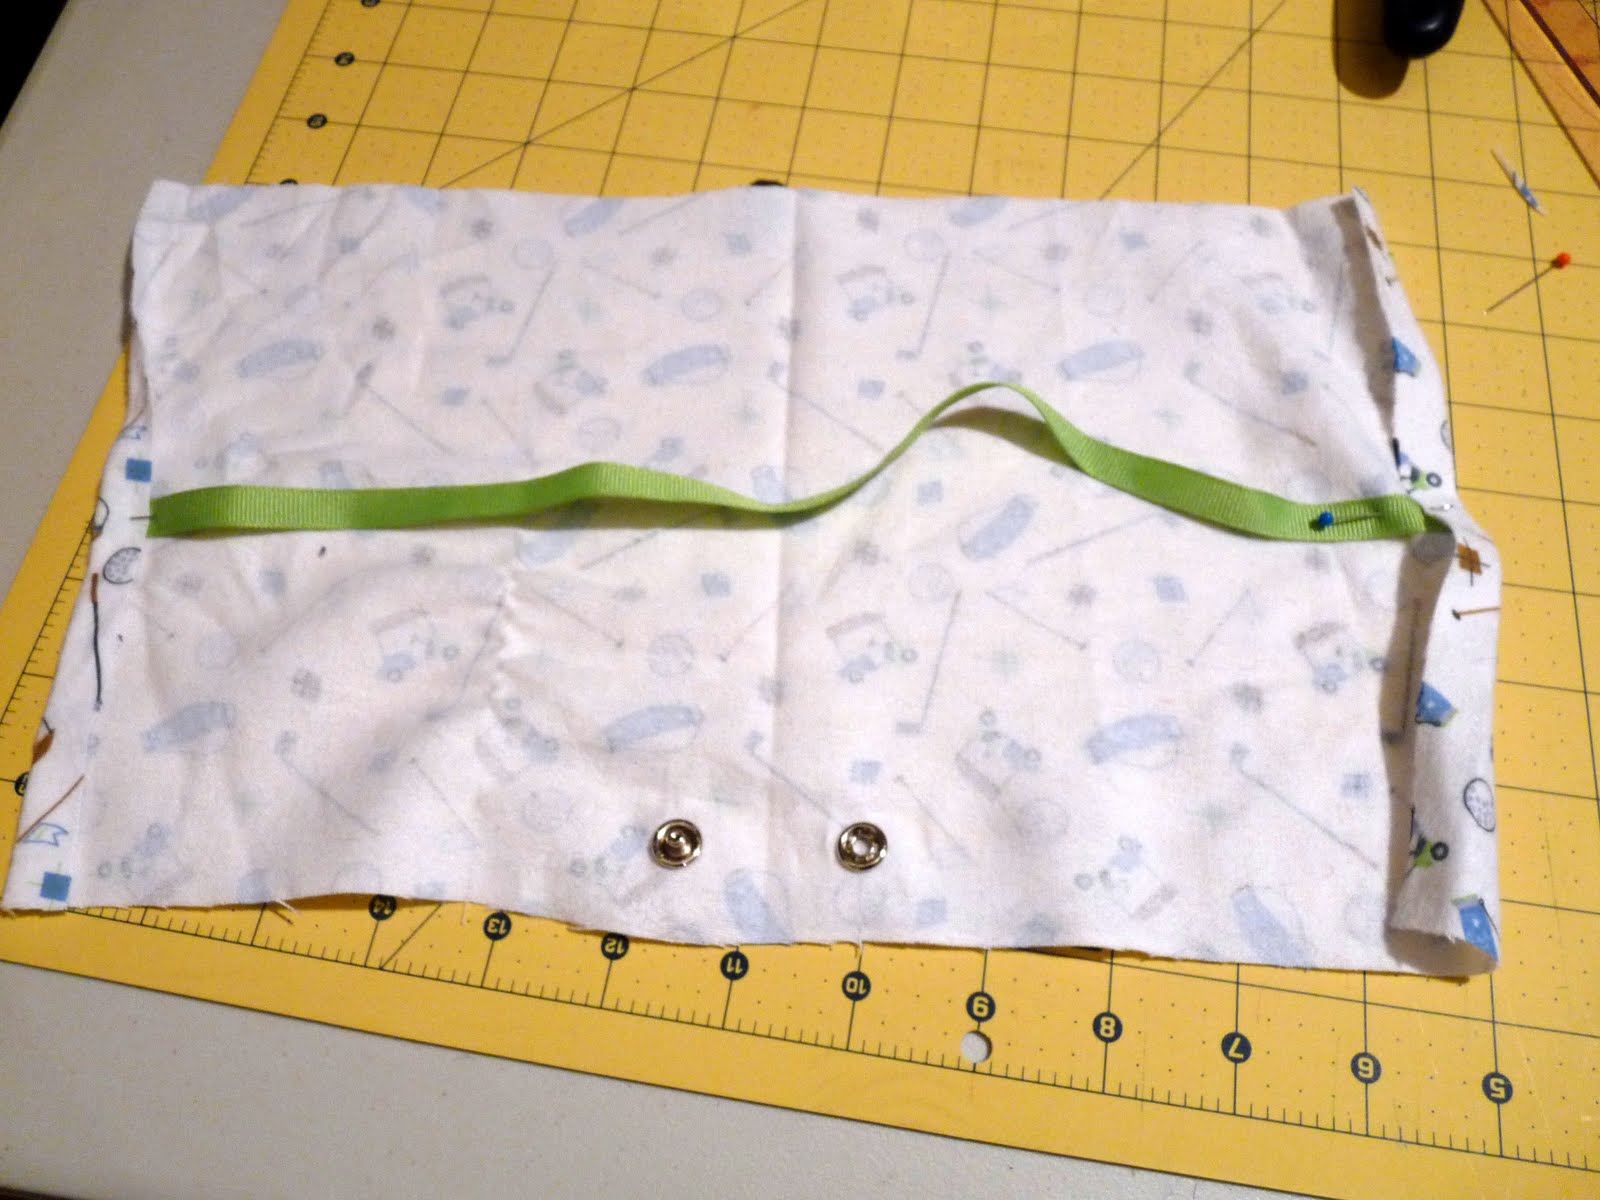
2. Using your snap setter, attach each side of a pearl snap into what will become the bottom corner of each side of the bag. This will be used later to snap your plastic bag in place.
3. Fold your ‘bag’ in half with the right sides facing each other, matching up your finished edges. Sew around the three not-finished edges, creating a bag shape. Turn right side in.
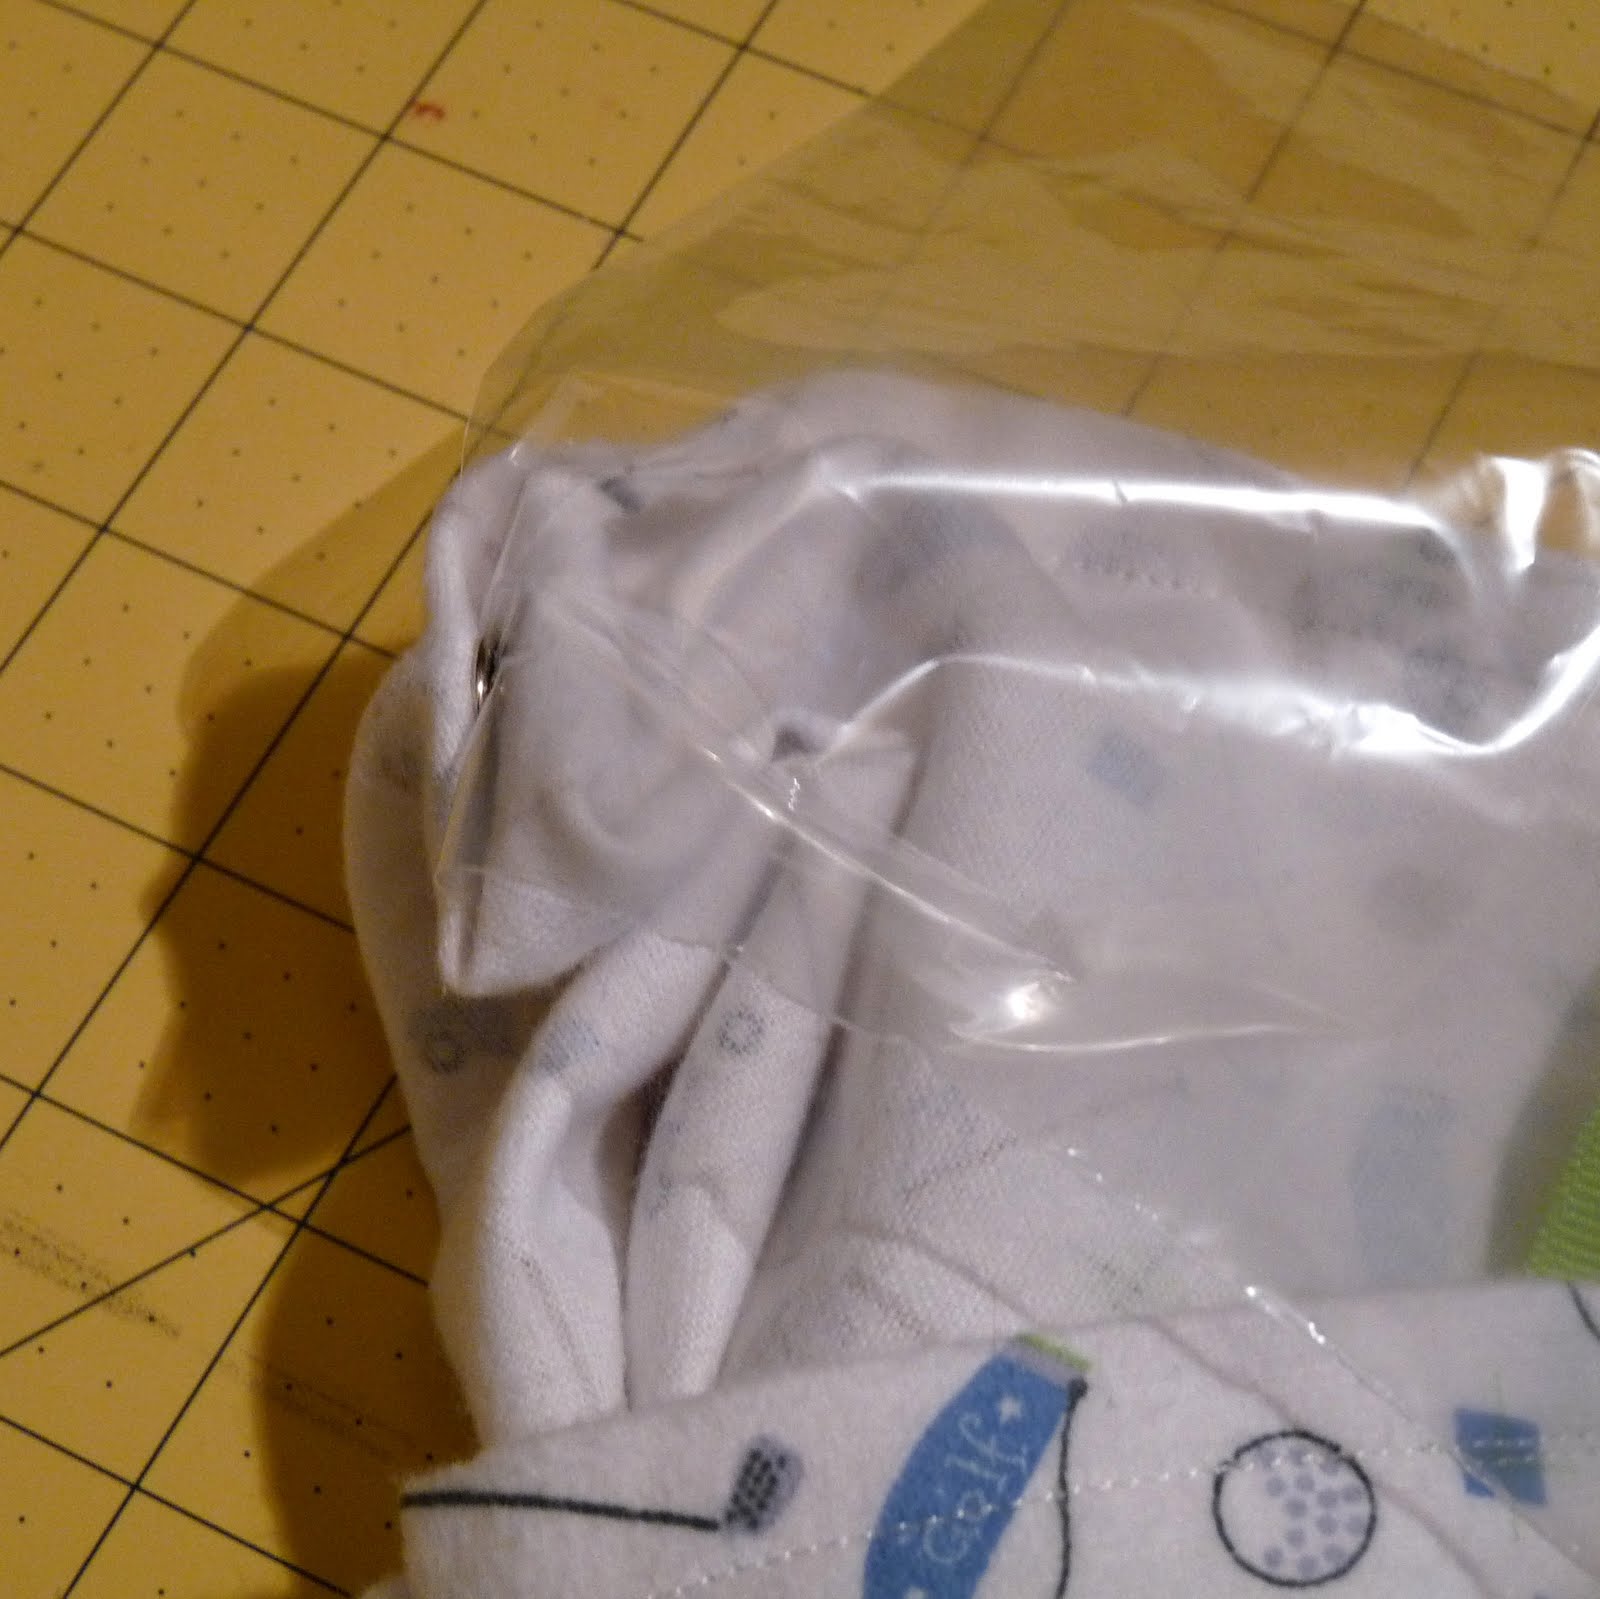
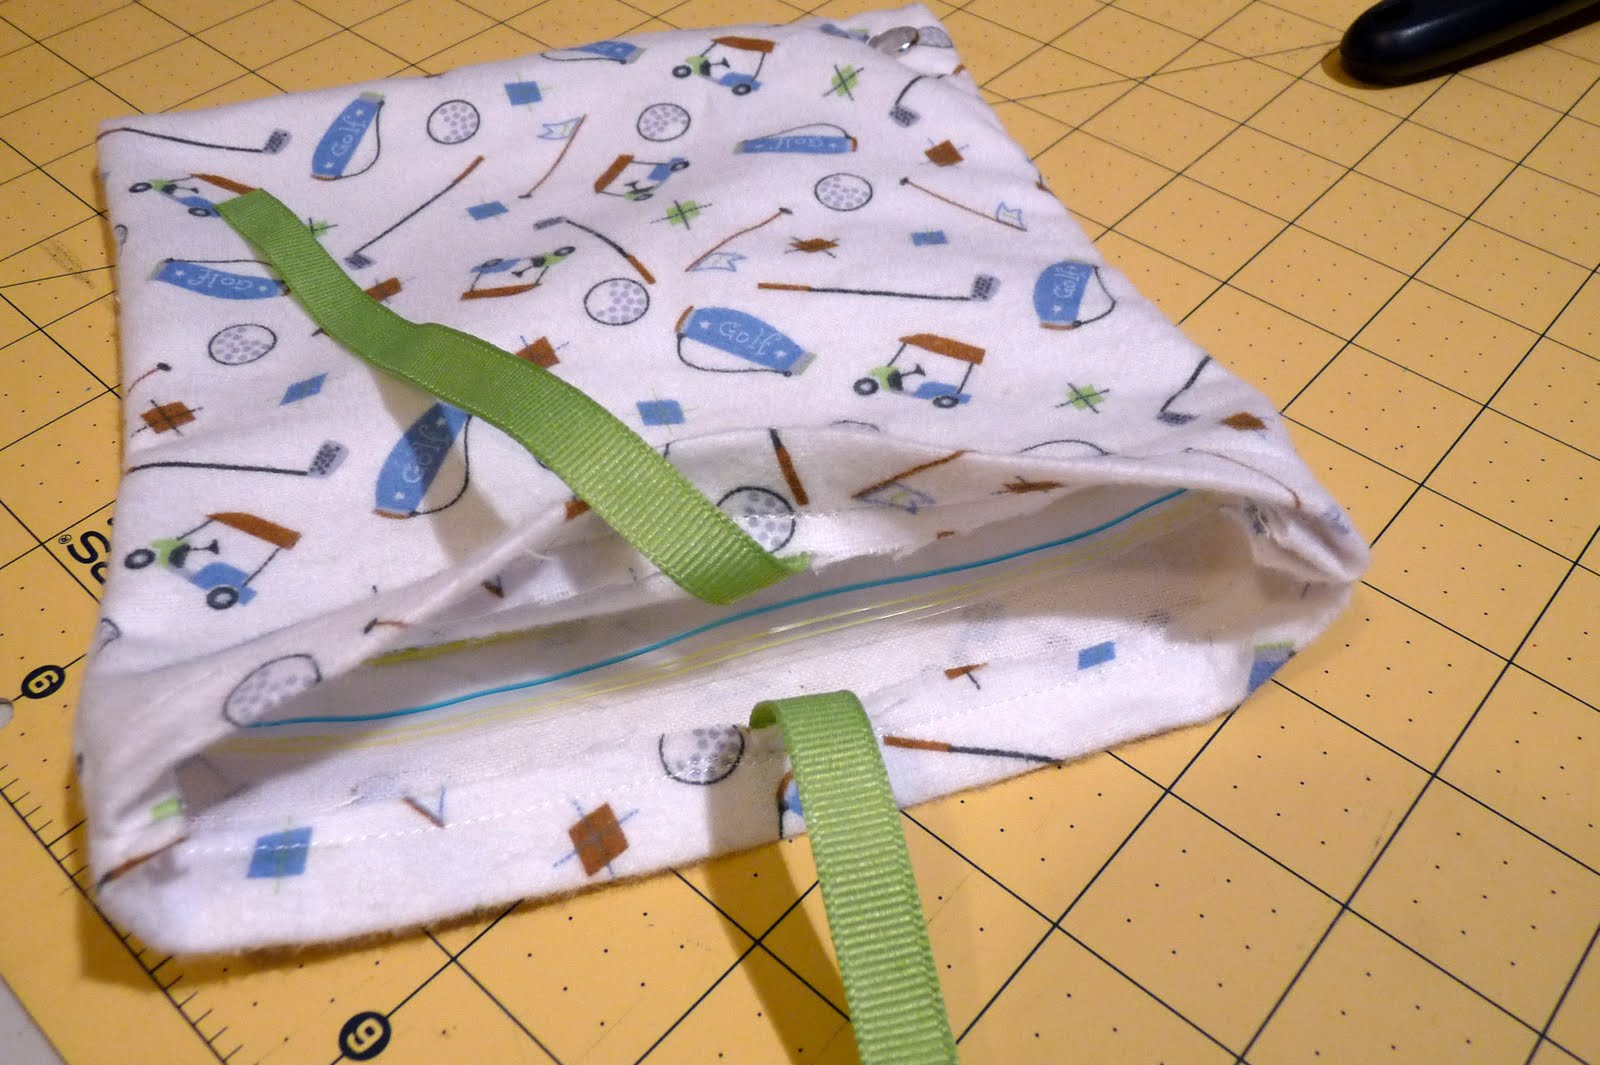
4. Put a plastic sandwich bag in your reusable baggie cover. Snap in place. Fill with your dad’s favorite treats and tuck into your dad’s golf bag for a mid-round pick-me-up.
These are very cute and how fun the different fabrics!
Having my 1st giveaway, love for you to stop by!
1funkywoman.blogspot
I love this tutorial!!!
Just a quick note to let you know that a link to this post will be placed on CraftCrave today [17 May 02:00pm GMT]. Thanks, Maria
Way cute! Thanks so much for the lunch-tastic how-to, I'll be linking.
Just a quick note to let you know that a link to this post will be placed on CraftCrave today [18 May 02:00pm GMT]. Thanks, Maria
How cute are these! Great idea and nice and easy tutorial, thanks for that! ha!
Just a quick note to let you know that a link to this post will be placed on CraftCrave today [19 May 02:00pm GMT]. Thanks, Maria
Just a quick note to let you know that a link to this post will be placed on CraftCrave today [20 May 02:00pm GMT]. Thanks, Maria
LOVE these!! Thanks for the tutorial!
Just a quick note to let you know that a link to this post will be placed on CraftCrave today [21 May 02:00pm GMT]. Thanks, Maria
Just a quick note to let you know that a link to this post will be placed on CraftCrave today [22 May 02:00pm GMT]. Thanks, Maria
Just a quick note to let you know that a link to this post will be placed on CraftCrave today [23 May 02:00pm GMT]. Thanks, Maria
Just a quick note to let you know that a link to this post will be placed on CraftCrave today [24 May 02:00pm GMT]. Thanks, Maria
Just a quick note to let you know that a link to this post will be placed on CraftCrave today [25 May 02:00pm GMT]. Thanks, Maria
Just a quick note to let you know that a link to this post will be placed on CraftCrave today [26 May 02:00pm GMT]. Thanks, Maria