kojotutorial- reversible dress with pretty pleats
As an Amazon Associate I earn from qualifying purchases.
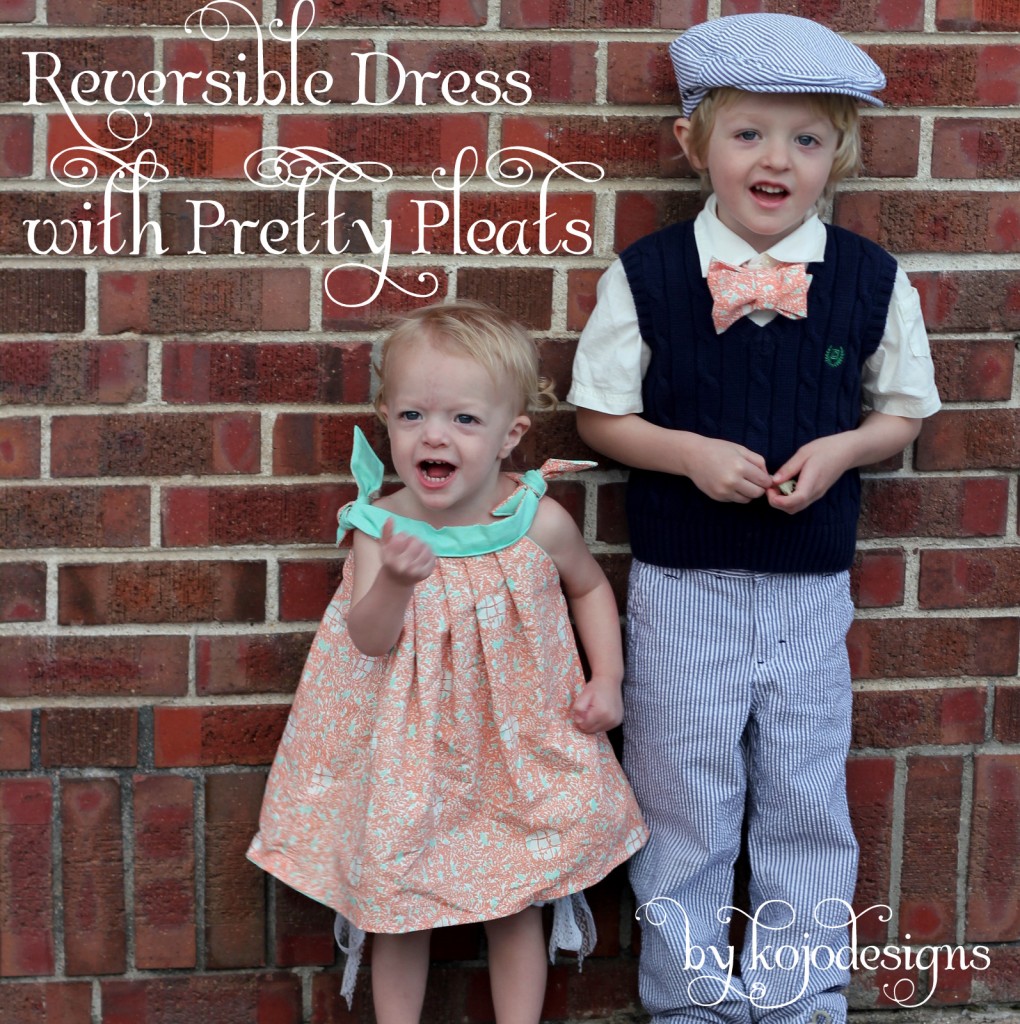 Have I told y’all about my fascination with pleats? Yes? Well, just in case you were wondering still- I love them! They’re just so preppy. And pretty. And pleat-y.
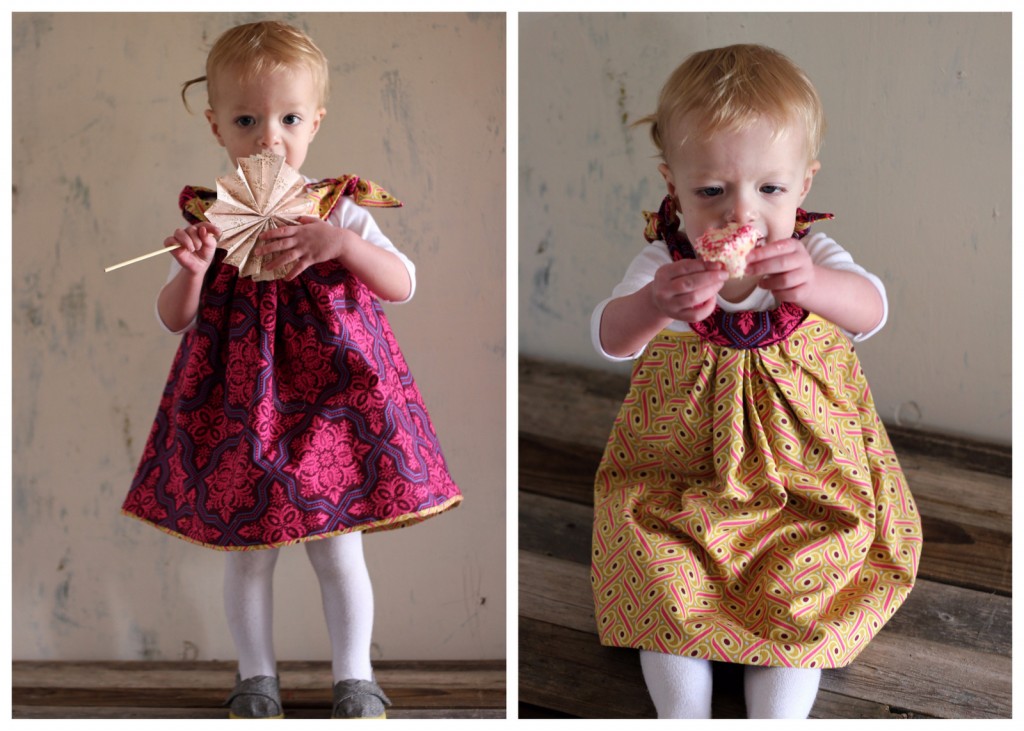
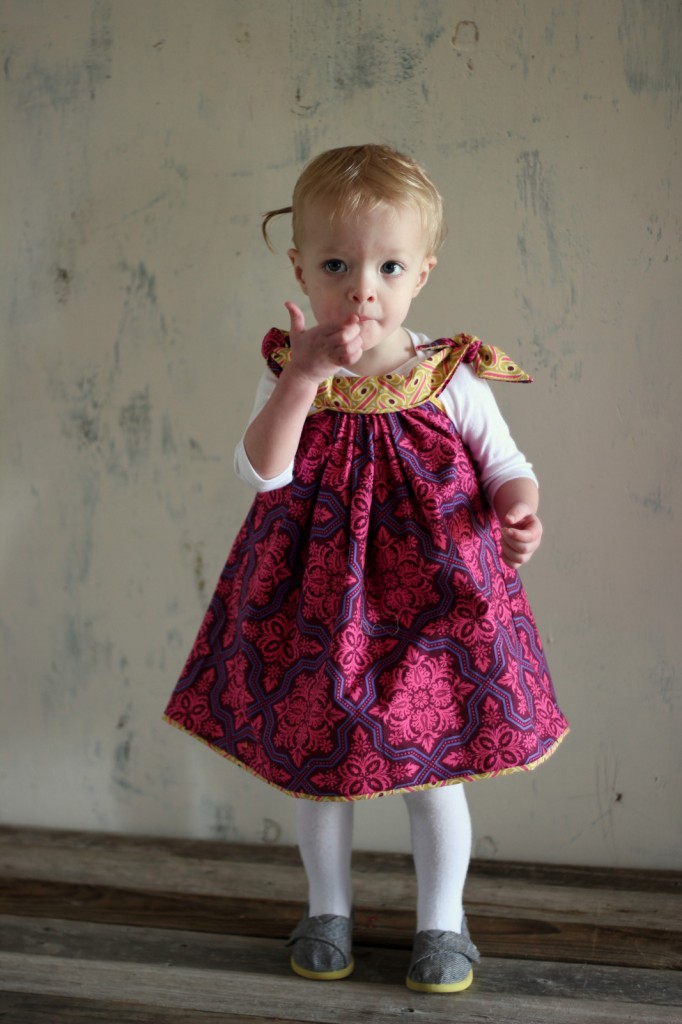
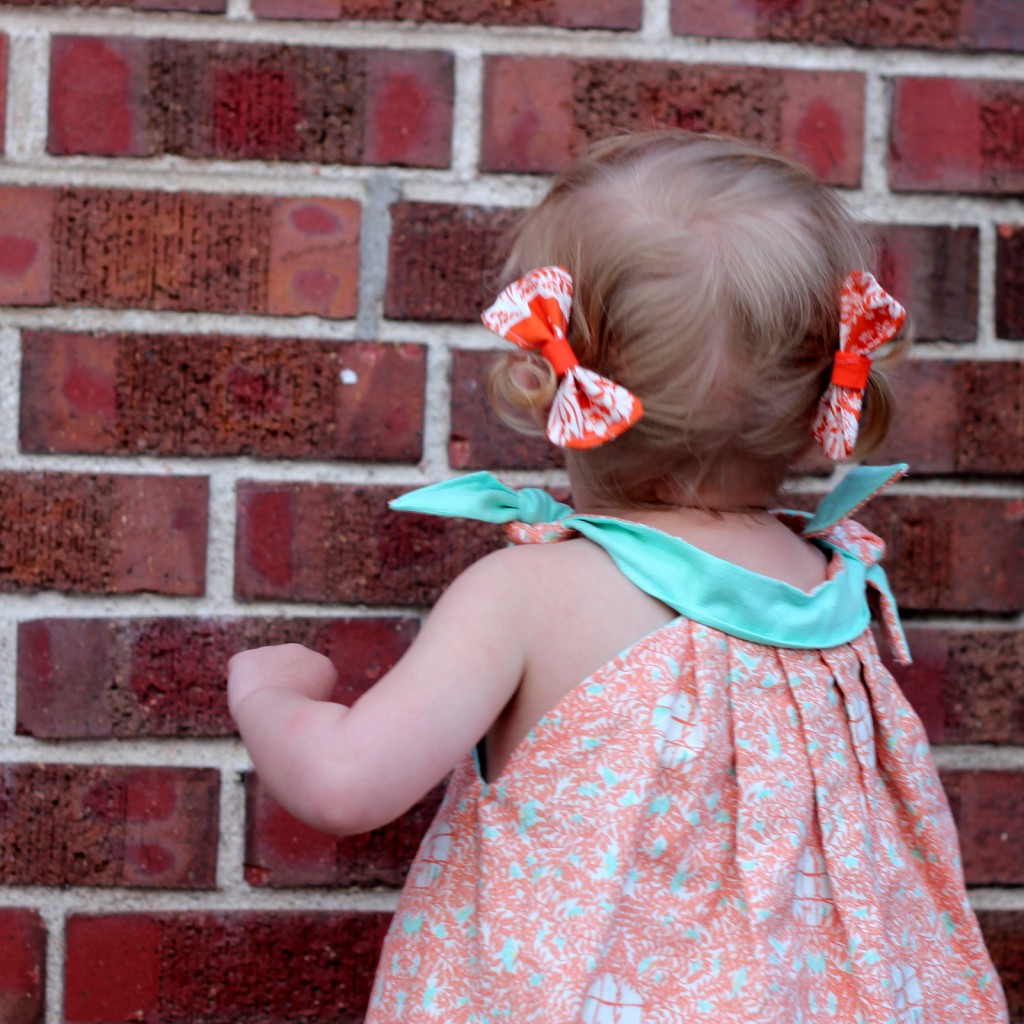 This dress is the perfect excuse to pleat and pleat some more- especially since it’s reversible (twice the wearability, but only one hanger!) AND super simple to put together.
You need one, too, right? To make one of these reversible dresses, you’ll need-
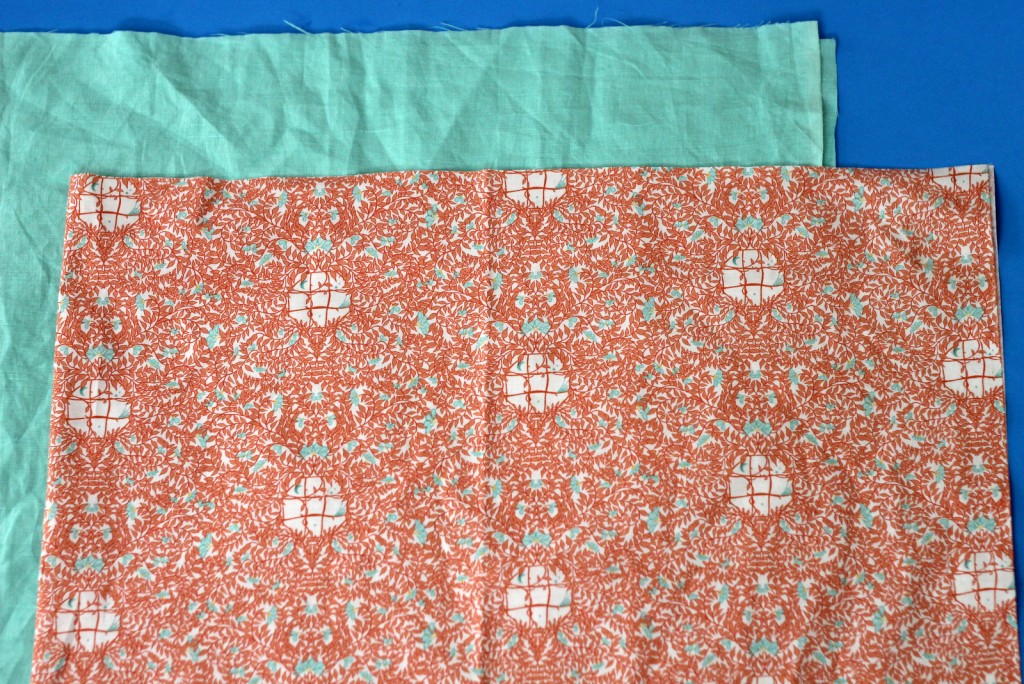
*two half yard pieces of coordinating fabric
*sewing machine and supplies
1. Take your two rectangles and stack them together. Cut a 3″ section off of the entire bottom horizontal edge.
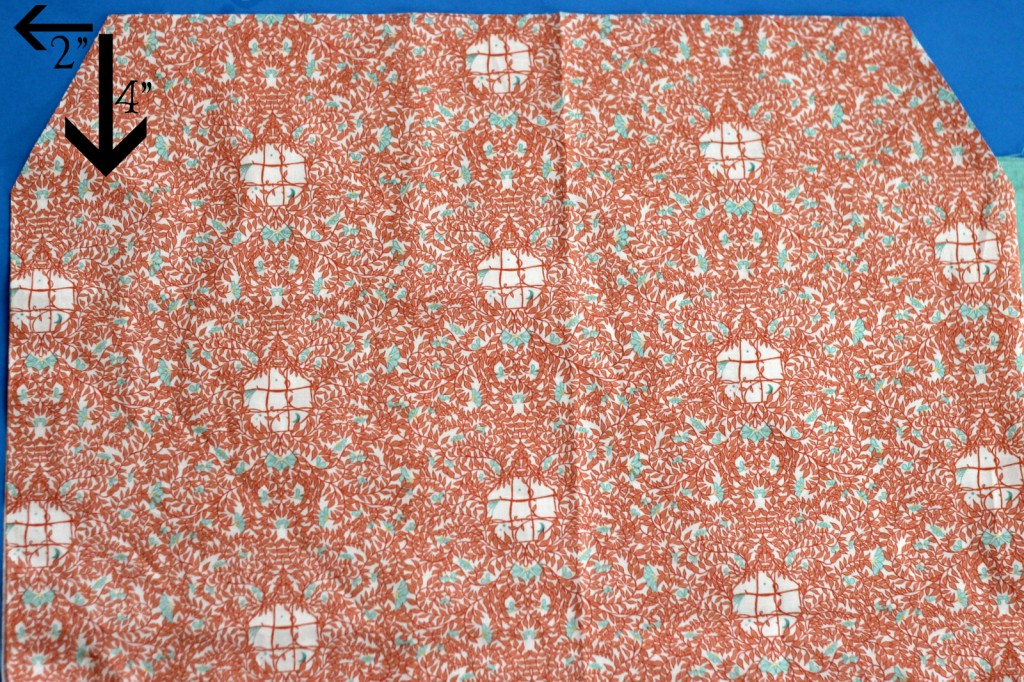
2. Fold the two larger rectangles in half. Cut a diagonal line at the top corner of both ‘large’ rectangles measuring 4″ down and 2″ horizontally.
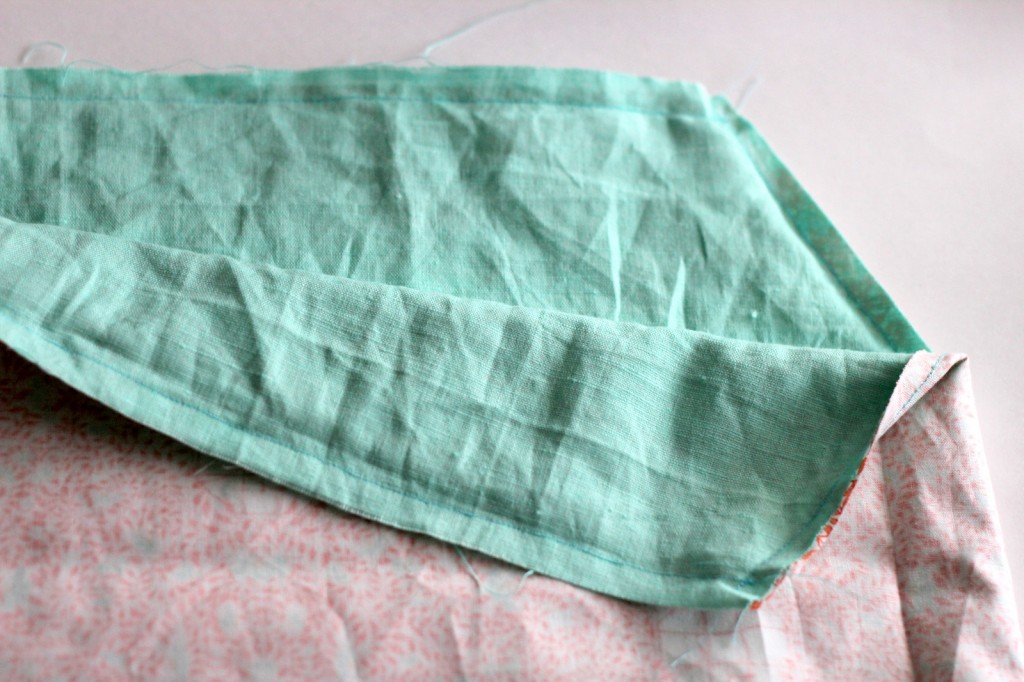
3. First, sew along the one open dress side edge, making the ‘tube’ that’ll become the dress for both larger pieces of fabric. Then, place the two tubes-with-v-notches together, right sides facing in (slide one into the other and ensure that the ‘right’ sides are touching each other). Make sure the side seams align. Sew the entire top edge together, following the lines and notches.
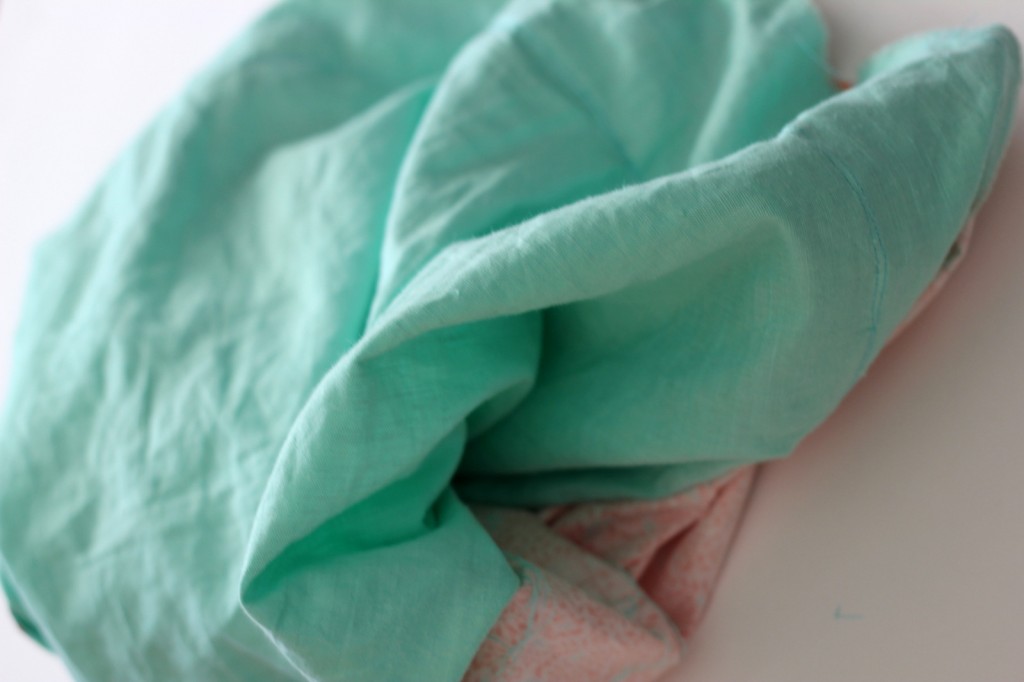
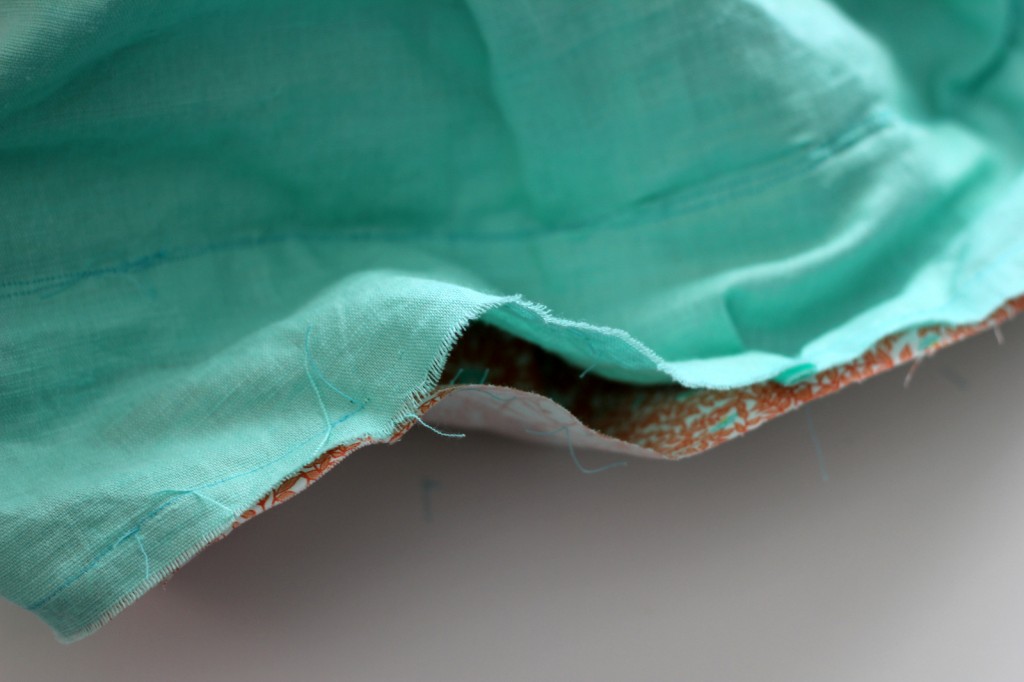
4. Pull the two pieces of fabric apart, creating one long tube. Then, without tucking the tubes into each other again, begin to pin the bottom edges together, again right sides touching each other (if you pin with the tubes tucked into each other, you won’t be able to turn the dress right side in). You won’t be able to pin the entire bottom edge together (you pull it through as you go), but pin the part you can access and sew in place. Continue pinning and sewing until you have only a 5″ gap/opening left.
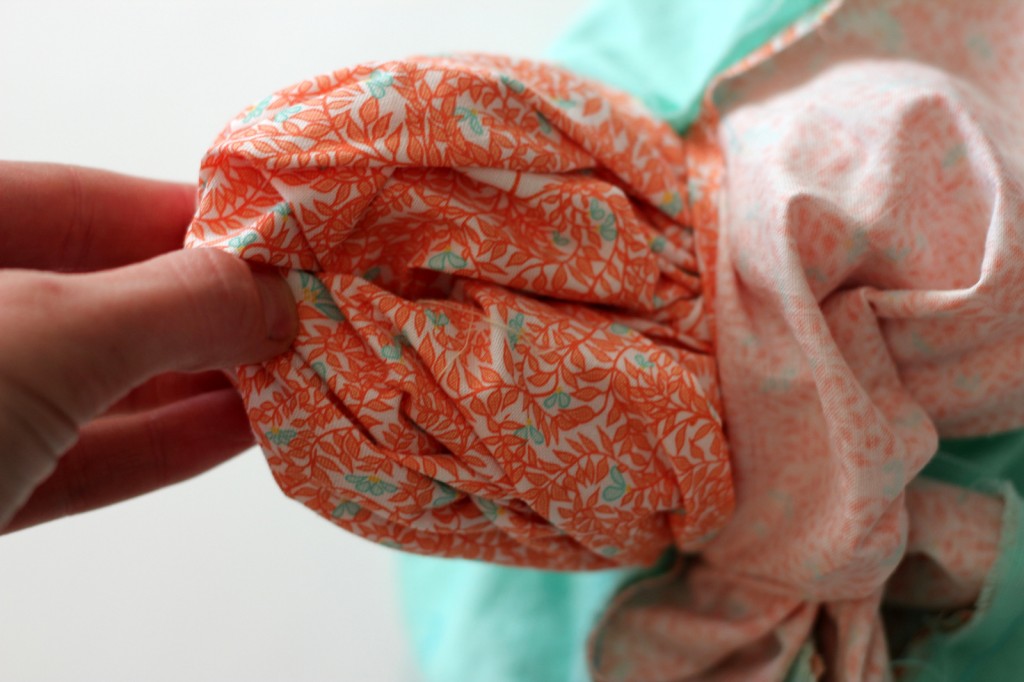
5. Pull the dress right side in through the gap/opening.
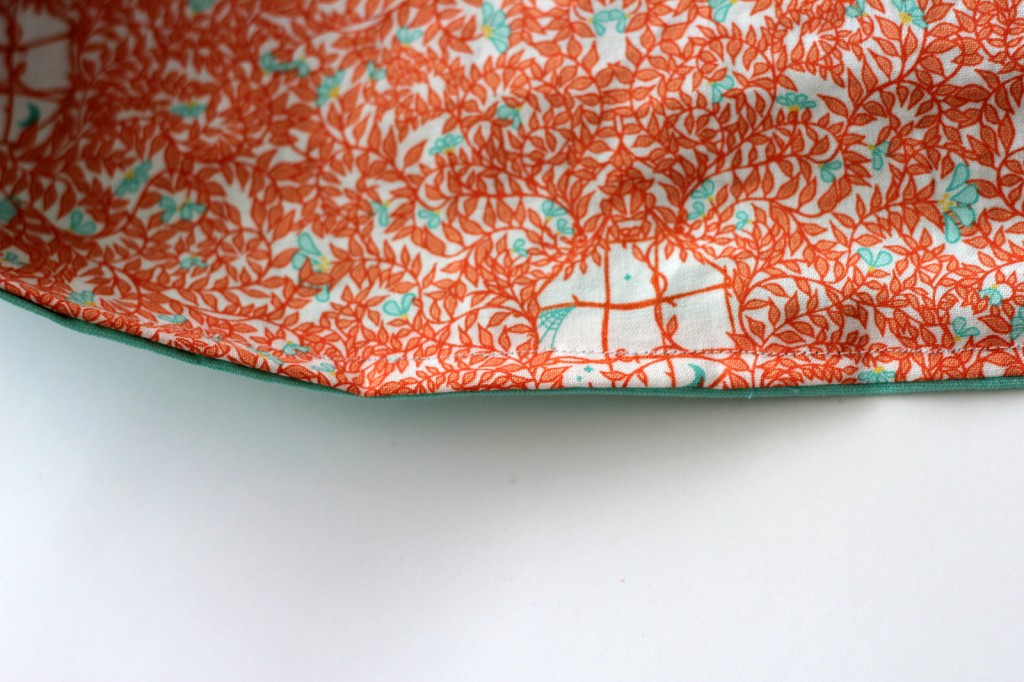
6. Top stitch around the bottom edge, catching the unfinished gap portion in your stitching (thus, finishing that portion and closing the hole).
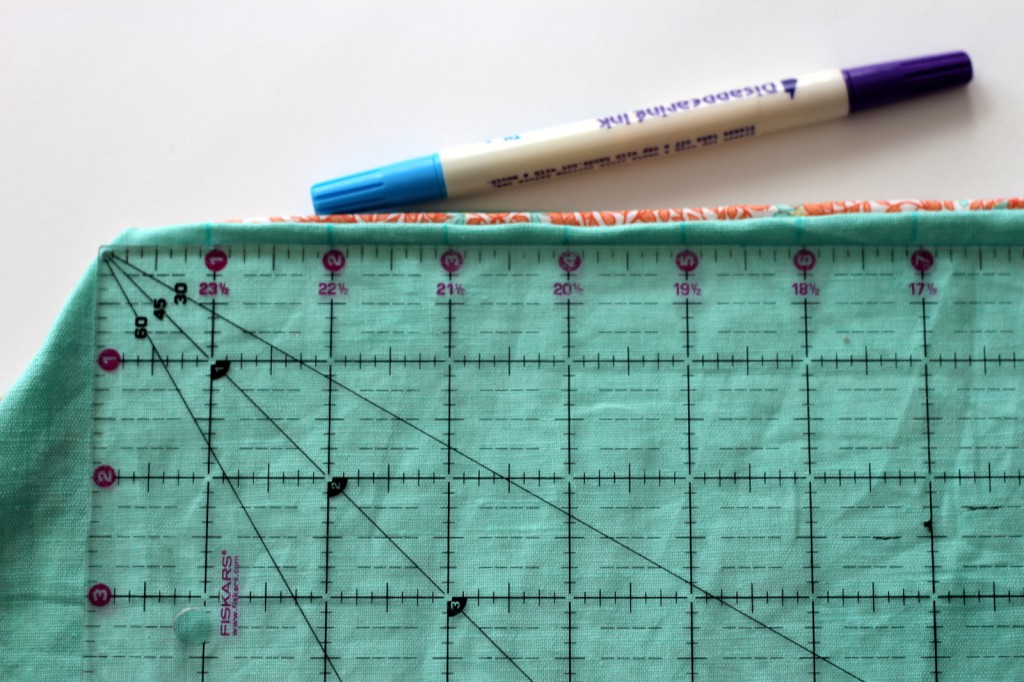
7. With a fabric pen, mark every inch along the top edge of the dress.
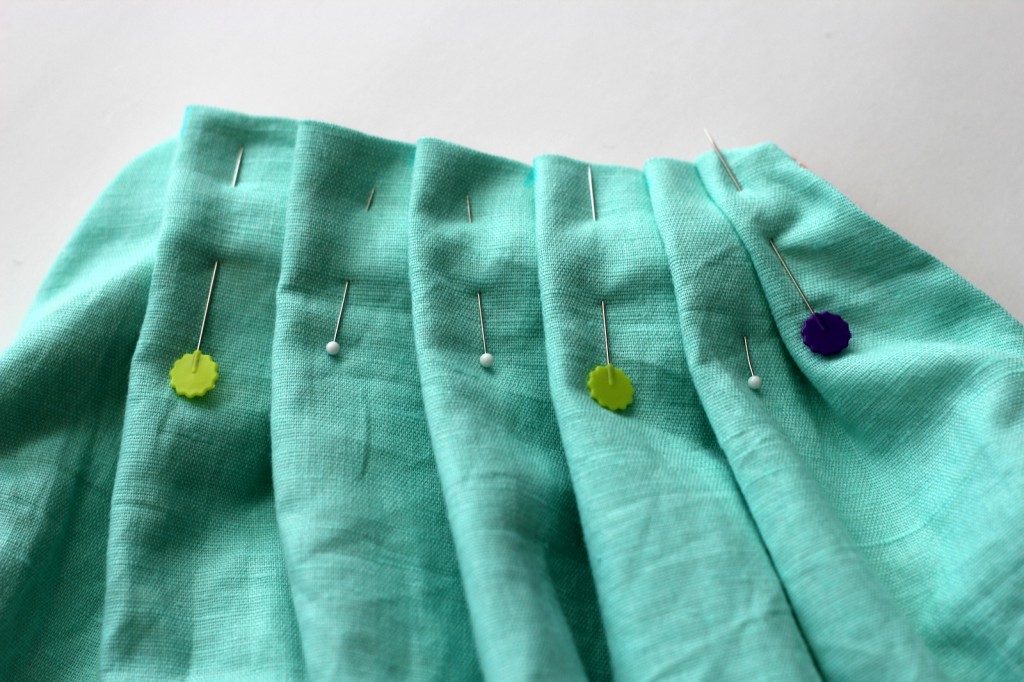
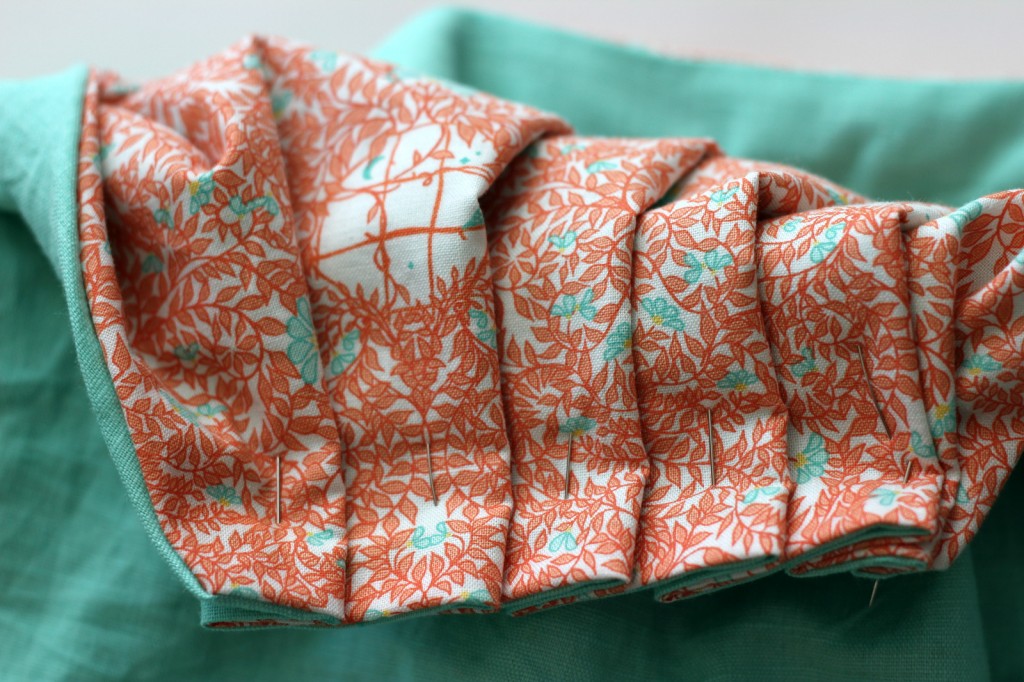
8. Pin your pleats in place. To do so, match up every first and third inch mark (the end of your pleat becomes your new ‘first’ inch mark each time). Continue pinning until your top edge is gathered to 5″-6″ width. Check to make sure that your pleats on one side look ok on the other side and adjust if needed.
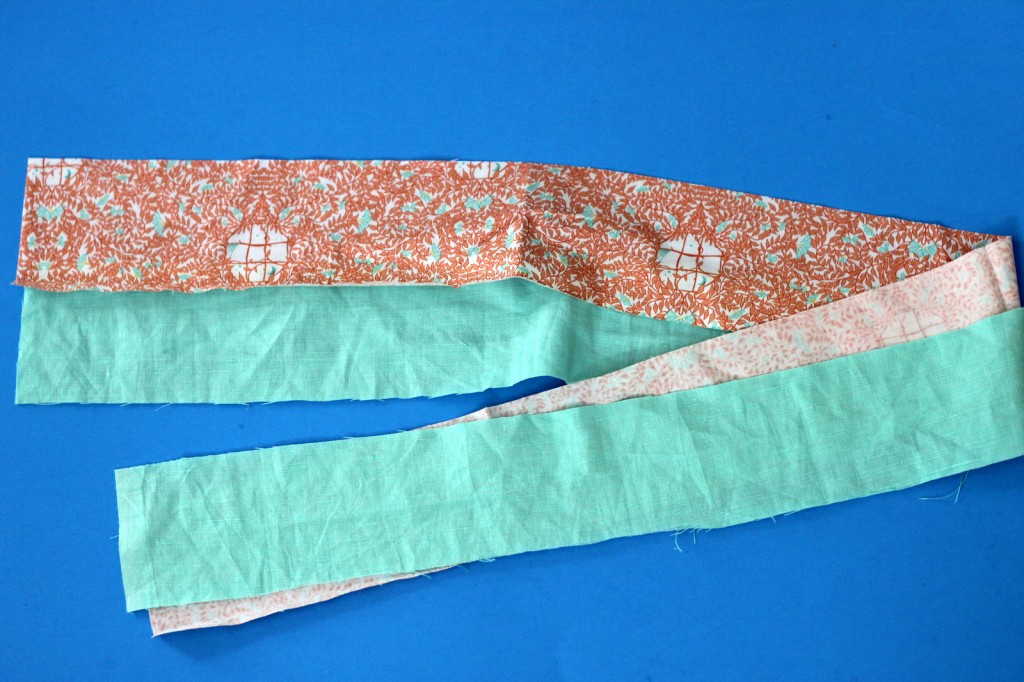
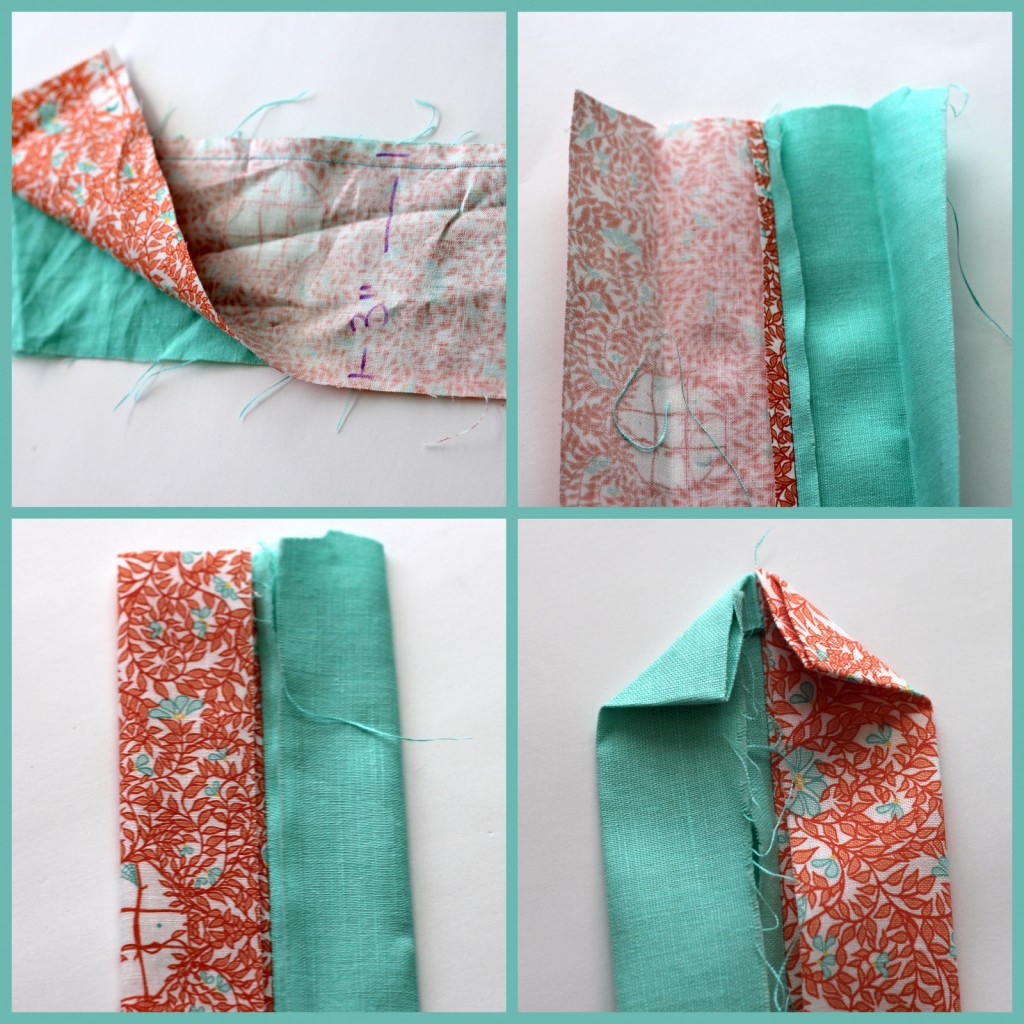
9. Take your 3″ ‘extra’ pieces that you cut off at the beginning. Stack them together, right sides facing in and sew together along one edge. Cut your sewn pieces in half, creating one piece for the front of your dress and one for the back. Press the raw edge of each side in to meet the sewn edge. Also, press each end in, making triangles at the short raw edges.
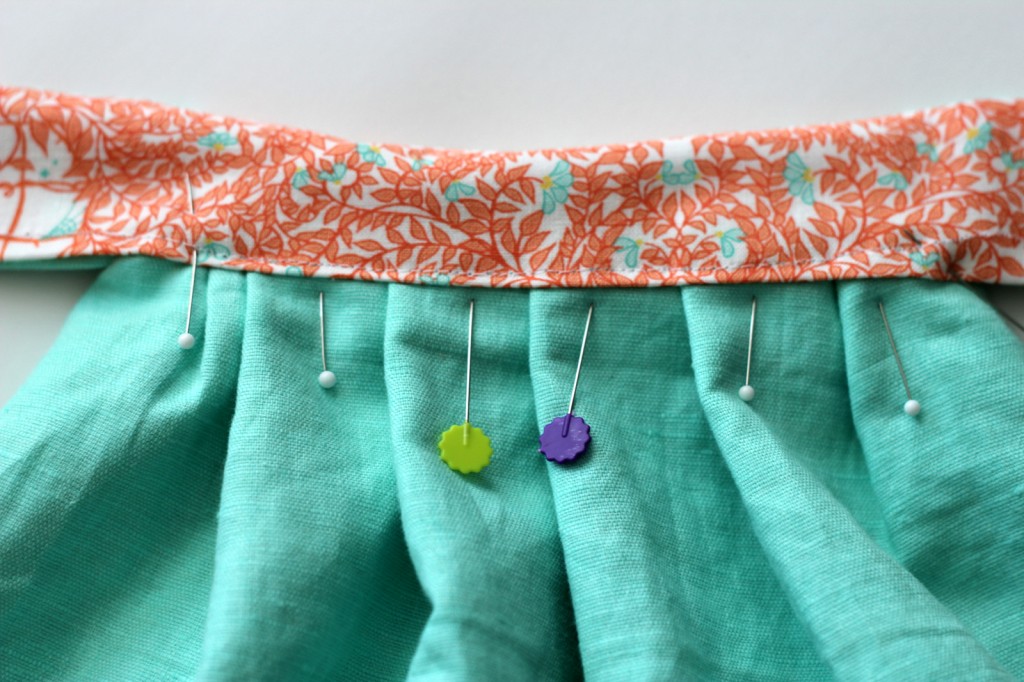
10. Sandwich the pinned-and-pleated top edge of the dress in between the casing you just made, making sure that the center of the dress matches the center of the casing. Sew in place.
11. When you sew the casing/sleeves in place, sew up each angled edge, ensuring that all of the raw edges are tucked in.
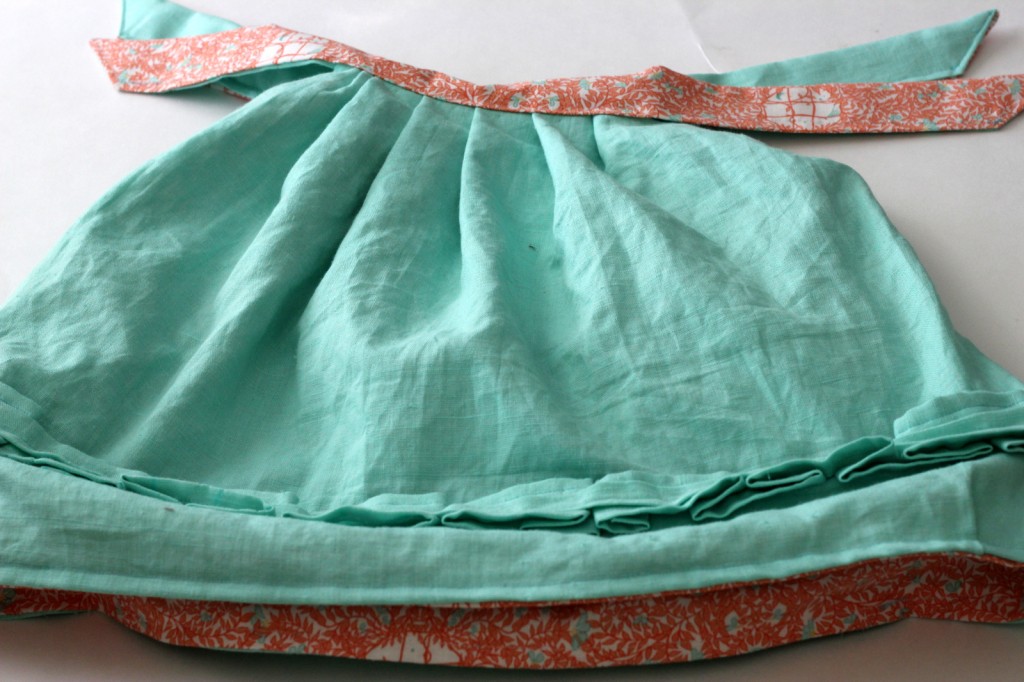
12. You’re done! Well, unless you’d like to gather another couple half-yards of fabric and make another (Piper Jane already has a few of these hanging in her closet).
*A note about sizing- I’d guess that this dress is approximately 18 month sized. If you’re wanting to make a different size, you’ll have to adjust the measurements (I’d use a template dress in the size you’re hoping to make to gauge measurements).


I just love this lovely dress. It’s so adorable. I have to try this. Thank you for sharing. Have a great week.
Vanessa
Thanks Vanessa- if you try it let me know, ok??? 🙂
Flipping adorable as usual! I love the reversibility! Cute fabric choices!
Thanks friend! You’re pretty much the queen of little girl dresses- what a compliment coming from you. 🙂
Thanks SO much for sharing this tutorial. The first time you posted these outfits I was so in love with the dress. This is definitely on my list to try!
Jennifer- if you try it, send me a picture of the finished product ok. I think I might make another this weekend- haha! 🙂
i LOVE IT!!
Thanks Kathi! 🙂
I have great fabric I’m planning to use for this dress, but I have a question. Is the starting rectangle is ~45″ wide (or width of fabric) and 18″ tall, meaning the dress is approximately 18″ long?
The starting rectangle is about 36″ x 18″ (like half a yard of quilting cotton). You end up cutting several inches off the bottom and using it for the top casing, so the dress ends up being closer to 15″ long. Make sense?
Thanks! I’ll let you know how it goes.