
cinched fabric belt tutorial
As an Amazon Associate I earn from qualifying purchases.

Today’s the first day of Sewing for ME, friends- starting us off is Jess from Craftiness is Not Optional with a fabulous cinched fabric belt tutorial.
Hey, all! I’m Jess, from Craftiness is not Optional, and I’m so excited to be here with kojodesigns and Sewing in No Man’s Land for their Sewing for Me! series.
Isn’t that such a great idea for a series? I know oftentimes I turn to sewing for my girls since it’s easier, usually quicker, and uses less fabric. But let’s not neglect ourselves, ladies. 🙂

I’ve been meaning to make some cinched belts, and boy are they easy to make and cute to boot.

Here’s how I made them!
You’ll need:
belt buckle (I found mine on Etsy)
1/2 yard of fabric
iron on interfacing
matching thread

First I cut out 2 long strips of fabric. I measured around my waist where I wanted to wear the belt, then added length to wrap around the buckle (about 2 inches), and extra length to cinch through the buckle.
The width I figured out by measuring the space in the buckle and adding about an inch for seam allowance and cinch factor. 😉

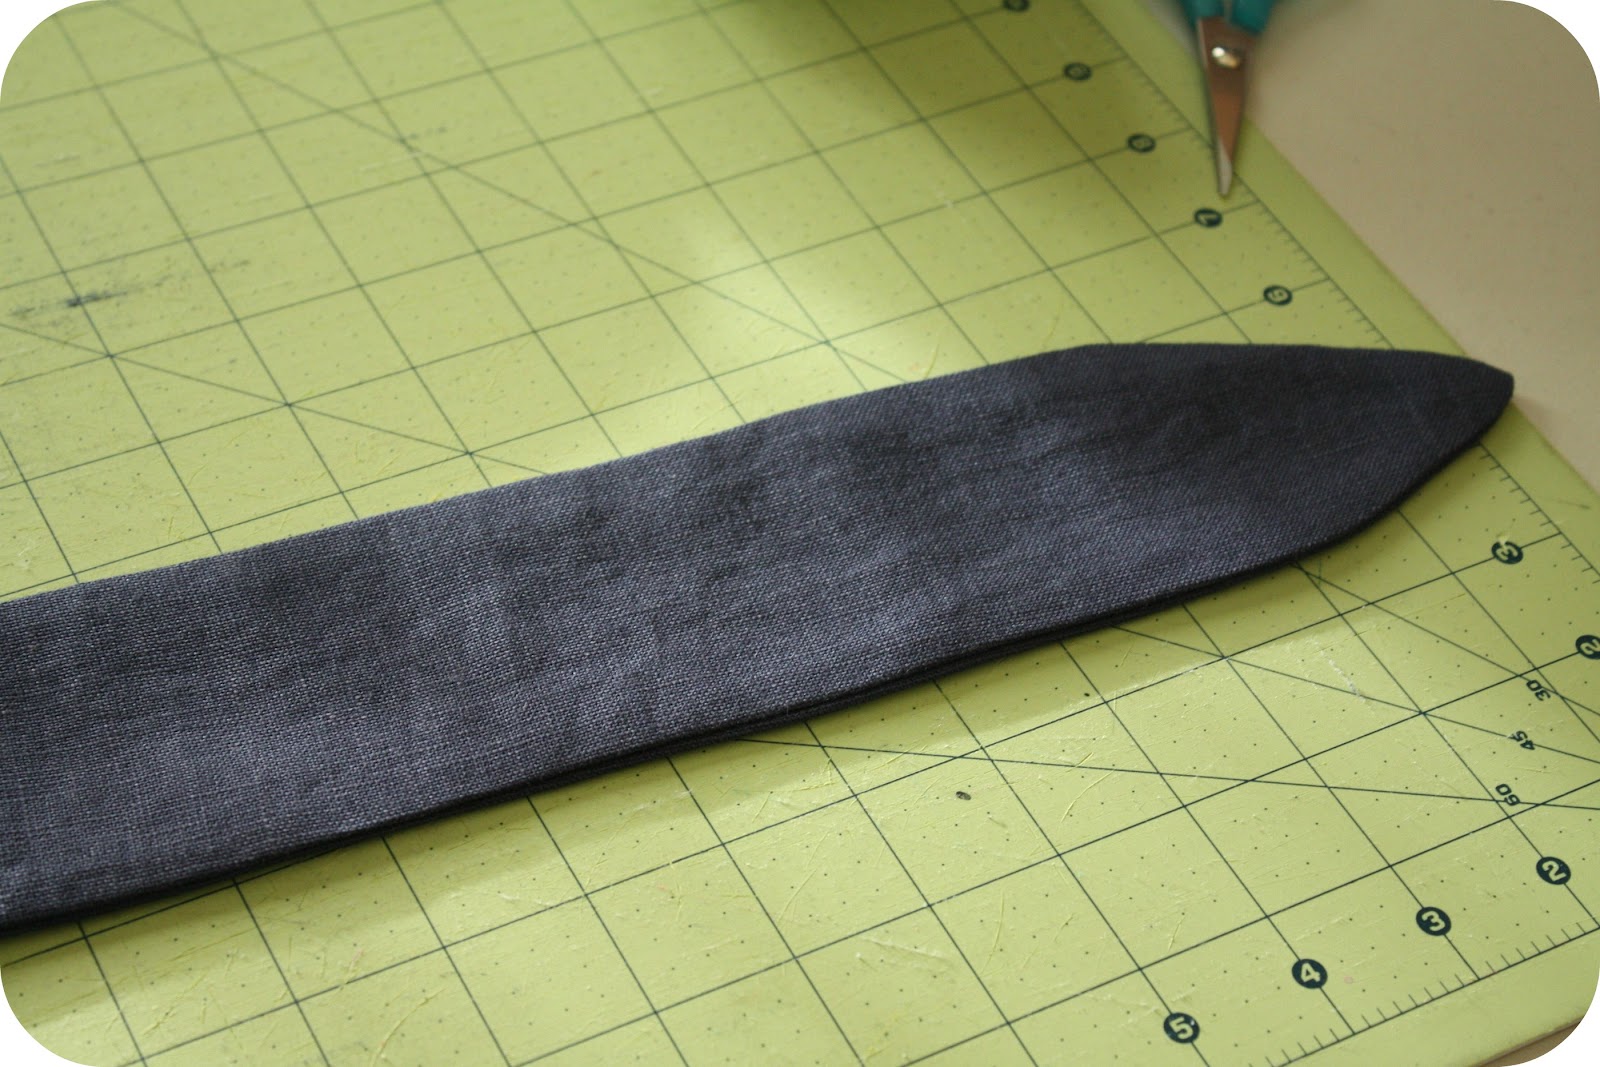
Next I pinned them right sides together like so. Then I cut a piece of paper the same width as the strips of fabric.

Then I folded the paper in half and sketched out a curve like shown.

Then I pinned it down to one end and trimmed it down.

Sew around the whole thing about 3/8″ from the edge, leaving the flat end open.
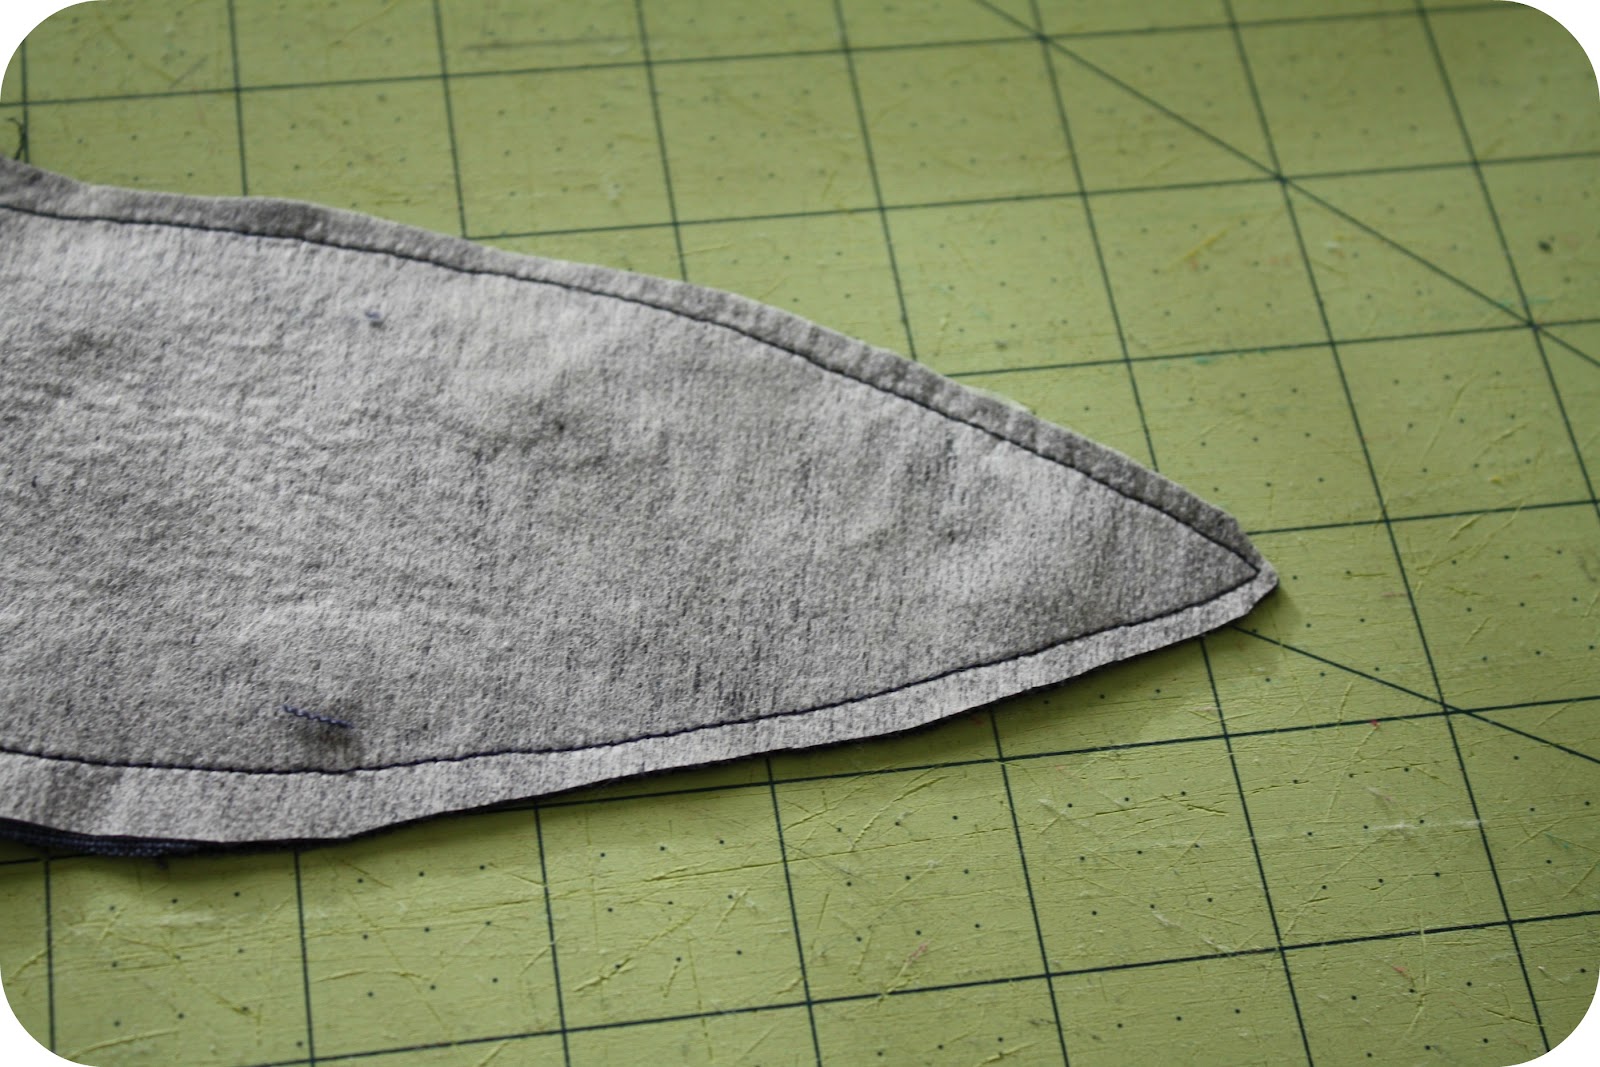
Then I trimmed around the pointy end like so.
Then I turned it right side out with a chopstick and pressed with my iron.
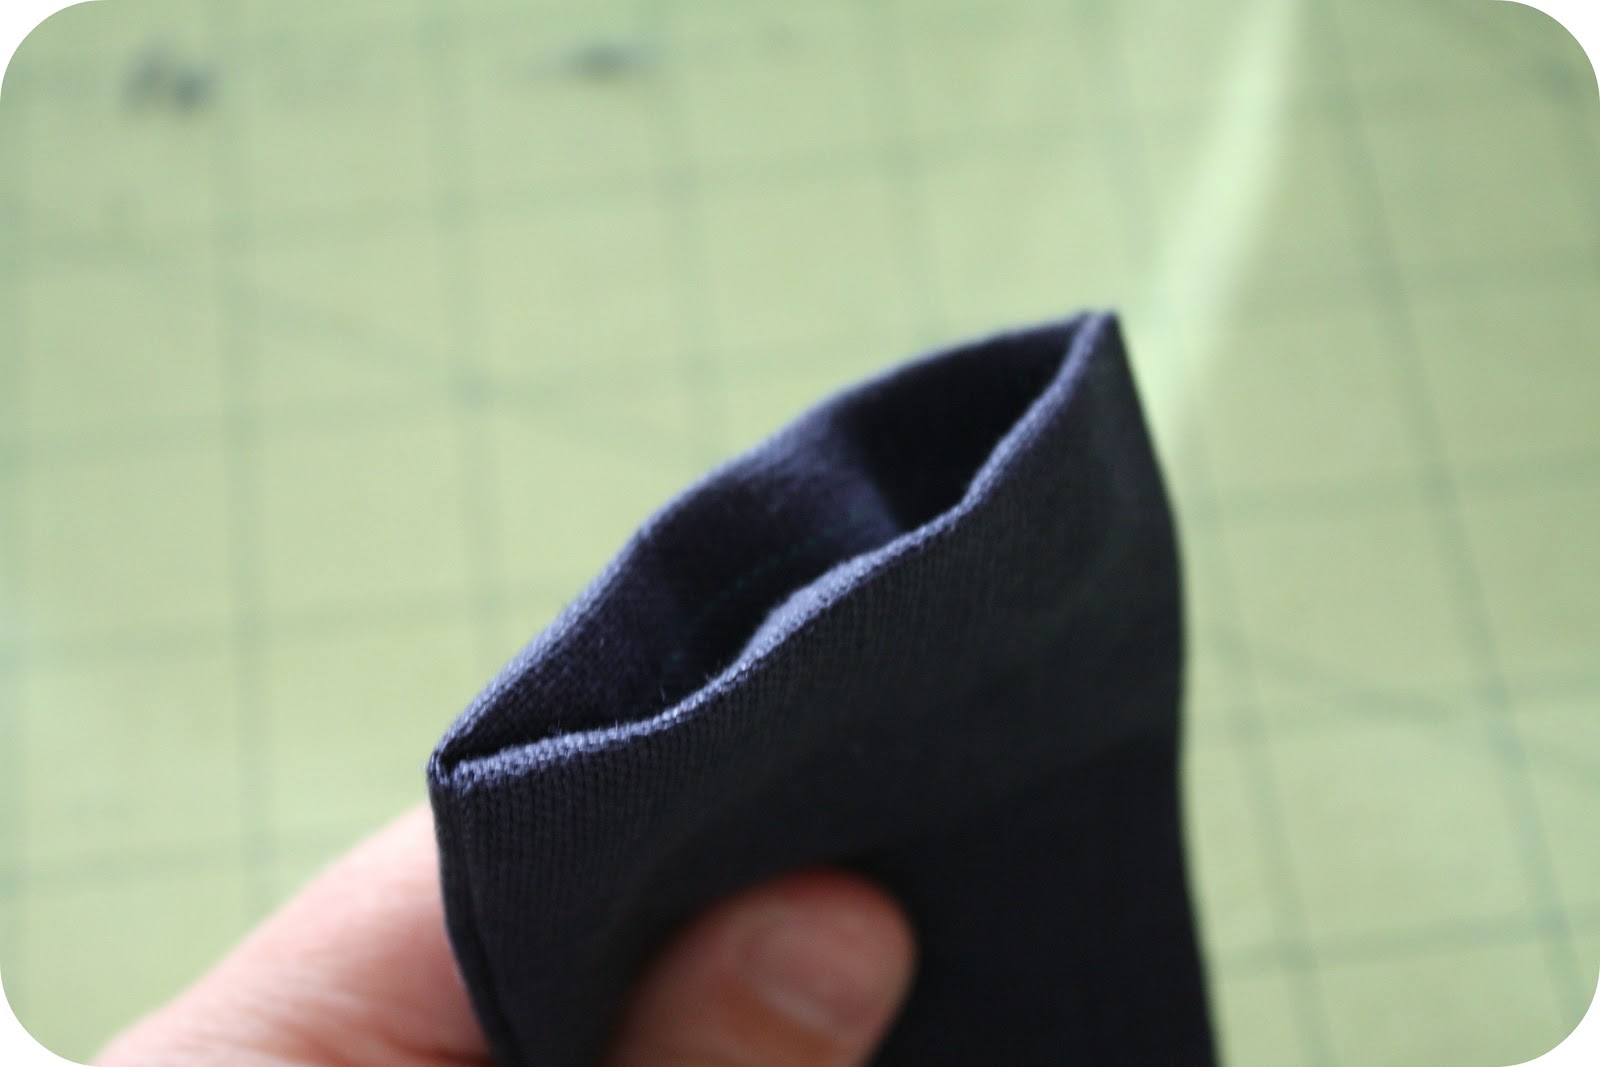
Next, turn in the end about 1/2″ and then top stitch 1/8″ from the edge around the entire belt.
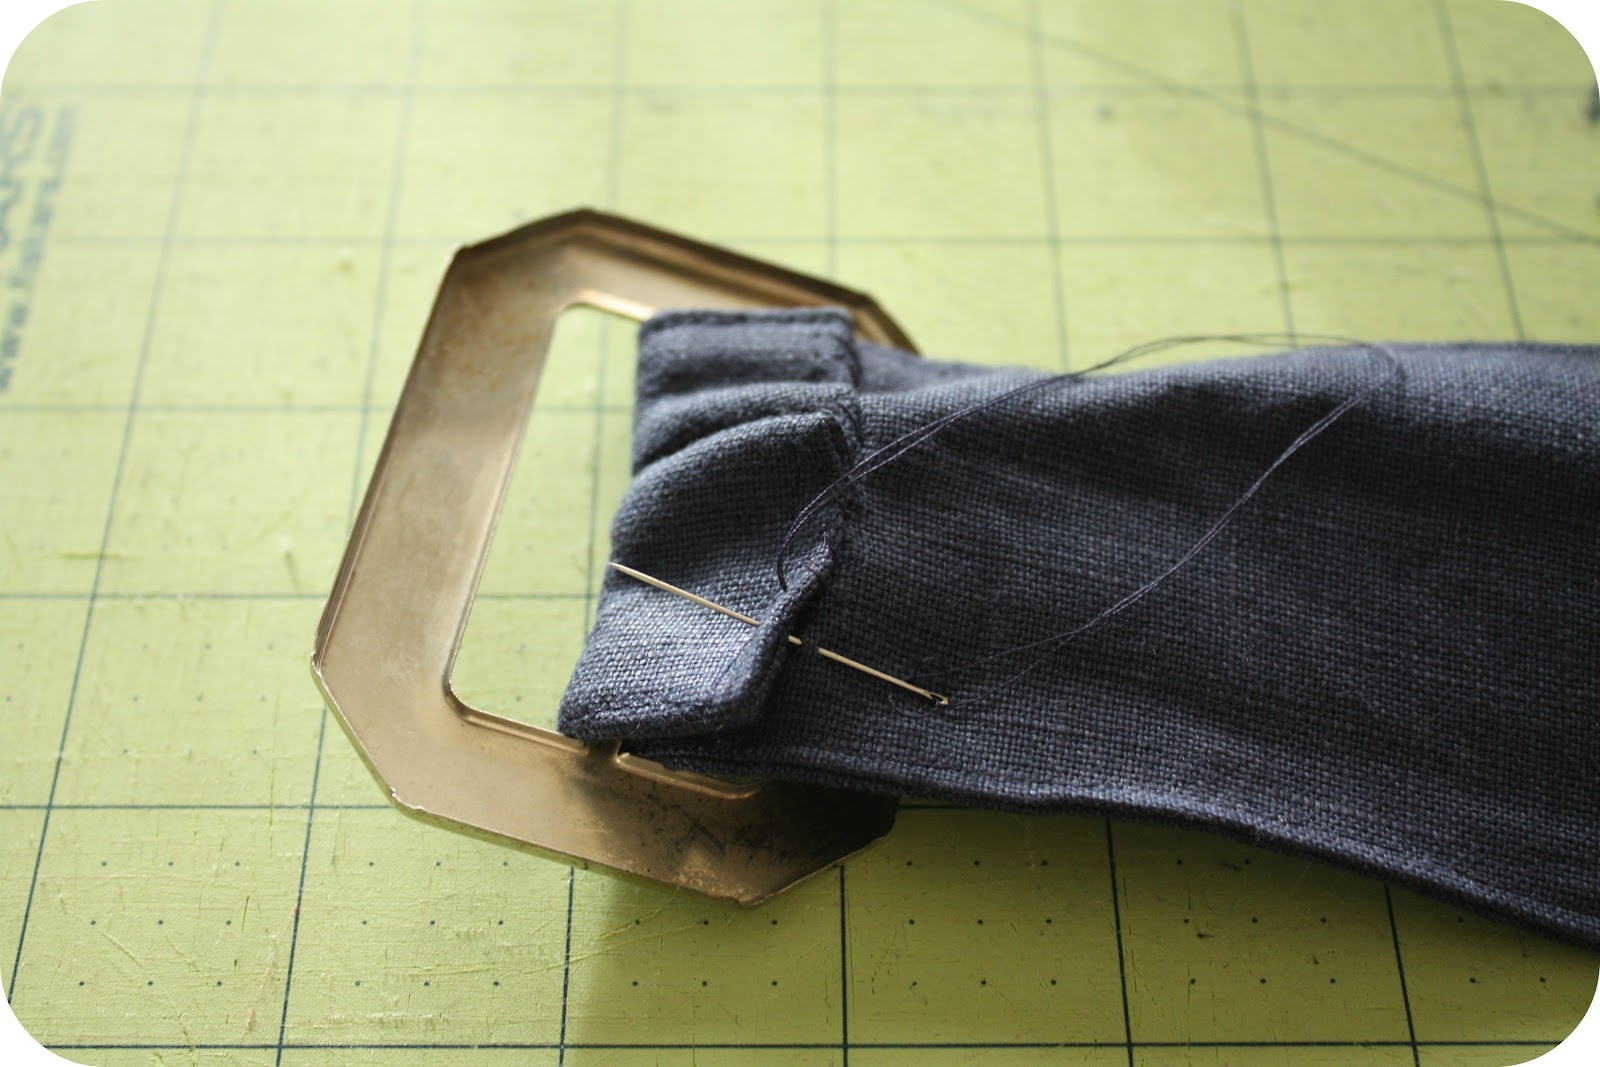
Then I wrapped the flat end around the inside piece of the buckle and hand sewed it together. Tada! Done with an easy peasy cinched belt!

Be sure to go check out Craftiness is Not Optional– love her Sense and Sensibility book club), her embellished cardigan, the vintage sheet maxi dress, and the Nae Nae Apron!


Awesome project…I’m totally going to make me one.
me too! 🙂
This is lovely. Nice job Jess!
Very cute! Great way to start the series. Thanks for sharing Jess.
great belt, jess! way to kick off this awesome series!!
I just have to make me some of these belts! Awesome and it looks doable for me. =) Not to find me some buckles!
Great tutorial, thanks. I’m hoping to make one tomorrow to go with a dress I’m finishing off.
Love that!