
kojotutorial: seersucker + pleats pillowcase dress
As an Amazon Associate I earn from qualifying purchases.


I’m such a sucker for seersucker, y’all. Iloveit. It’s beachy and summer-y and fabulous. I’ve been using it in all sorts of projects this summer- dresses and shorts and appliques. And today I have another dress tutorial for you, you know, just in case you need another reason to love seersucker!
To make this dress you’ll need:
-a yard of seersucker
-4″x36″ rectangle of coordinating fabric
-a yard of coordinating grosgrain ribbon
-sewing supplies
From your main fabric choice (mine was seersucker), cut a long rectangle of fabric (my 3T size was 20″ inches tall and 36″ wide) and two 4″x36″ rectangles of fabric. Also, cut another 4″x36″ rectangle in a coordinating fabric.
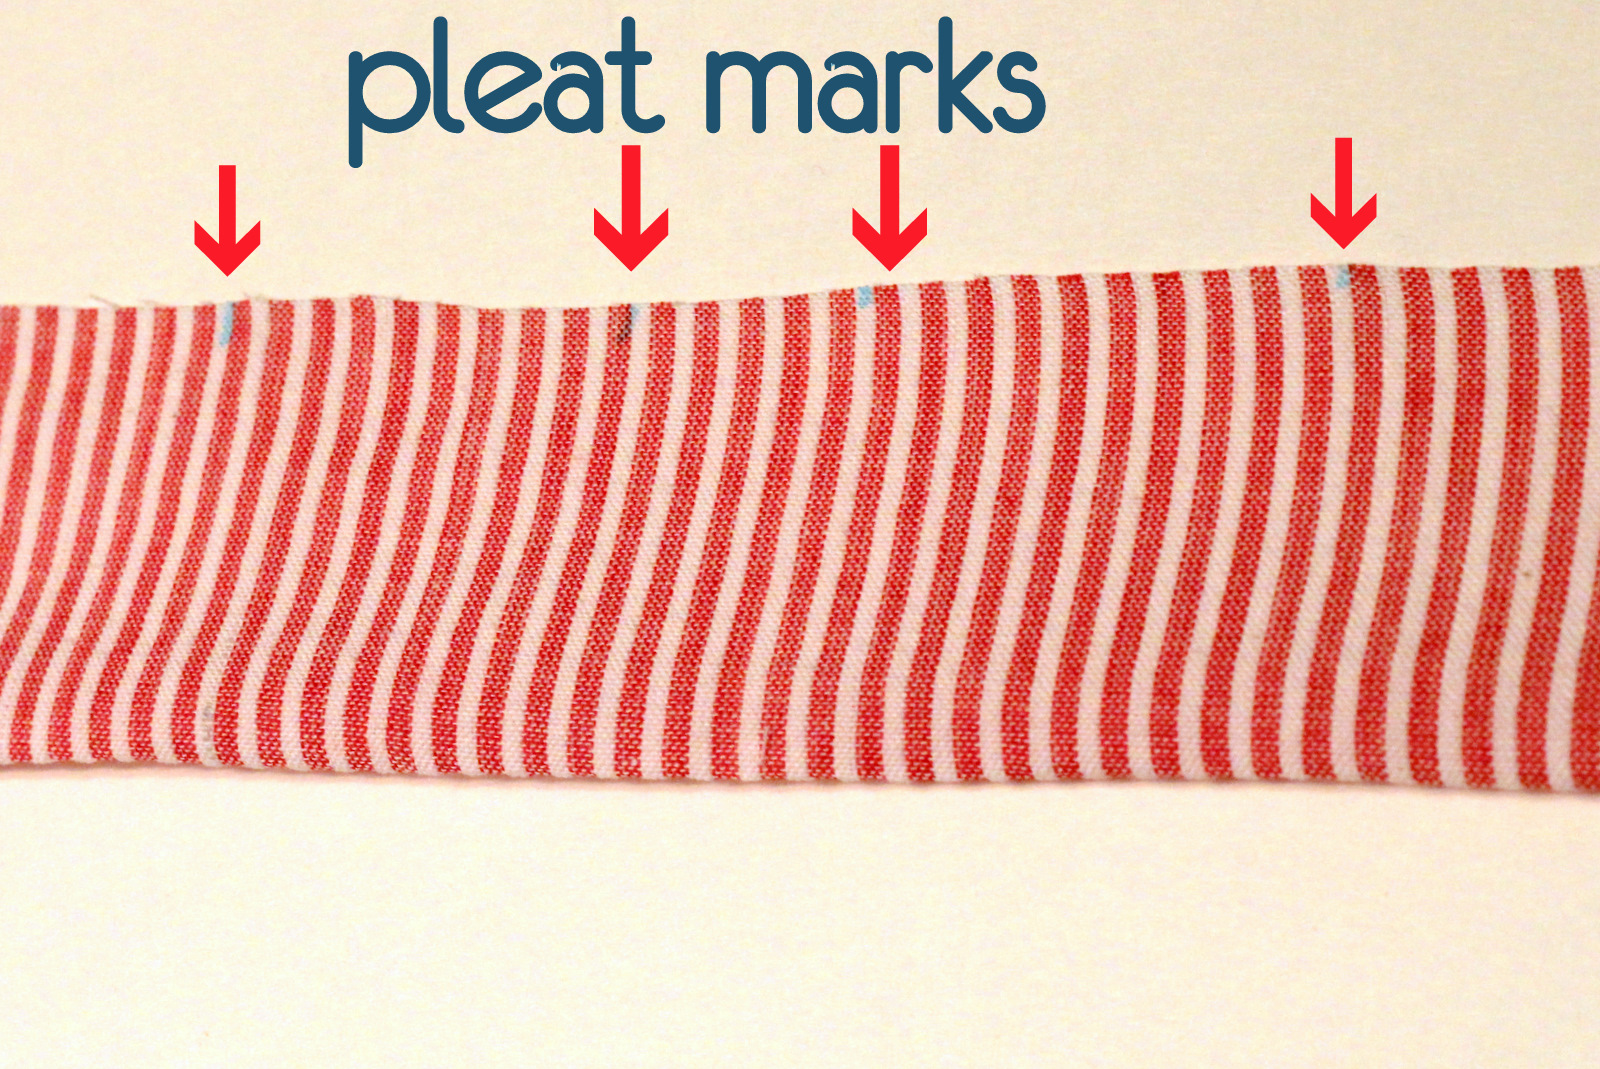
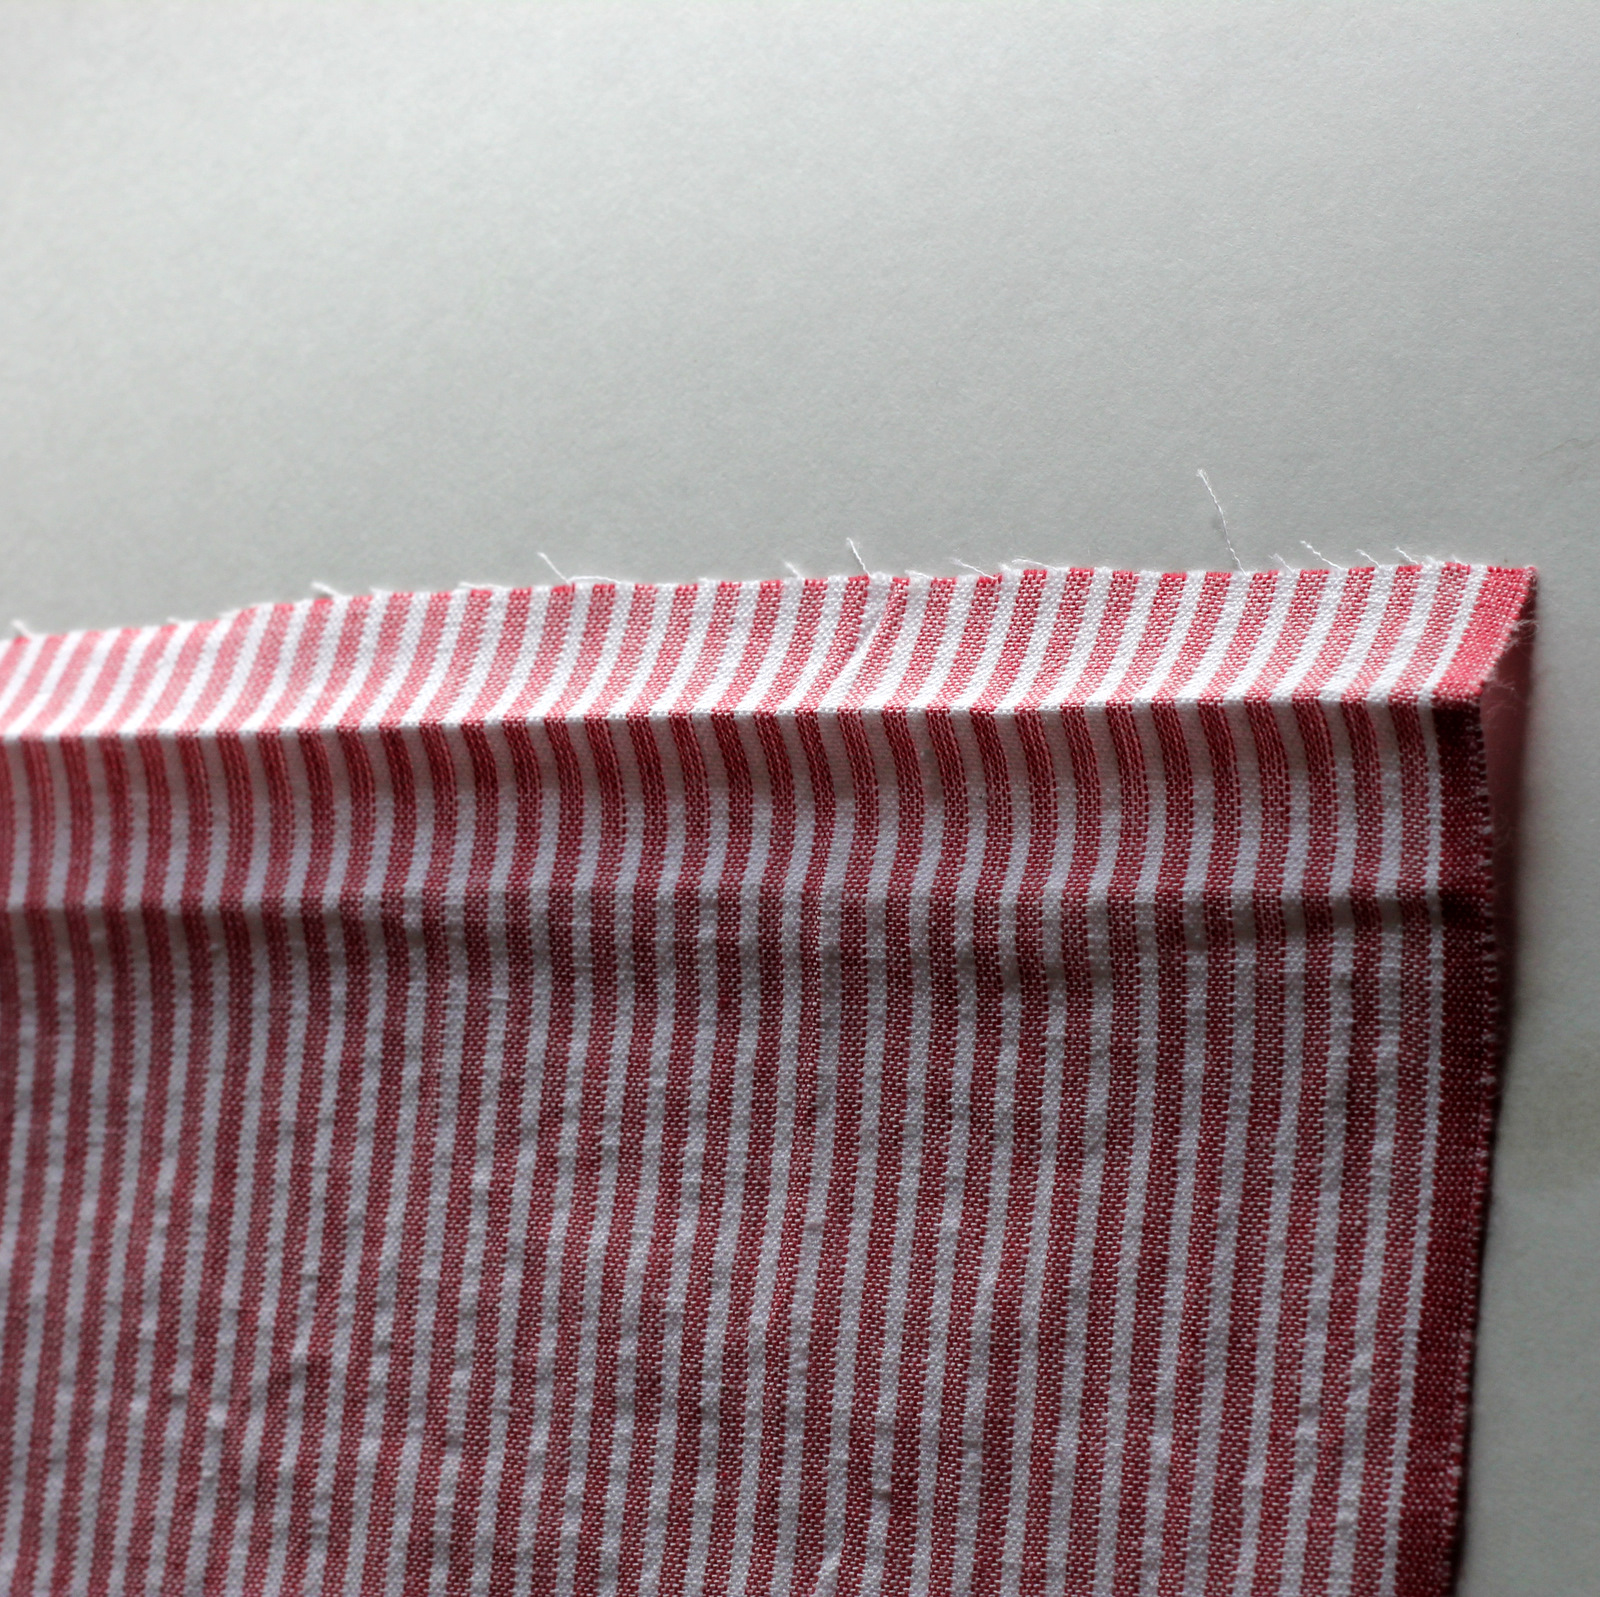
To make the pleated trim for the bottom, first, take your two seersucker/main fabric 4″x36″ rectangles and sew them together into one lo-ong strip of fabric. Then, use a fabric pen to mark out a pattern- two inches distance, then one inch distance. Repeat for the length of the seersucker. Also, double roll and iron the bottom edge (the one without the pleat marks). This will be the bottom hem of your dress and it’s easier to iron in place now, before the pleats are pressed and pinned.
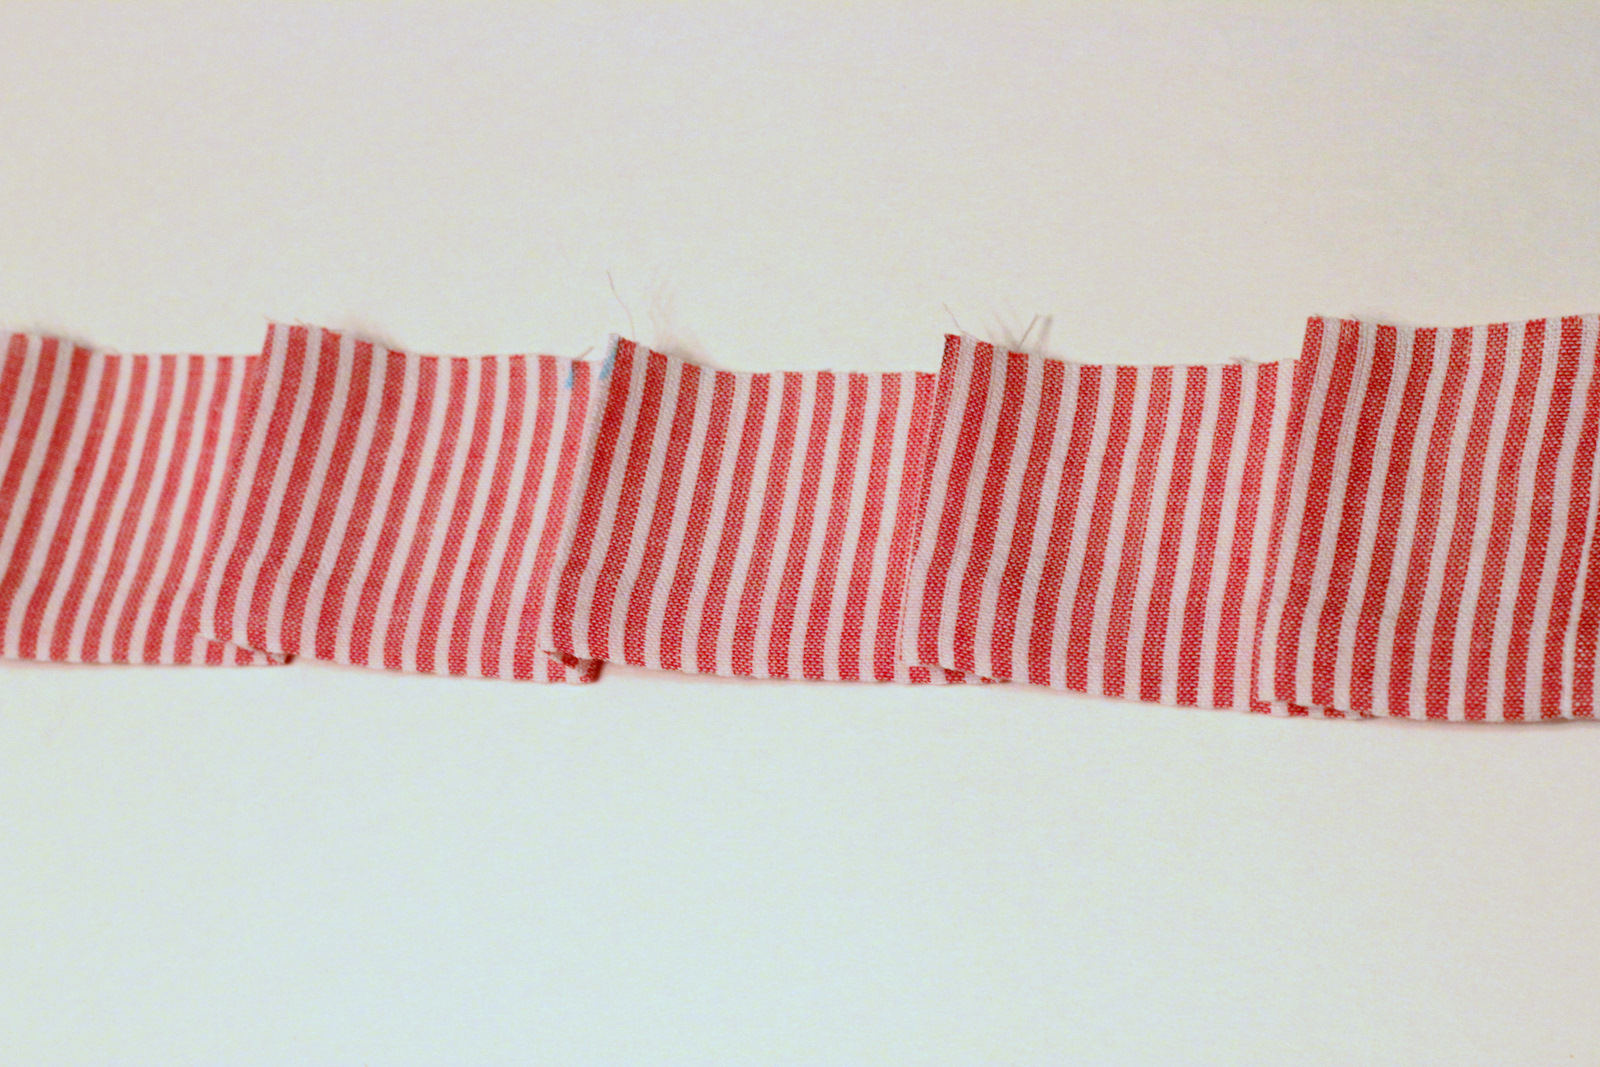

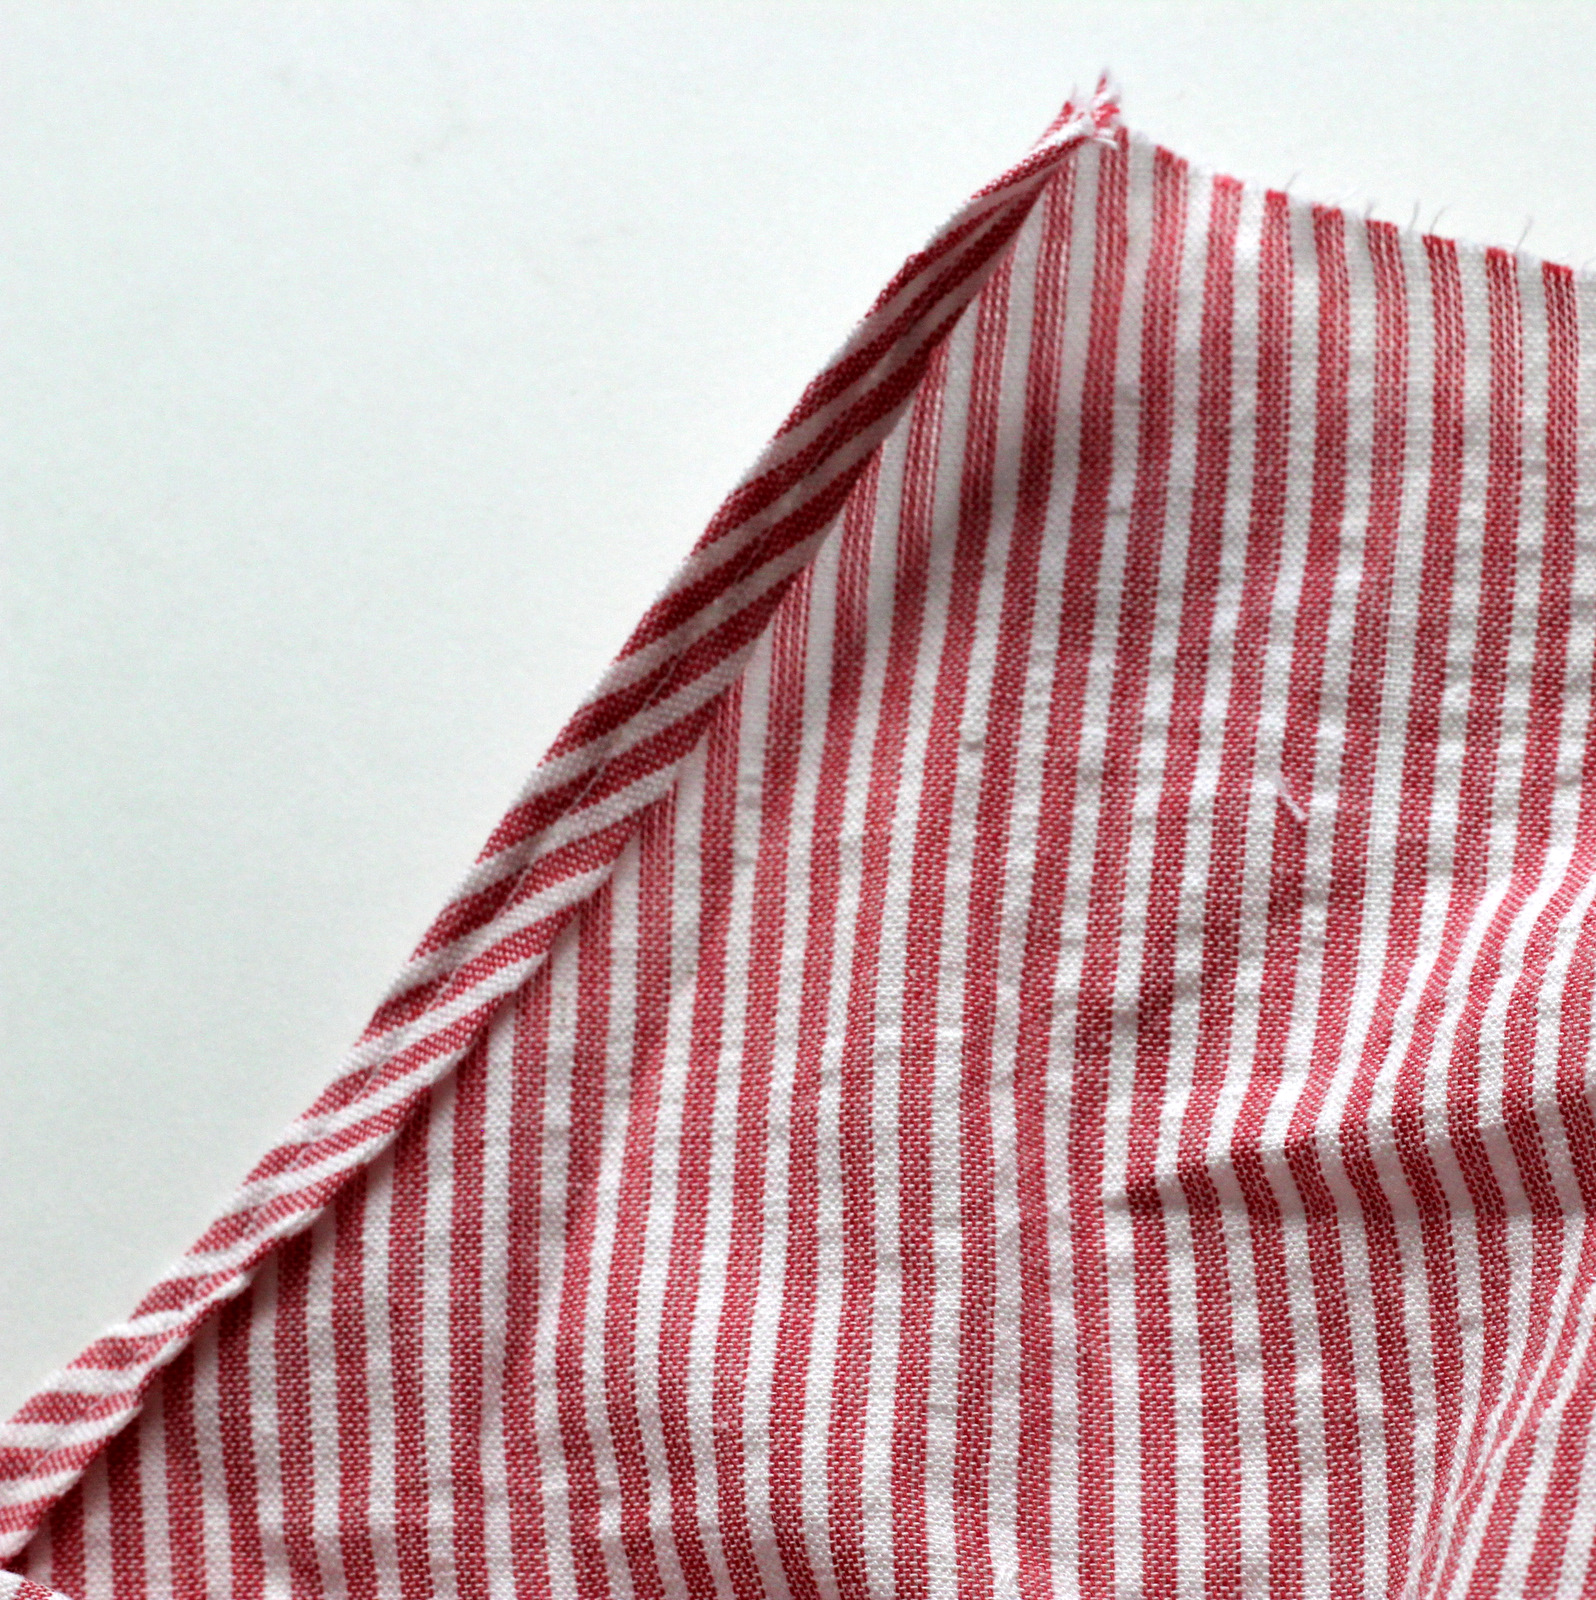
Press the pleats in place. To do this, every time you come to two marks that are one inch apart, tuck the fabric in and match the marks up. Press in place, then pin in place (this will keep your pleats pleated as you sew the trim onto the bottom of the dress). Set aside.
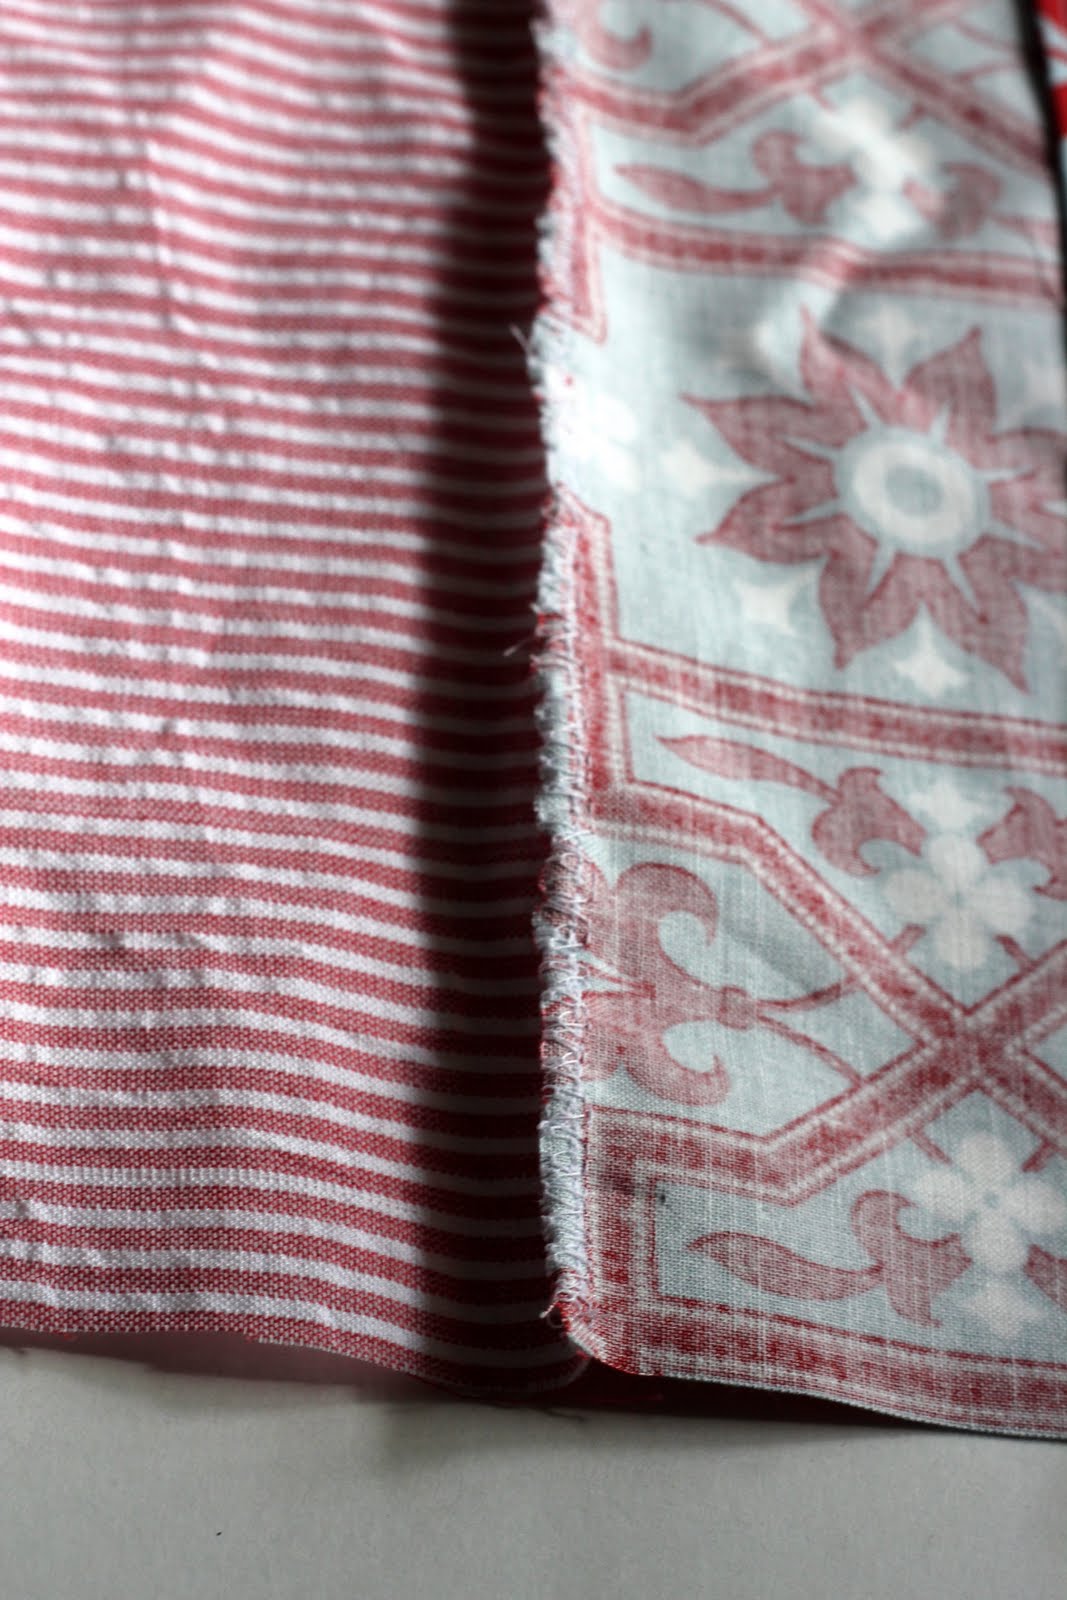
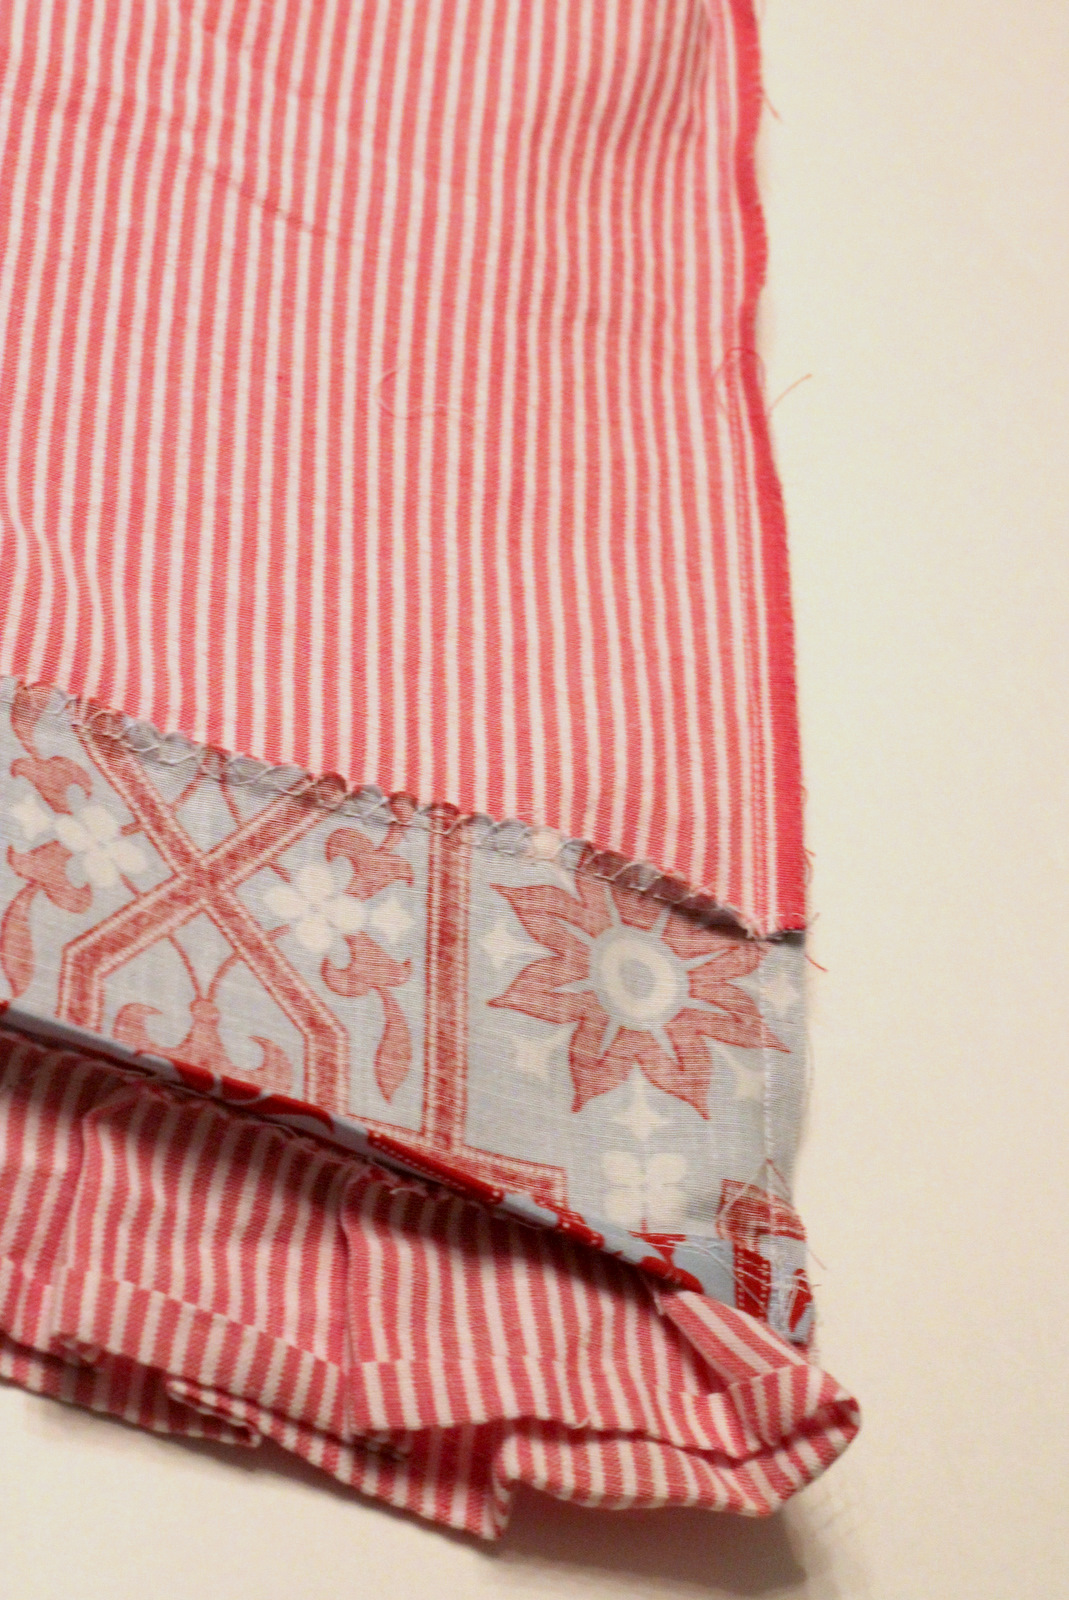
Sew the main rectangle of fabric and the coordinating trim together, right sides facing in. Either serge the raw edge or finish with pinking shears. You should know have a 24″ tall rectangle of fabric with seersucker on top and your coordinating trim along the bottom.

Take your pleated trim and pin, right sides together, to the bottom edge of the rectangle (your seersucker and coordinating fabric should be pinned to each other). Sew together. Finish of the raw edge. Note that the bottom hem is not finished yet. Keep it that way.
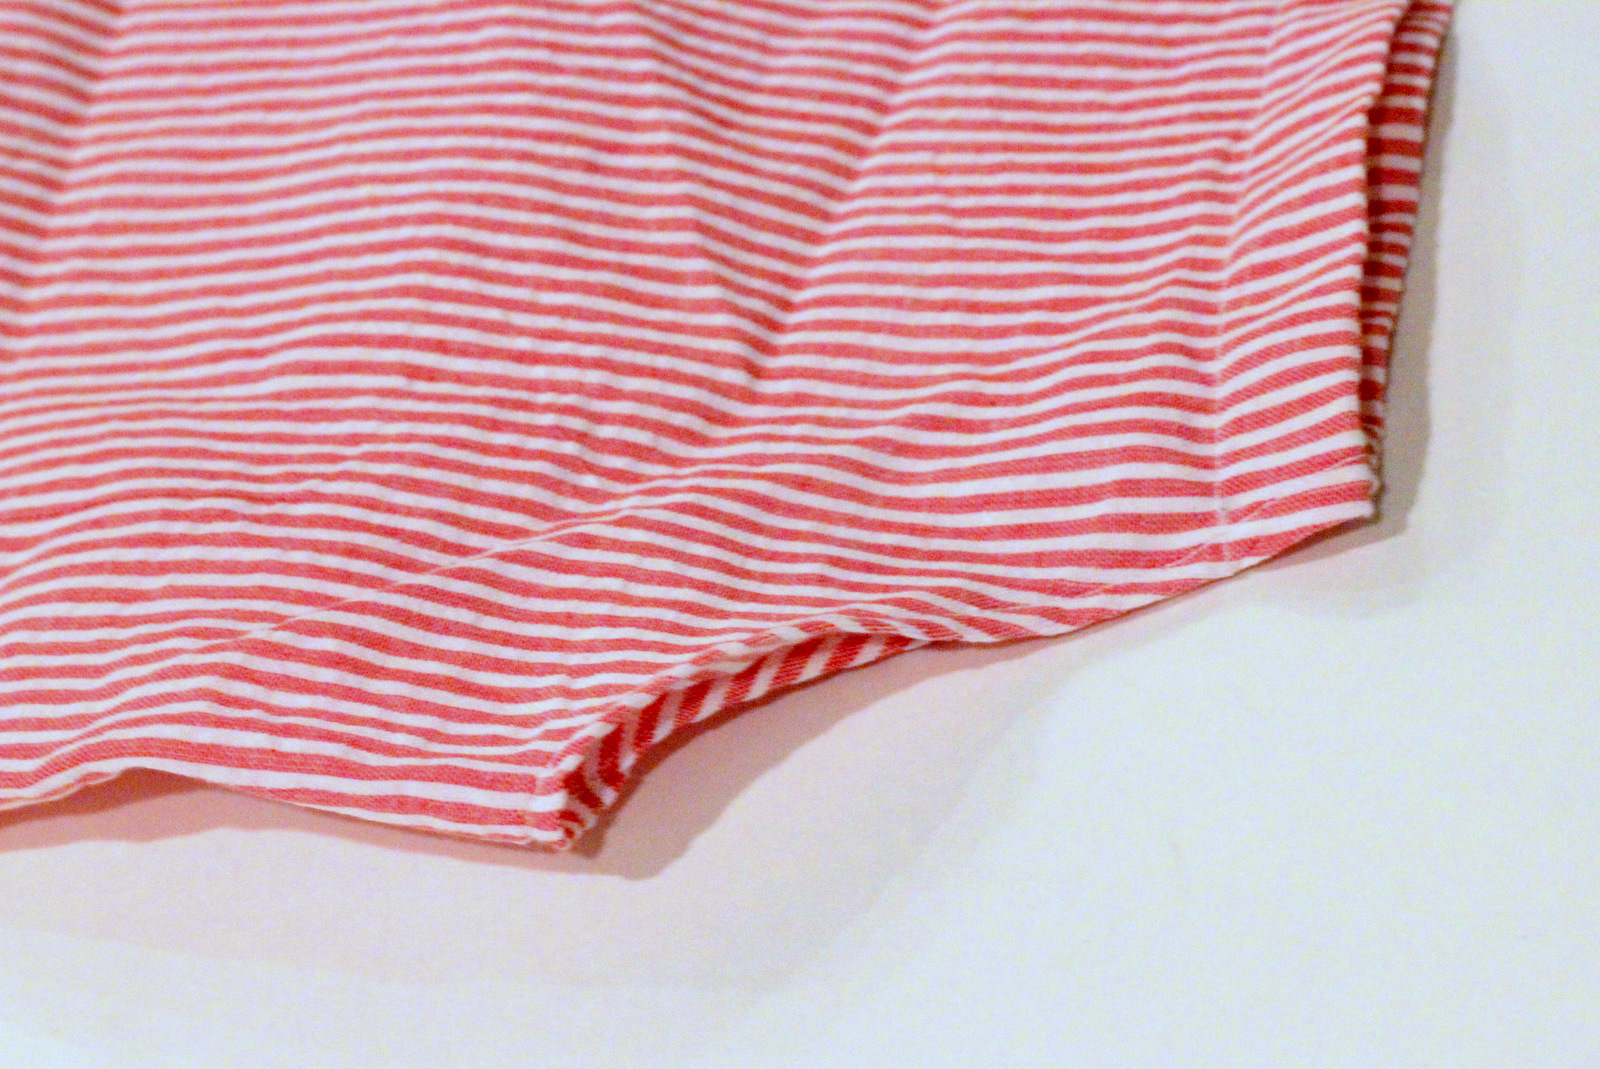
Next, double roll and iron down the top edge. Since the top edge will act as a sleeve/ribbon casing, make your top seam nice and thick (to allow ribbon or fabric ‘sleeves’ to be threaded through later).

With the top edge folded down, fold the rectangle of fabric in half with the contrasting fabric and pleats as a band across the bottom edge. Cut triangular slits as armholes (3″ tall and 2″ deep). Double roll and iron the armholes in place.
Stitch down to finish the edge of the double rolled and ironed arm holes.
Then stitch the top edge/casing in place. Repeat on the back top edge.
You now have the top edges finished and the bottom pieces sewn together. Next, pin the two rectangle edges together, matching up the bottom edge of the armholes. Also, make sure that the contrasting trim and pleats
meet up exactly with each other. Sew together.

Finish off the edge with a serger or pinking shears.

Match up the double rolled and ironed bottom edges and sew in place as the bottom hem. Also, top stitch the pleats in place for a more finished look.

Thread a grosgrain ribbon through the top casings. Dab fray check on the ends of the ribbon.
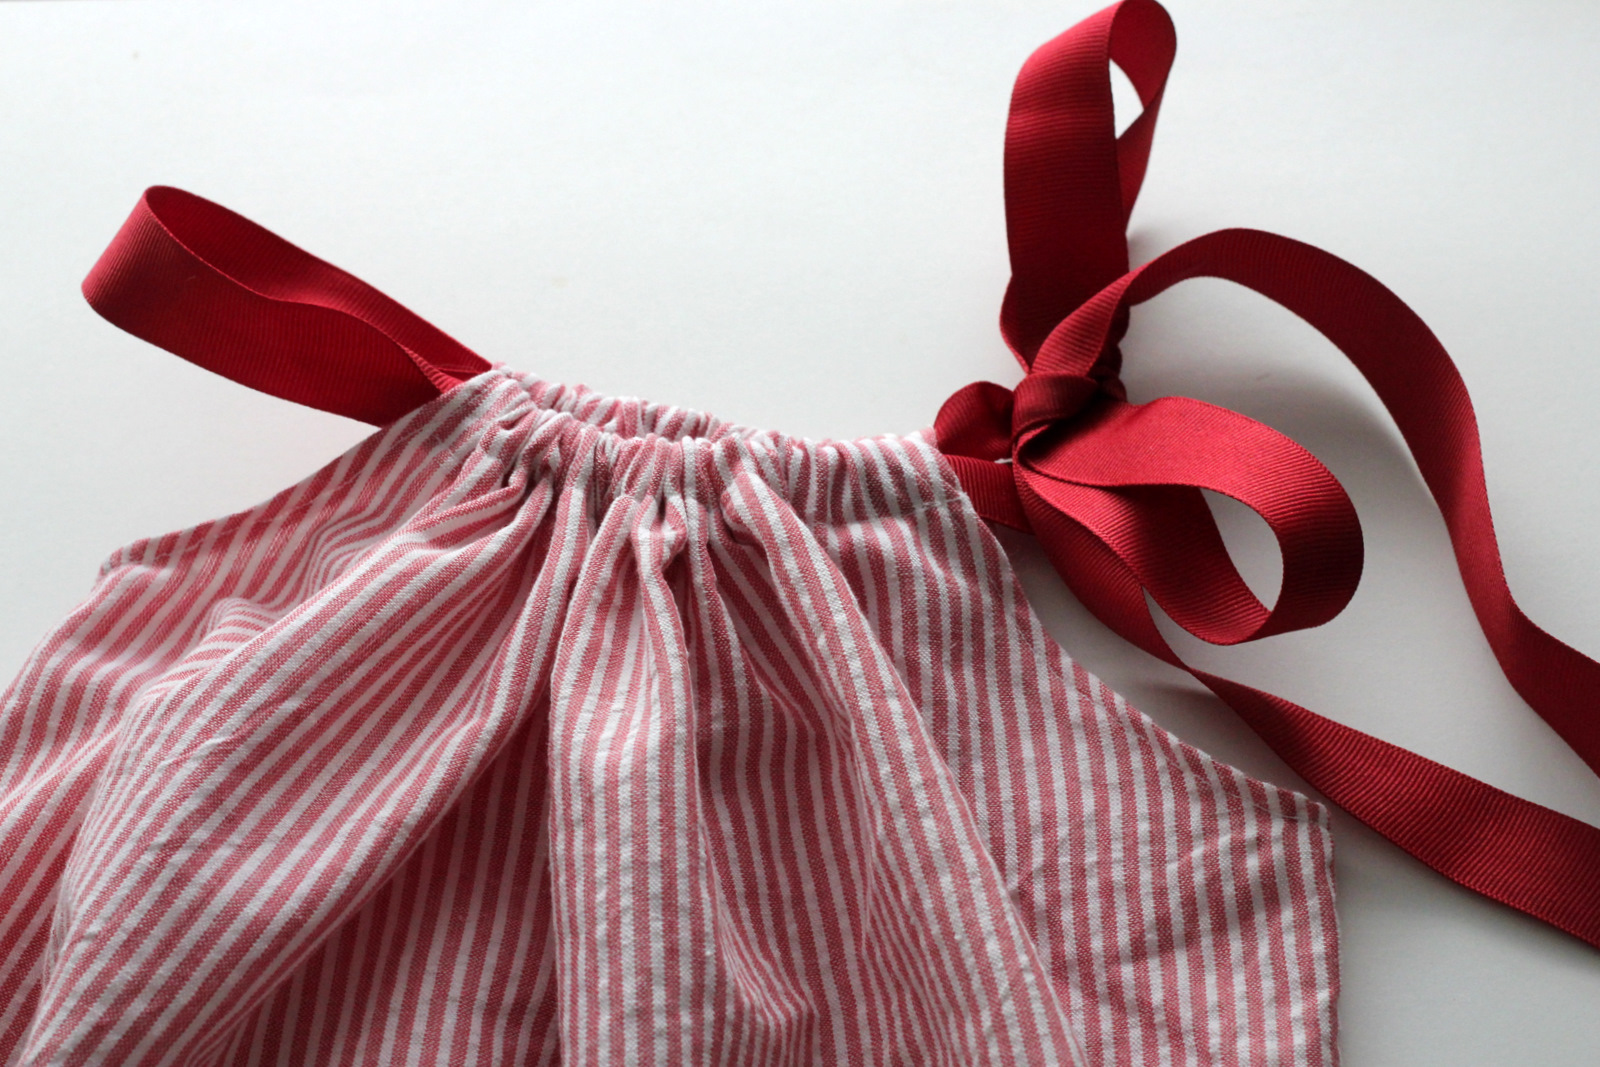
Tie on one side.

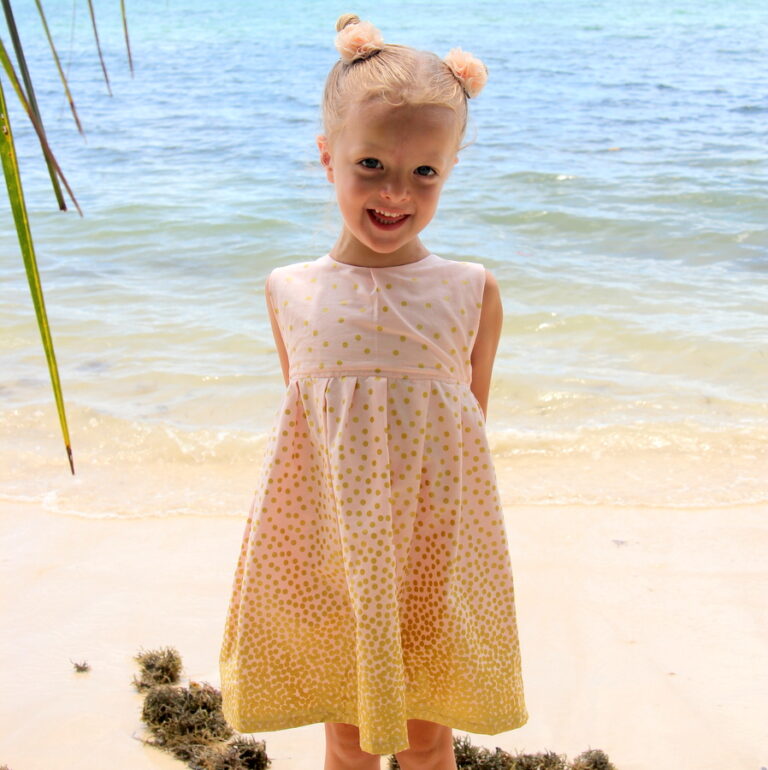
FINISHED! Your super cute little dress is ready for wear (if you’re looking for the tutorial for the other seersucker dress pictured, it’s here!).

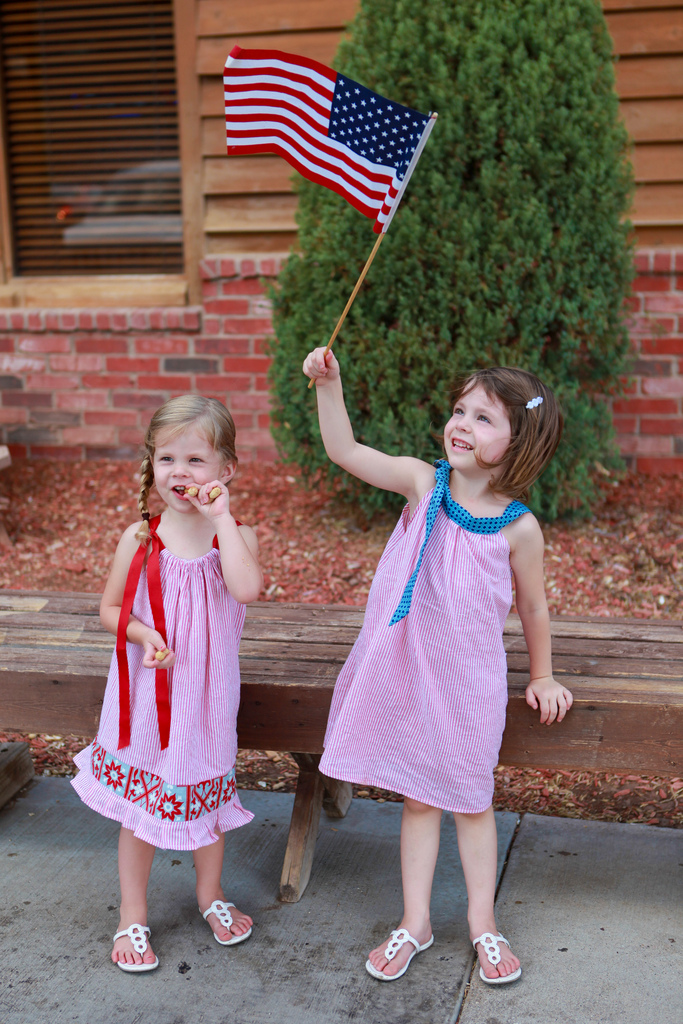
And, just for kicks, here’s one of my favorite pics of the summer. It’s especially seersucker heavy. Look at those faces. 🙂
I'm also a sucker for seersucker! I love the dress! Thanks for sharing it.
TOOOO cute! i want one for me! i love seersucker too.
I love this dress! I'll be adding it to the AllFreeSewing site soon along with linking it to your designer profile.
Thanks for sharing!
Kirsten
Editor
AllFreeSewing.com
so cute! Do you know what the accent fabric is or where it is from?
Great tutorial! You’ve been featured on the Quality Sewing Tutorials blog.
We hand select only the best free tutorials and patterns for the home sewist.
Grab a brag button!