
glam tea wreath
As an Amazon Associate I earn from qualifying purchases.

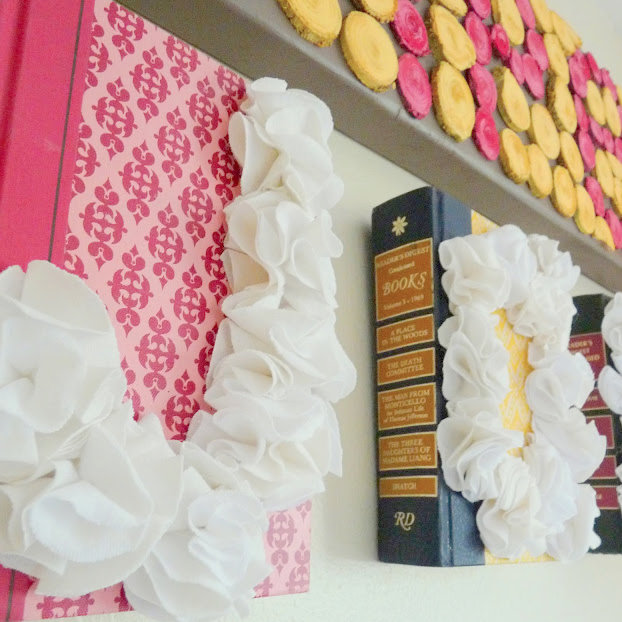
The genius of the tea wreath is that it is essentially a blank slate- it can be made to match any style of decor or color palette!

I’ve been wanting to tailor the tea wreath to make a glam version- a neutral-y, ruffle-y one. Want to make one too?
To make a glam tea wreath, you’ll need:
-a cardboard ring
-a piece of 12×12 patterned paper
-twenty clothespins
-muslin (mostly scraps and one long 4″ or 5″ strip)
-scraps of tulle
-length of ribbon
-hot glue and a glue gun
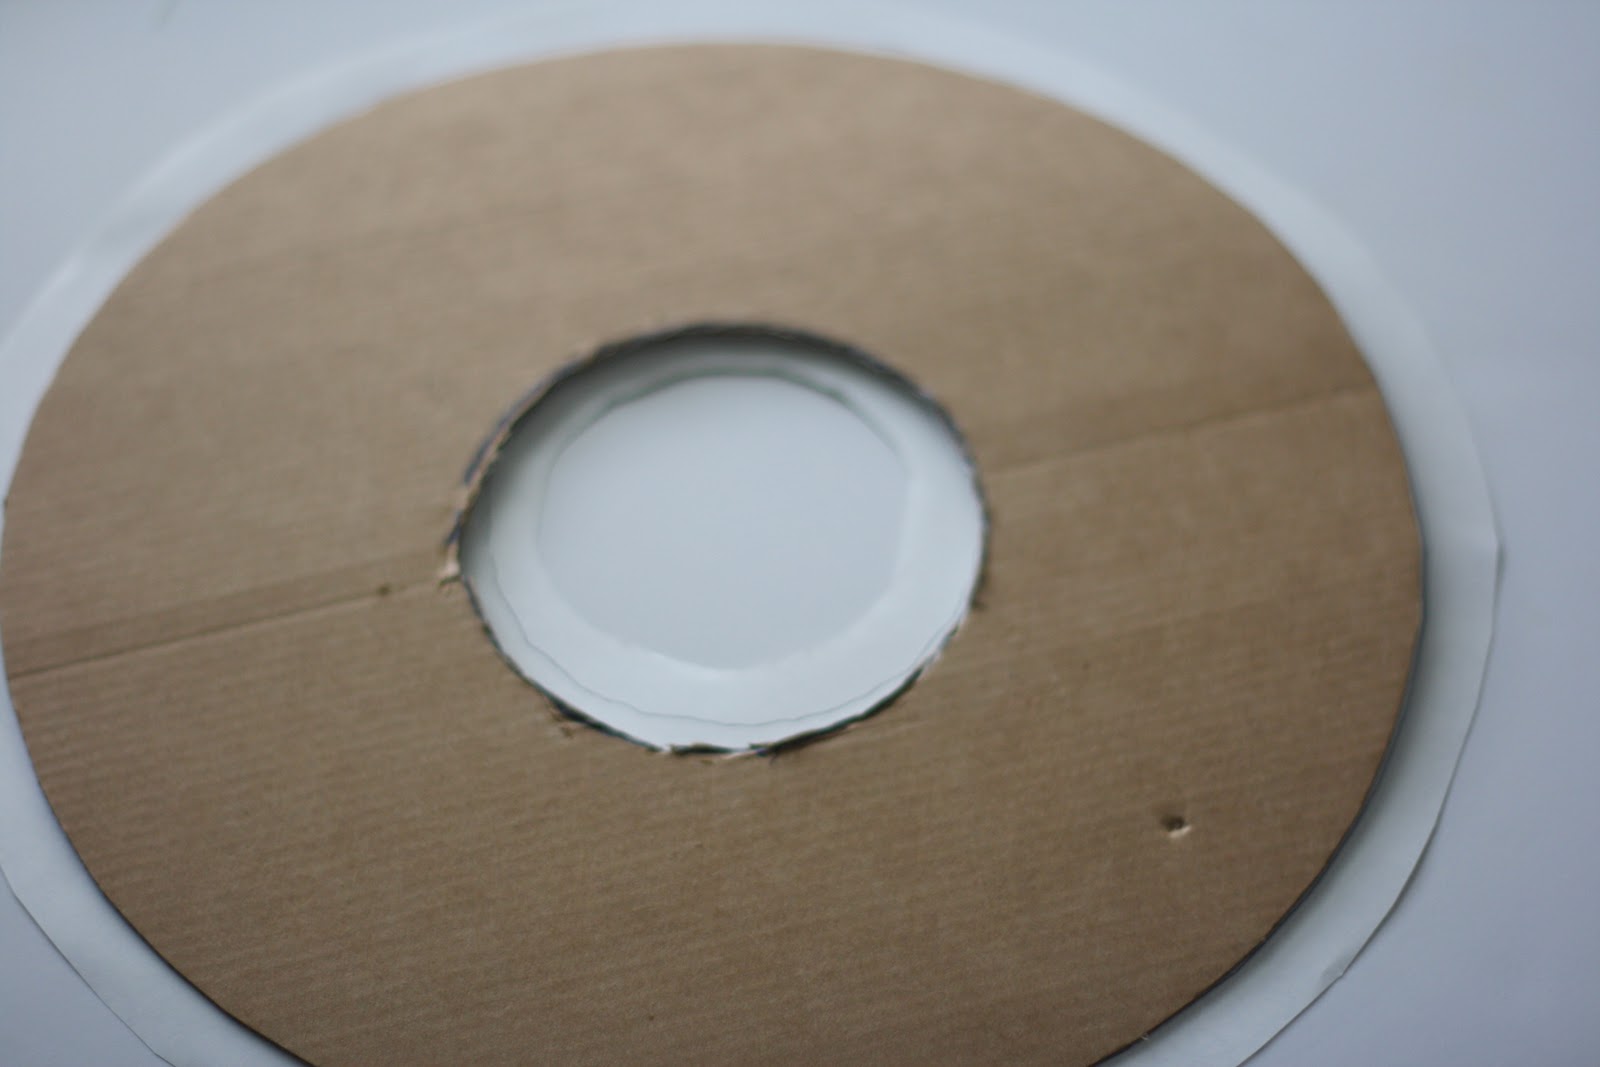
1. Cut out a ring of cardboard (use a plate for the outer circle and a mug for the inner circle). Trace the cardboard ring onto the wrong side of a patterned piece of paper. Cut it out, leaving a 1/2″ perimeter on the outer and inner rims.

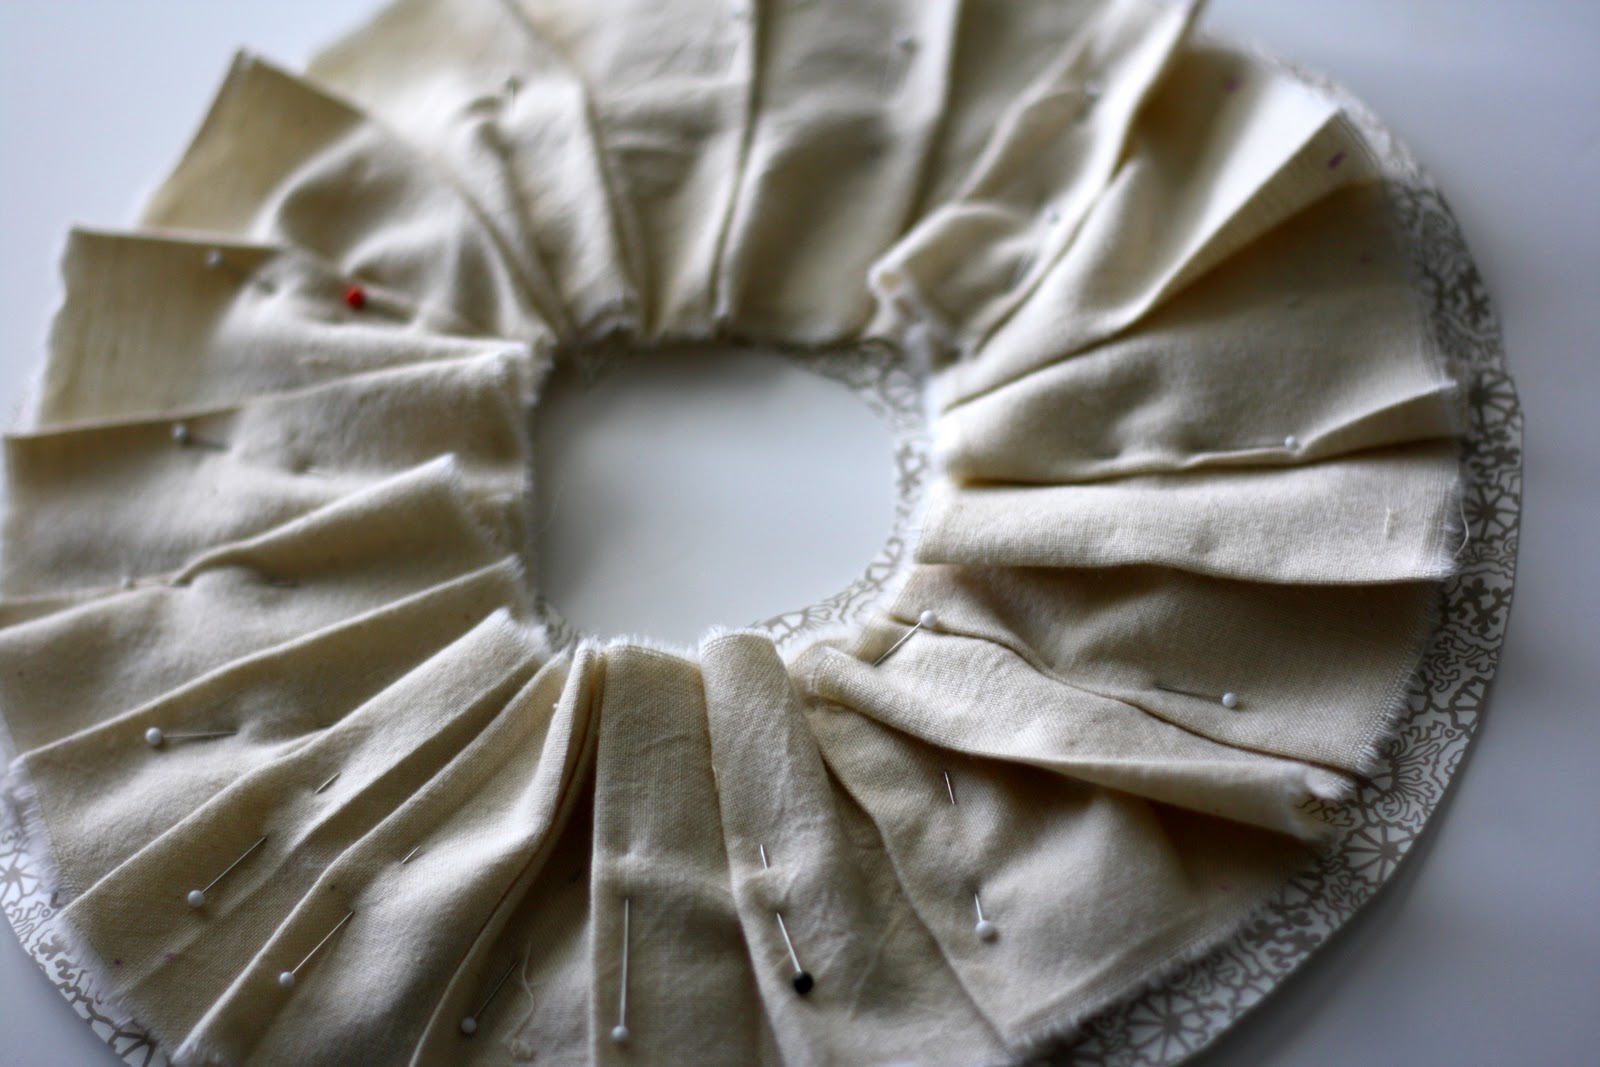
2. Rip a long 4″ wide strip of muslin. Pin pleats in the muslin and pin in place on the ring of patterned paper.

3. Sew the muslin in place around the inner rim. Hot glue various pleats in place to ensure that the fabric stays put on the ‘wreath.’
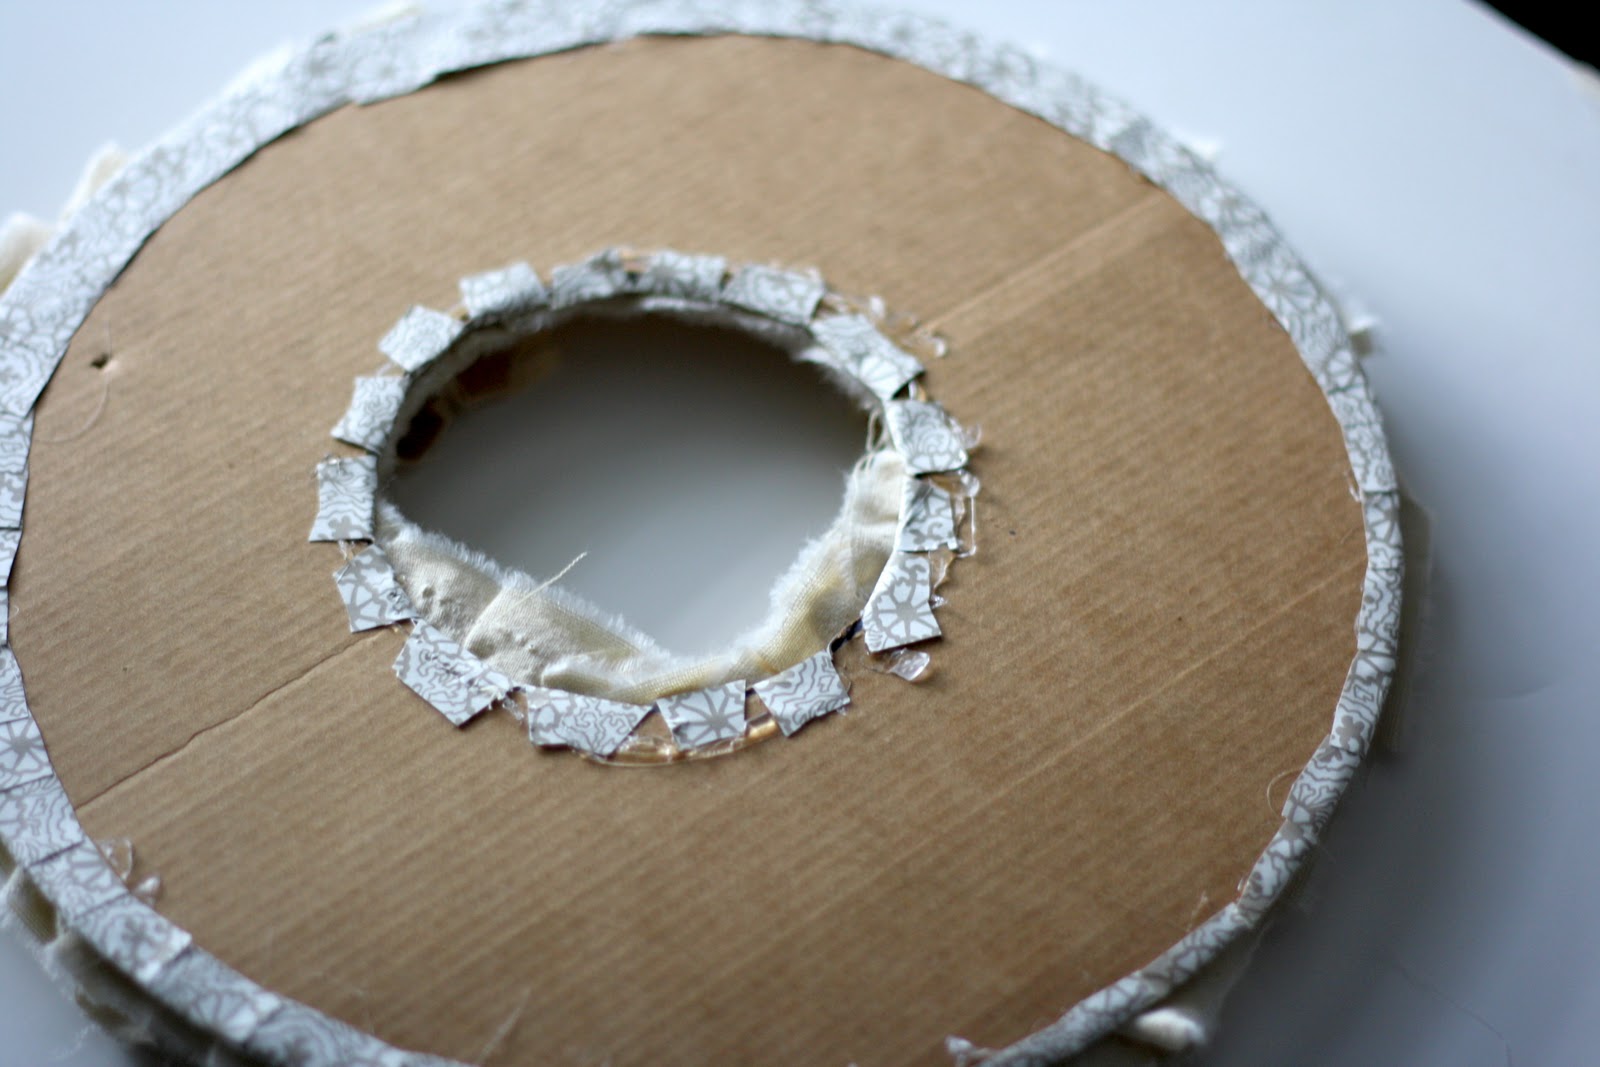
4. Hot glue the patterned paper (with the fabric sewn/glued onto it) onto the cardboard rim. There should be an extra 1/2″ or so of patterned paper on the outside and inside rims. Cut tabs in the excess paper (cut until the paper meets up with the cardboard). Hot glue the tabs of patterned paper around the back of the cardboard ring.

5. To cover the clothespins, rip long, thin strips of muslin (about an inch wide, maybe less). Cover each clothespin with a strip of muslin (hot glue in place). Cut slits along both sides of the muslin (making ‘fringe’ on both sides of the clothespin). Then glue a piece of tulle on top of the muslin. Finish off the clothespin by gluing cream colored ribbon down the center of the muslin/tulle on top of the clothespin.

7. Evenly space the clothespins around the ring. Hot glue in place with the ‘alligator mouth’ of the clothespin facing the outside perimeter of the tea wreath.

8. Hang your ruffle-y, glam tea wreath with a length of ribbon (or in my case, make it for your friend in Dallas and take it to her on your Spring Break trip- haha!). Loveliness either way!
ps- Thanks for all of the DFW area suggestions- can’t wait to try ’em out! 🙂
very cute!!
Great tute! We drink alot of tea around our house so I might have to make more than one. Thanks so much for linking up! See you next week.
Very cute! Looks like it would be unique way to present tea to a friend.
love the glam version too! perfect for a girly shower or brunch 🙂
Just a quick note to let you know that a link to this post will be placed on CraftCrave today [26 Mar 01:00am GMT]. Thanks, Maria
The tea wreath is adorable! I am going to make one for my friend who is planning a tea party! Thank you for sharing your awesome ideas!
Katie, what a fun idea!!!
great idea for mom