
gifts for (little) guys tutorial: hanging tent part 1
As an Amazon Associate I earn from qualifying purchases.
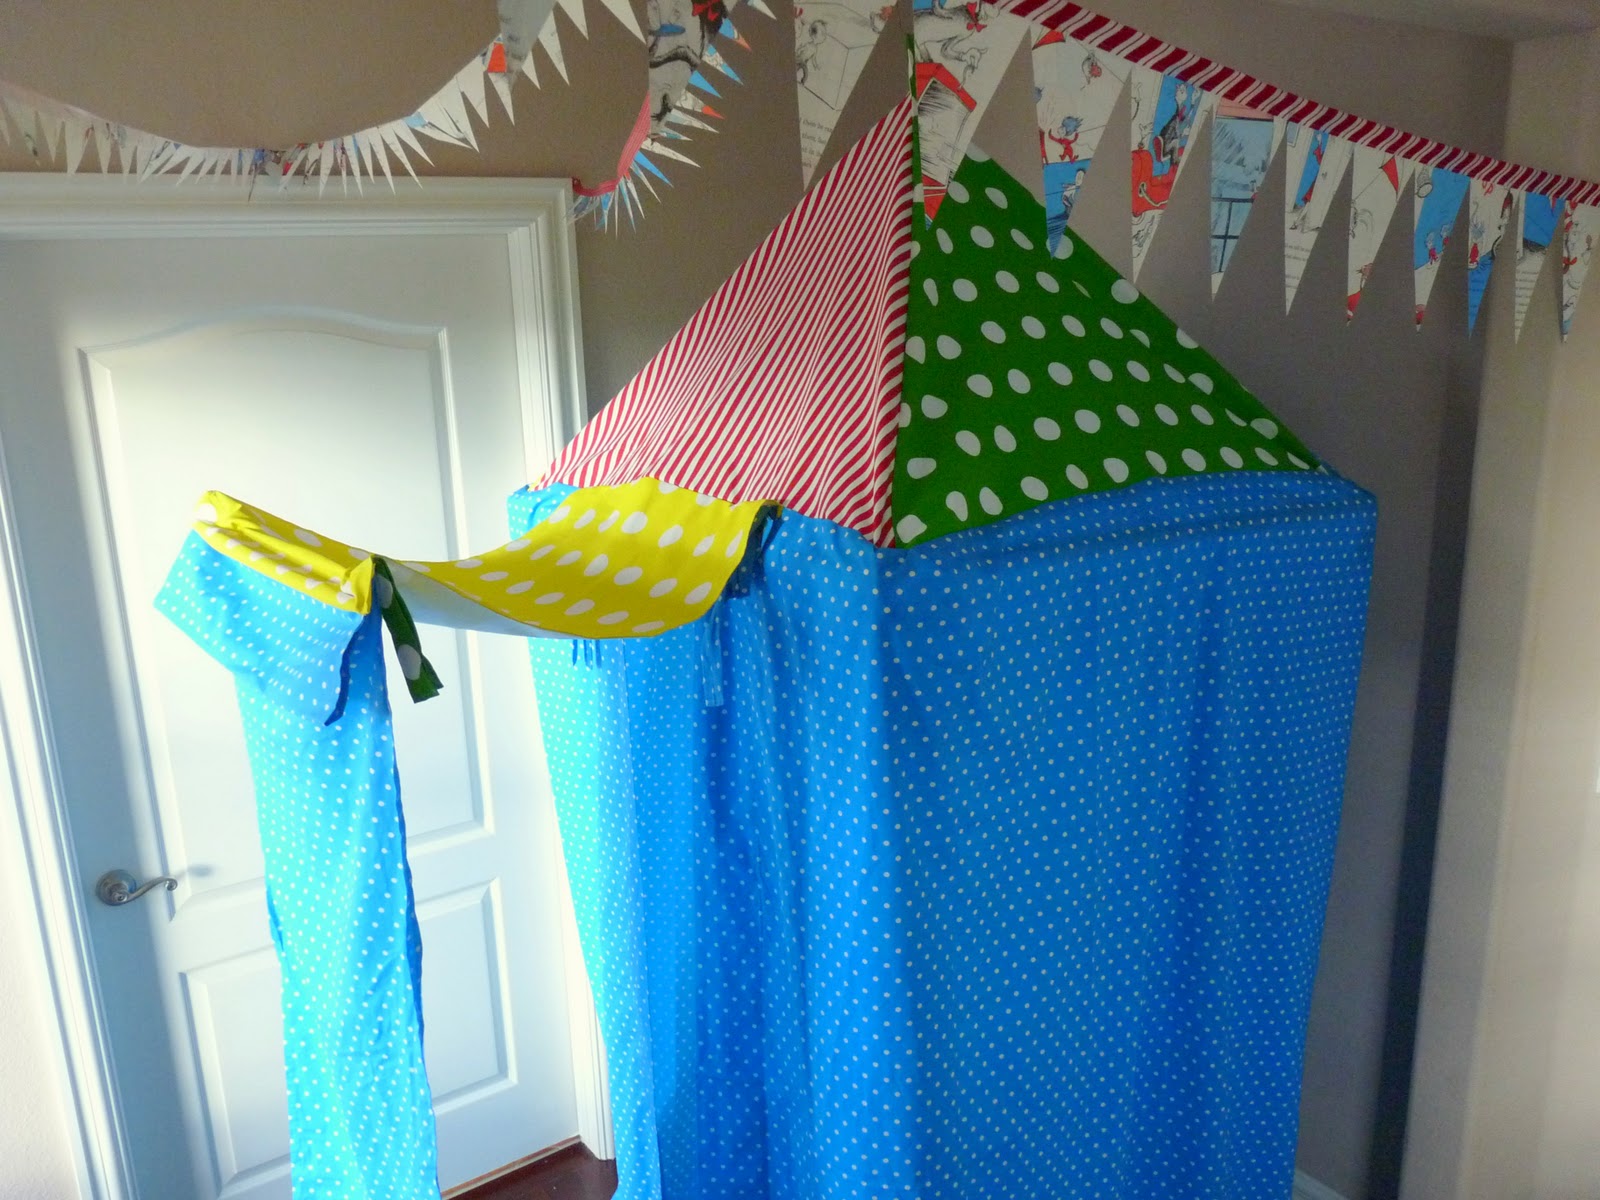
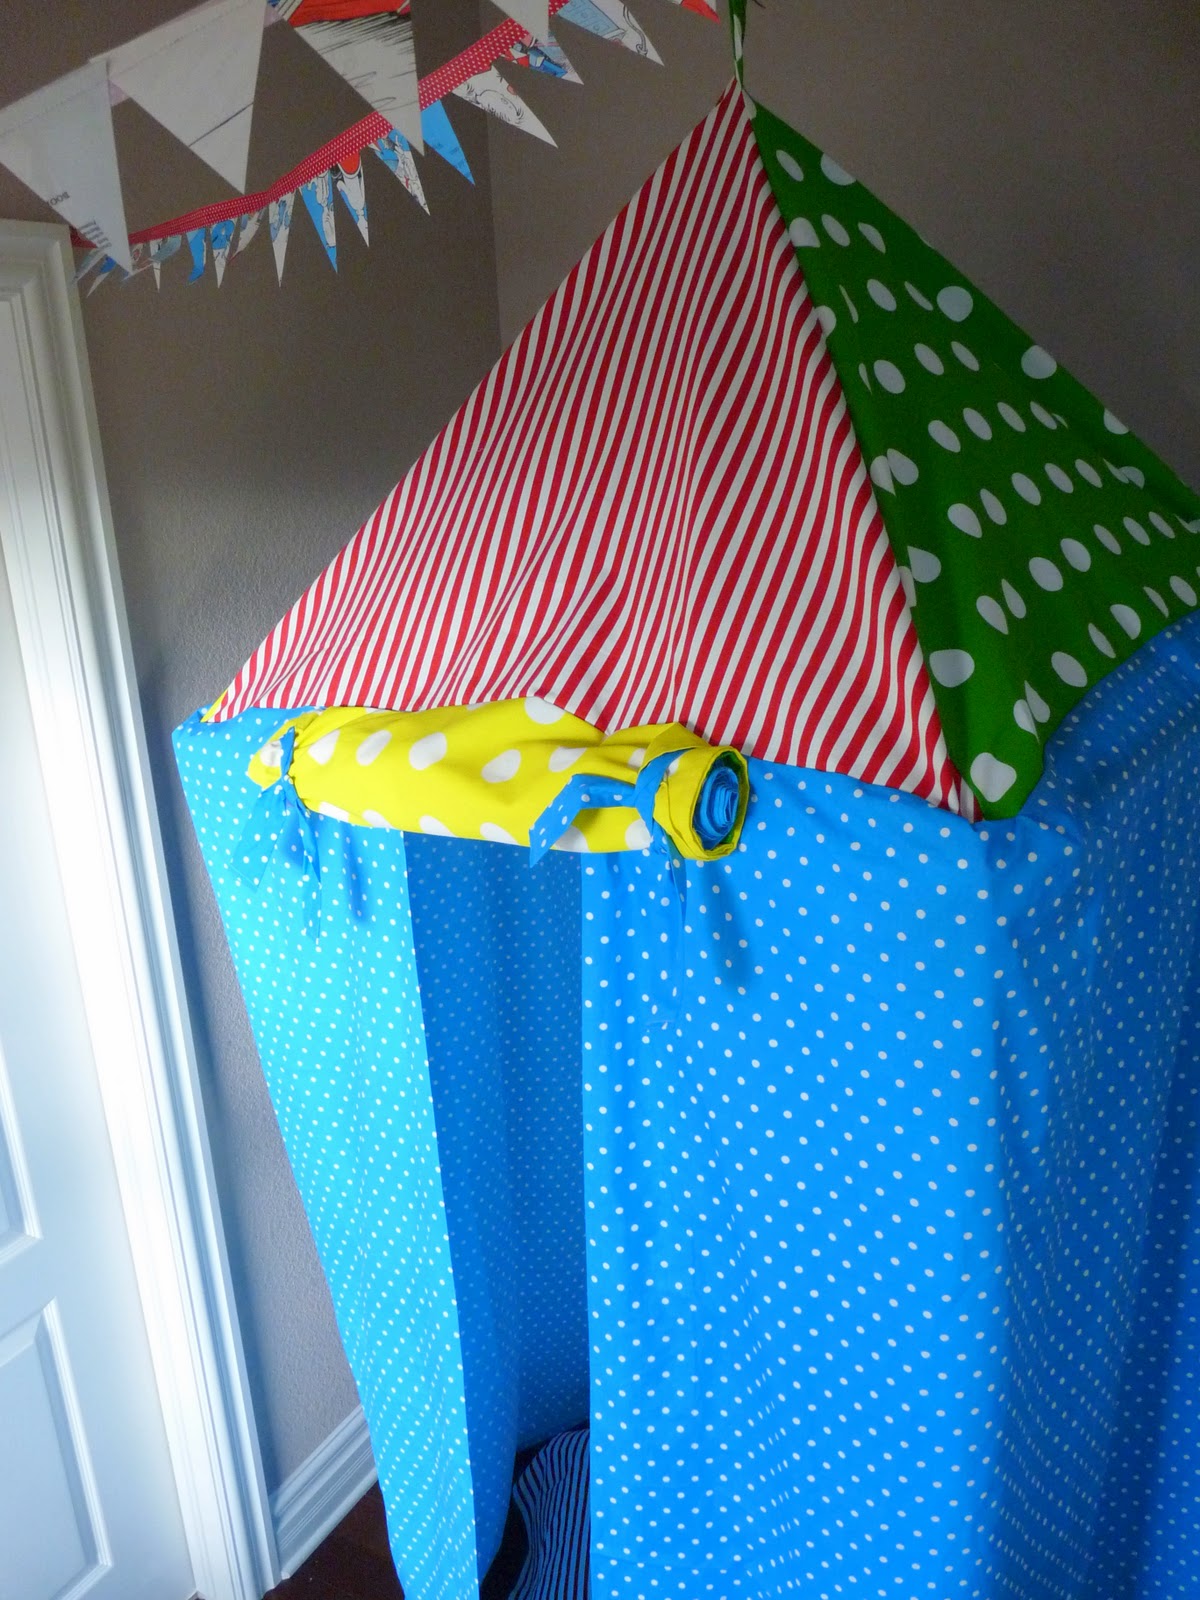
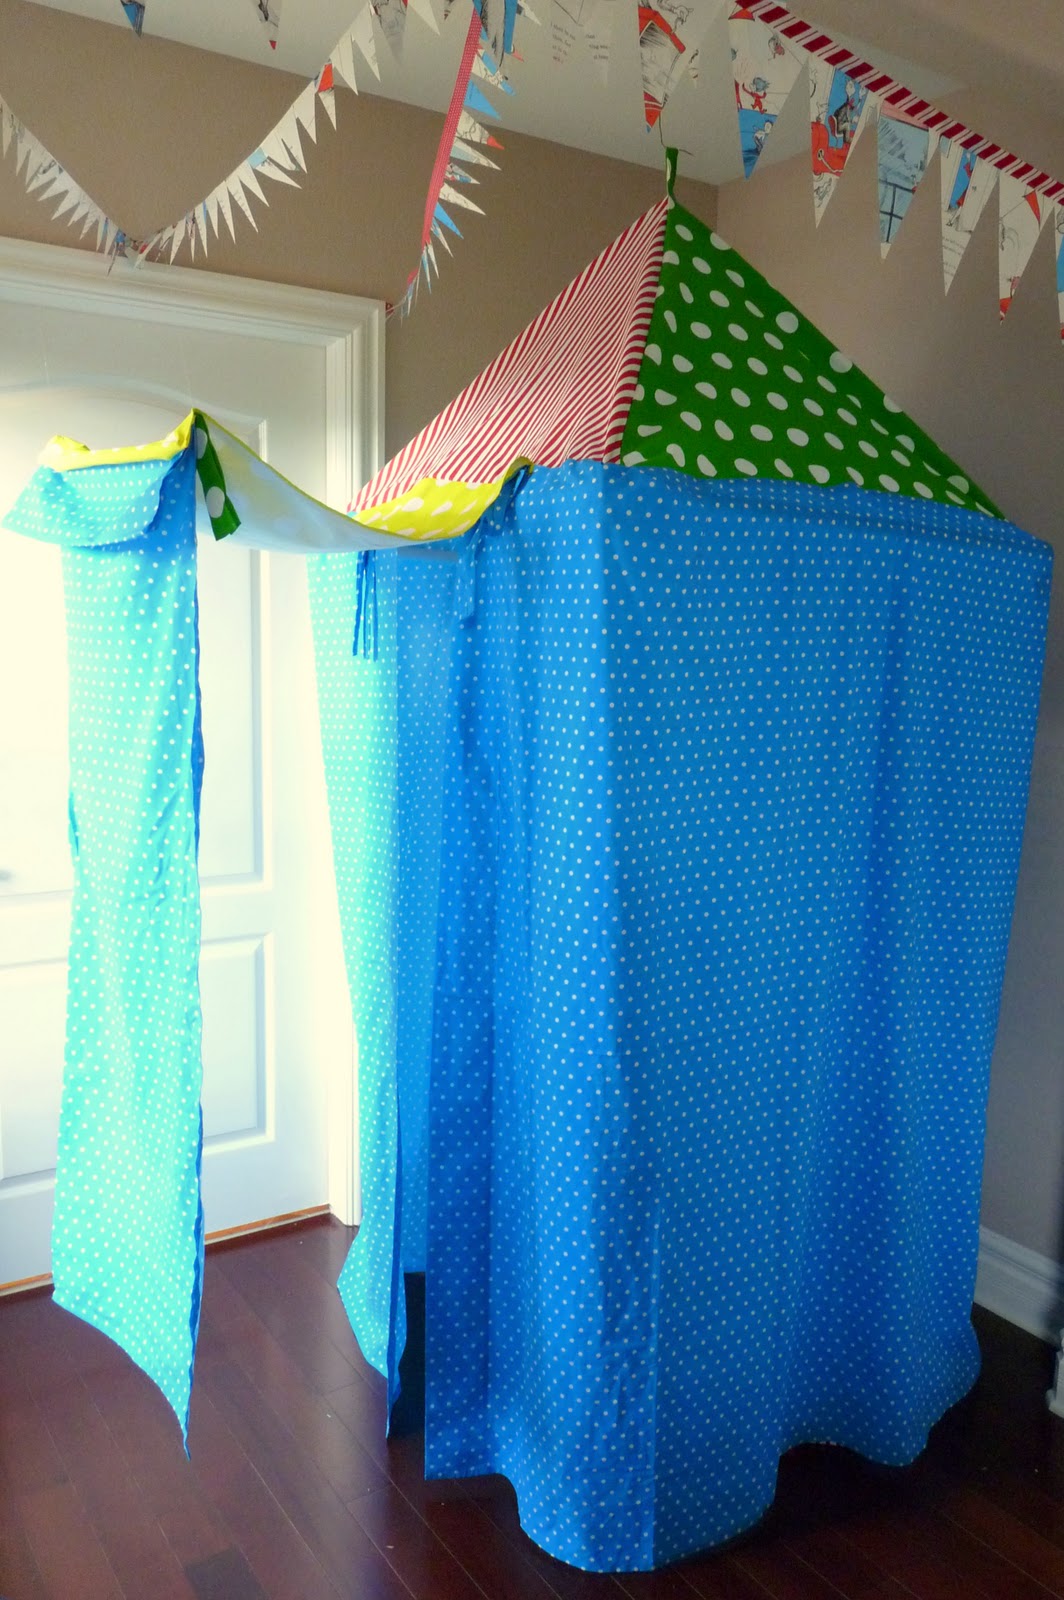
Allow me to introduce you to the latest and greatest addition to Burke’s playroom- the hanging play tent! I’ve been wanting to make him a tent for awhile now and had a hunch he’d like it… but I had no idea the hours of entertainment this tent would provide, nor the giddiness that would accompany this (now) playroom staple! If you’re looking to make a ‘big’ gift for the little guy on your list this year, look no further! The tutorial for the hanging play tent will come in two installations- this first part is for the tent itself, part two will cover making the roll-up awning.
To make one for the little guy in your life, you’ll need-
-2 flat sheets
-4 triangles of fabric, 37″ wide and 28″ tall
-1 6″x3″ rectangle of fabric
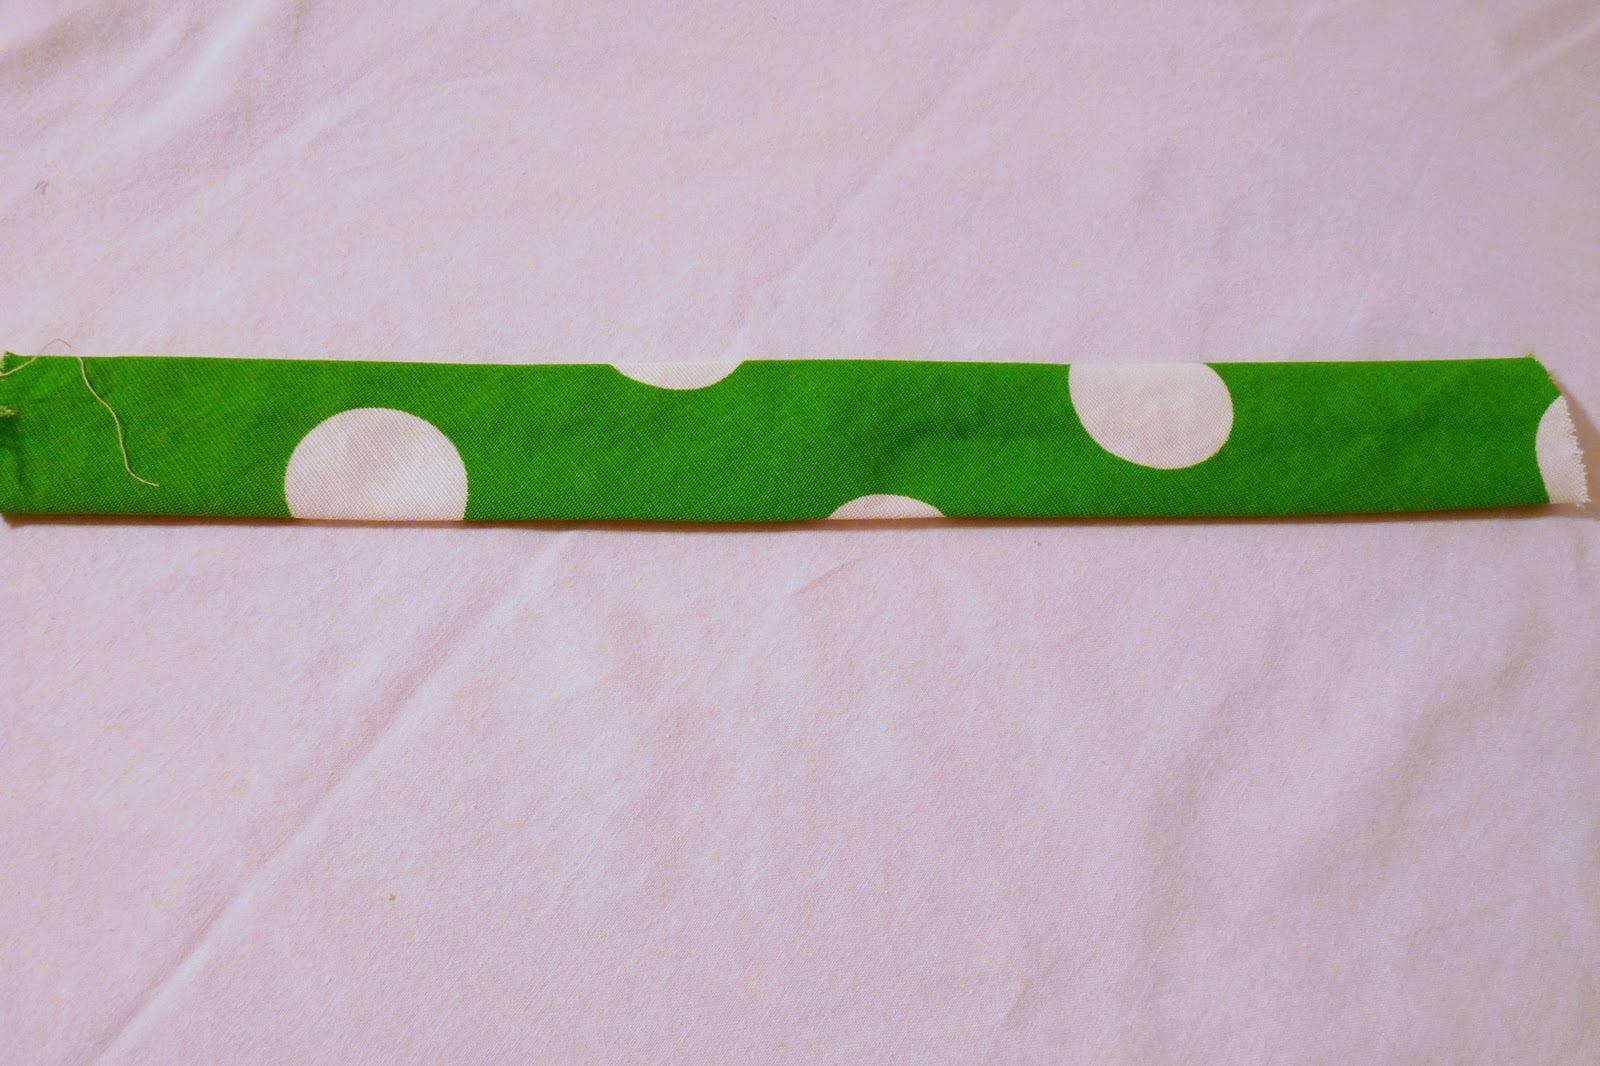
-4 rectangles of fabric, 3″ x 12″
-4 36″ pieces of PVC pipe
-4 PVC corners
-PVC cement
To make the top of the tent:
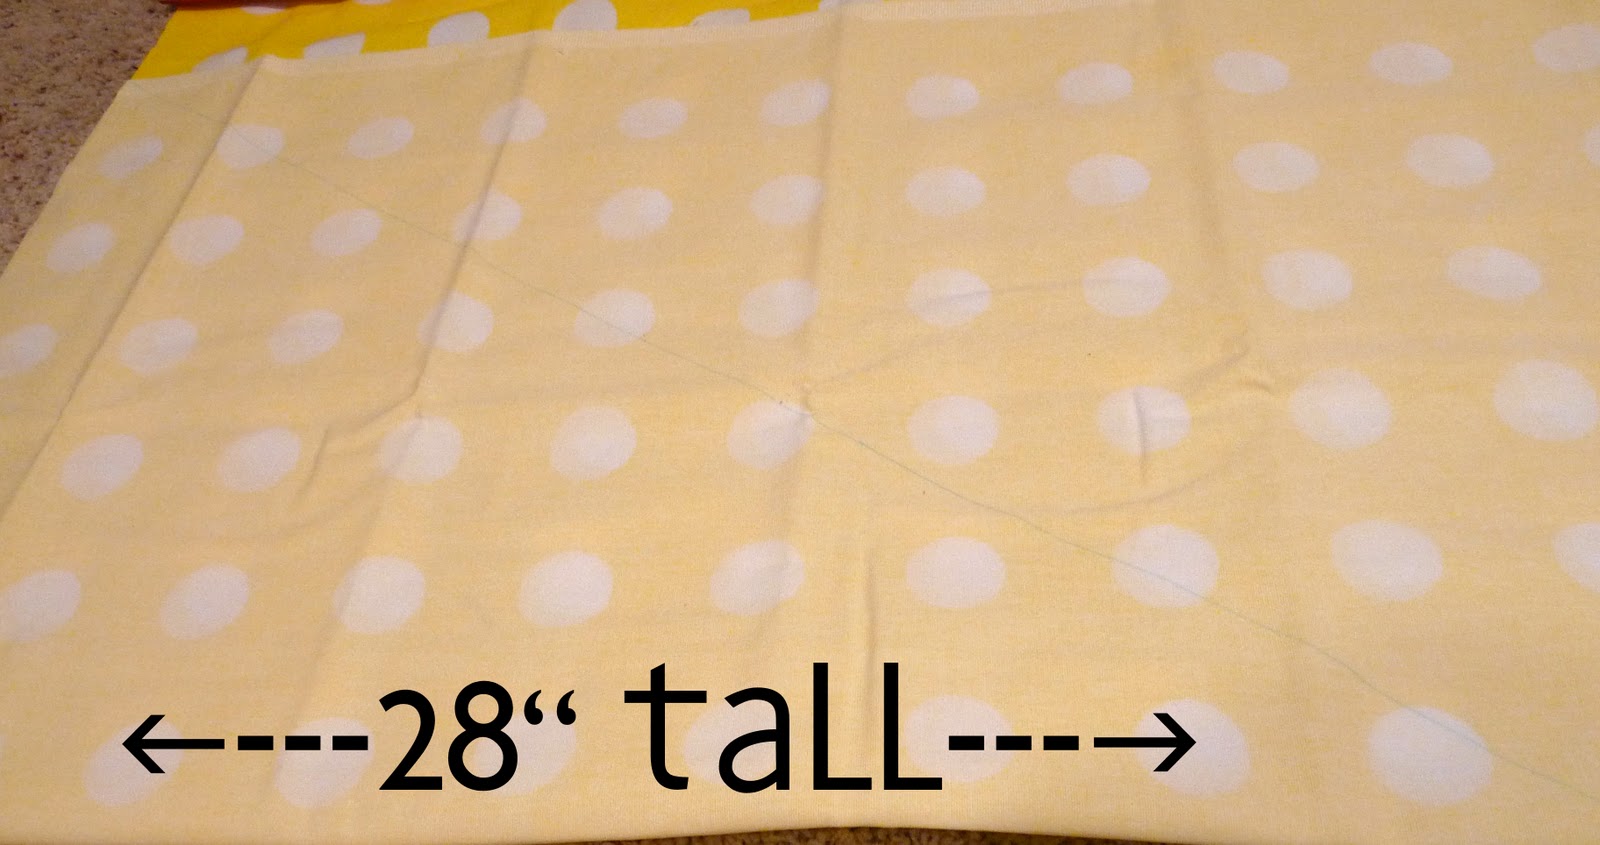
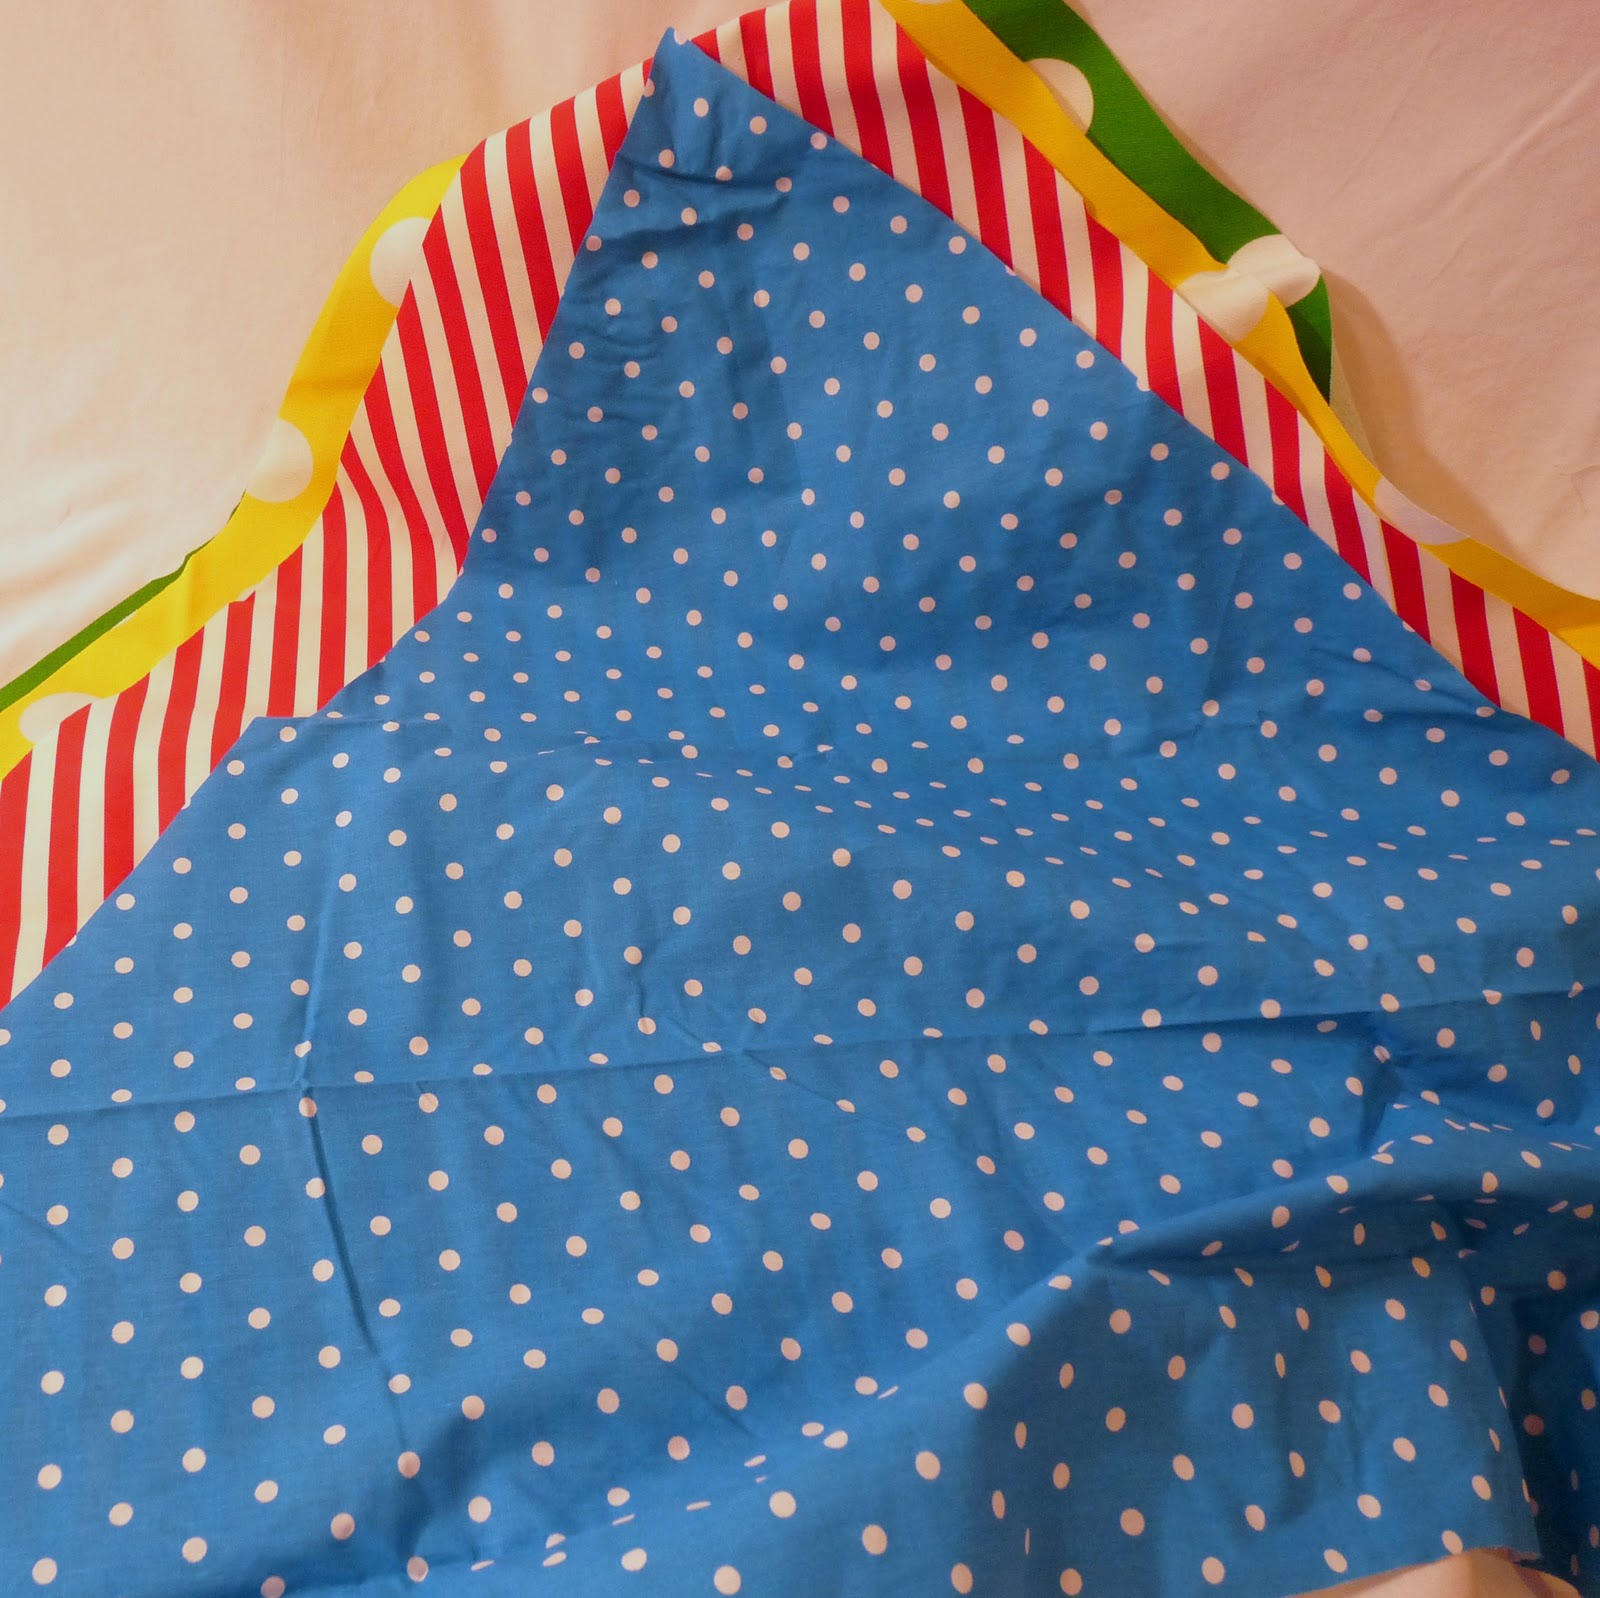
1. Cut four triangles of fabric. Measure out a 37″ base and mark, fold fabric to meet marking. Measure out 28″ height and mark. Draw a diagonal line from the height marking to the base marking. Cut along this line. Repeat four times.
2. Cut out your 6″x3″ rectangle of fabric. Fold in half (right sides facing in) and sew into a tube. Turn right side in and press, with the seam running down the middle of the back. This will be your hang loop.

3. Pin two of your triangles along the diagonal edge, right sides facing each other. Sandwich your hanging loop between the two pinned edges, facing inward. Sew together. Repeat with all four triangles until all the diagonal edges are sewn together and you have a four sided pyramid.
To attach the top to the ‘sides’ of the tent:

1. Turn the top of the tent inside out. Determine which triangle panel will be the front panel. Fold the front panel you’ve chosen in half, measure 6″ on either side and mark. You should now have markings one foot wide in the center of your front panel. This will be your entrance. Take one of your flat sheets, line it up with one of your markings and pin, right sides together. Take the other sheet and do the same with the other marking. Continue to pin your flat sheets all the way around the four sides of the tent (overlap the flat sheet onto itself at each corner) until the two sheets meet up. Sew the two flat sheets together where they meet and trim the excess.

2. Fold your 3″ x 12″ rectangles in half, right sides together and sew into tubes. Turn right side in and press, ironing the raw edges into the tube. Finish off the ends. This will be the ties that secure the tent to the PVC frame. Pin one tie in each corner. Pin in the center so that each 6″ side hangs down, ready to be tied together. Stitch all the way around the perimeter where you’ve pinned, attaching the top of the tent to the base of the tent and securing the ties in place in each corner.

3. Make the PVC frame by cutting four 36″ pieces of PVC piping. Put PVC cement in each corner and insert your cut PVC pipes, making a square.

4. Turn the tent inside out and lay flat. Place the PVC frame in the center of the tent, lining up the corners of the frame with the corner of the tent. Use your fabric ties in each corner to secure.


5. Turn right side in and hang! If you don’t want to make a retractable awning, you’re done with your gift for your little guy! If you’re planning on adding the awning, stay tuned for part 2!
*This is probably obvious, but in all of the pictures, the tent has the awning… I didn’t take any pictures without it. 🙂

ps-We submitted this for our Dr. Seuss week project at SYTYC a couple weeks ago… this week’s theme is ‘hardware store.’ Go vote if you please! 🙂
Love this. Of course it could be girled up too for those of us without little guys.
That is adorable. My kids would all love that! Such a fun idea!
Just a quick note to let you know that a link to this post will be placed on CraftCrave today [20 Nov 01:00am GMT]. Thanks, Maria
Excellent post with nice pic..,I really like your post.It's so informative for me, Thanks for sharing such a beautiful blog,
———–
personalized gifts for men
I know this is an older post, but I was looking for Part 2 of this project. Do you have it on the blog? I'm going to try to make this for my grandsons!
Hi – I posted a picture and a link to your tutorial on my blog. I hope this is okay – I'm new at this so I wanted to make sure. I love the tent and plan on starting mine soon! Thanks!!
Thanks for the inspiration. I used your idea to make our own not-so-little tent. Here is a post to see it!
http://allthingsthread.blogspot.com/2011/06/ready-for-some-time-travel.html
Sarah
I love this! I am featuring on my blog today!
seemesew.blogspot.com
Please, I need your help!! I want to make this for my son, but I want to make it rectangular in shape instead. I am having such a hard time wrapping my head around how to make the triangular pieces for the top. I’ve looked up how to make a rectangular pyramid, but its not helping me with making one to my size. I like the height of your peak, 28″. I’m making this to go over top of my son’s twin size bed, so we’re looking at making a frame that is 3′ X 6′. I’m hoping you can help me with the pattern for the triangular pieces only. I can figure the rest out from there. lol. Please email me at the email above if you can help. THanks for your consideration. This Momma is a little lost as to how to make her son a happy boy.
Hey Melissa- just saw this! Did you figure it out???