
kojotutorial: drawstring hanging bag
As an Amazon Associate I earn from qualifying purchases.

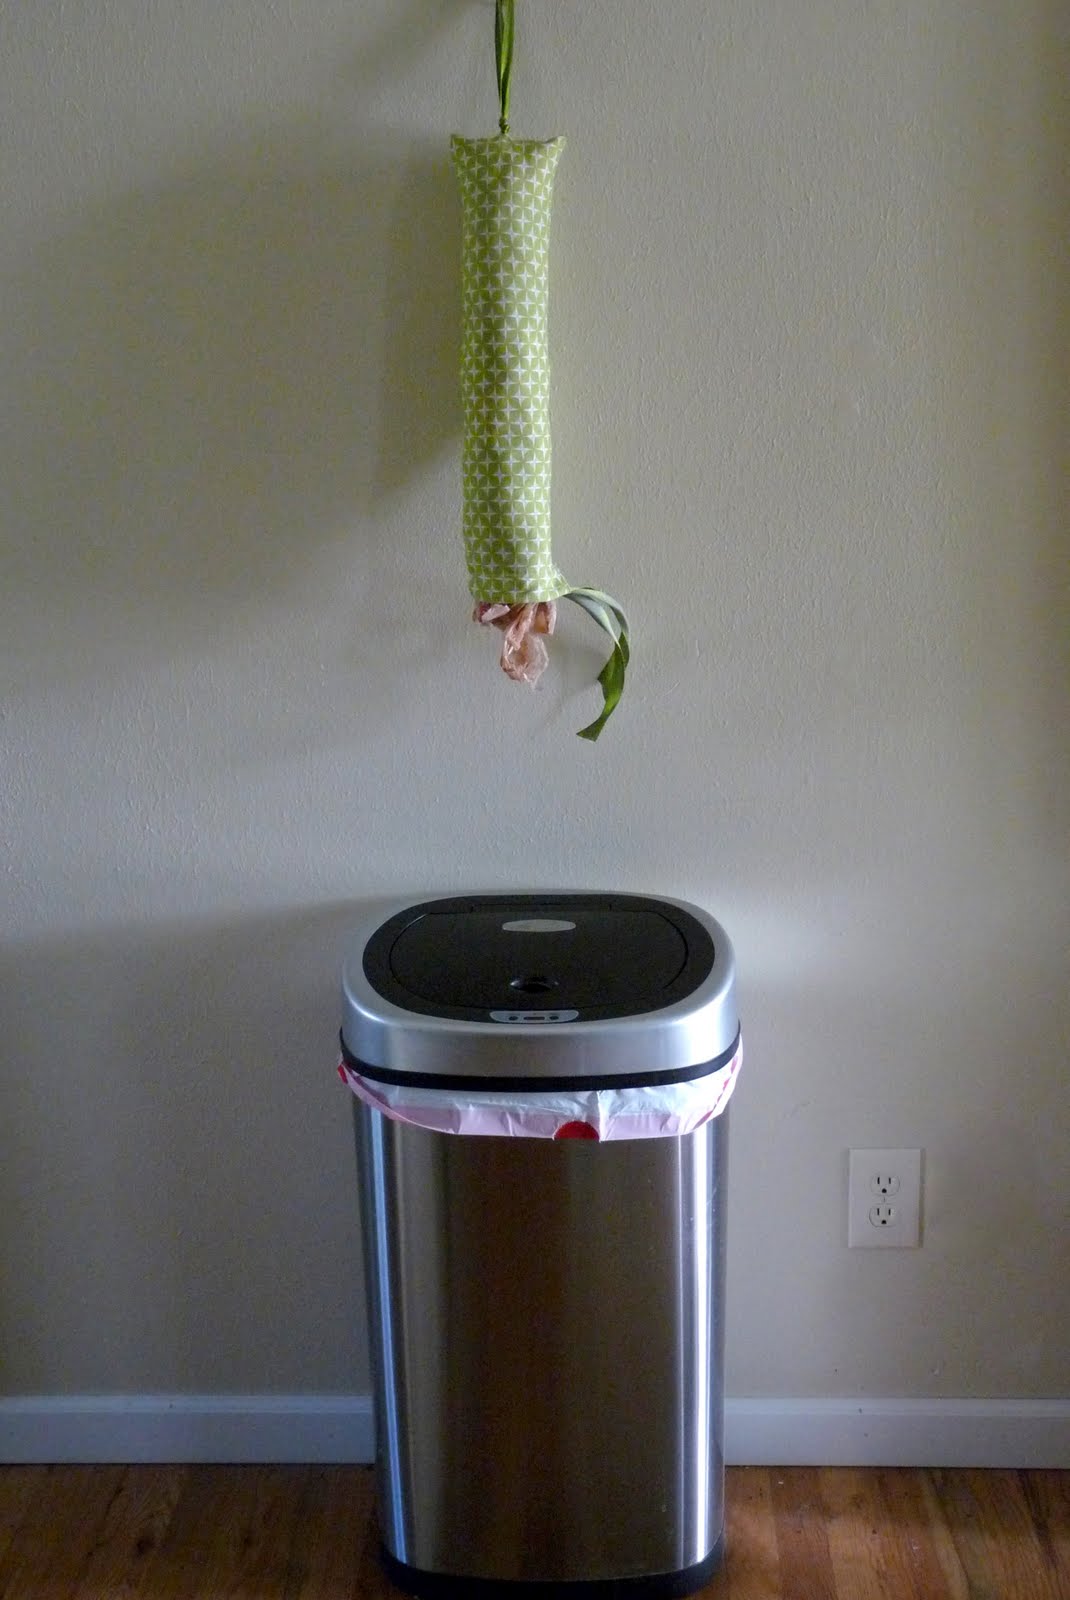
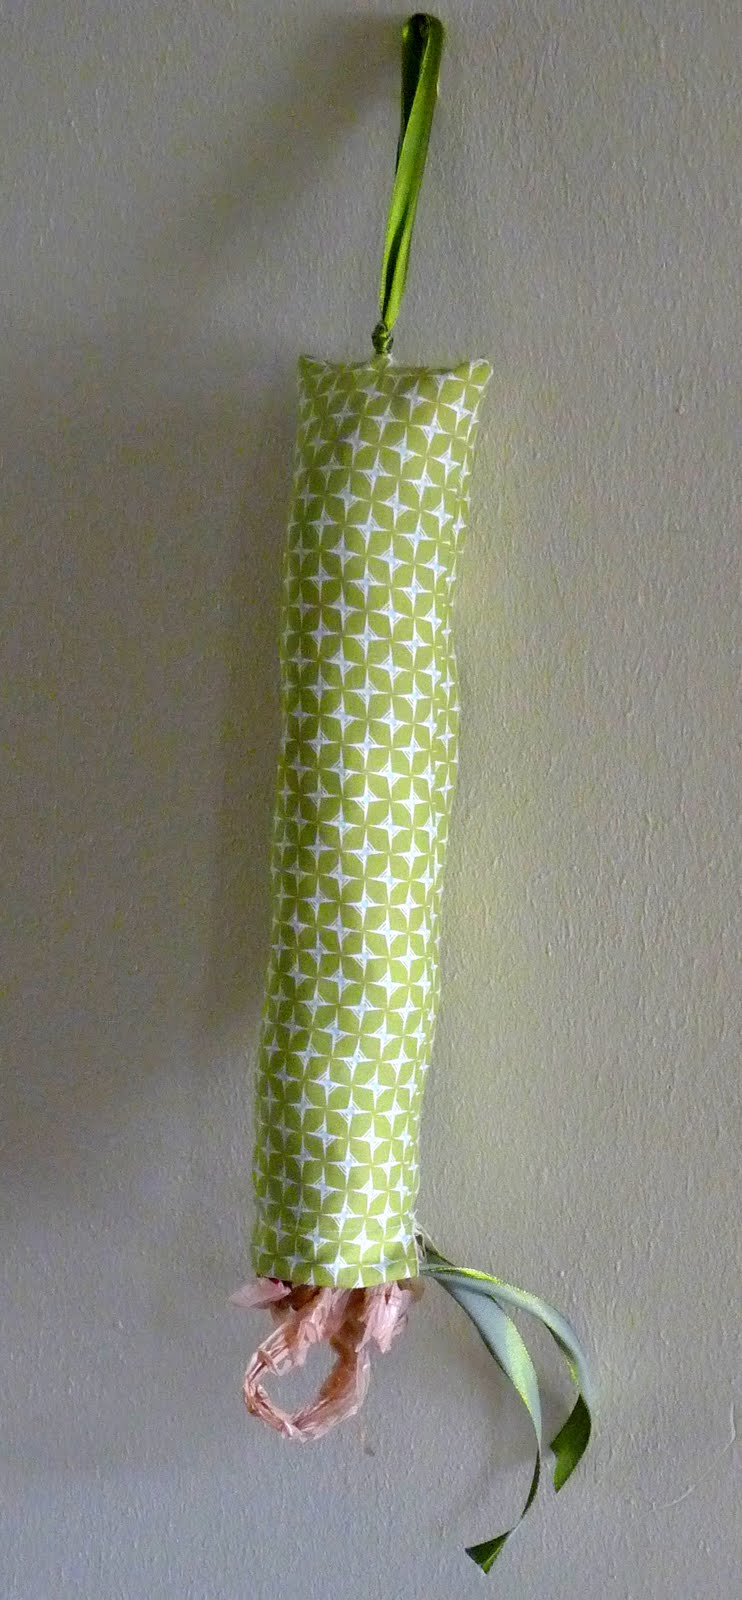
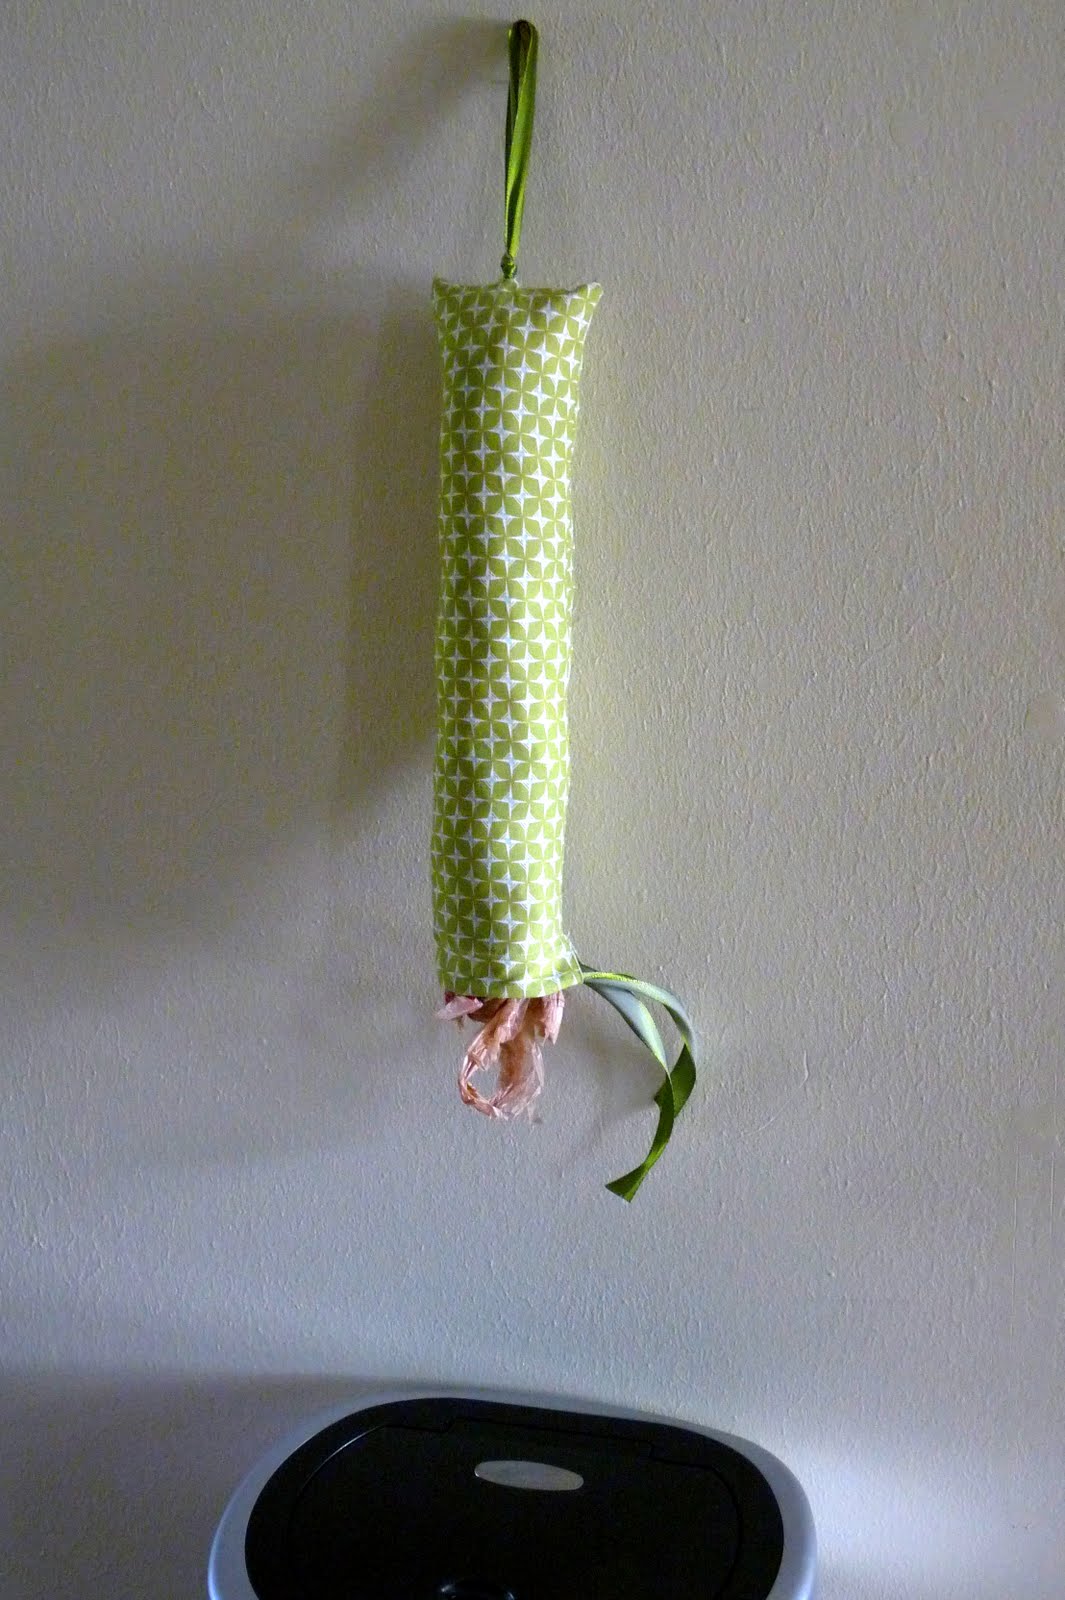
We are cloth diaper-ers around here… However, we still have a stash of disposables on hand for night time and anything that would fit into the ‘super chaotic’ category. Since that’s been the case more often lately (chaos, not night time), we’ve been needing to ‘contain’ disposable diapers (and their odor) more often as well. And for such containment purposes, I made a long, tube shaped drawstring bag to hang over our garbage can. This cloth drawstring bag not only looks pretty (Nicey Jane at work again!), it holds and easily distributes plastic bags, destined for the noble job of ‘disposable-diaper-receptacles.’ You might need one of these, too. So here’s how to make one.
Gather:
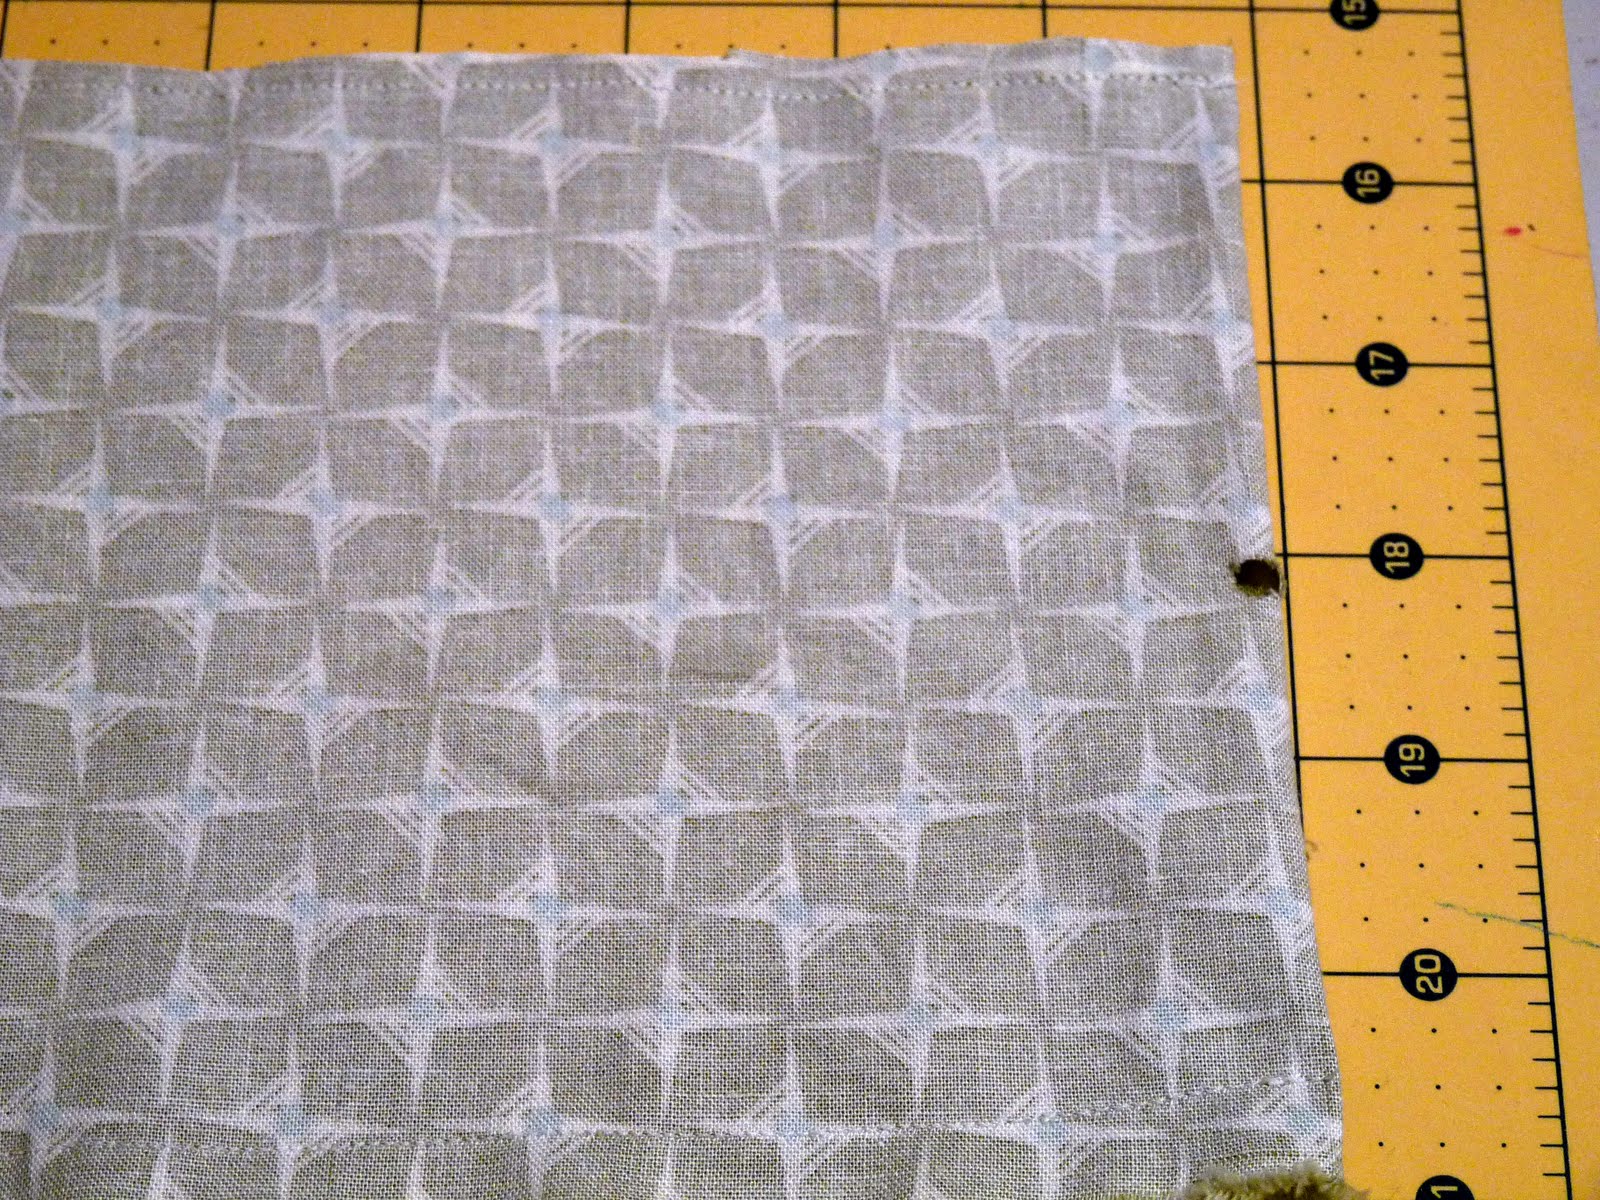
-a long thin rectangle of scrap fabric (mine was about 6″ wide by 40″ tall)
-coordinating ribbon (for your drawstring and your hang loop)
-a hole punch
-a sewing machine
-leftover Target and grocery store bags to fill this baby up when you’re done


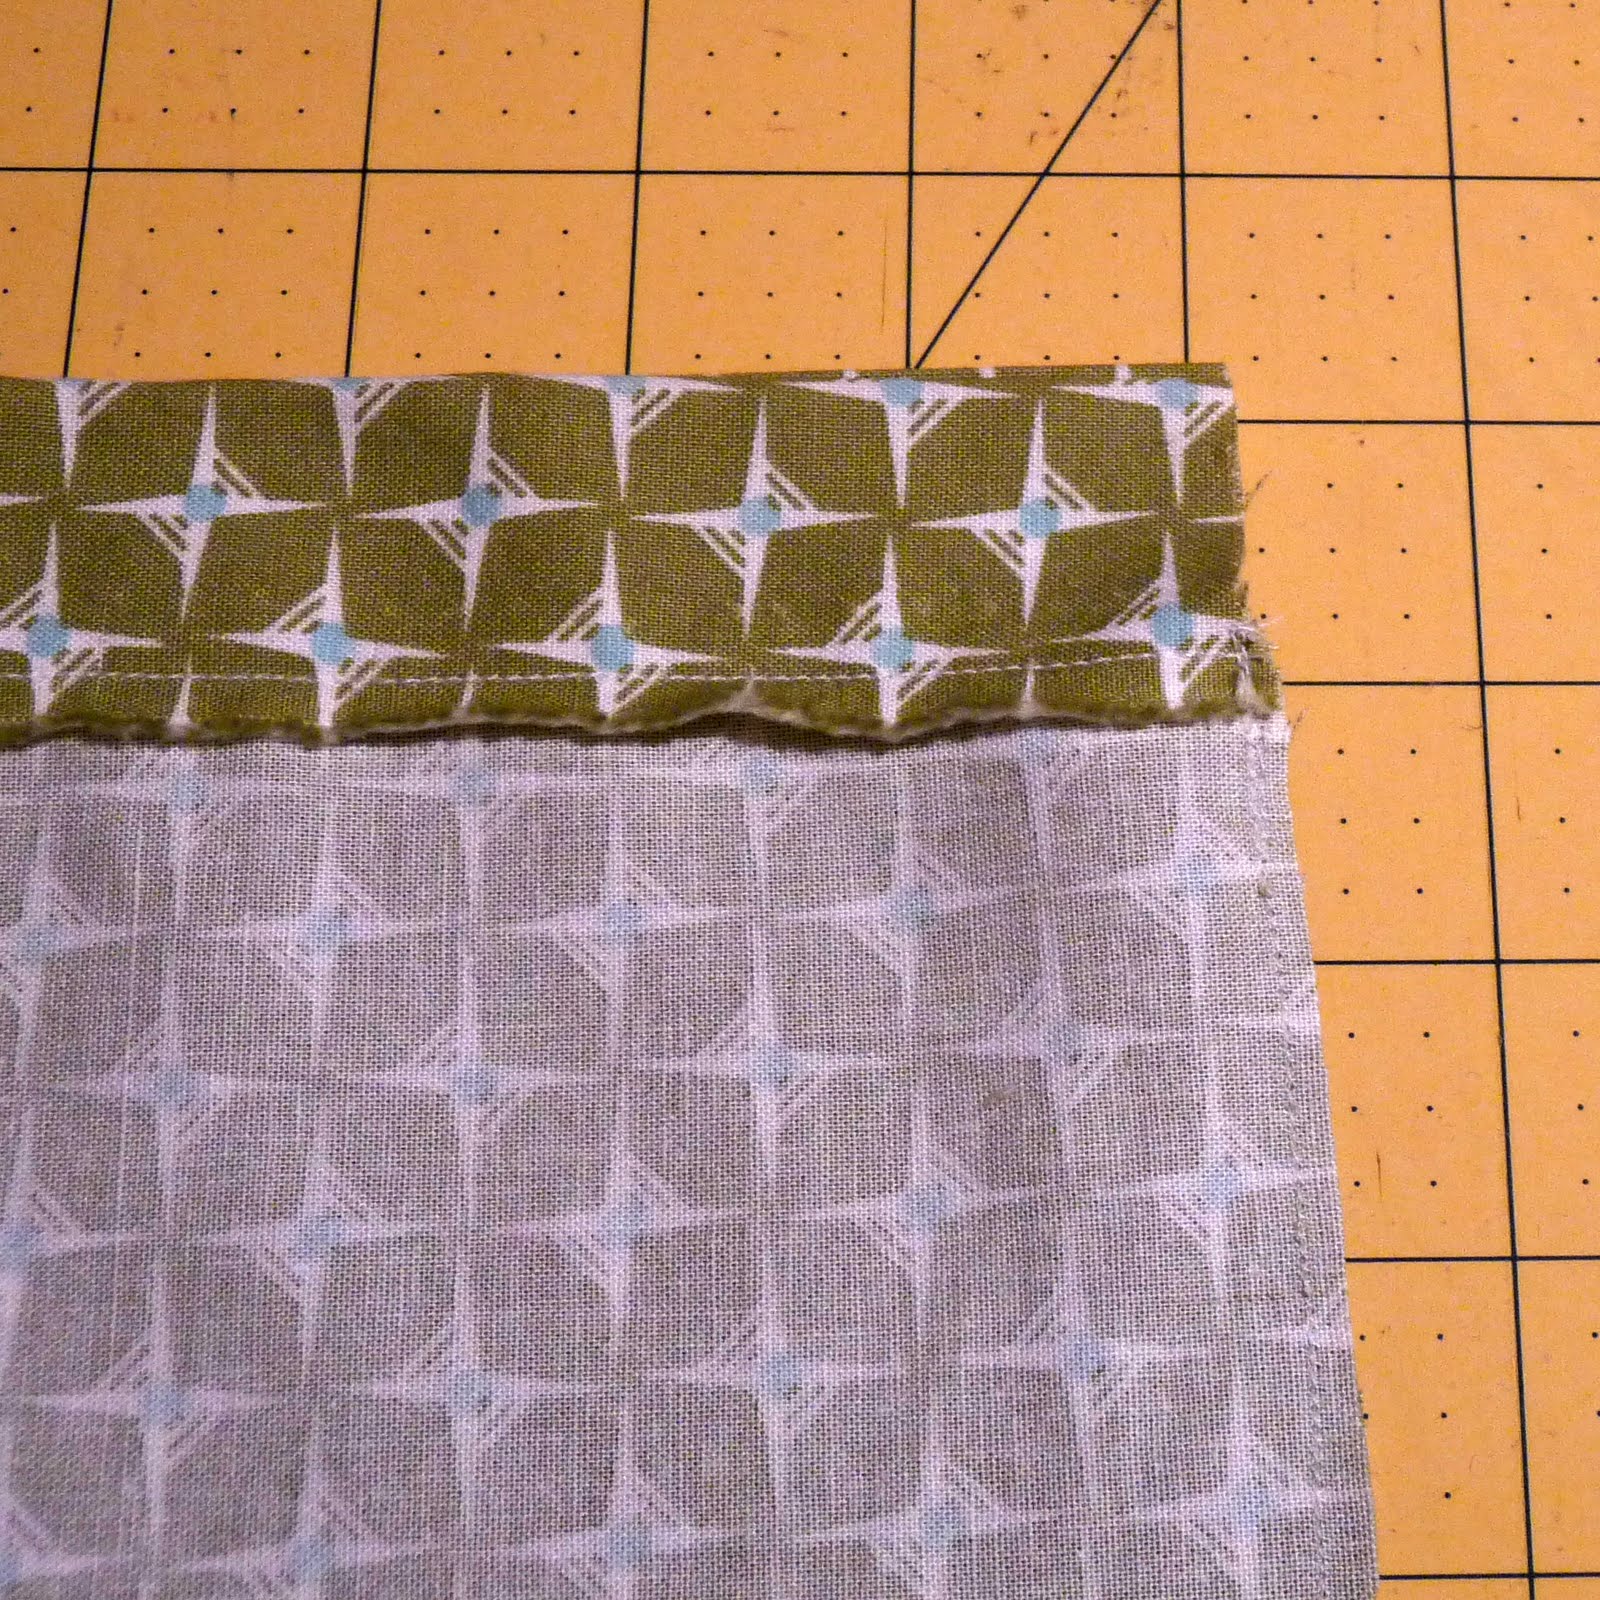
1. Iron your fabric rectangle in half with the right sides facing each other. Stitch a line up each of your two vertical edges so that you have a long rectangle with three sides closed off (my top end didn’t need to be sewn shut since I just folded over a long thin strip of fabric).
2. At your top folded-not-sewn end, use a hole punch (the hand held upright kind, not the small paper punch kind) to pierce a pencil eraser sized hole. You could probably use scissors to make a little notch as well. Finish the perimeter of your hole off with fray check or clear nail polish so it doesn’t fray.


3. Loop over a length of coordinating ribbon and tie off with a knot. Thread the loop section into the small hole. The knot will catch and stay on the inside of your soon-to-be bag and the loop section will become your hang loop.

4. Make a drawstring casing at the bottom of your ‘bag.’ Either serge the edge and then roll over and stitch to make a ‘tunnel’ with two open ends (to thread your drawstring through) or double roll, iron and stitch.

5. Thread a ribbon through the casing to use as a drawstring.

6. Fill with plastic bags, hang above your garbage can, and revel in this handy solution to all of your plastic bag distribution needs (even better if they don’t involve diapers!).
I have seen a few variations on this but I really really like how sleek this one is. Very nice!
One of my mother's friends gave us something similar as a wedding gift years ago. We are STILL using it!!
I linked to your tutorial on Craft Gossip Sewing:
http://sewing.craftgossip.com/tutorial-make-a-hanging-bag-to-hold-your-plastic-grocery-sacks/2010/06/08/
–Anne
I've made 2 of these recently, but your version is way more pretty! Wish I had seen this before! Thanks for sharing!
This is really cute! Thanks so much for the how-to, I'll be linking.
I used scissors to make the hole in step 2 and found that the knotted ribbon would pull through. I attached a large button just under the knot on the ribbon as an anchor and it works quite well. I’ll be using this pattern in the future!
Joy, love that! I need to make another one of these- totally using your button anchor idea! 🙂
Thank you for this quick and easy drawstring holder. My friend had asked me to make one last summer I can now go visit her thanks for the easy to sew directions.
Enjoy Donna Roseedesign handbags.
Thanks Rosee! 🙂