
how to make monogrammed hankies
As an Amazon Associate I earn from qualifying purchases.
Today’s oh-so-wonderful Gifts for Guys guest is Alicia from La Famille.
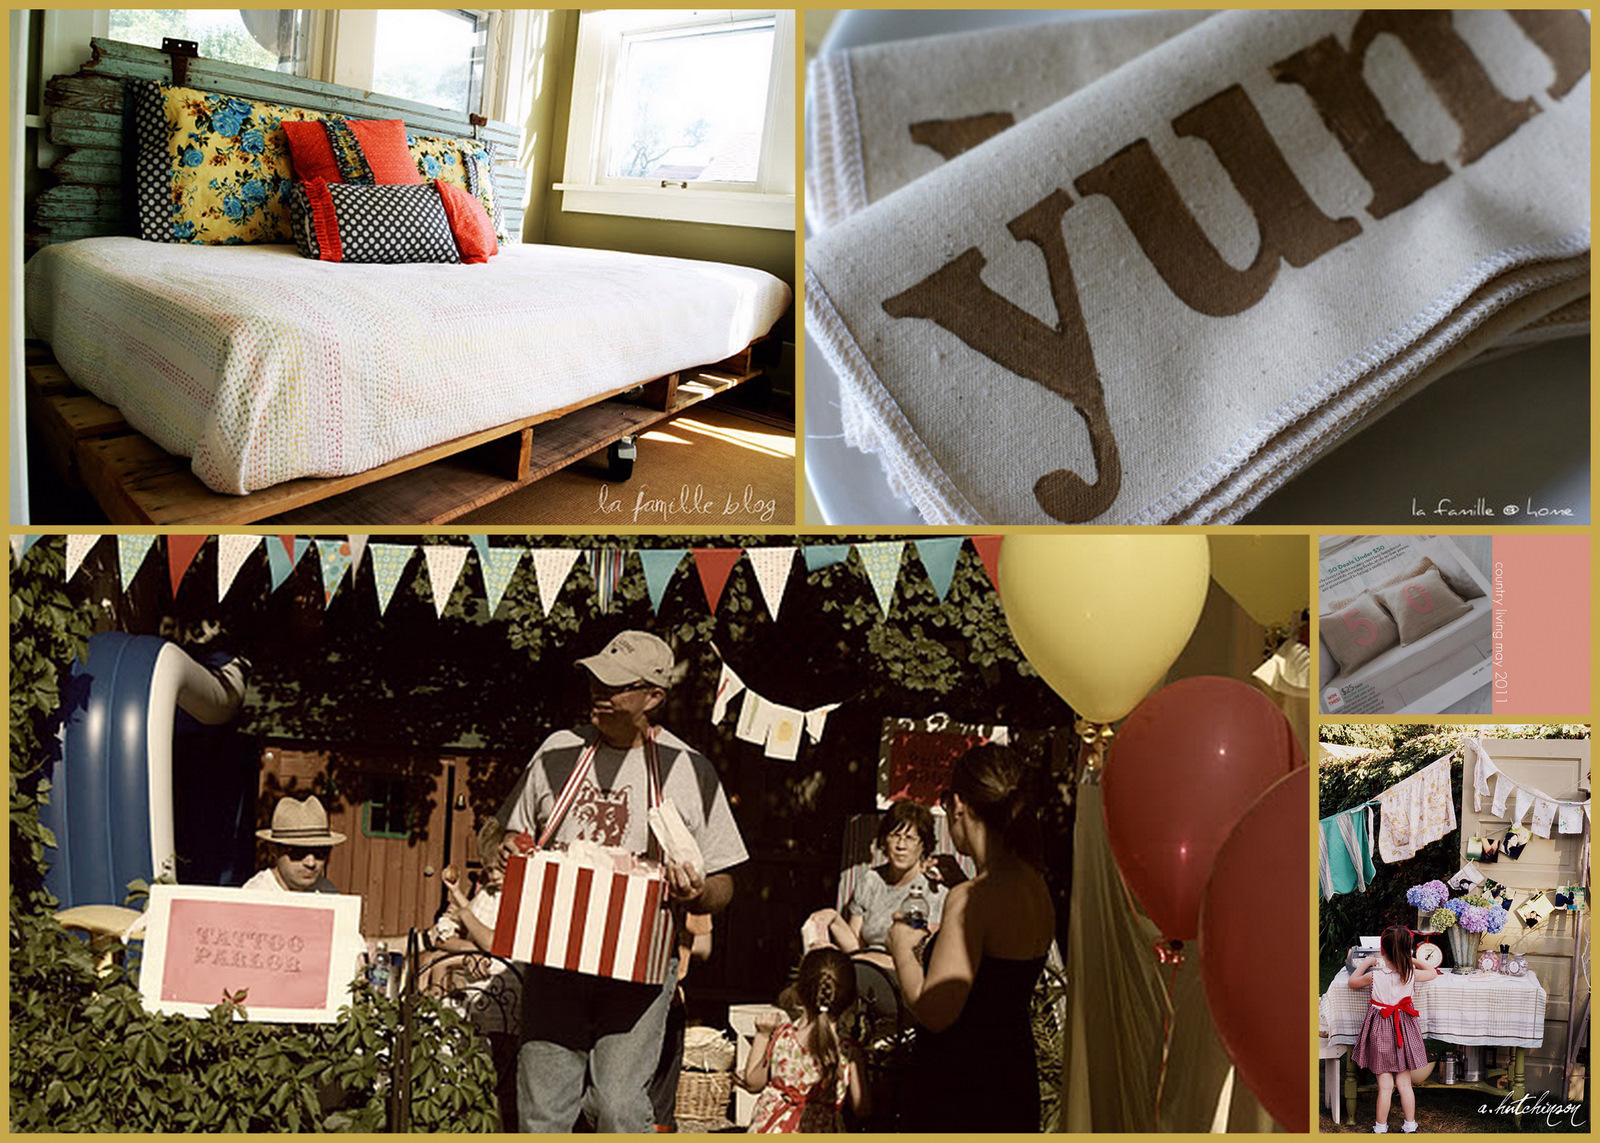
How do I love this girl? Let me count the ways. She throws a mean party (ummm, this carnival party is fantastic and don’t get me started on this vintage kitchen bridal shower), she takes gorgeous photos, she has a seriously fabulous eye for design (she just moved, but her old house tour is here), and we have a common love for repurposing pallets into furniture. Also, she’s famous. And has a shoppe stocked full of gorgeous home stuff!
But the thing at the top of my list? She is a sincere, real, prayerful friend. This girl’s emails and texts have been a bright spot in many of my days. And, if you don’t love her already, get ready to meet your new BFF. Oh, and of course, she’s here today with a Gifts for Guys tutorial! Lucky us!
Hey girlies! Can I just say I am SO excited/nervous/elated to be here today?! When I saw the line up of awesome crafters on the Gifts for Guys roster, I totally started pitting out! I immediately felt like the nerdy new girl. BUT, here I am with a gift…for a guy…on a super awesome blog. deeeeep breaths, alicia.
So yes, I’m Alicia and I blog over at La Famille. I blog about life, mama stuff, our homeschool days, and of course…projects! Today I’m making monogrammed hankies.


 |
| my banker and me…not talking about banking… |
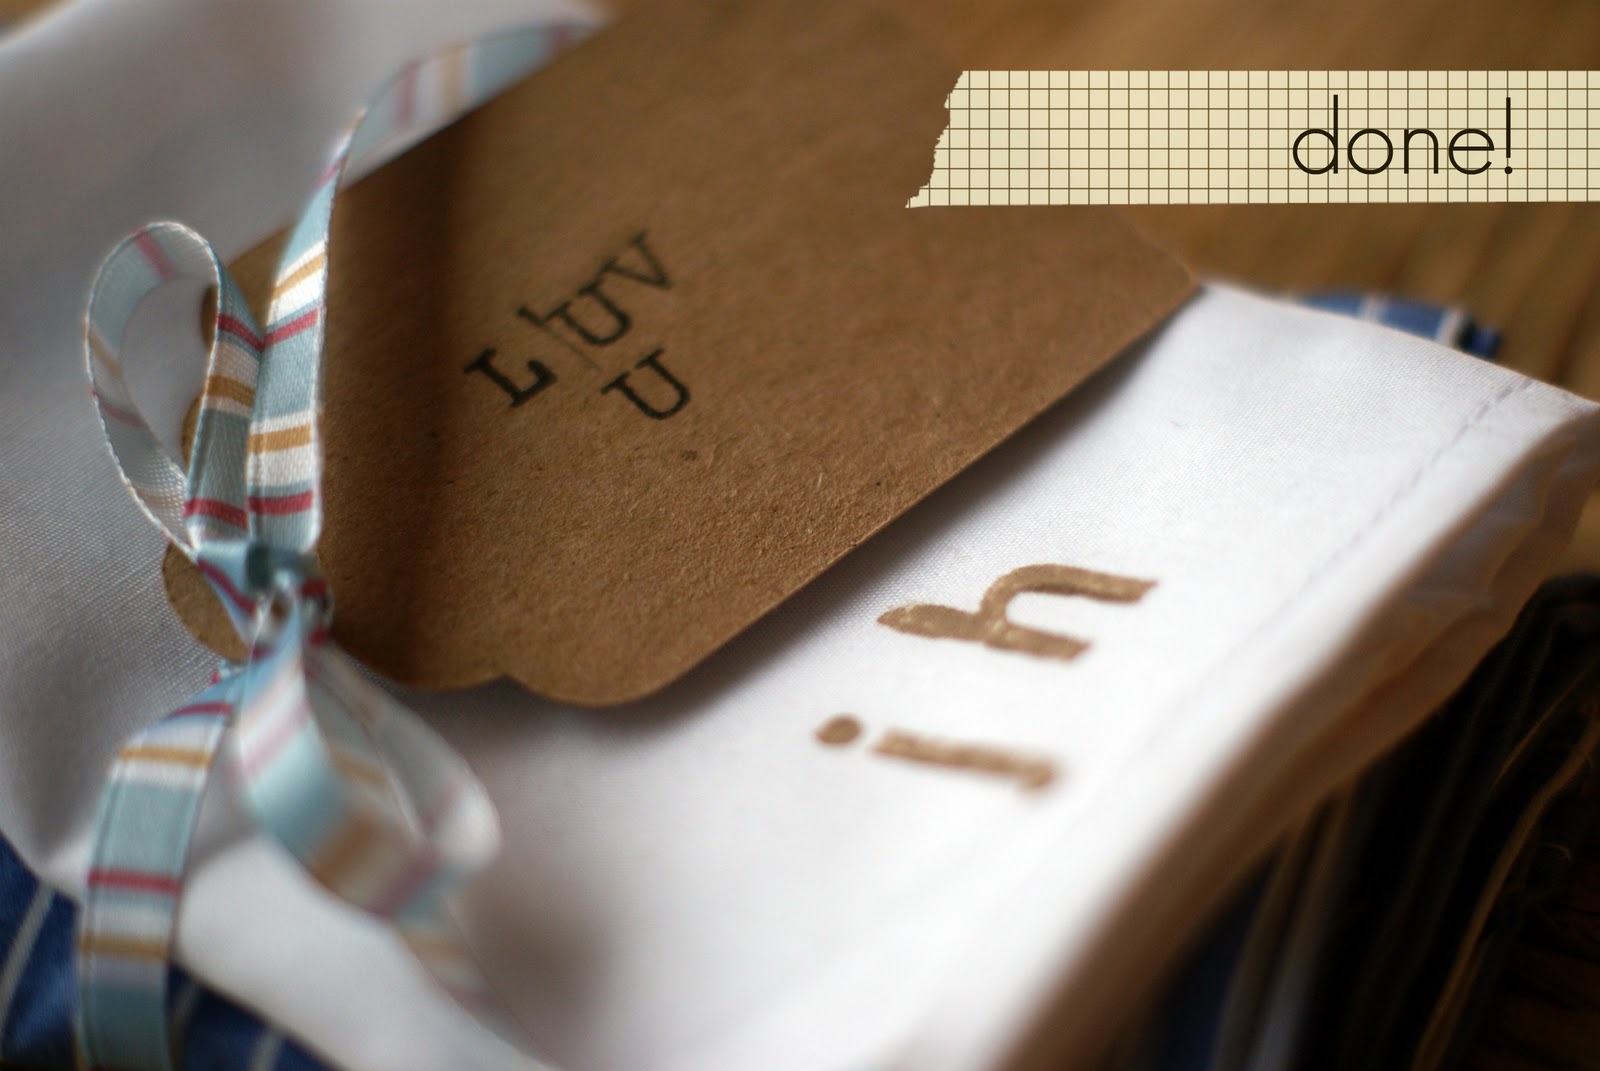
So, here we go…a set of personalized hankies for your guy/grandpa/brother/dad:
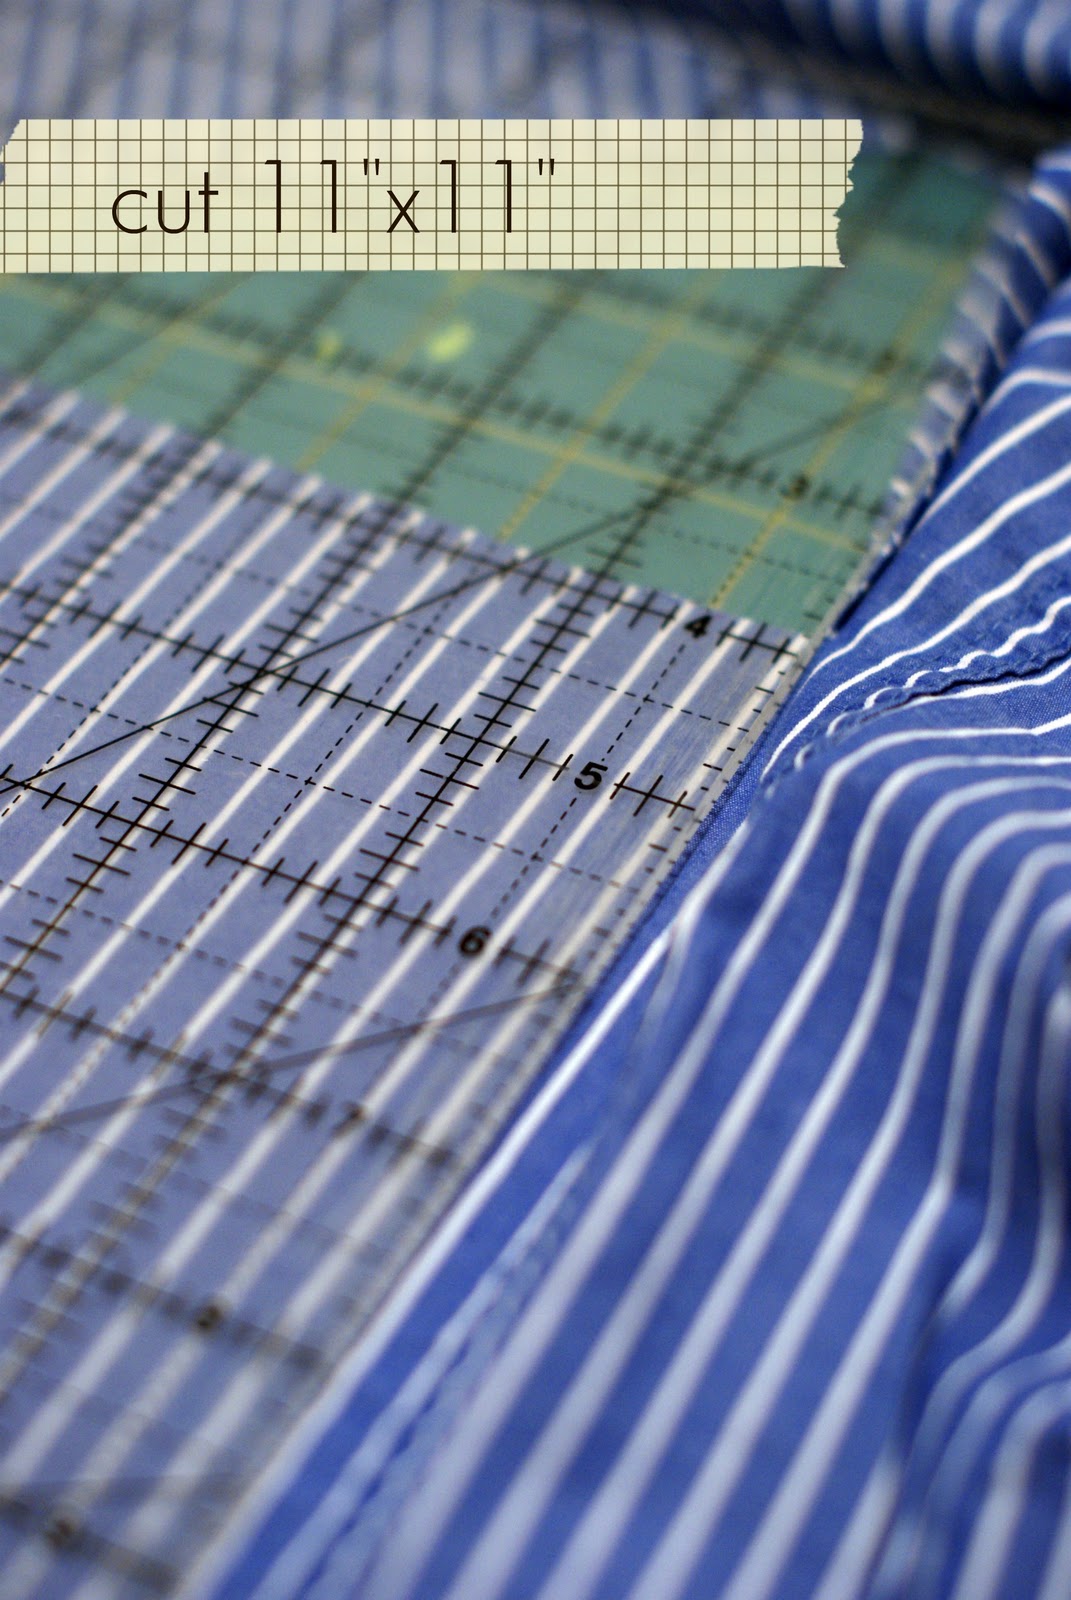
I made mine out of two old shirts my banker had tossed. I untossed them and saved them for a rainy day. I’m glad I did that 🙂

After I pressed them, I cut two squares from each shirt measuring about 11″x11″. Don’t worry, I saved the other shirt bits for future projects.
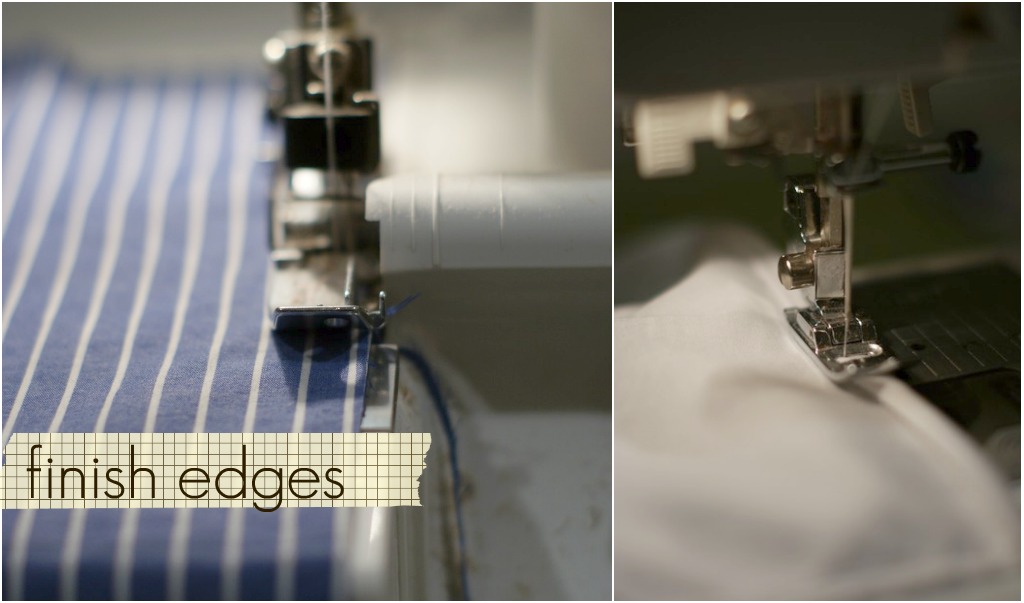
Next I serged all the edges. You don’t necessarily have to do this, but I find it easier to hem things when I do. Then turn the edges over and then over again and sew.
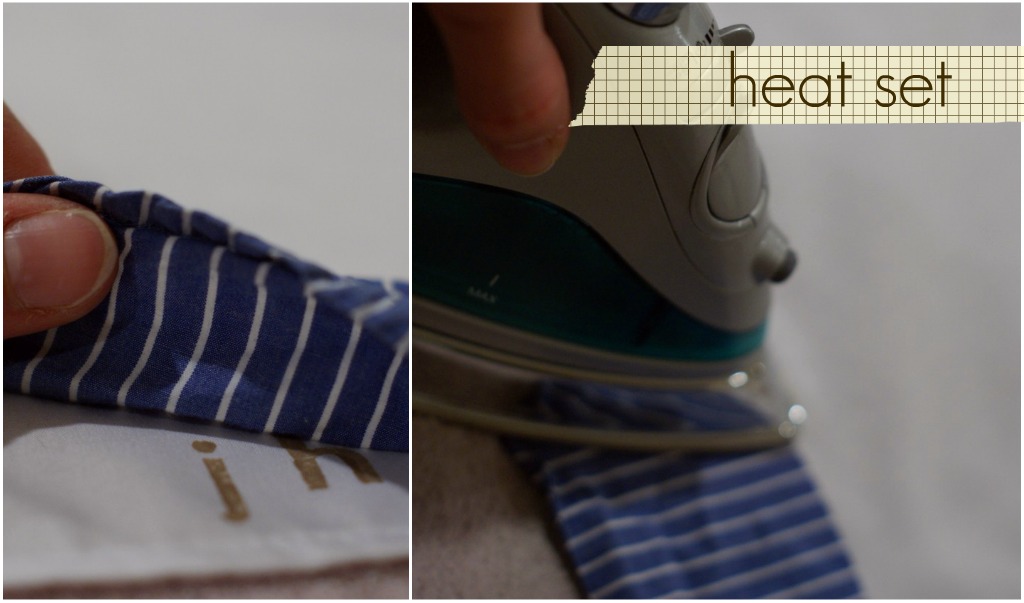
Next, the monogrammed part. I just used a fabric paint and stamps…

After the paint is dry, set the fabric paint with your iron. Just make sure something is between the iron and the monogram or it’ll smear.
That’s it! You’re done! Functional, simple, and very Don Draper-esque…gotta love that bit.


I had so much fun over here at kojo today! Thanks so much for inviting me over, Ms. K 🙂
