As an Amazon Associate I earn from qualifying purchases.
When I said we had an a.maz.ing. guest lineup, I wasn’t joking, y’all. Today’s guest is Heather from Life Made Lovely. And she is a.maz.ing. And lovely. Both.
Her Home Made Lovely series (where other bloggers give us a little peak into their fabulous abodes) is super inspiring, I LO-OVE her Life Made Lovely Monday series. And she has this fantastic vintage-meets-modern-plus-extra-fabulous design aesthetic. Also, she shares my opinion that The More Buntings The Better, so there’s that. Also her daughter’s name is Piper too. We were meant to be friends. Love the girl.
And, of course, she’s here today to share a Gifts for Guys tutorial. YAY!
Hello friends!
and I am so very excited to be here today.
I just adore the two lovely ladies behind this blog!!
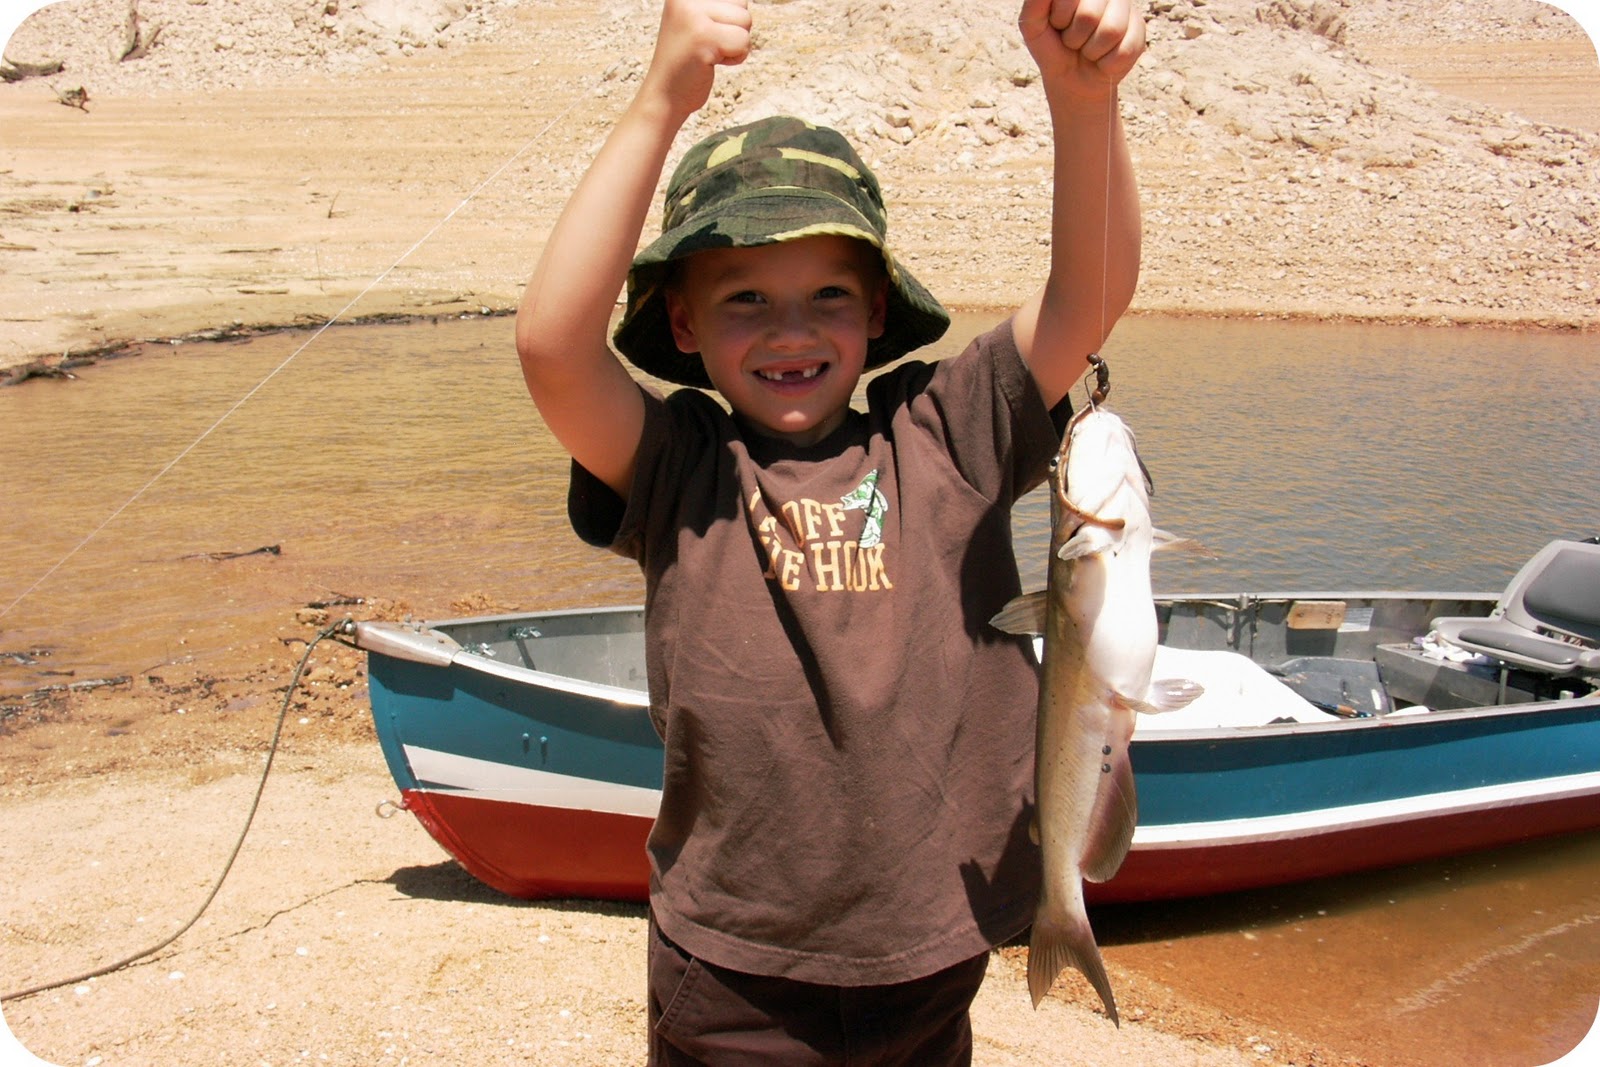
I have some very special guys in my life,
and just about all of them prefer to spend their Saturdays fishing.
Because of that, my 7 year old’s been bitten by the fishing bug
and just can’t seem to get enough of anything fish related.
What’s a crafty momma to do ?
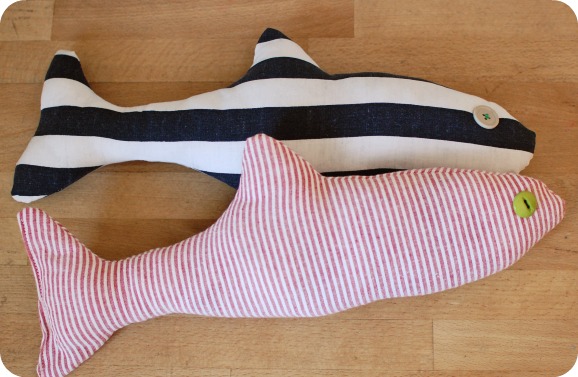
Why, make some un-stinky fish of course!
At first I was just going to make up some plush fish pillows for my guys bed,
but then I thought it would be fun to make these fish unstinky, so I included some
dried lavender in with the batting. Now they serve as toys, pillows, and a little
something to make my stinky fisherman’s bed ready for a long slumber.
This project is so easy peasy, you’ll have a whole school of fish before you know it.
Here’s what I used…
Less than a yard of cotton fabric
Some batting
About 1/4 cup of dried lavender
A few buttons
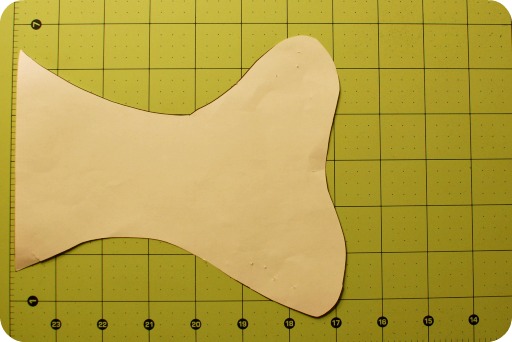
Draw out a fish shape that is about 17″ long.
I taped two sheets of paper together when I created mine.
You can click these itty bitty images to see their full size counterparts,
and then save them to your computer to use as a template.
Cut the shape out and tape the two sheets together.
Pin the template to two layers of your fabric
(with the wrong sides of the fabric facing out).
Trace the design and cut it out.
Separate your layers and flip to the good sides of the fabric.
Stitch on a couple of button eyes.
Once your fish eyes are firmly attached, flip the wrong sides
of the fabric back together and run a stitch around the entire fish,
leaving a 1/4″ seam allowance.
Be sure to keep the entire end of the tail open for stuffing.
Turn the fish right side out and begin adding the batting.
Between layers of the batting, sprinkle in some dried lavender.
Repeat until you’ve stuffed the entire fish.
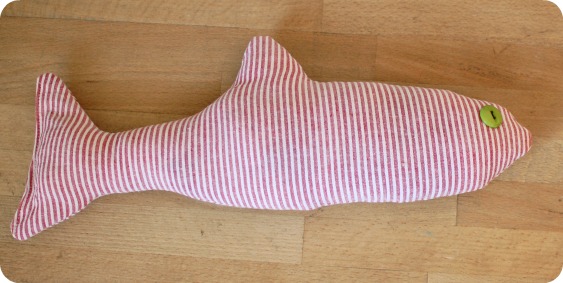
Fold in the open ends of the tail and stitch closed.
I don’t know about you, but I think that’s the cutest fish I’ve ever seen.
My little guy seems to think so, too.
He also thinks it’s rad that they “smell like fabric softener, Momma!”
Happy creating friends!
Thanks for letting me be a part of this fun series, Kirstin and Jordan!
See- isn’t she fabulous?


Hello, thank you for sharing Heather’s tutorialwith us!
I made a fish yesterday and posted the picture on a French quilters’ forum adding a link to this post, of course. I hope it’s ok. Beatrice (from France).
I love that Beatrice!