As an Amazon Associate I earn from qualifying purchases.
We’re so excited for today’s blog swap y’all. You know that we love (love! love!) Jess from Craftiness is Not Optional. She is not only our co-host for The Sincerest Form of Flattery series, but a good friend as well.
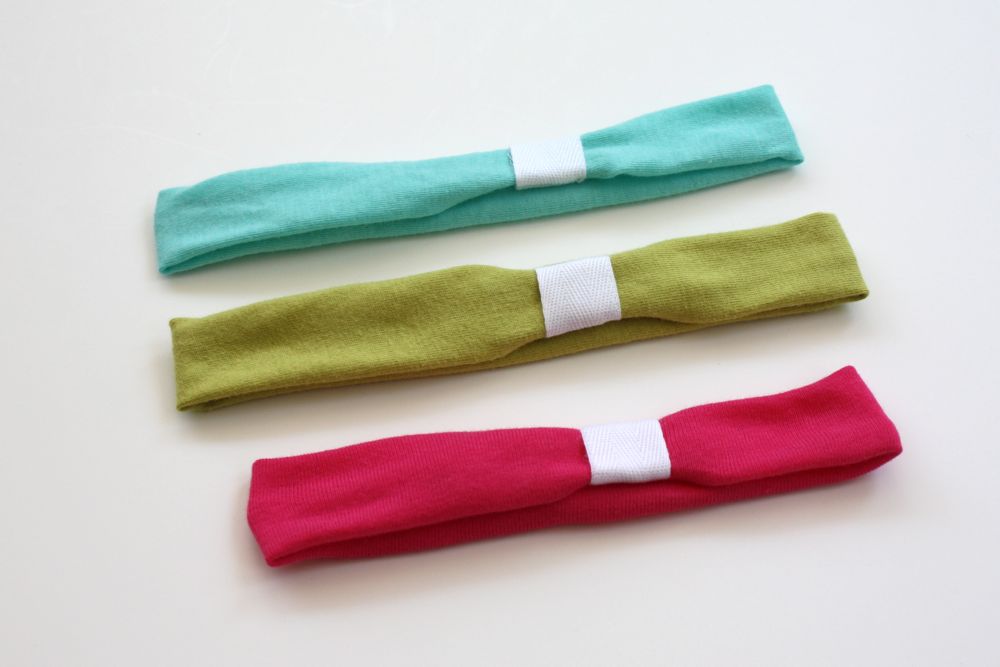
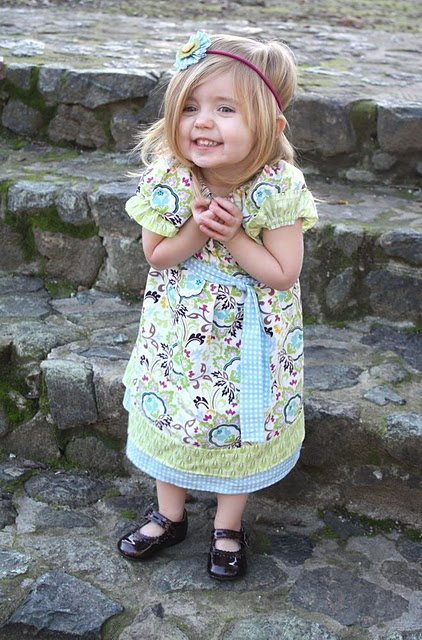
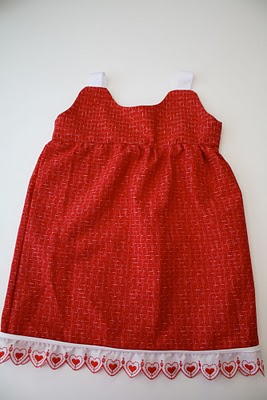
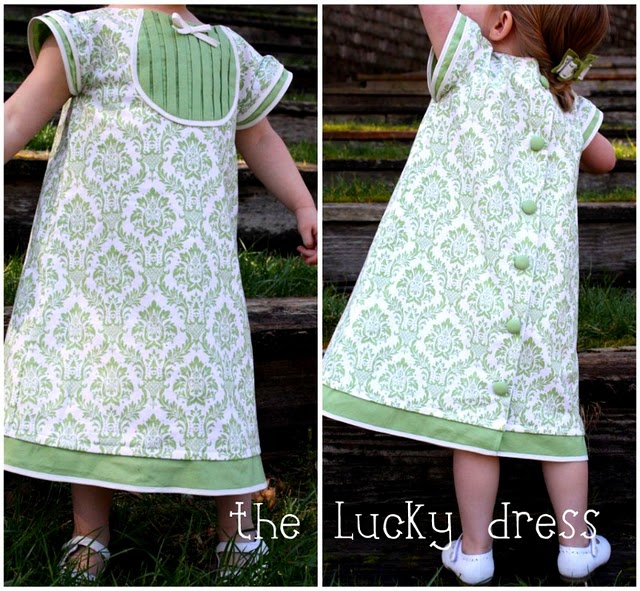
Since we’ve already shared a few of things we love about her, we thought we’d do a little round up of a few of her rock-star projects. Between brilliant baby headbands, fabulously detailed felt food, cute as can be dresses (seriously, choosing one turned out to be too tall an order for us, so check out darling little dresses here and here as well) and fun stuff for kids, Jess is one talented mama! And, short of getting too mushy-gushy, we are so thankful for her friendship as well.
Did you catch that we love this girl? Haha! Today, we’re swapping tutorials, which means that she’s here sharing a Shabby Apple Knock Off dress tutorial! SO FUN. Here’s Jess-
Heya Kojo’s peeps! I have been having a blast with this knock-off series-aren’t the projects amazing so far? Like-my to-do list is way too long now, amazing!? I am so excited to be here on Kojo Designs today-these gals are some of the sweetest in blog land, and of course, some of the most crafty! I’m sure you already knew that though. 😉
So, without further ado…Here is my knock off dress! Patterned
after this one. (couldn’t get a pic from the site, sorry)
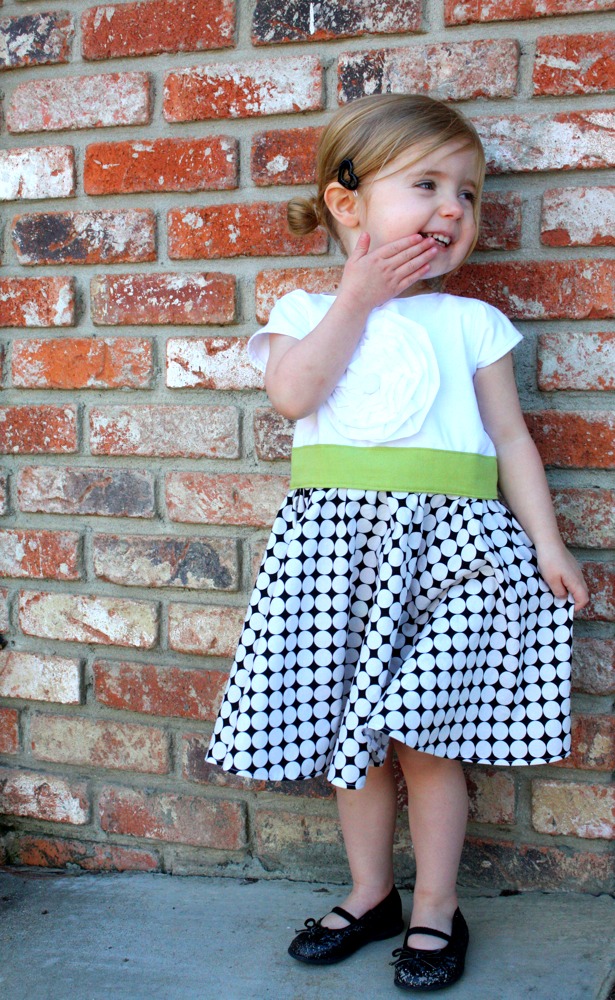
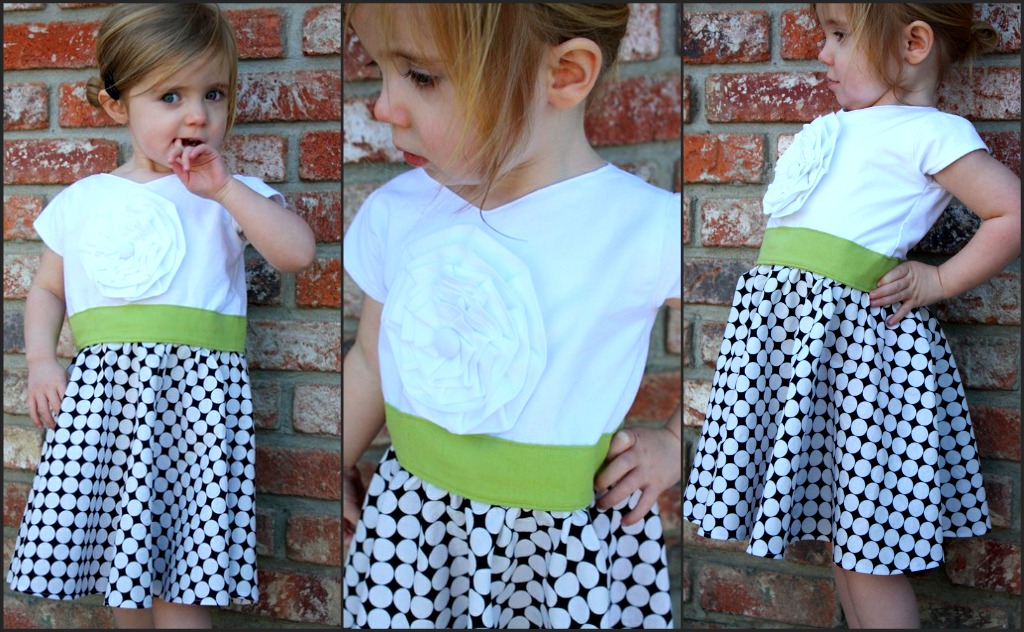
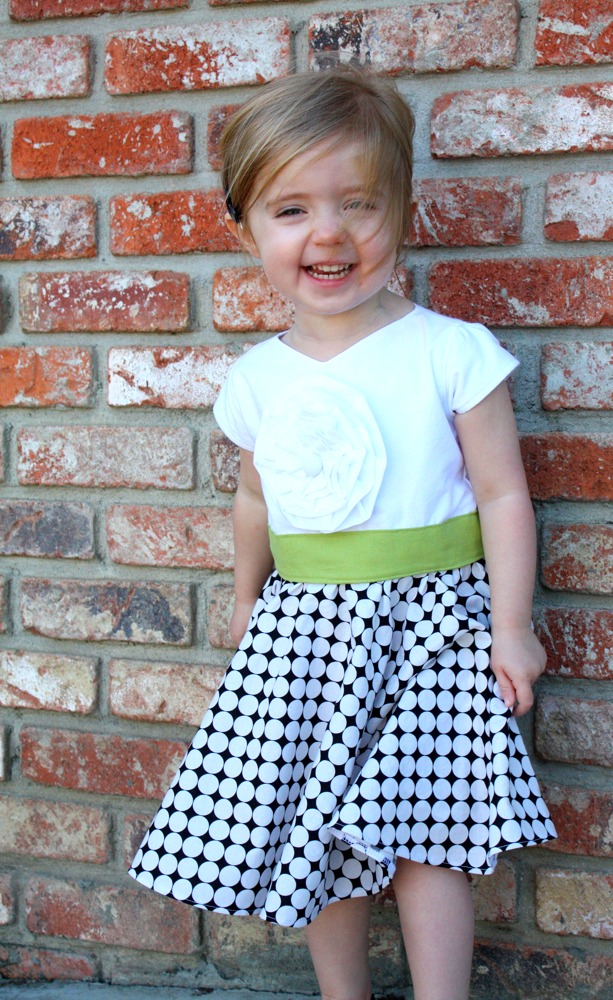
I loved the graphic qualities of the dress, and the green with the black and white would have never been something I would have done on my own! It’s a simple v-neck bodice, lined and made with muslin, with a large pleated flower sewn to the front. It has a wonderful circle skirt for the bottom and zips up the back with an invisible zipper.
So here’s the tutorial!
You’ll need:
1/2-1 yd muslin or white fabric
1/4 yd green fabric (mine is some home dec from Joann’s)
polka dot fabric or other print (I got mine
here)
button to cover
thread
invisible zipper
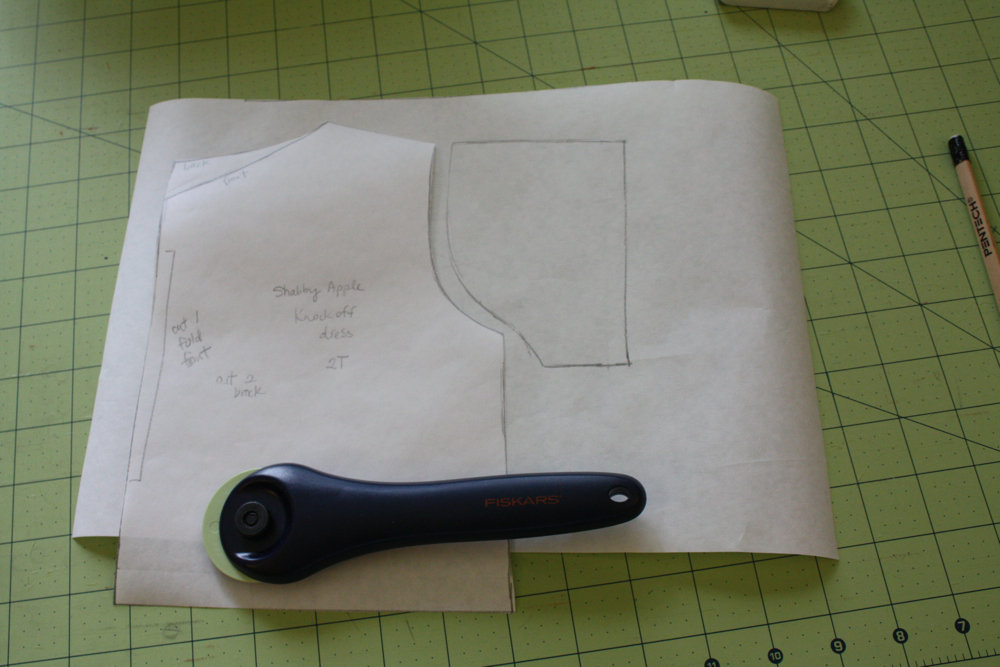
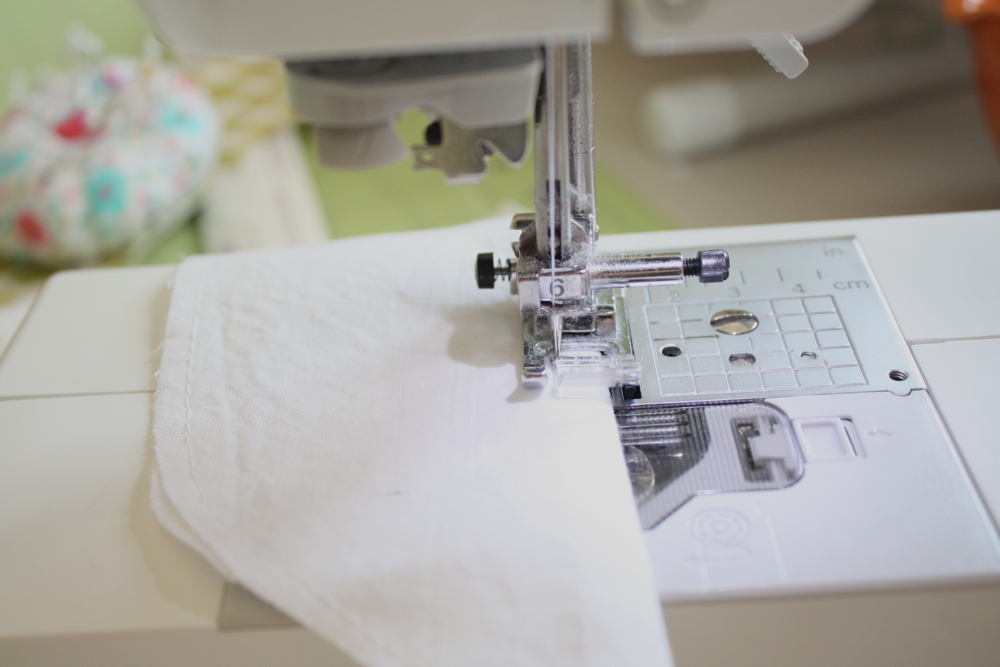
First I made a pattern for the bodice by tracing around a shirt that fits my daughter-adding in seam allowances, and drawing in a v-neck for the front, and slight scoop for the back of the bodice. I then used that pattern to make my sleeve pattern-like the picture shows.
I then cut out of my muslin-
2 front pieces on the fold, with the v-neck, 4 pieces of the back-with 1/2″ added for the zipper, and 4 sleeve pieces.
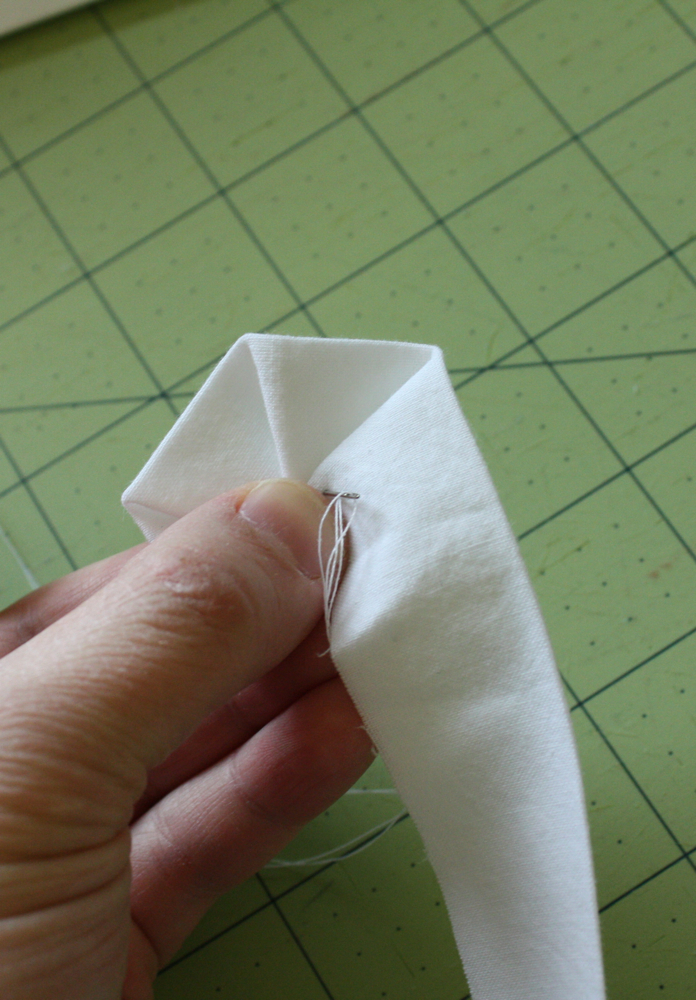
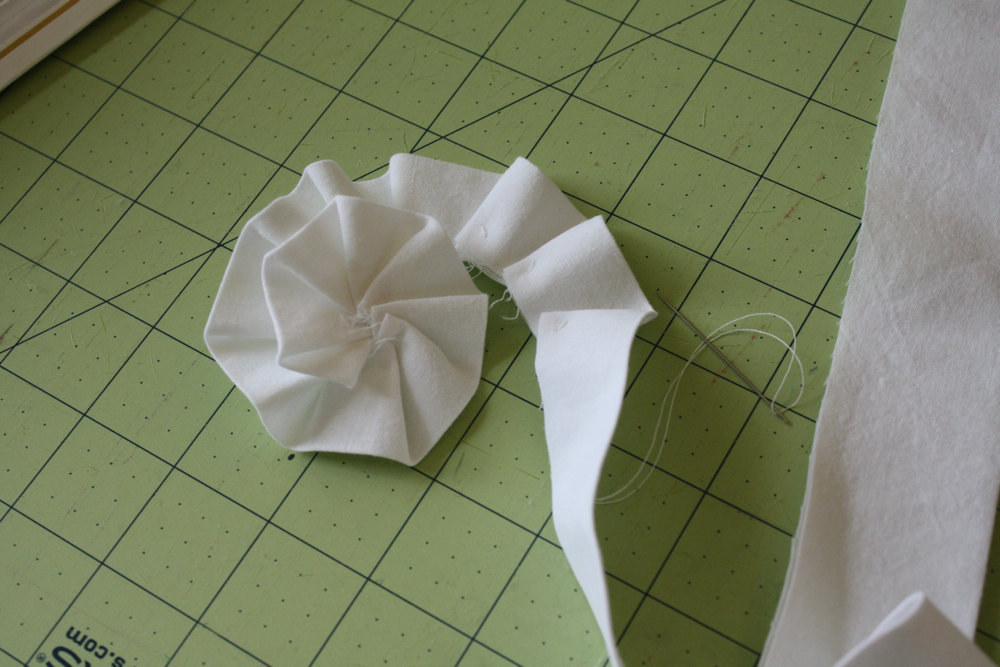
Then I made the pleated flower for the front. I cut 2 strips, one 2″wide and one 3″ wide, both about 30″ long. I folded them in half lengthwise and ironed them for a crisp edge. Then I started making little pleats (with the 2″wide piece) in a twisting shape like so.. and tacking them down with my hand needle.
Kept going til that ran out, folded it under and tacked it down…then did the same with the larger strip-only made my pleats a little farther apart. I then layered them and tacked the layers all together securely.
Then I placed and pinned it to one of the front pieces.
And sewed it on with my machine, hiding the stitches right under the second layer of “petals”.
Then, right sides together, I laid out the bodice pieces like so, and pinned and sewed the shoulder seams together. Then ironed the seams open…
Then I pinned (RST) the bodice pieces together like so and sewed around the neckline.
I clipped the few curves and snipped a little bit right at the v-neck.
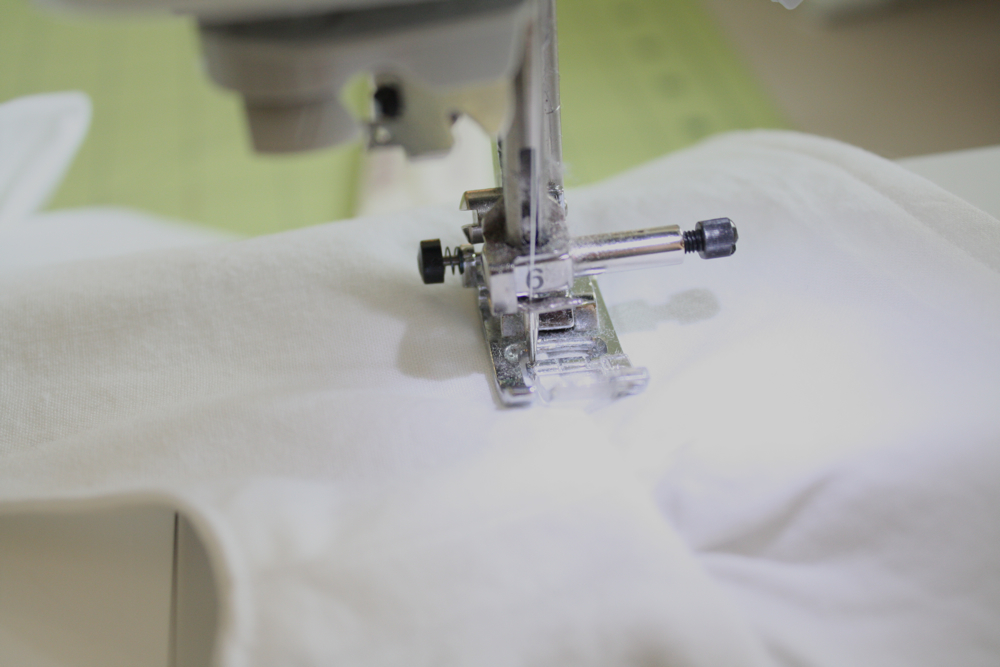
Then turned it right sides out, ironed well, and top stitched along the neckline, then basted the layers together at the arm holes.
Next I doubled up the sleeve layers, then basted them together along the sides and curve of the sleeves.
Then I ironed the bottom over 1/4″, then another 1/4″.
Then sewed that down. (no pic of this next step, sorry!)
Then I pinned the sleeves into the arm holes, RST. I did put a few gathers in the top to make it fit just right.
Then I sewed the sleeves in, and top stitched around the top of the sleeves.
Next I pinned the back and front RST, and sewed the sides up, then finished those seams.
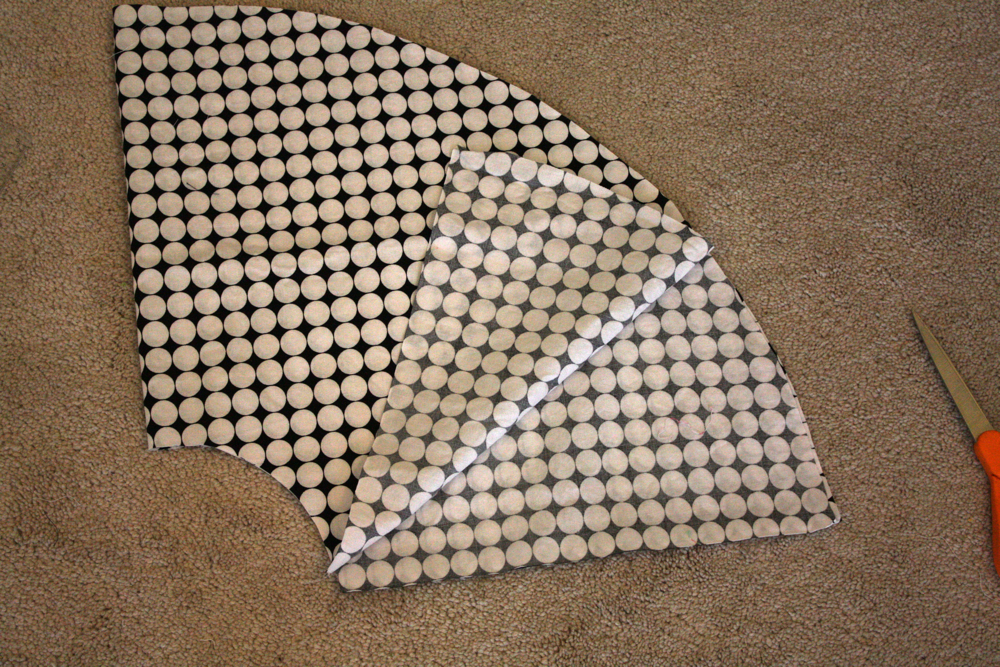
For the skirt-I used
Dana’s circle skirt tutorial-(I just about knocked-off everyone for this dress! lol) and for the waist measurement I measured around the bodice and used that. I also cut one of the sides open to sew up later on after the zipper. Hemmed it up per her instructions as well.
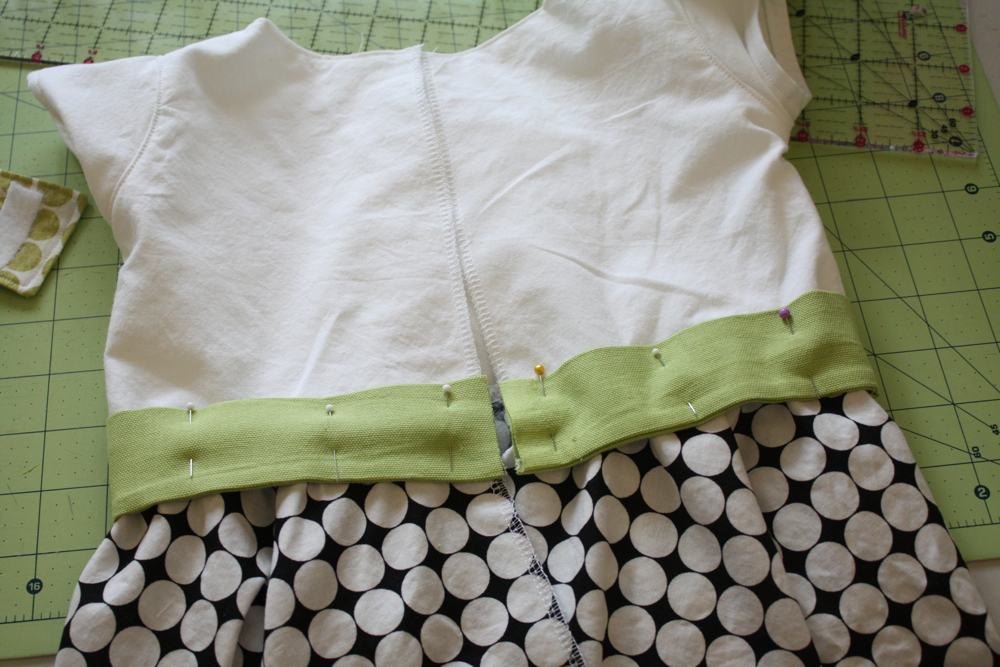
Then I gathered it to fit the bottom of the bodice, then pinned them right sides together and sewed that up-finishing the seams.
For the sash, I cut a long piece 4″ wide, folded it in half lengthwise, sewed down one long edge, turned right side out, and ironed it flat.
Then I pinned it around the waistline, matching up the back. I then inserted my invisible zipper (
using my tutorial) and was done!
A cute dress for a cute girl-she looks so grown up in this dress!
Thanks for having me today, girls!

 And please do stop by Knock Off Decor– the sponsor of this blog series! Inspiration galore.


So cute! And can I just say,I think I like your version better! Seriously!!!
I like this one even more than the original! great job Jess!
everything is so beautiful down to the dreamy photography!! Now I just need someone to have a little girl so we can make these sweet dresses 😉
Um Jess…that looks EXACTLY like it. Great job!
thanks, girls!! 😀
This makes me wish that my 11-year old was 5 again! She refuses to wear any sort of dress right now. I love your polka-dot fabric more than the store's version. Nice job!
Amazing knock off, Jess. It's identical to the original. So cute!
Adorable dress! Love the colors.
Andrea @ TheTrainToCrazy.com