
gift for guys guest tutorial- boxy dopp kit by the cottage mama
As an Amazon Associate I earn from qualifying purchases.

We can’t tell you how thrilled we are that Lindsay from The Cottage Home is joining us today! She is one of those people who actually, legitimately knows how to sew (if you’re like us and you kind of piece-meal and fake it, you definitely should check out her tutorials on sewing basics!). She makes lovely, and we mean lovely, little dresses and pants and skirts and bloomers. And don’t get us started on her fabulous home decor ideas. Best of all, she’s here today with an oh-so-useful tutorial for Gifts for Guys (I think every guy on my list could use one of these dopp kits!).
I find guys to be the hardest people to buy for when it comes to gifts. I made a commitment this year to only give handmade gifts so coming up with gifts for guys has been taken to a whole new level. I was so thrilled that Kirstin and Jordan invited me to be part of this wonderful series.
My name is Lindsay and I am a wife and mother to two little girls – Savannah Rose (2.5 years) and Matilda Jane (16 months). In my spare time I write a sewing, cooking and crafting blog called The Cottage Home. I also design, sew and sell handmade children’s clothing through my etsy shop, The Cottage Mama.
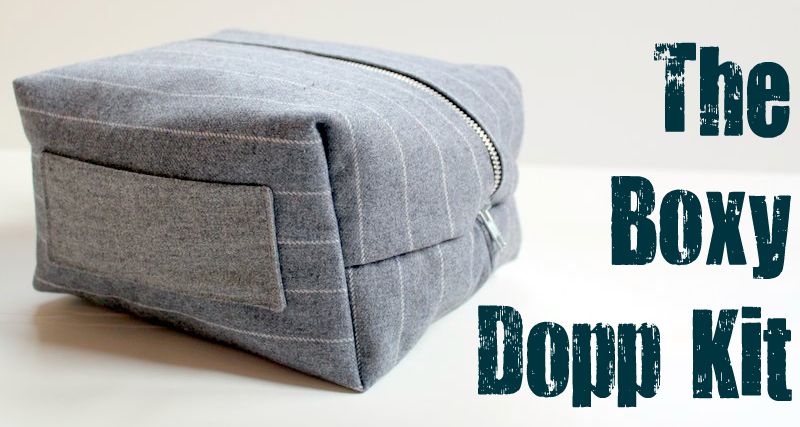
My husband has had his Dopp Kit since he was 13 years old, yes that’s right, 13!!! It is definitely in a sad state right now, so I decided it was time to make him a new one. A Dopp kit is also known as a shaving kit, a man’s toiletry kit……….but I like the sound of “Dopp”…….sounds pretty manly, right? And that’s what my Dad always called it.

Apply light-weight interfacing to all four pieces of fabric (follow manufacturers instructions). This is just inexpensive one-sided interfacing. The interfacing is going to help the Dopp kit keep its shape.

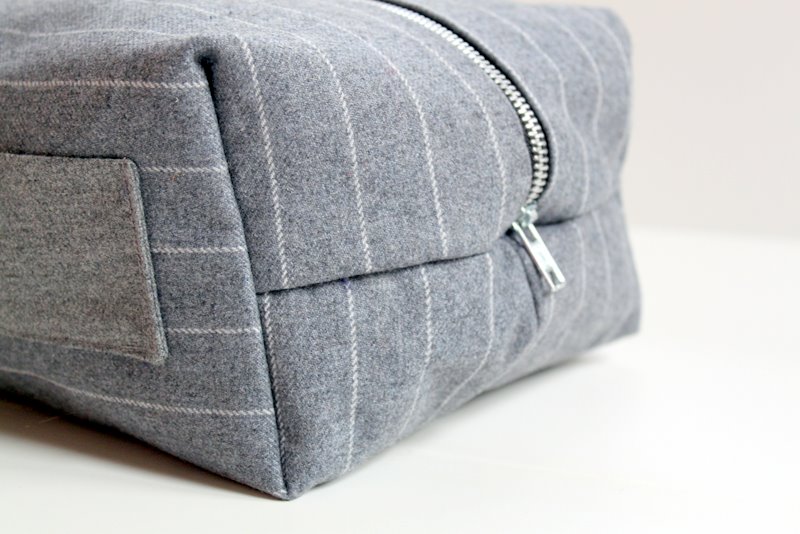
Fold the 5″ x 6″ piece of coordinating fabric in half length-wise. This will be used for the handle on the kit.
Stitch around the handle fabric, but leave a small opening on the straight, long edge. Clip the corners.

Turn handle fabric right-side out and hand-sew the opening closed. Press with your iron.
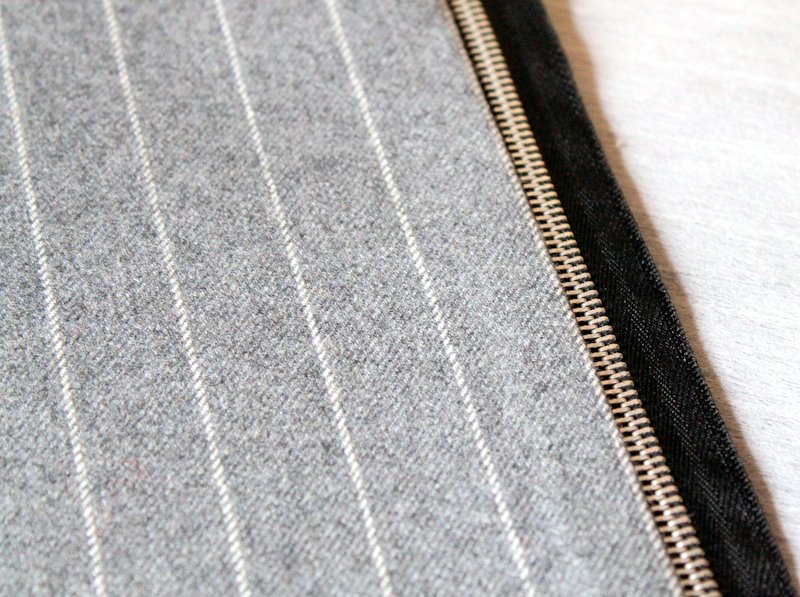
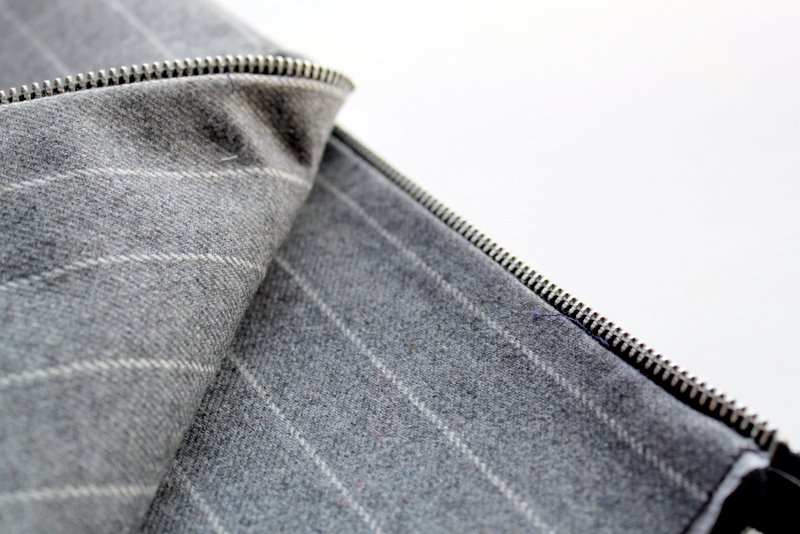
Now to insert the zipper. Make a “zipper sandwich”. Place the right-sides of two of the fabric pieces together and place the zipper in between. Line up the raw edges of the fabric and the raw edge of the zipper. Pin in place.

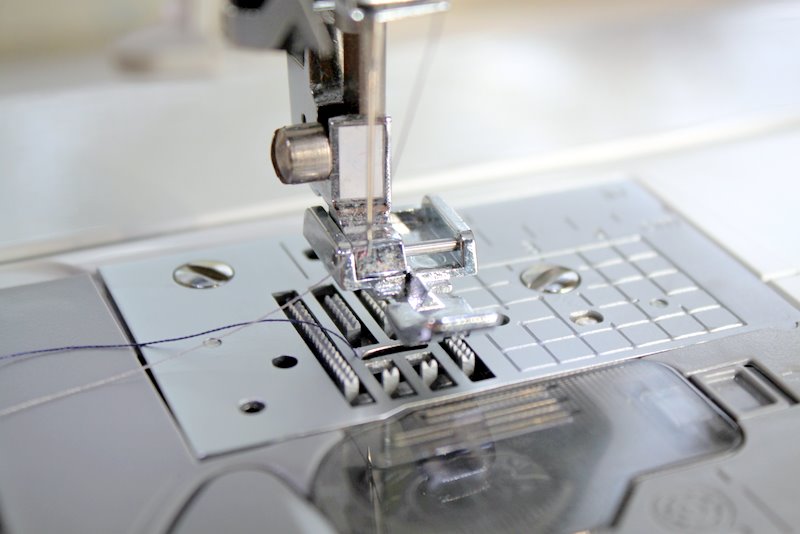
Attach your zipper foot to your sewing machine for the following step.
Stitch zipper in between the two layers of fabric.
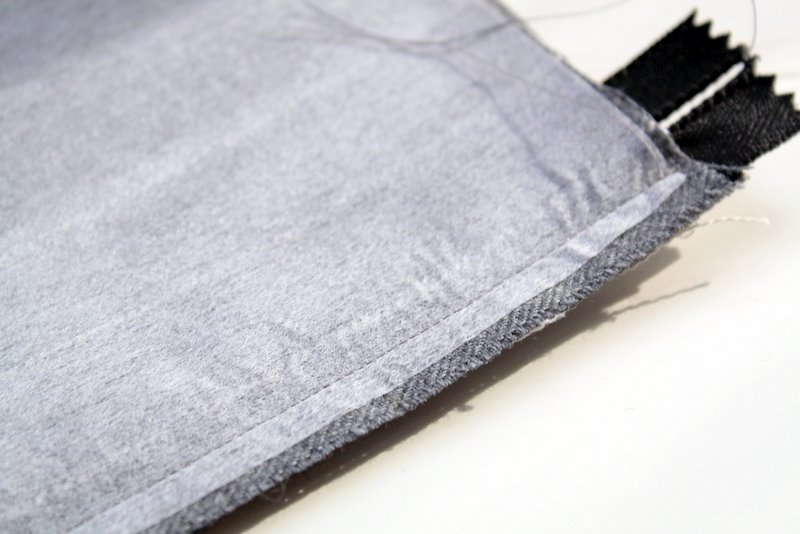

Turn fabric pieces right-side out and press seams open. Now do the exact same thing with the other two pieces of fabric on the other side of the zipper.


Press all seams for exterior fabric and lining.
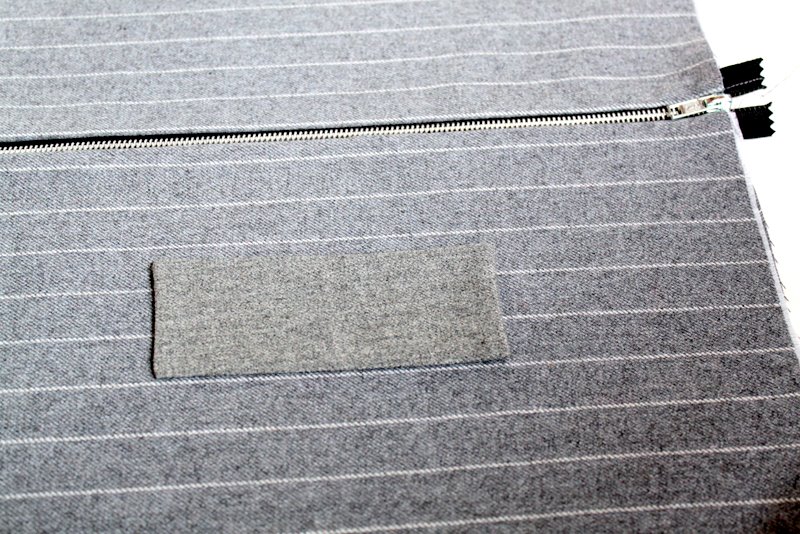
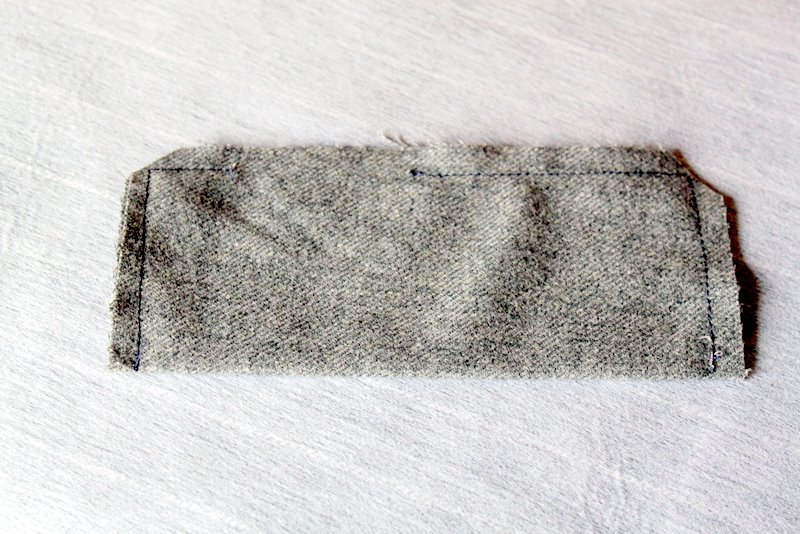
Place the fabric handle piece half-way down one of the exterior fabric pieces. This should be in the very middle of the rectangle. Stitch in place on both short sides. Make sure to only stitch this to the exterior piece of fabric. If you would prefer this to be a pocket, instead of a handle, stitch on both short sides and one long side.
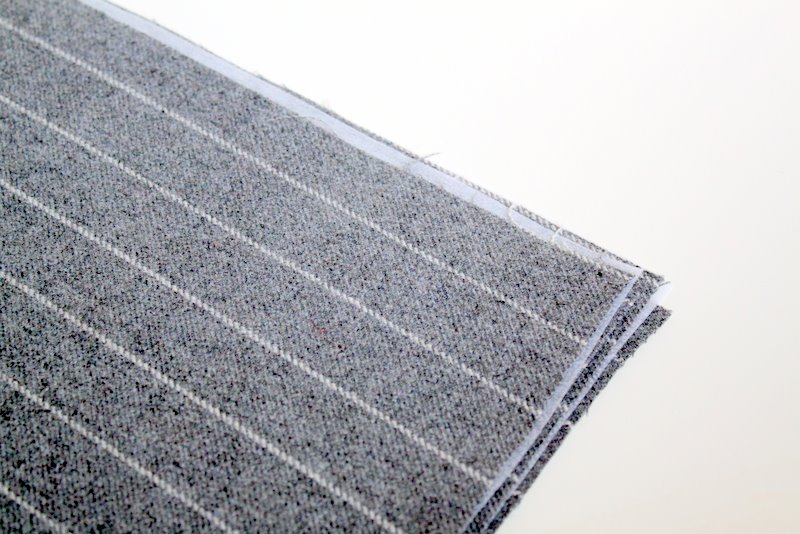
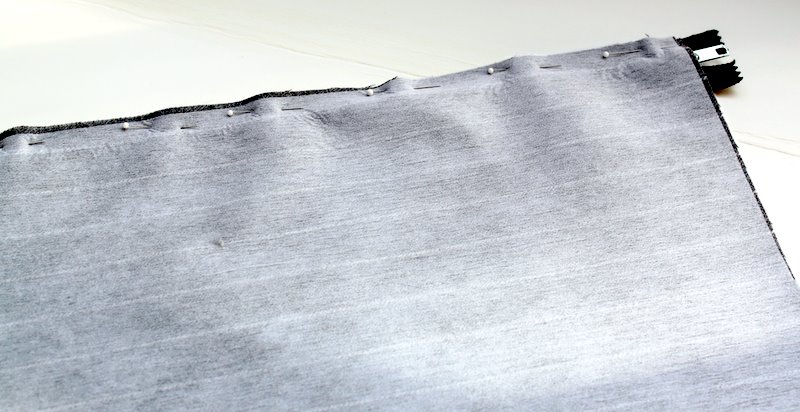
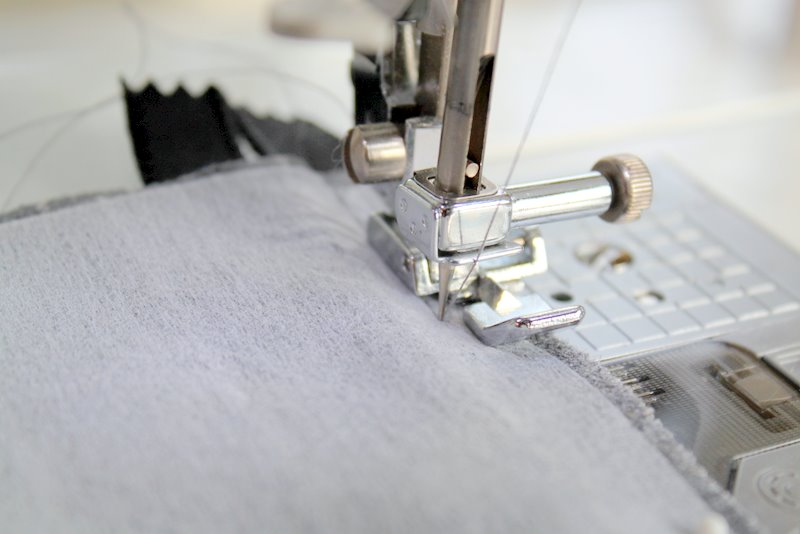
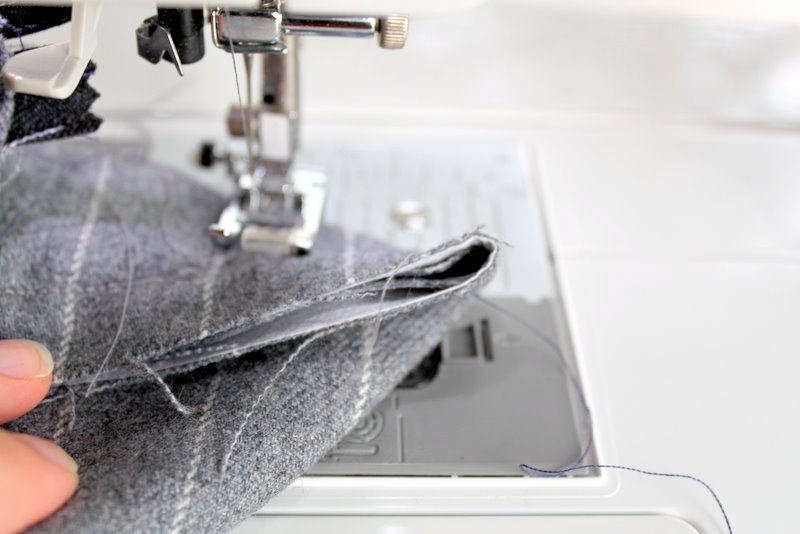
Turn your fabric now so that the lining is on the outside. Line up the bottom four fabric pieces and stitch all the way along the bottom. 5/8″ seam allowance.
After you have stitched the bottom closed, open up your zipper part way.

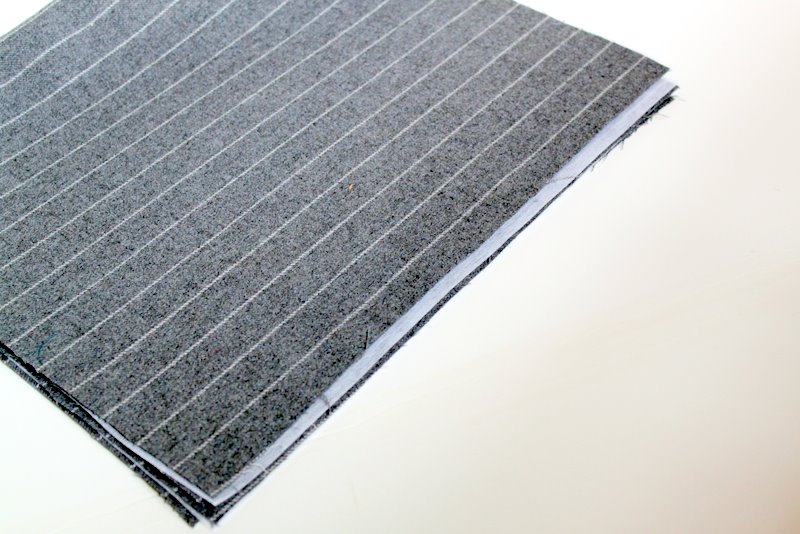
Now fold your fabric out so that the zipper is running down the middle and stitch both side seams closed. 5/8″ seam allowance.

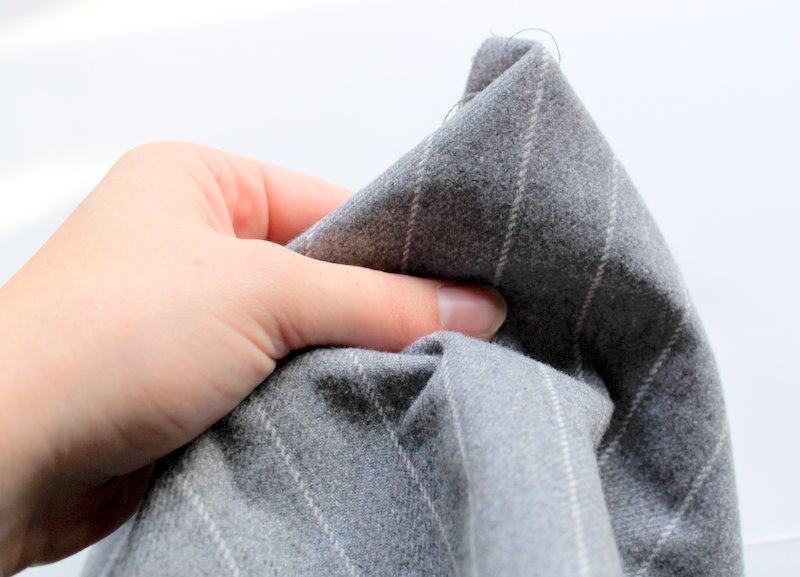
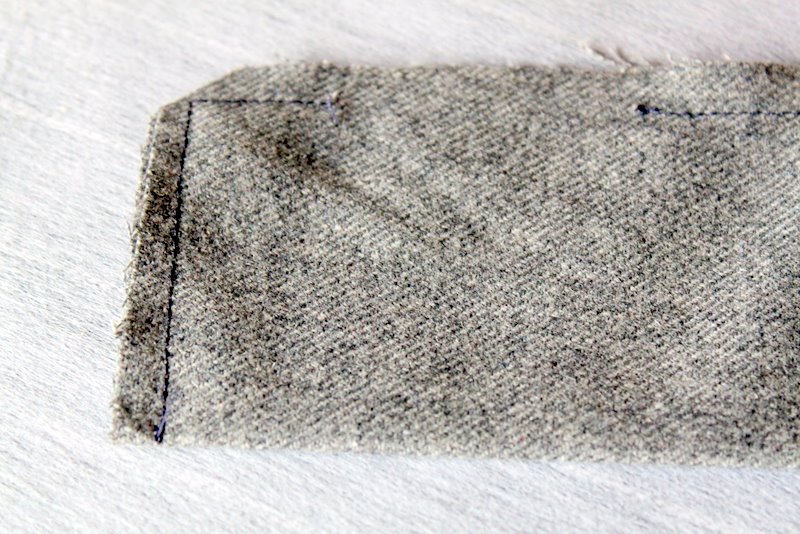
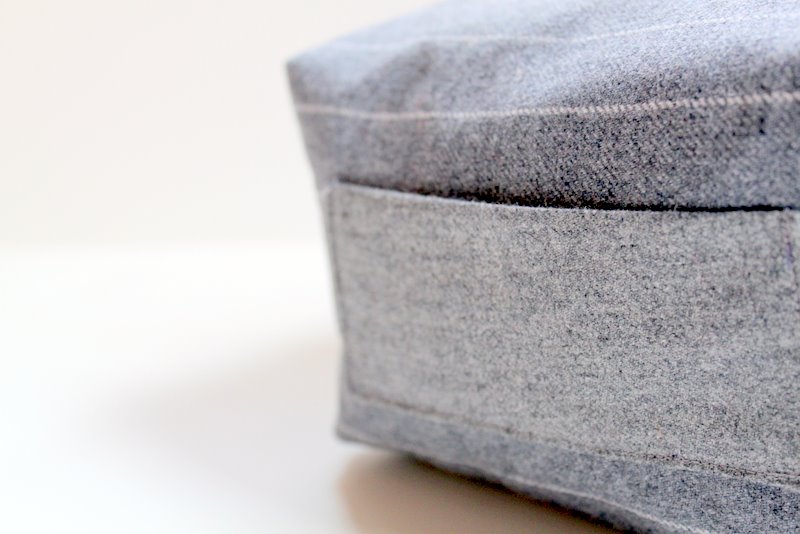
Now pinch your corners. This is going to give your bag its height. I originally pinched my corners 4″, but then went back and pinched them to 7″. I would recommend 7″ for the sizing I have listed.
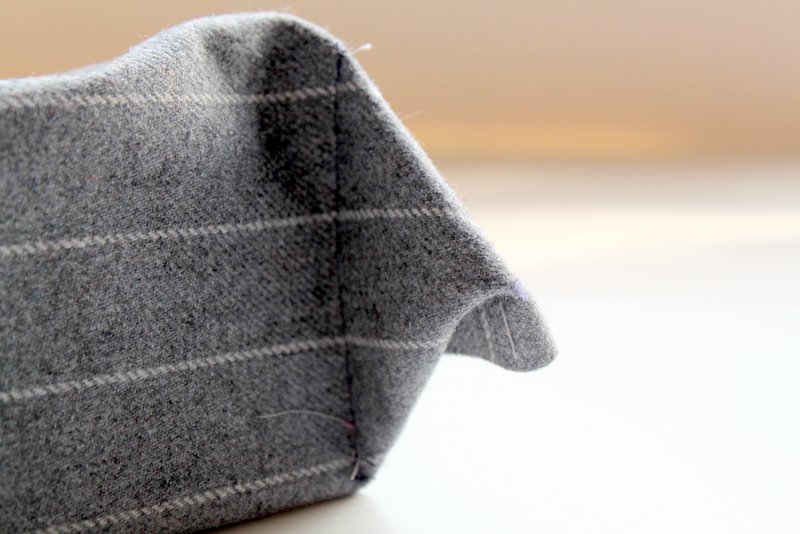
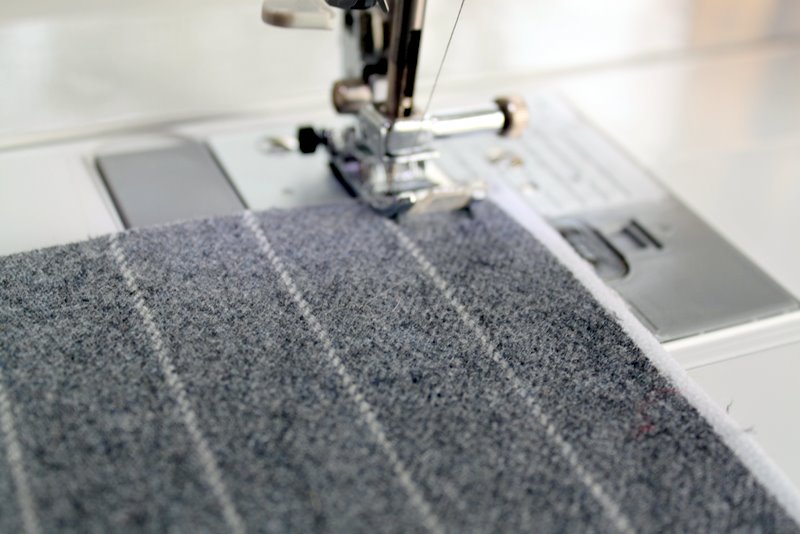
Stitch the corners in place by using a straight-stitch.

Cut off the excess material from each corner. I used my serger to finish the edge since the wool suiting tends to fray. Use a zig-zag stitch, if you prefer, or just cut away with pinking shears. In retrospect, I probably would have serged all my edges before starting this project. Just something to think about if you plan to use wool suiting.

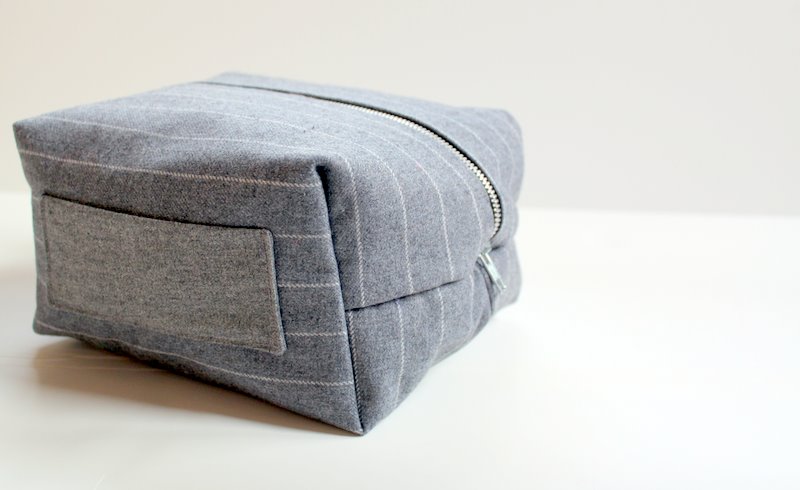


This Dopp kit could be made in many different fabrics. If you decide to use a more basic cotton, then I would recommend using a heavier interfacing to make sure the bag holds its shape well.
Thank you so much for having me Kojo! It was an honor to be asked to guest post on your wonderful blog. You gals are awesome!! To check out some of my craft, sewing and cooking tutorials, come on over and visit The Cottage Home. I’d love to meet you all!
Be sure to go visit Lindsay at The Cottage Home! Just give yourself a little time, because you’re sure to be drawn in by her fabulous tutorials (she has a laptop cover tutorial that would be great for gear-covering! and a camera strap cover that is on Jord’s to-make list), yummy recipes, gorgeous fabric pairings and more.
Love it! (My husband is also still using his shaving kit that he got when he was a teenager.)
I linked to your tutorial on Craft Gossip Sewing:
http://sewing.craftgossip.com/tutorial-boxy-dopp-kit/2010/11/18/
–Anne
What is a dopp kit used for???
Men’s toiletries for travel.
Great thinking, Lindsay! You kept it nice and manly-looking, too. I love it!
Cheri
Fabulous idea! I love it.
Thanks you guys! Robyn, a Dopp Kit is a man's toiletry bag :-).
I definitely think the suiting fabric keeps it manly. It's hard to pick fabrics for grown men!
Thanks again,
Lindsay
This is really great, Lindsay! It's really professional looking!
Dopp kit? never heard about this before..hmm but after reading the tutorial, I know that is a toiletry bag..
Thank you for sharing, Lindsay
Just a quick note to let you know that a link to this post will be placed on CraftCrave today [20 Nov 01:00am GMT]. Thanks, Maria
This is amazing! Although I was wondering, how large is the actual finished product??
Michelle, I’ll pass this question along to Lindsay and let you know what I hear. 🙂