
ruffle garland how-to
As an Amazon Associate I earn from qualifying purchases.

I’ve been using the spare minutes I can find here this week and there to accumulate a gigantic stack of white fabric circles. I’m sure y’all can guess what these little gems will become- little no sew ruffles! Miss Piper Jane comes with a high ruffle requirement- her future entails ruffle bottom onesies and ruffled skirts and ruffled dresses. I’m pretty sure she needs a ruffle garland or two for her room as well (like the ones we made for our sister Kedron’s nursery)…
To make one of these garlands of ruffle-y goodness, collect:
-scraps of white jersey (we used other white fabrics as well… some muslin, some linen and some chiffon) cut into circles
-several yards of ribbon or trim (I used twill tape and lace-y trim for Kedron’s garlands)
-hot glue gun
-little white felt squares
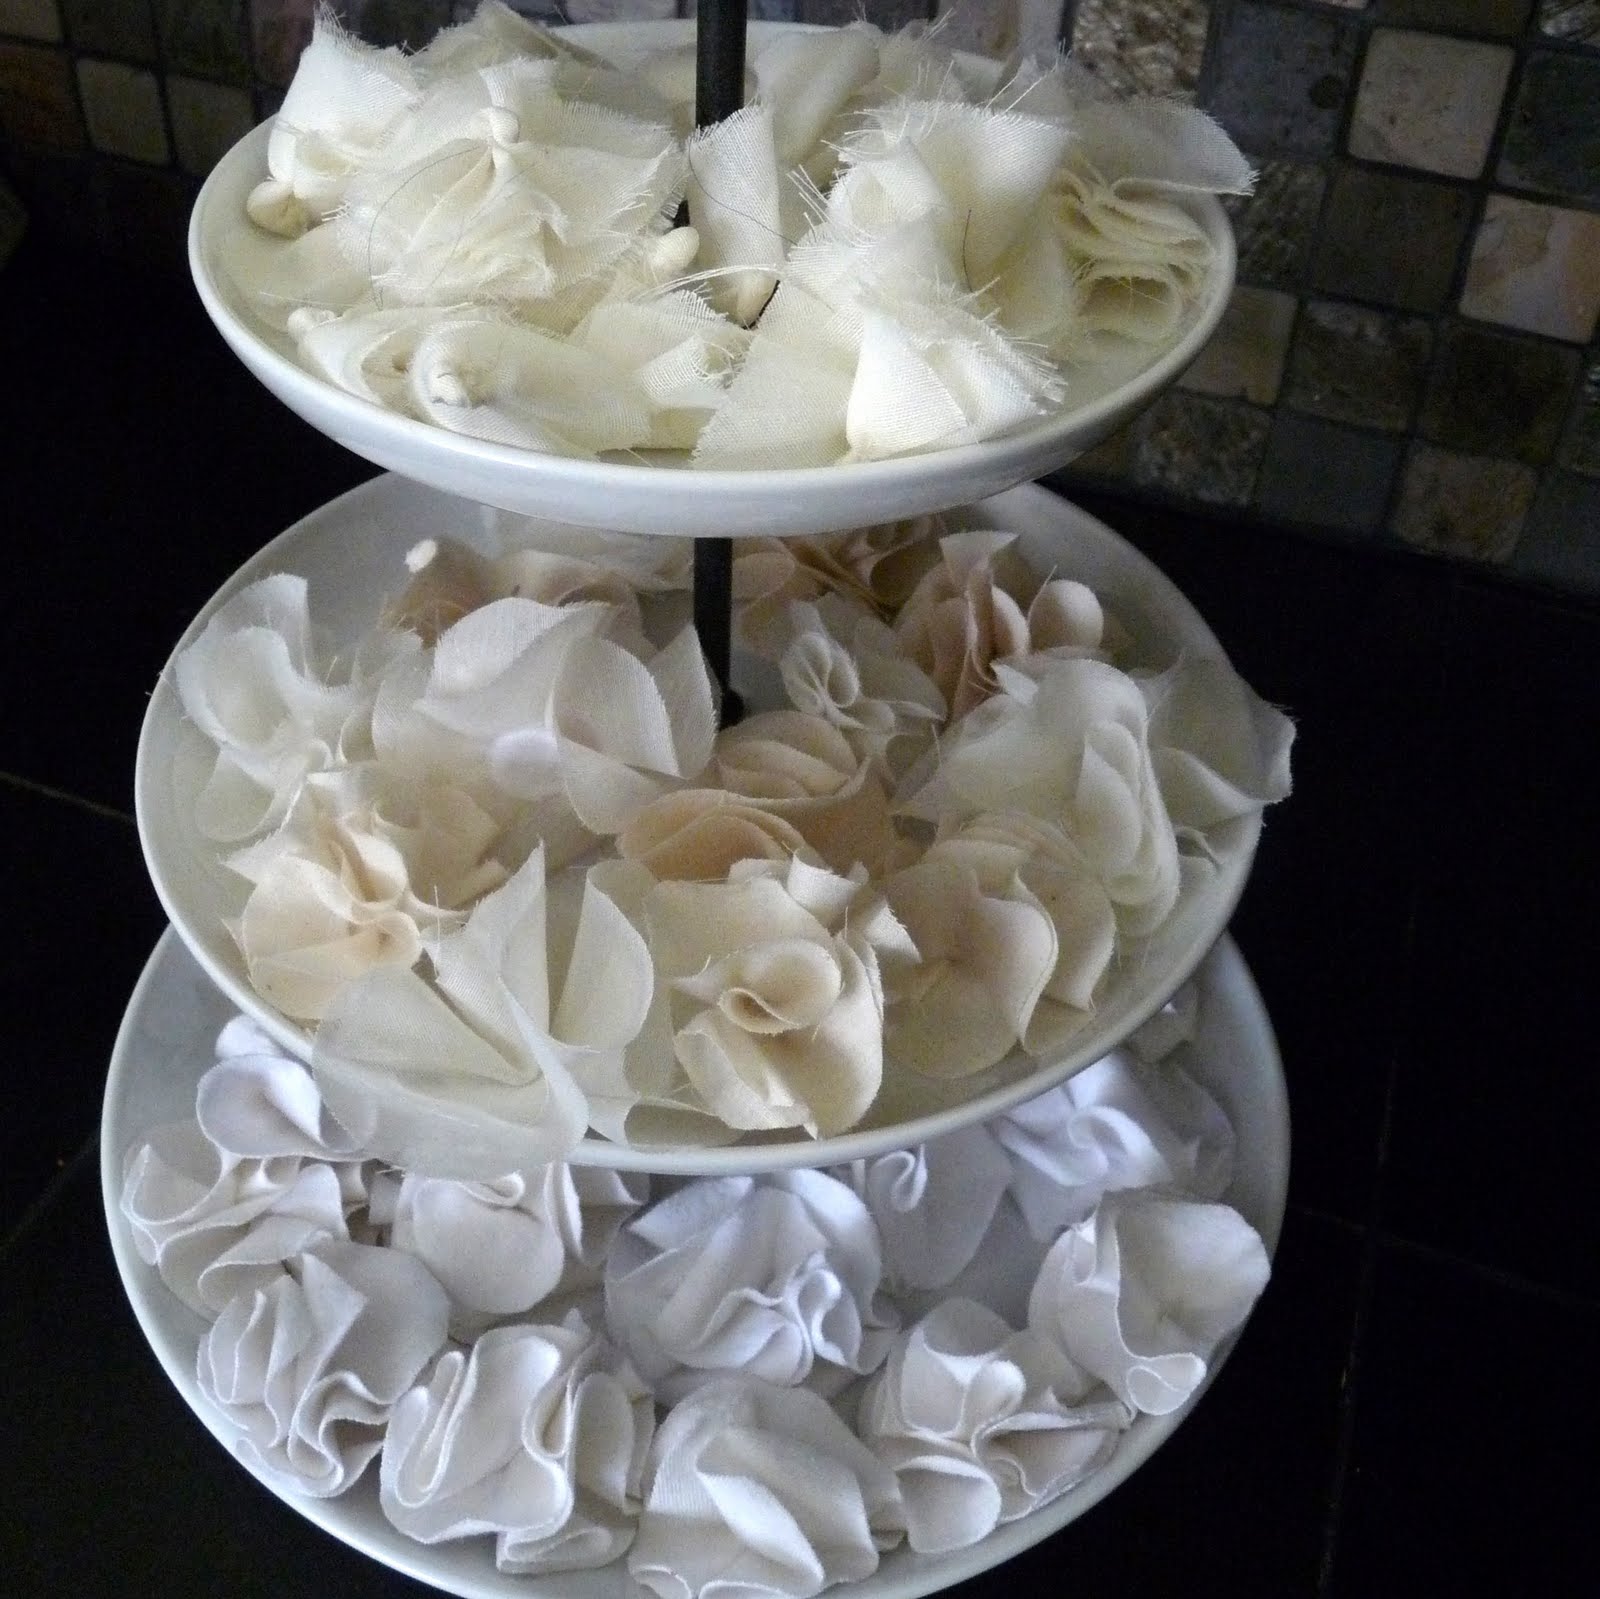
Make a pile of ruffles. I think each garland I made ended up using about 25 ruffles.

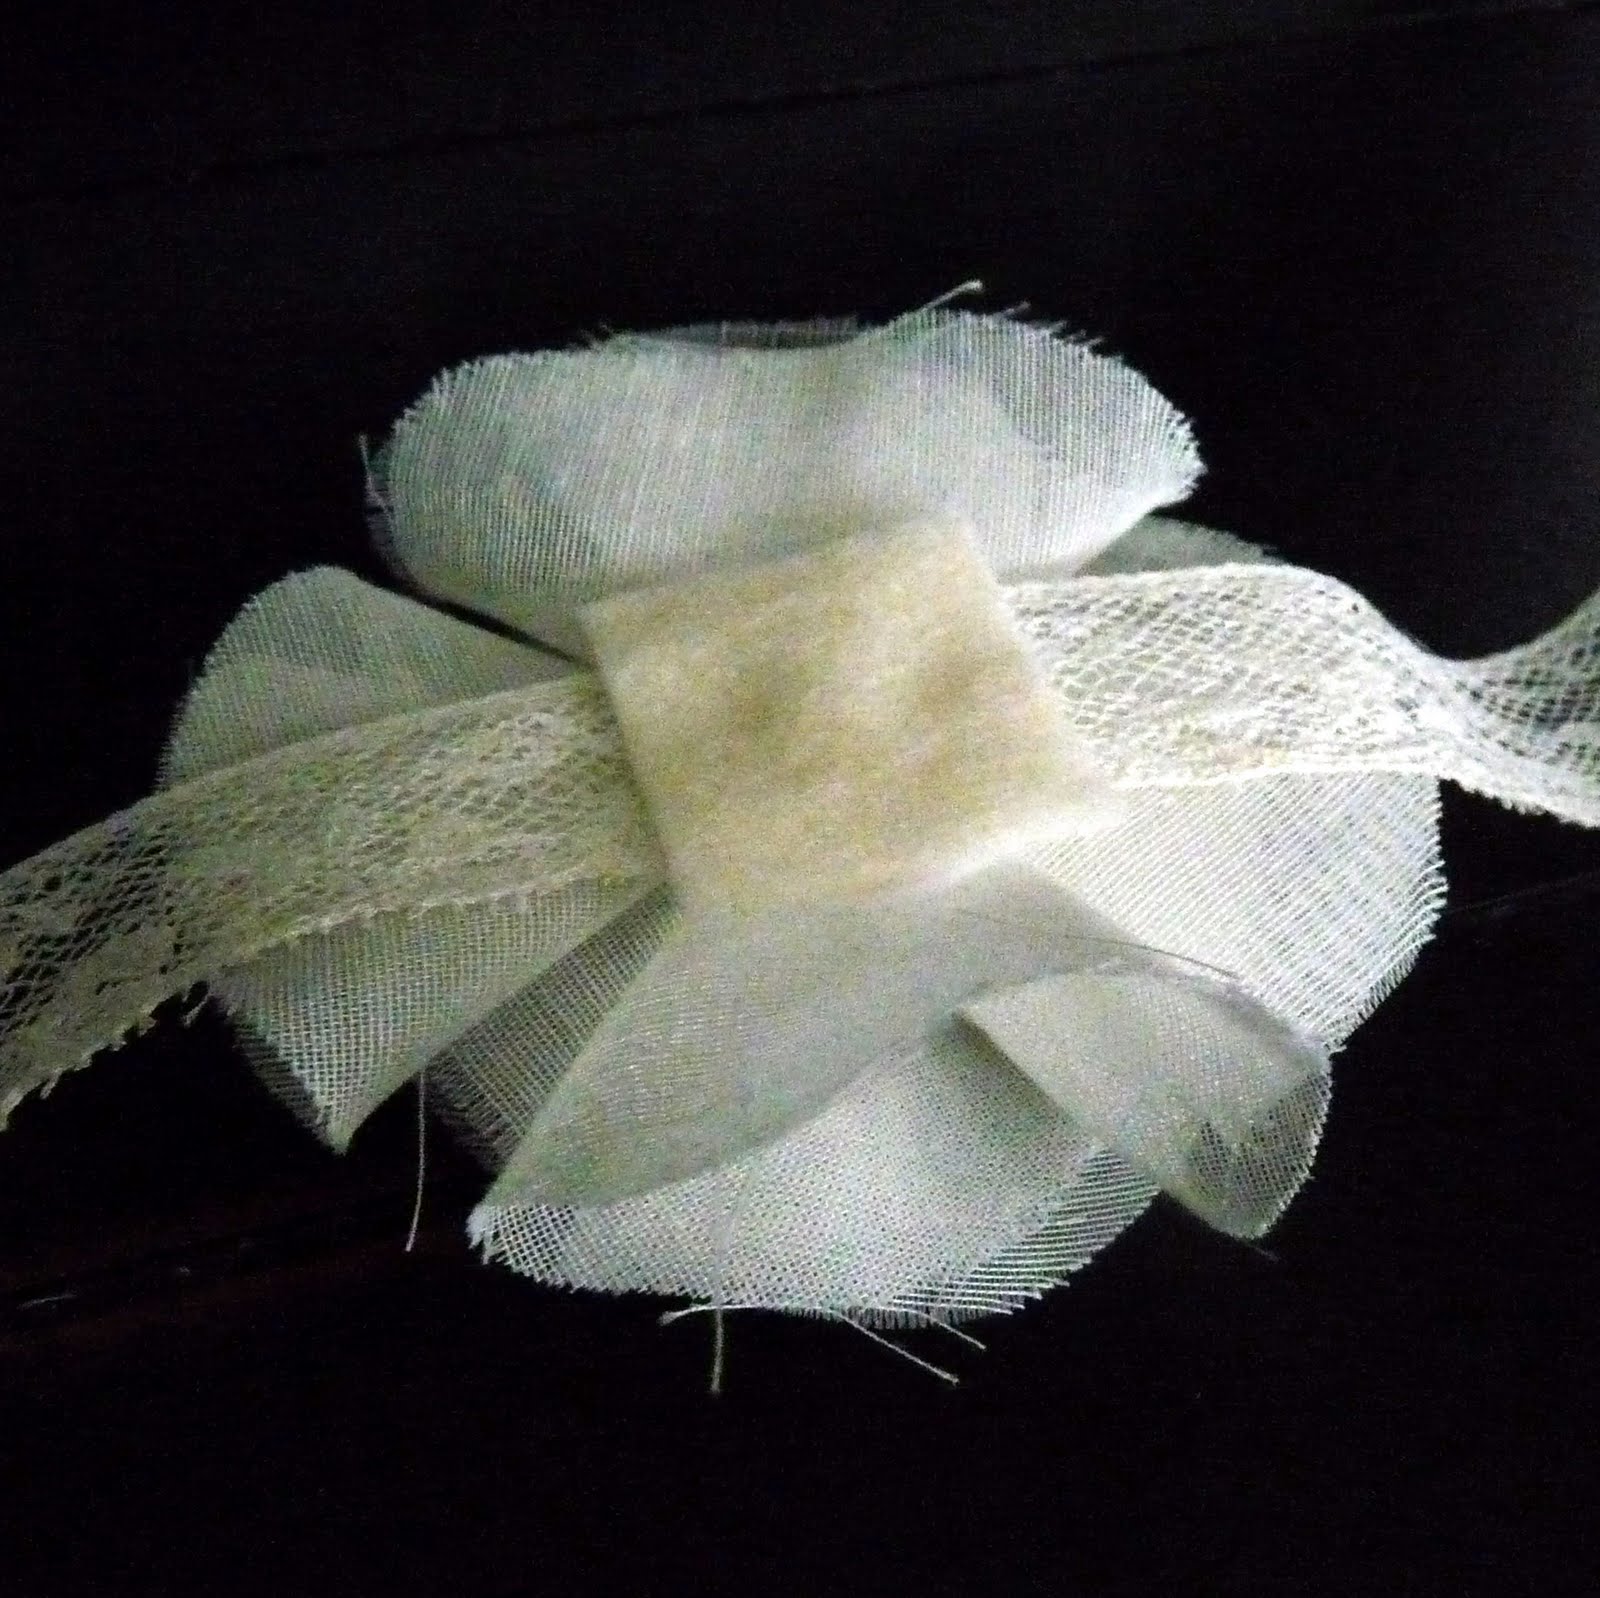
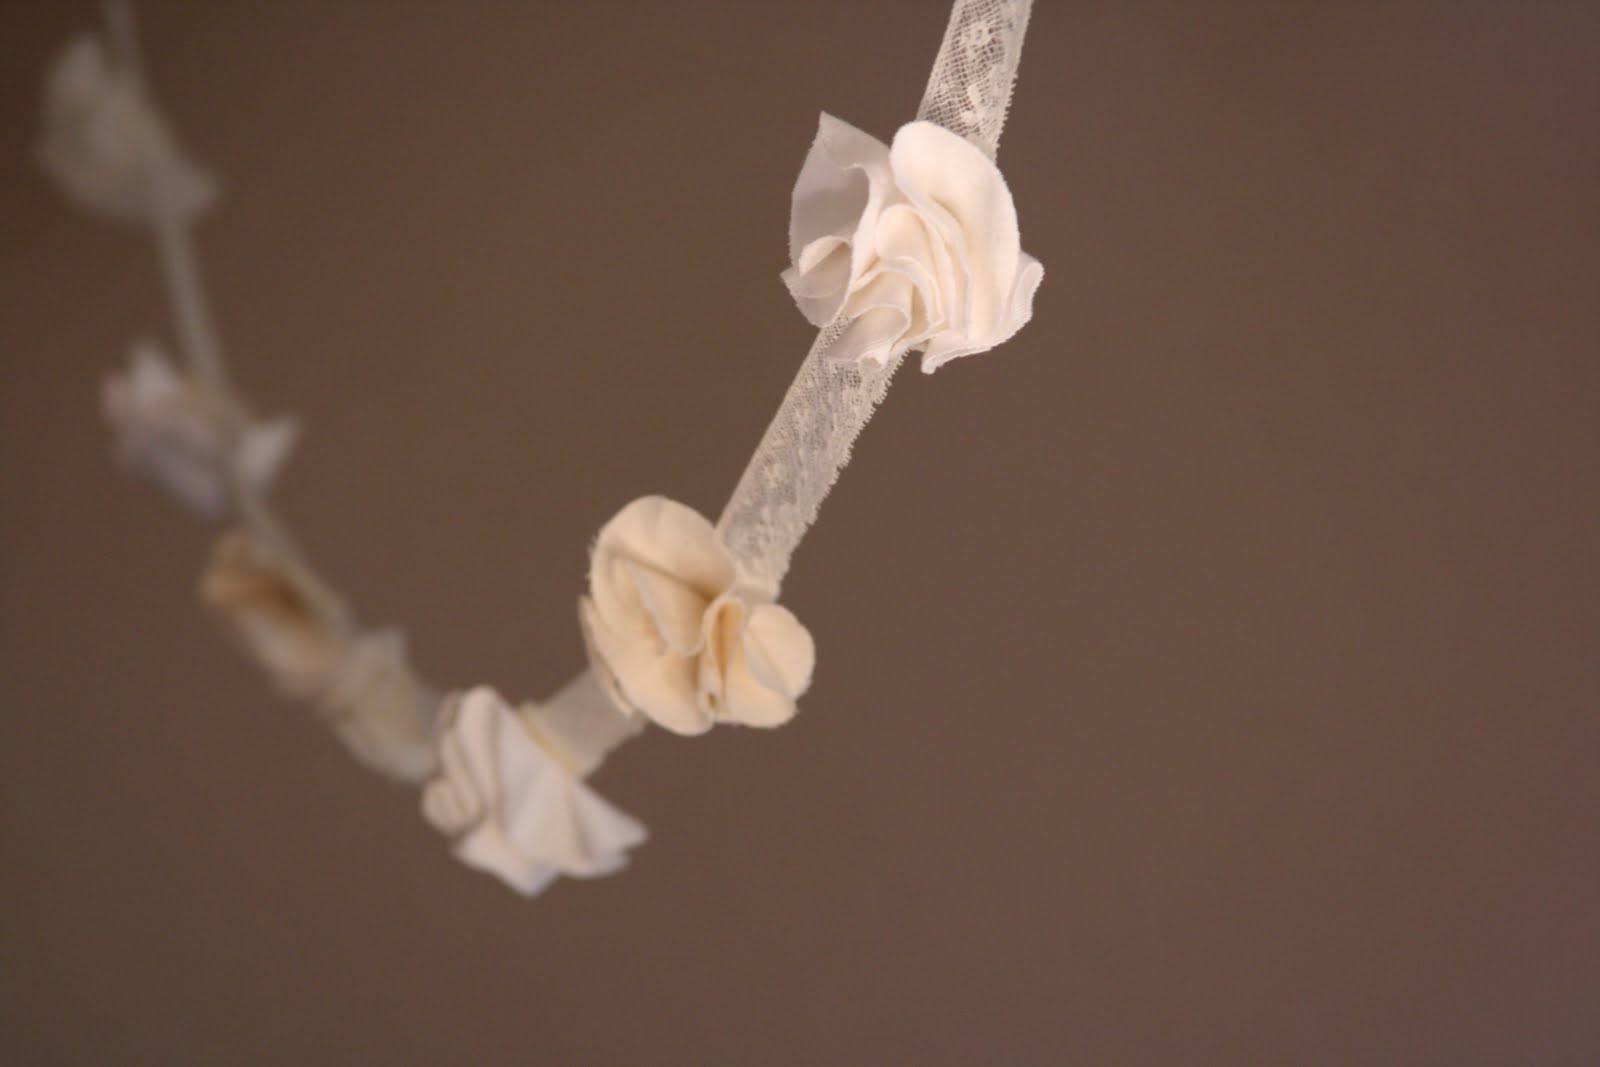
Place a dot of hot glue on the ruffle’s felt backing. Place your ribbon or trim on top of the glue. Secure with another piece of felt (at this point, you should have felt-ribbon-felt).
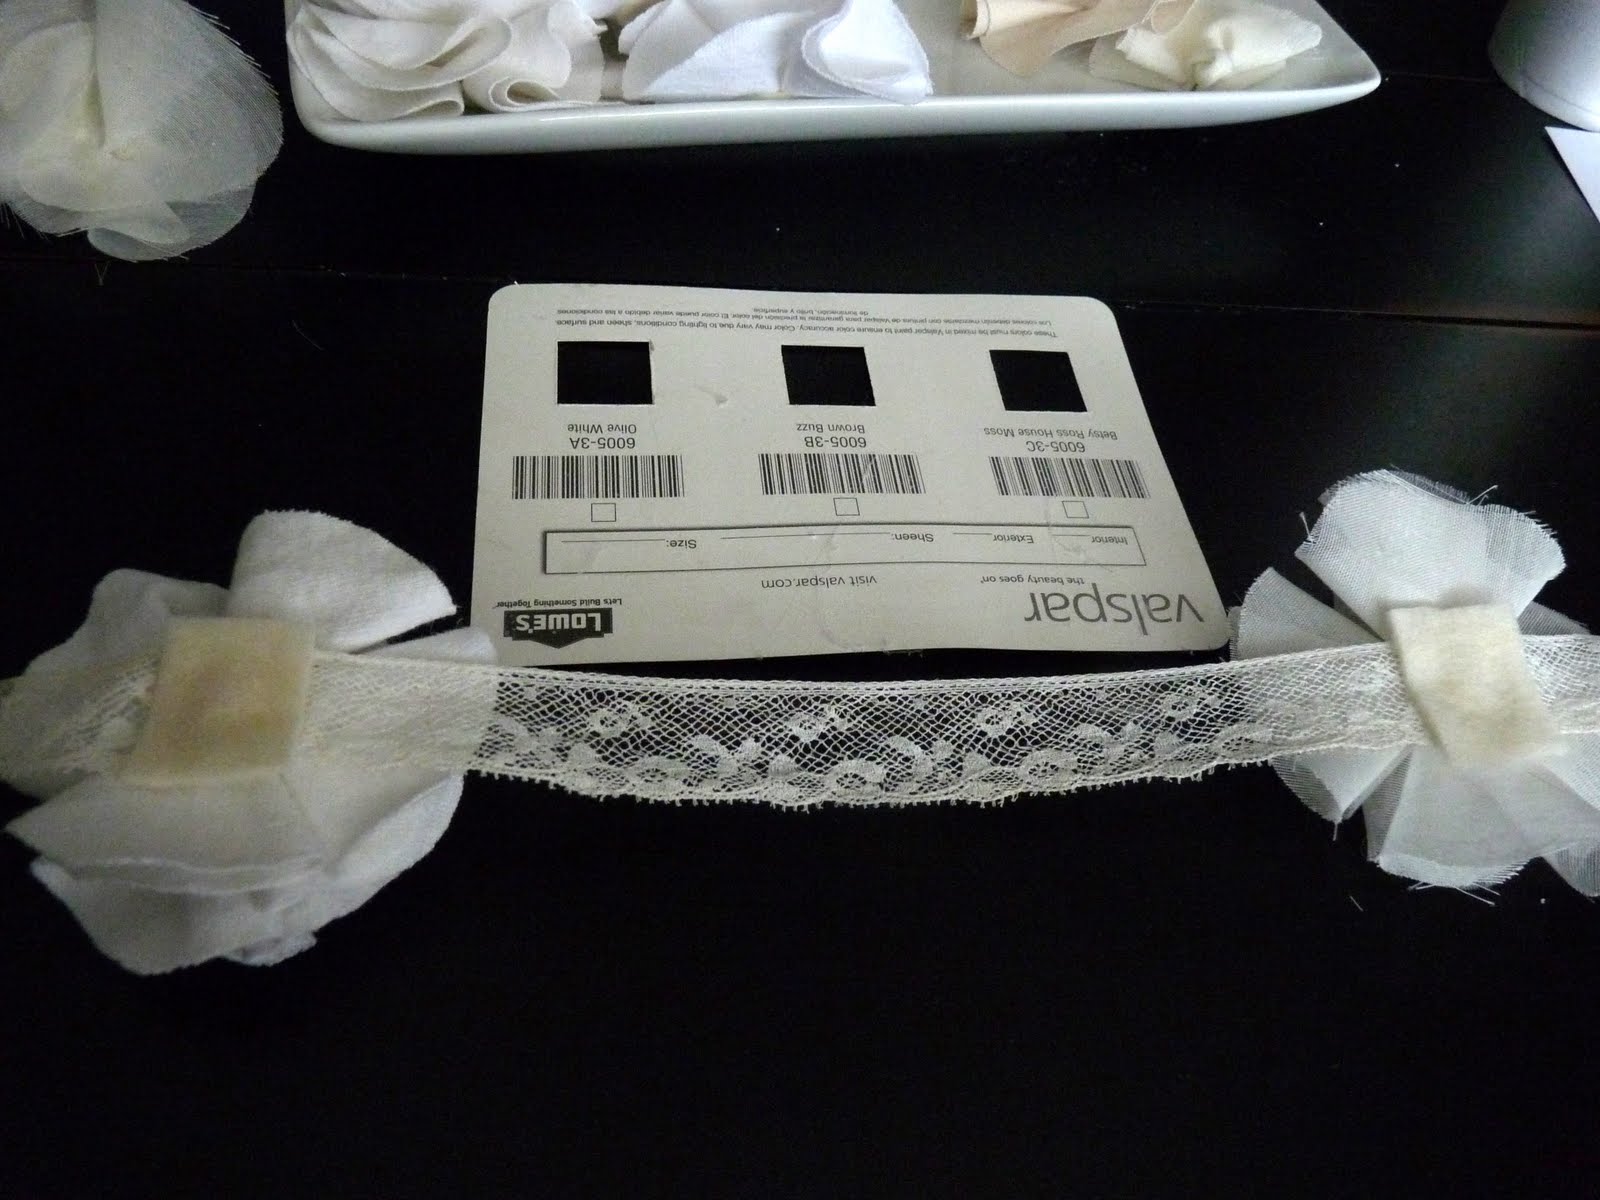
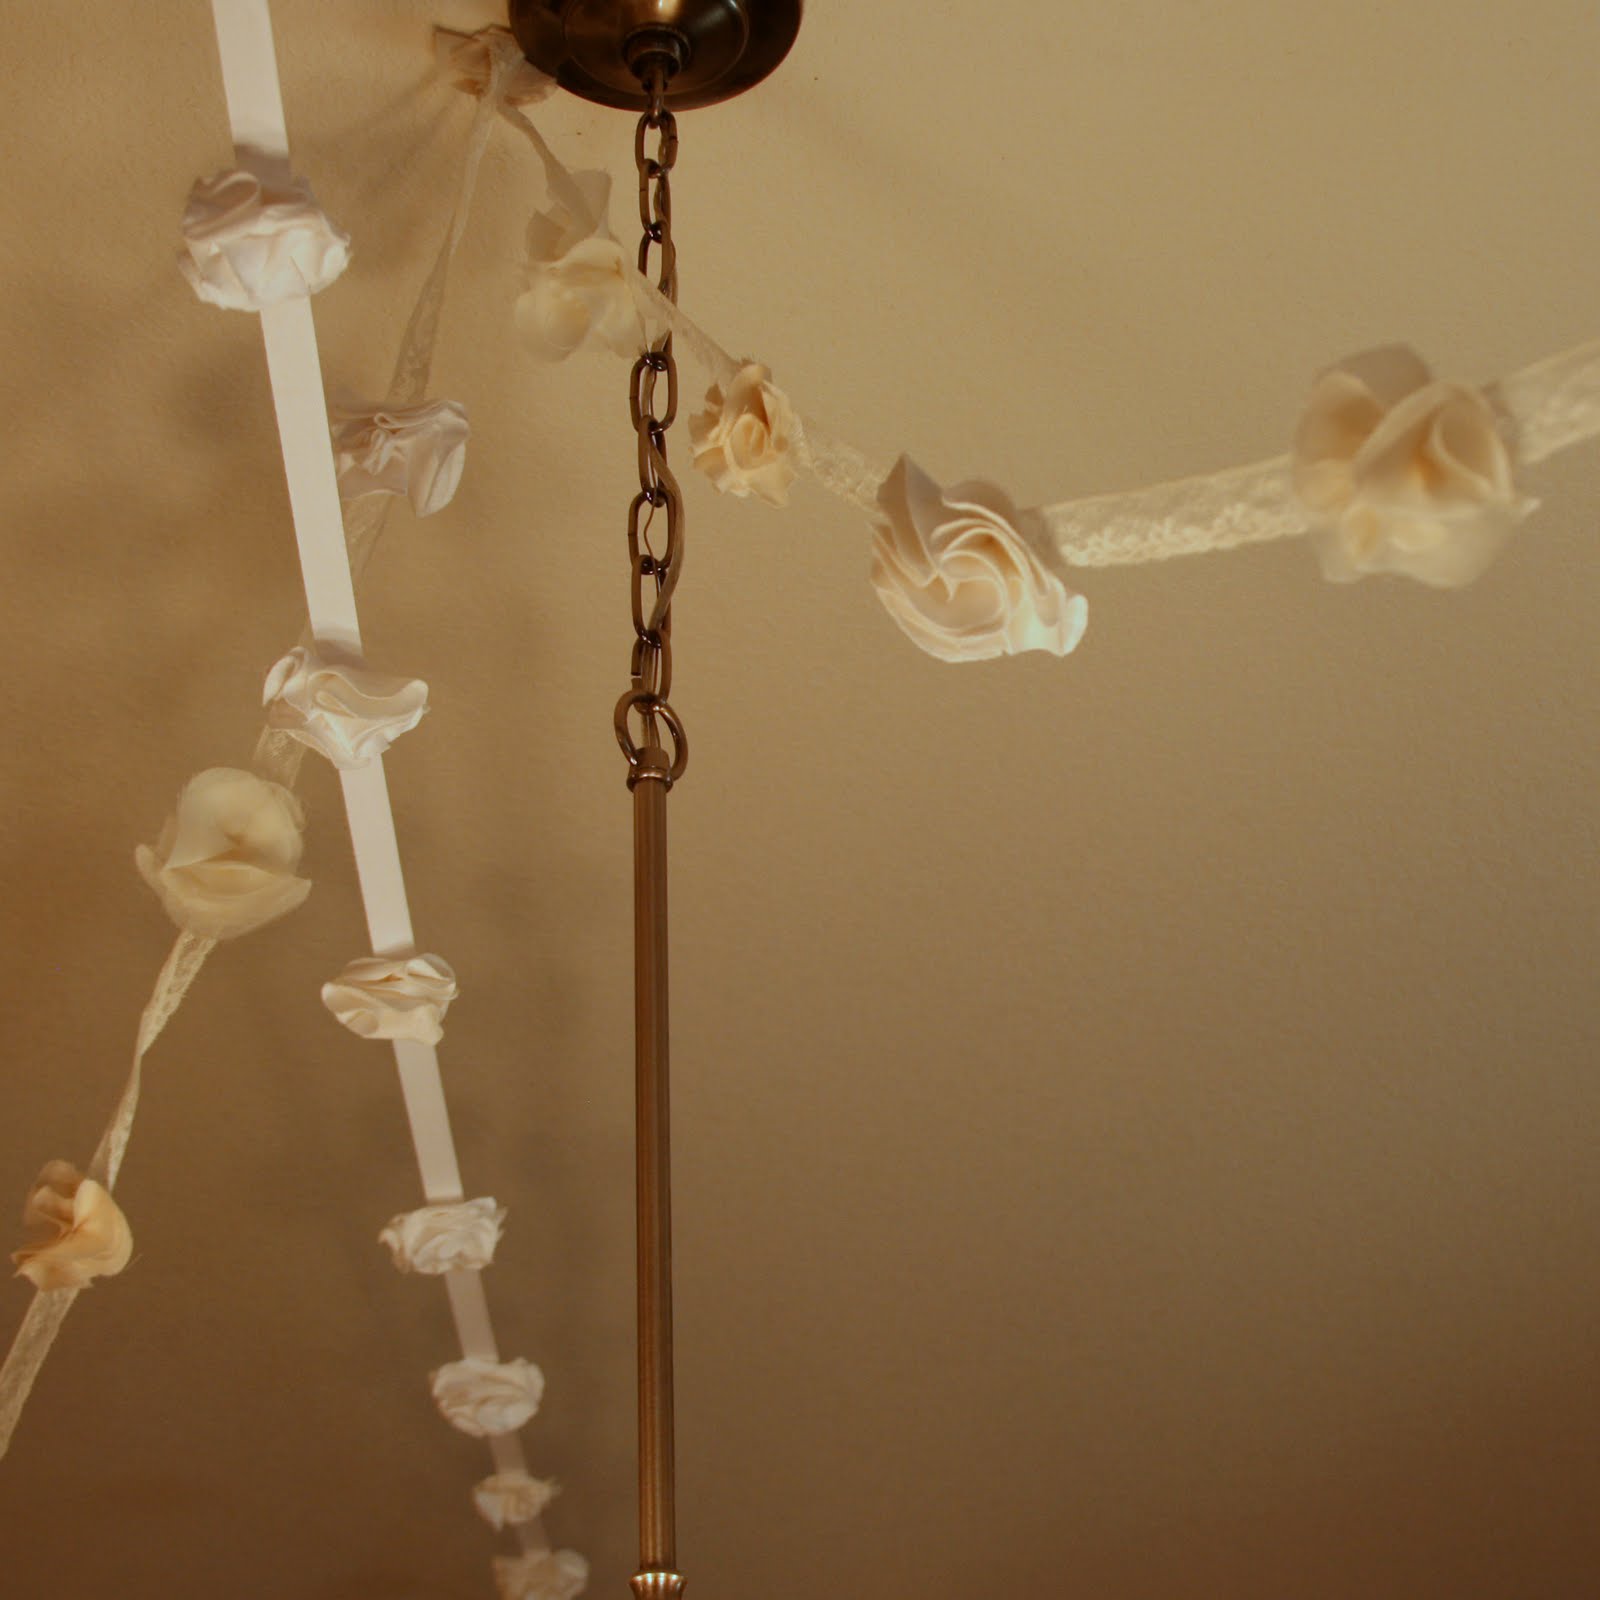
Evenly space your ruffles on your ribbon or trim (mine were about 6″ apart). I used a scrap paint chip to measure the distance in between and ensure that the ruffles were all evenly spaced.
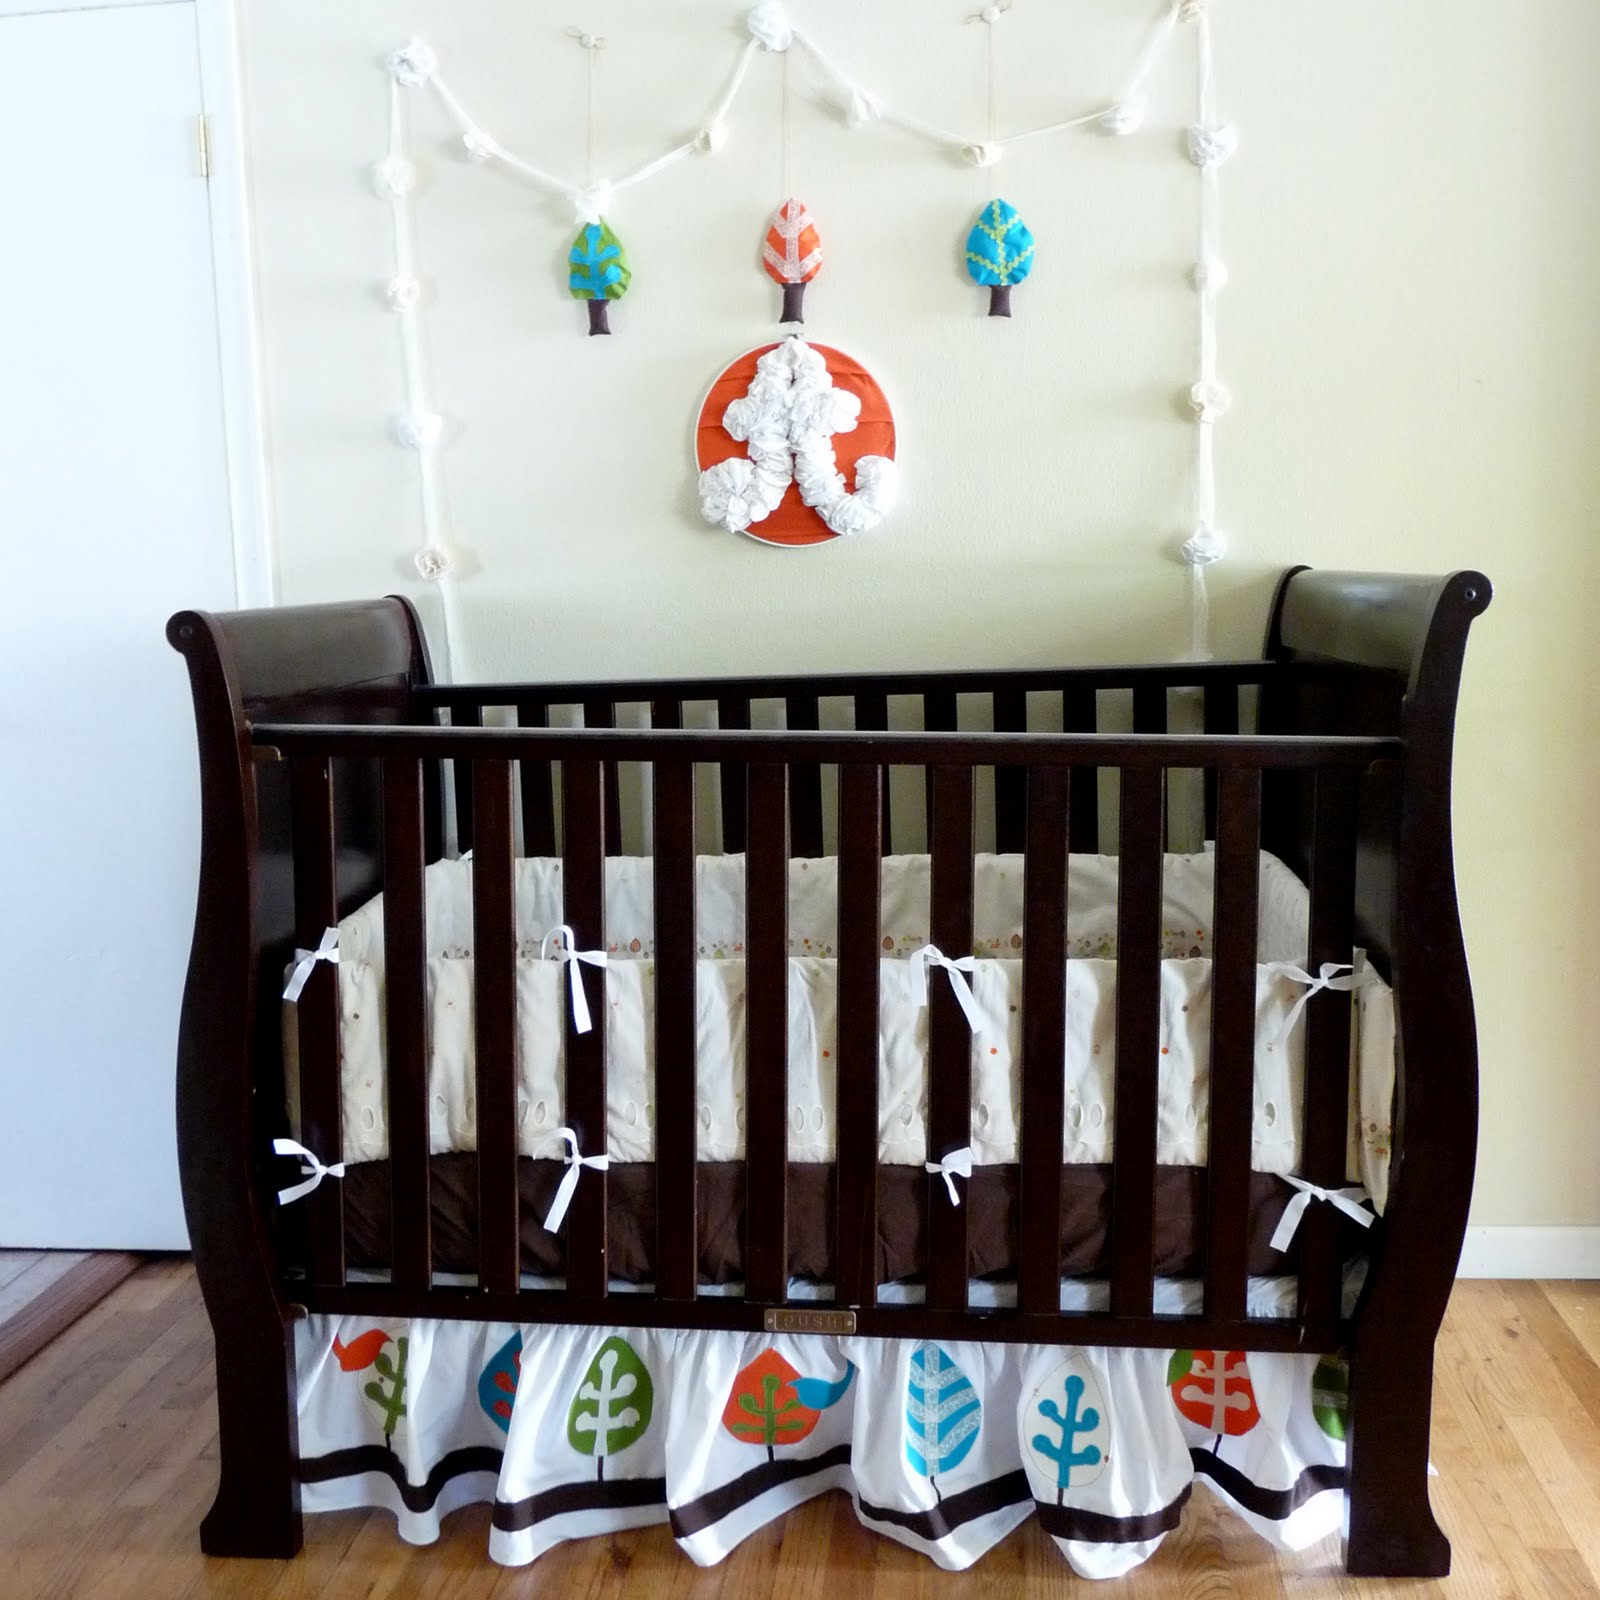
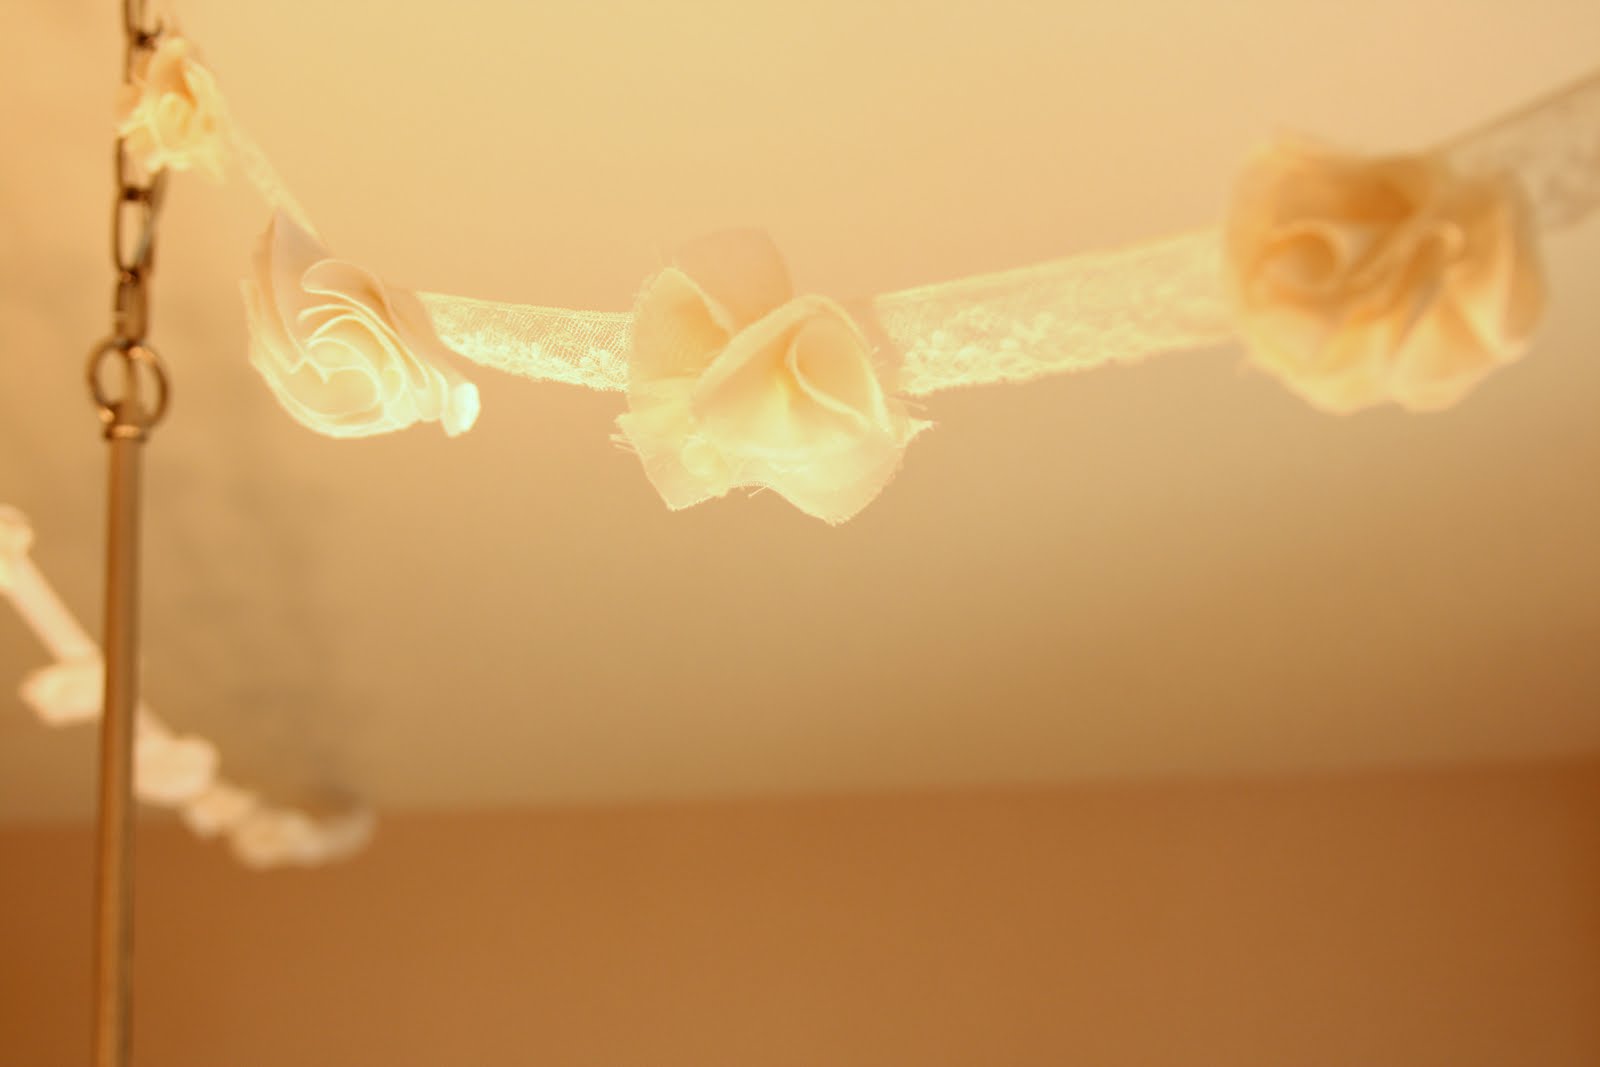
When you have several yards of ruffle-y garland-y goodness, call it a day (or make another one!). Use the garland to decorate a nursery, a baby shower, a bridal shower, etc.
I LOVE this so much!! I have to make this now. HAVE TO!!!
This is so, so, so pretty!
LOVE this! Saving for future use. 🙂