
stash crafted wrapping paper snowman ornament
As an Amazon Associate I earn from qualifying purchases.

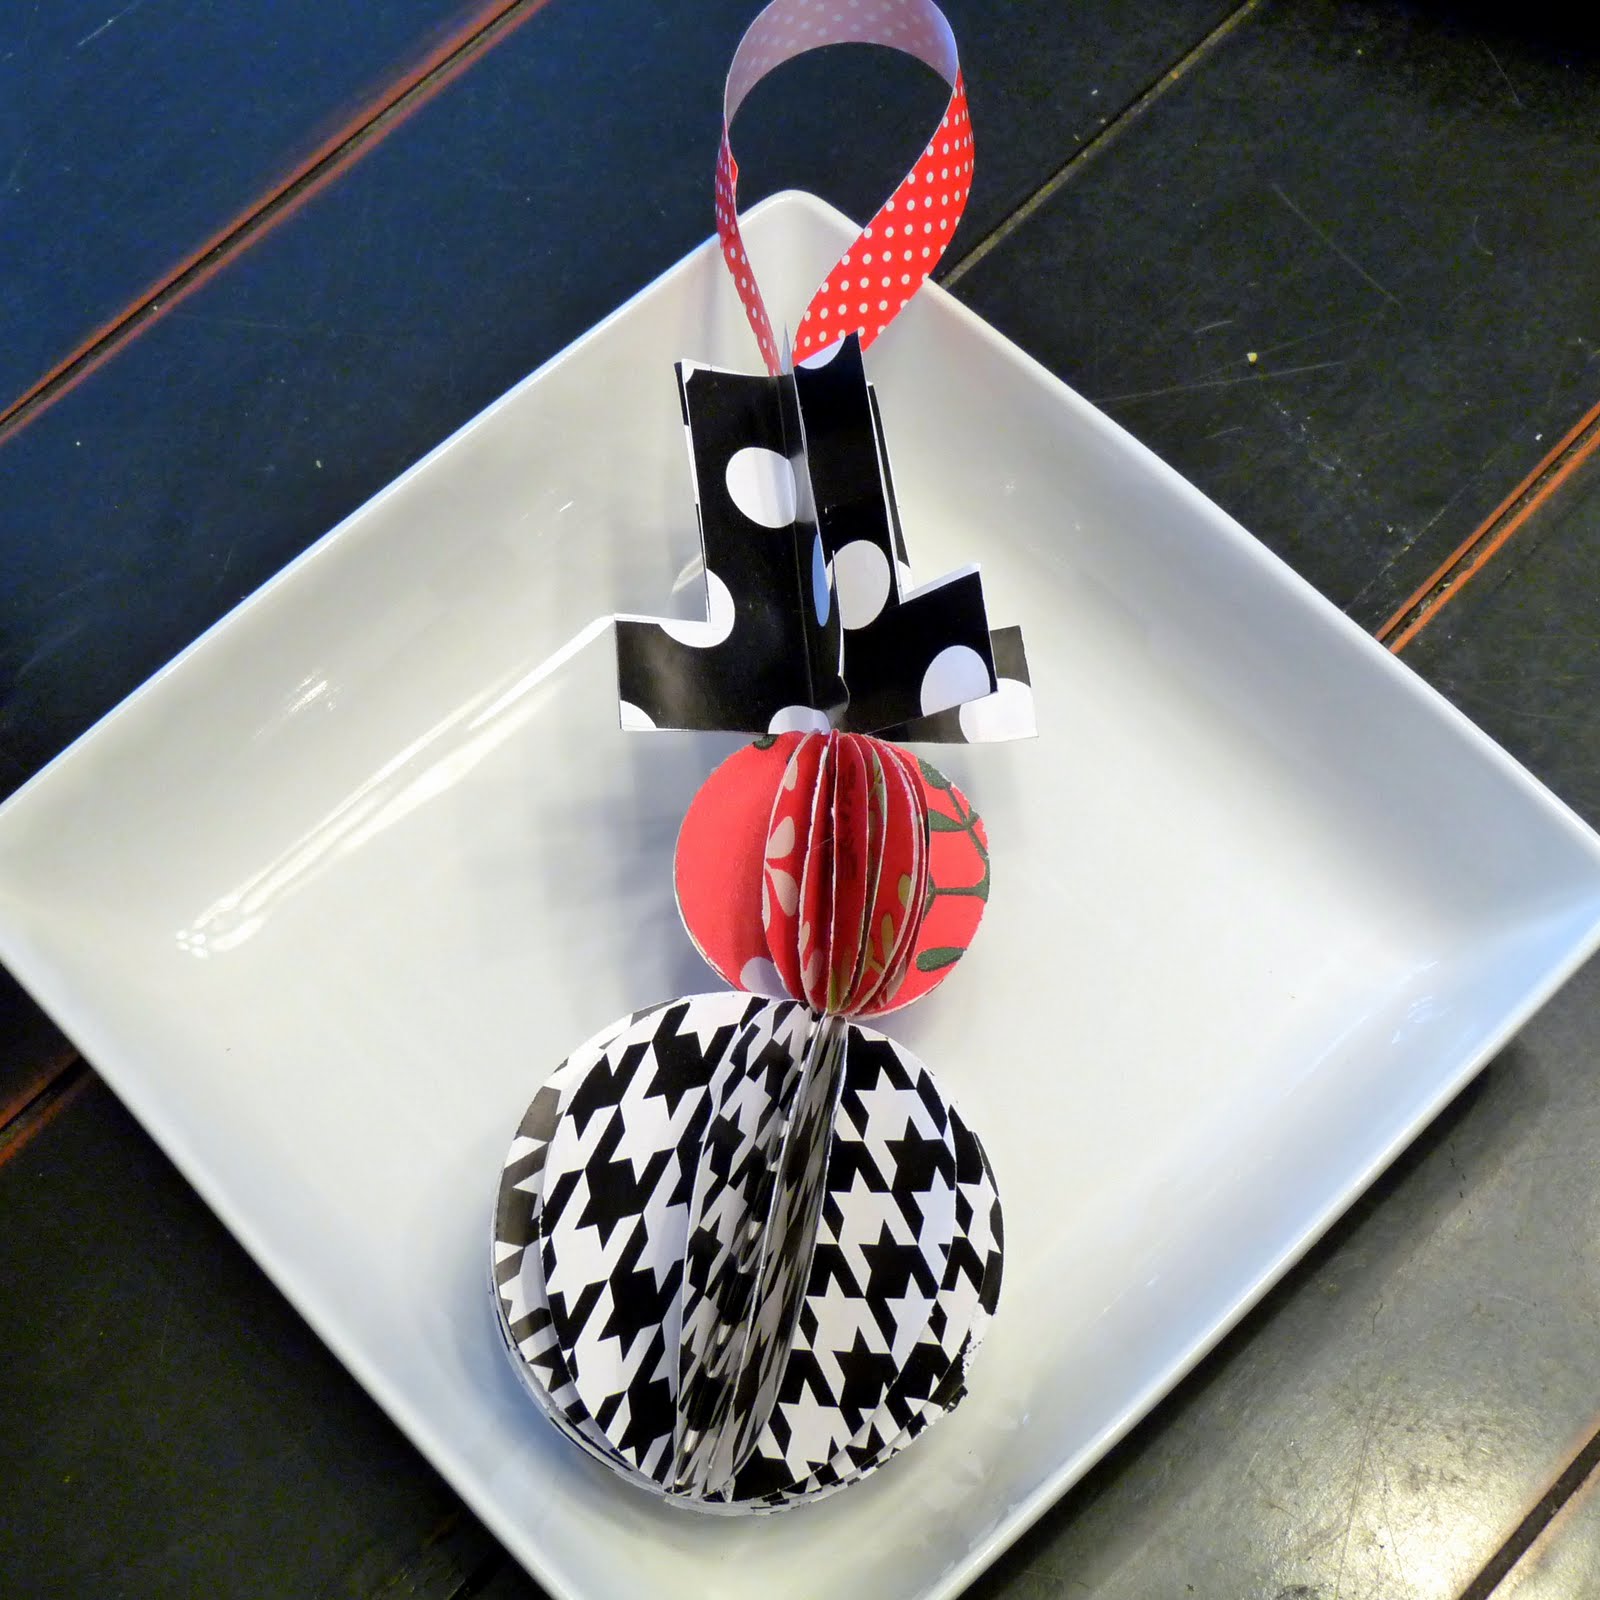
Isn’t it funny how kids latch onto different things? Last month, Burke was all about pumpkins. Right now, he is enamored with snowmen. He finds all the snowmen ornaments on every Christmas tree he sees, loves it when snowmen are part of Christmas cards, just can’t get enough snowmen. So my wrapping paper ornament is, of course, a snow man (you could do it with any symmetrical shape, though… even a symmetrical monogram like A or M).

To make a wrapping paper snowman ornament, you’ll need:
-wrapping paper
-a symmetrical shape (I used circles and a symmetrical hat)
-glue
-ribbon
-a way to cut out your symmetrical shape (the obvious choice being scissors, but if you have punches or access to a diecut machine that you can use for this, it’ll make it easier)

1. Punch or cut your shape from the wrapping paper. I probably punched 20 of each size of circle, but only cut out 7 or 8 hats.

2. Fold all of your shapes in half on the line of symmetry.


3. Start gluing your halves together. You’ll eventually have a big stack of your shape folded in half and glued together.

4. Before completing your shapes by gluing your first piece and last piece together, glue a piece of ribbon through the center of your shape.

5. Then glue your shape(s) together and hang on your tree. Stash crafted, snowman-y goodness for your one year old- done!
And that wraps up our stash crafted handmade holiday gift guide, y’all. There are a couple of materials we didn’t get to- maybe next year. In the meantime, we have a few more things to show you before Christmas… stay tuned!
Too cute! I just love the papers you chose!
What a great way to use all those wrapping paper scraps!
Your DIY is DE liciously lovely!
Have a merry and bright Christmas.
THAT IS THE BEST SNOW MAN EVER!!!! I WANT A WHOLE TREE WITH BLACK RED AND WHITE NOW. MERRY CHRISTMAS
Super, super cute! Would love if you’d join our Countdown to Christmas link party! Hope to see you there! Have a great week! 🙂
http://dixie-n-dottie.blogspot.com/2012_12_04_archive.html
Thanks so much for the kind words- what a great party!
This is sooooo cute!
And so very clever of you!
Thanks for sharing!
Thanks Charlotte!
Good Ideas. Thanks